

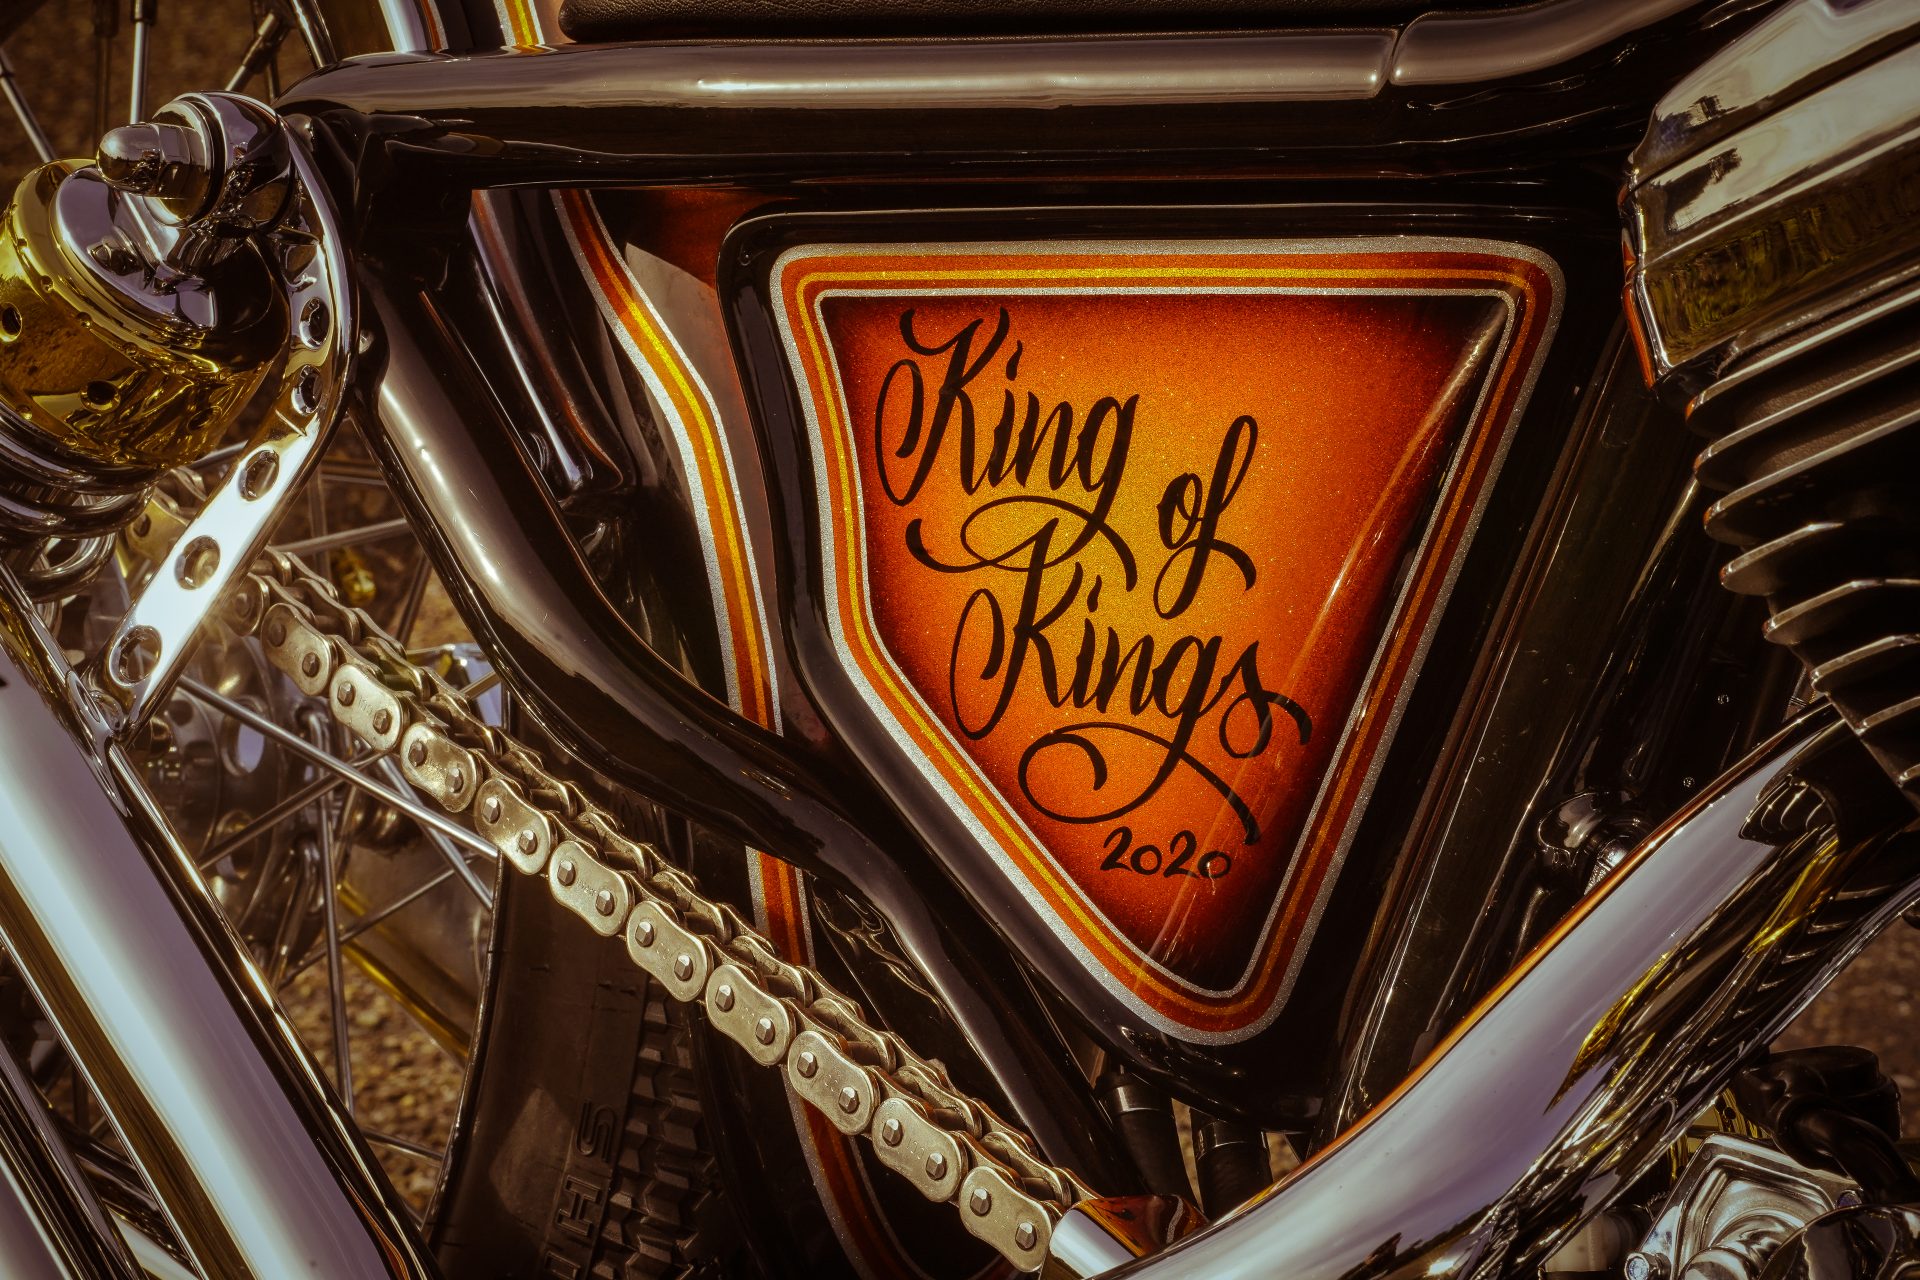
Battle for the Crown!
The Battle of the Kings becomes King of Kings!
This year Harley-Davidson is announcing a whole new competition!
It’s all about finding the winner of the winners, in which only the winners of the past years, i.e. the best of the best now compete against each other in an unprecedented contest!
Naturally we‘re very proud to represent Germany in this Battle!
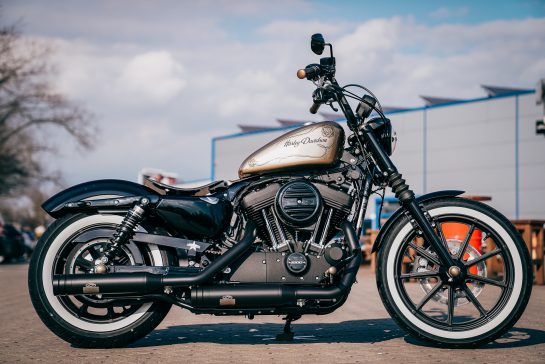
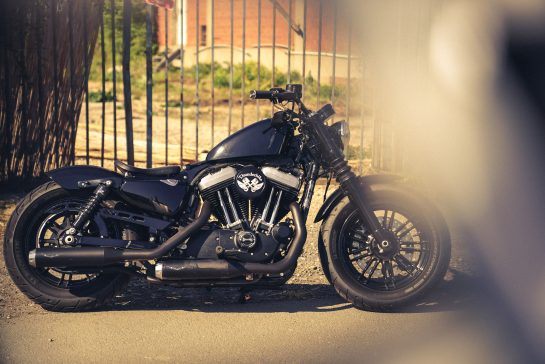
The rules have also changed fundamentally. A current vehicle with a very limited budget had to be converted before, so this year a Sportster with an Evolution engine will serve as a basis, no matter what year of construction. The most important rules are that the main frame may not be changed and the swingarm must remain fully functional.
These rules are just the way we like it.
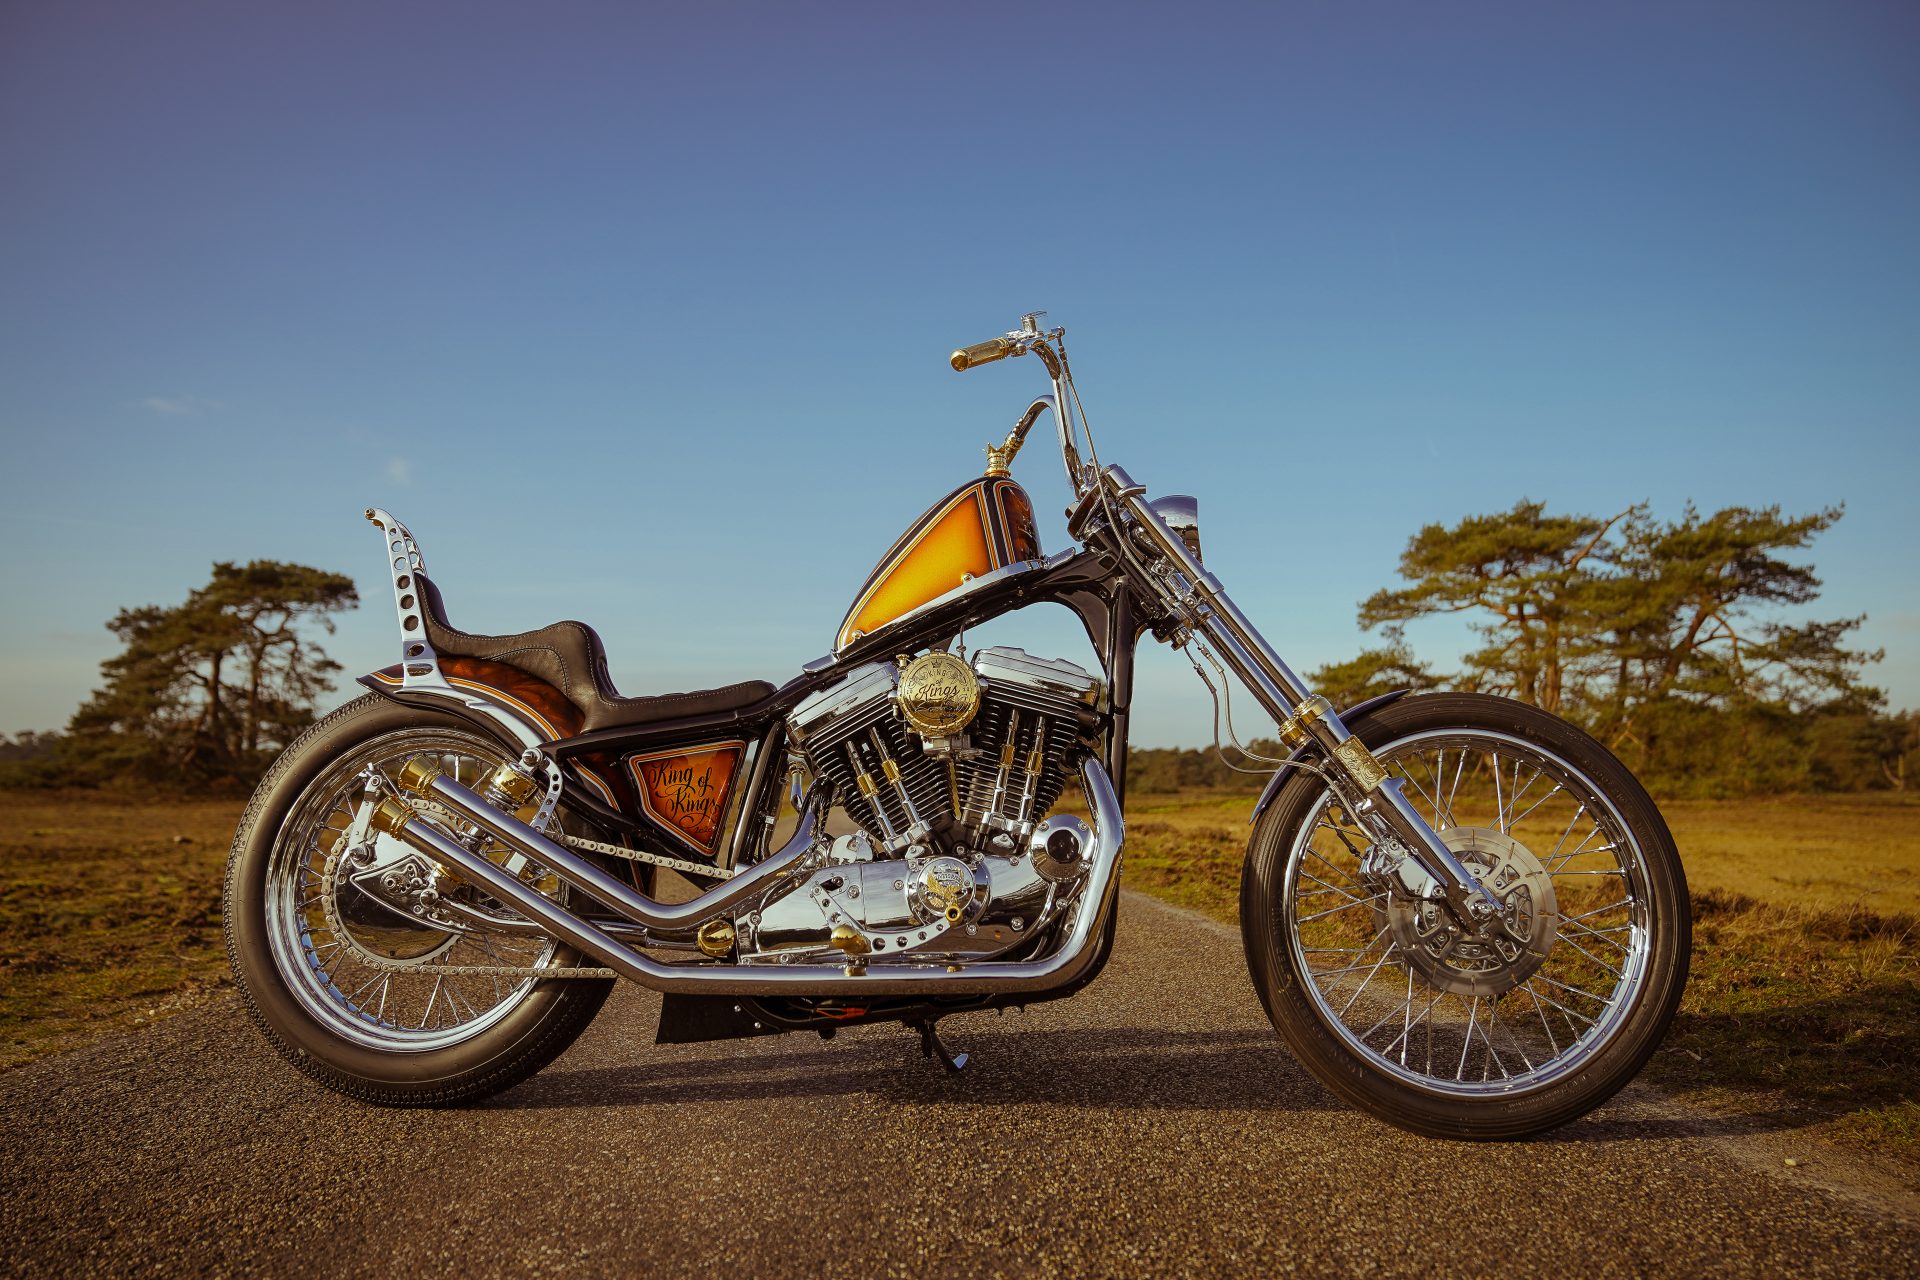
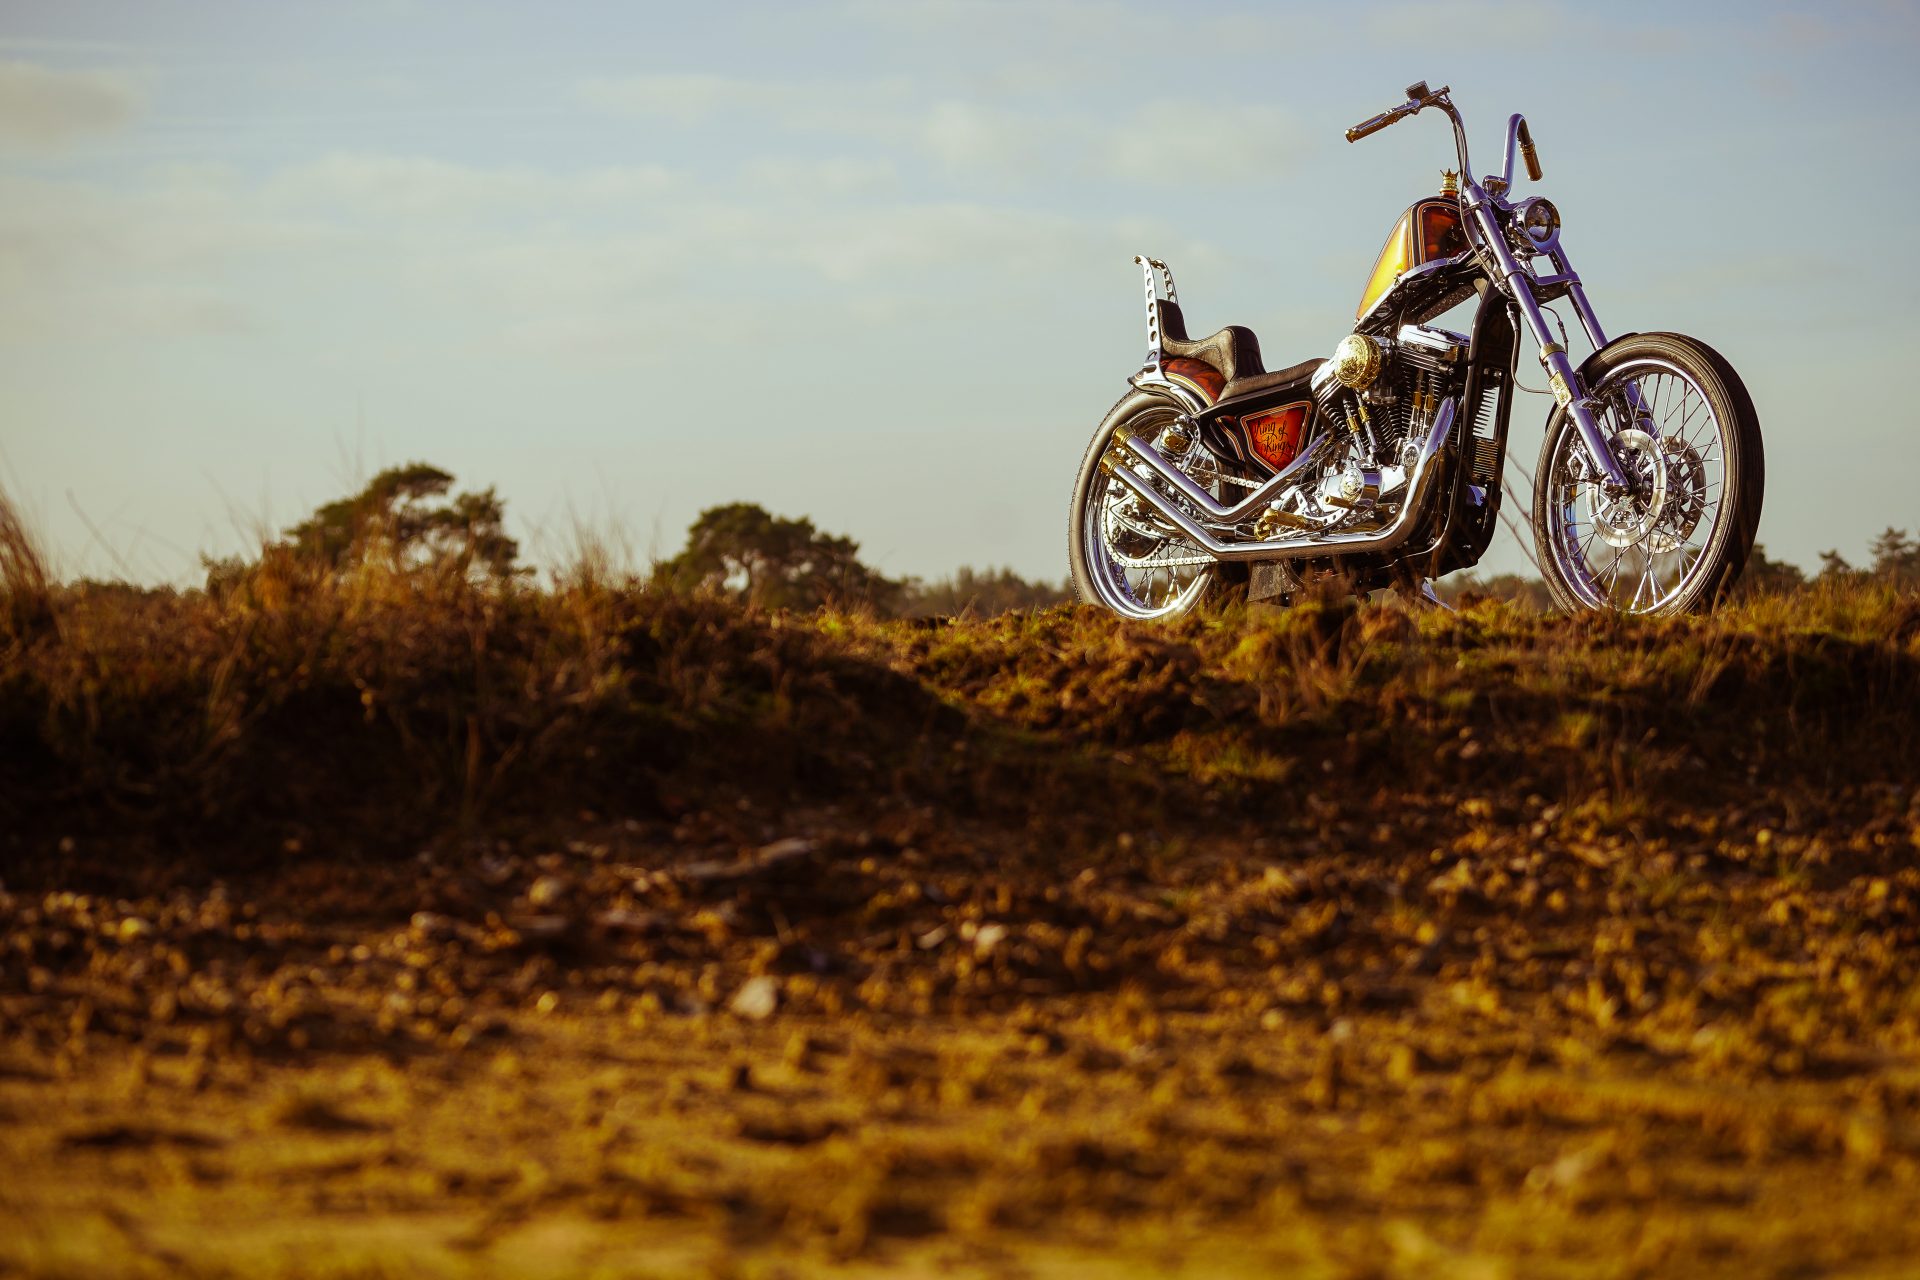
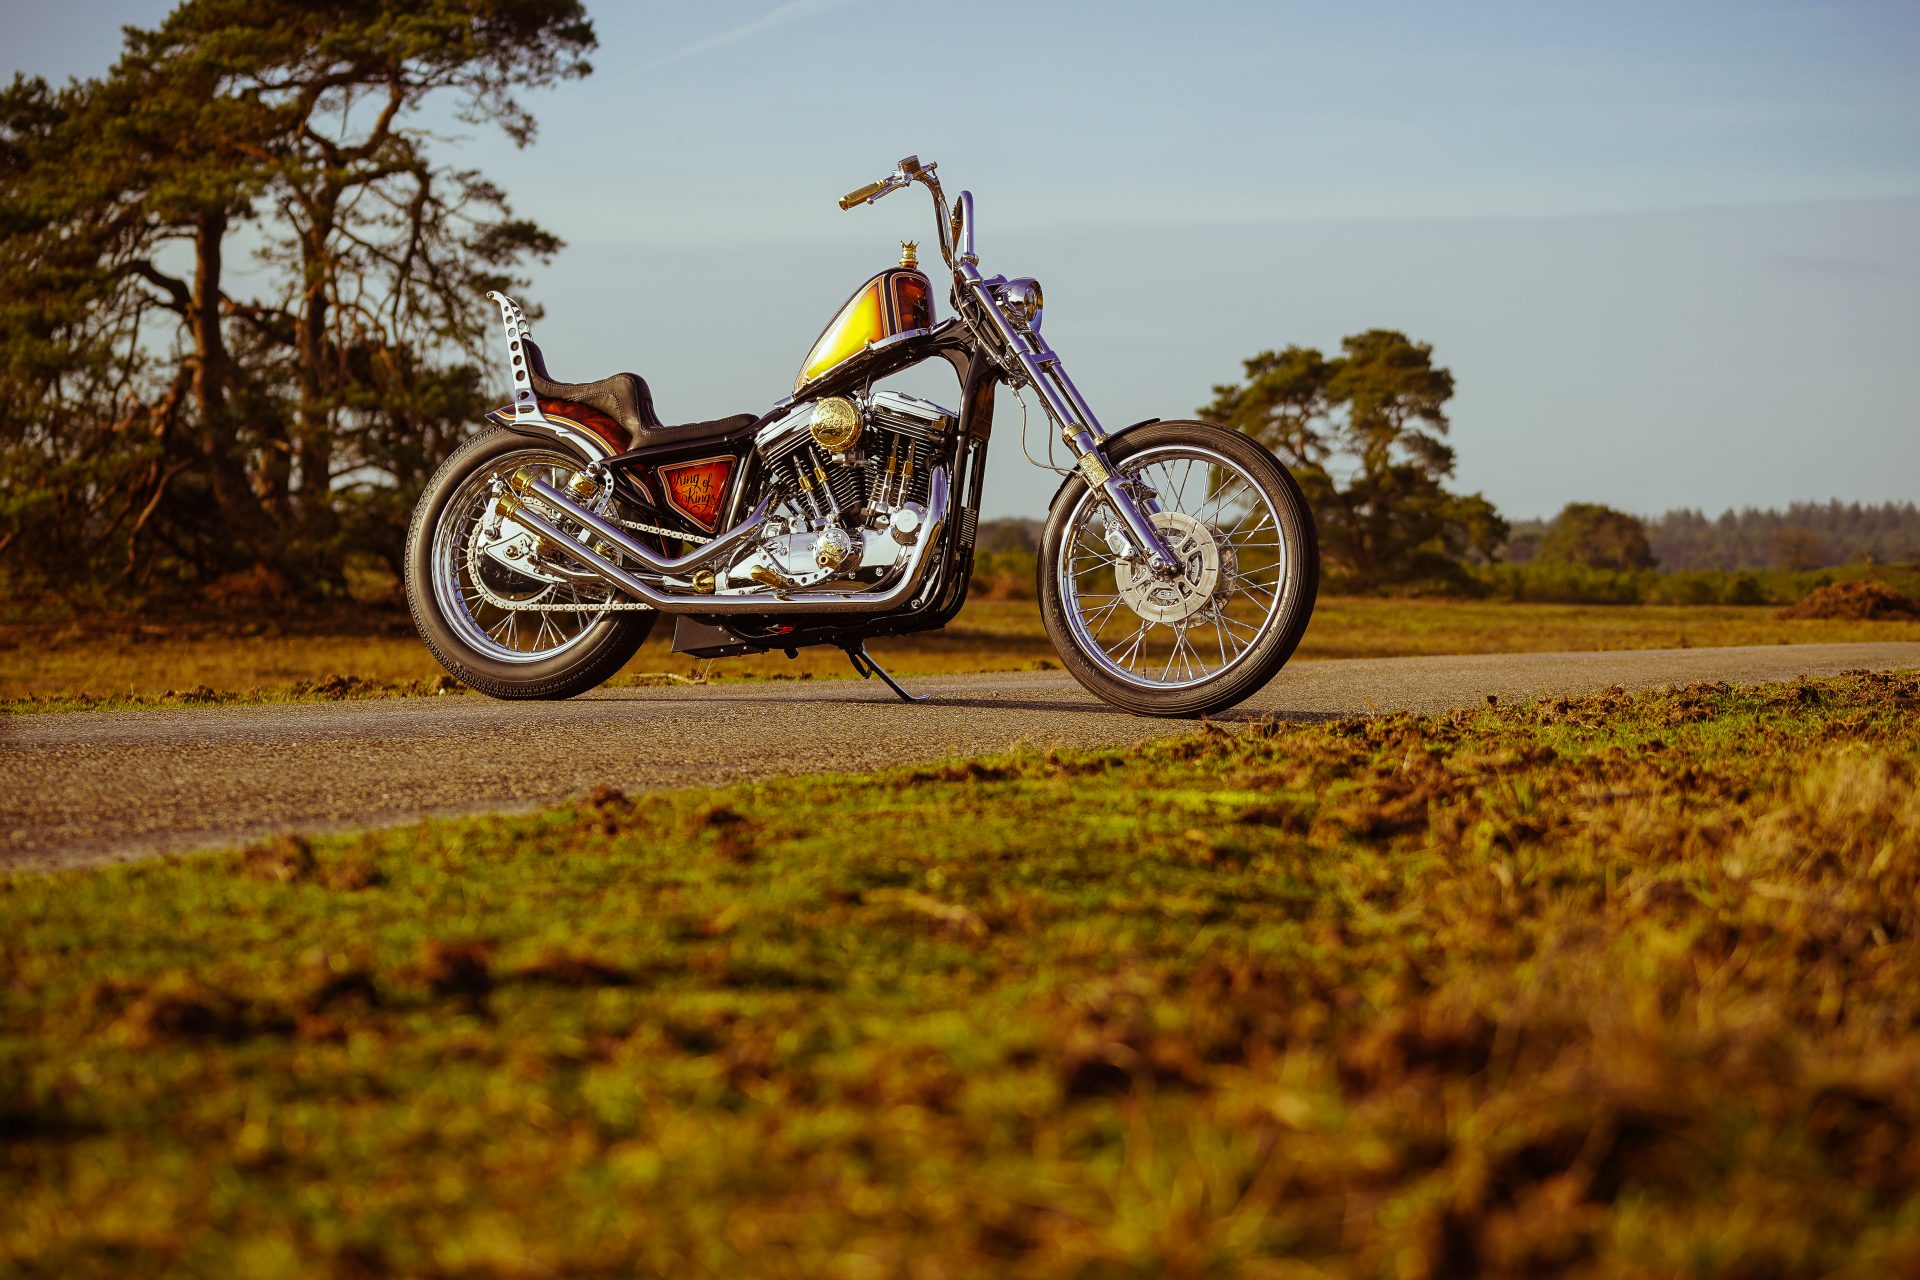
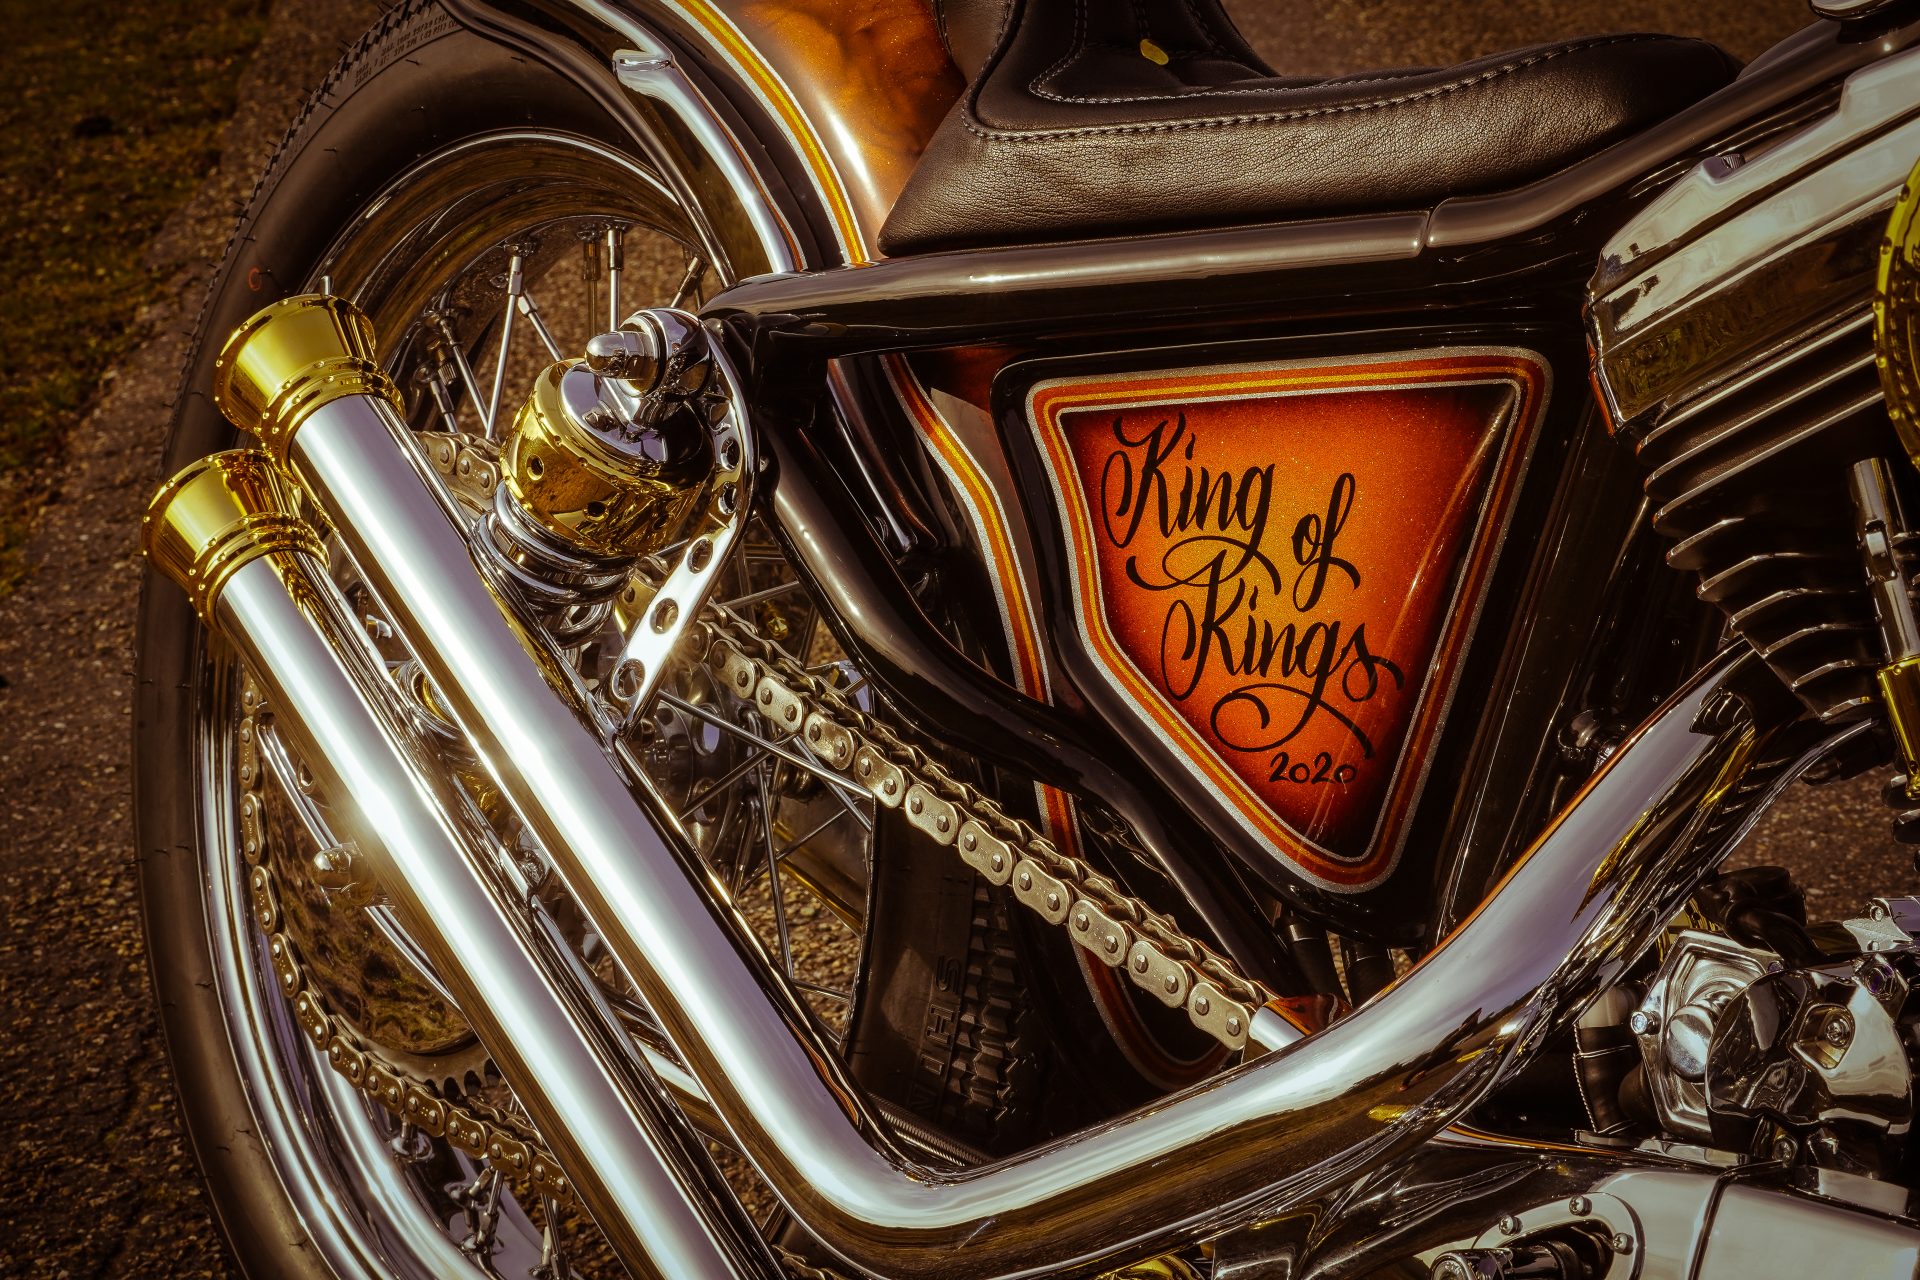
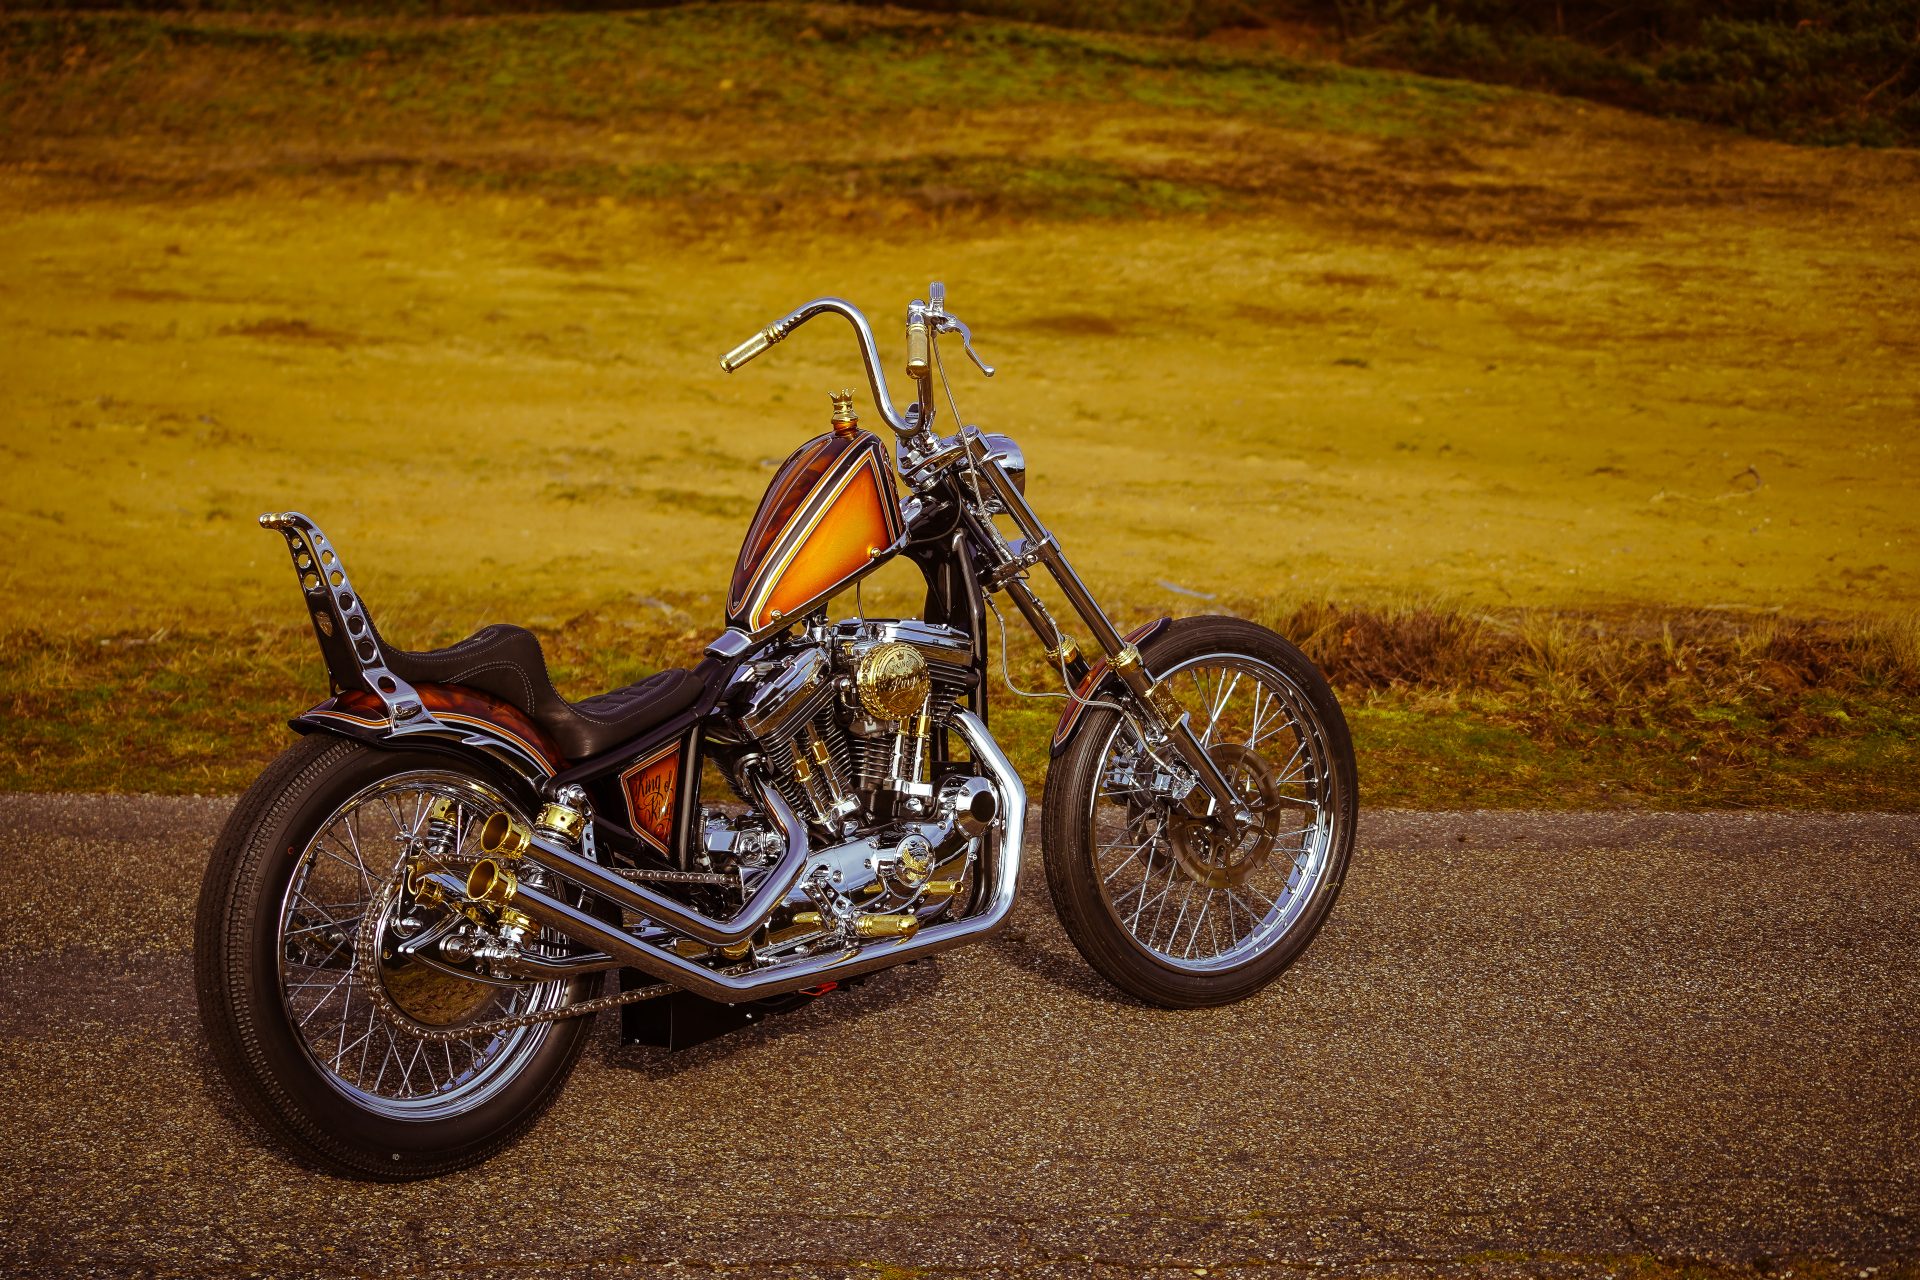
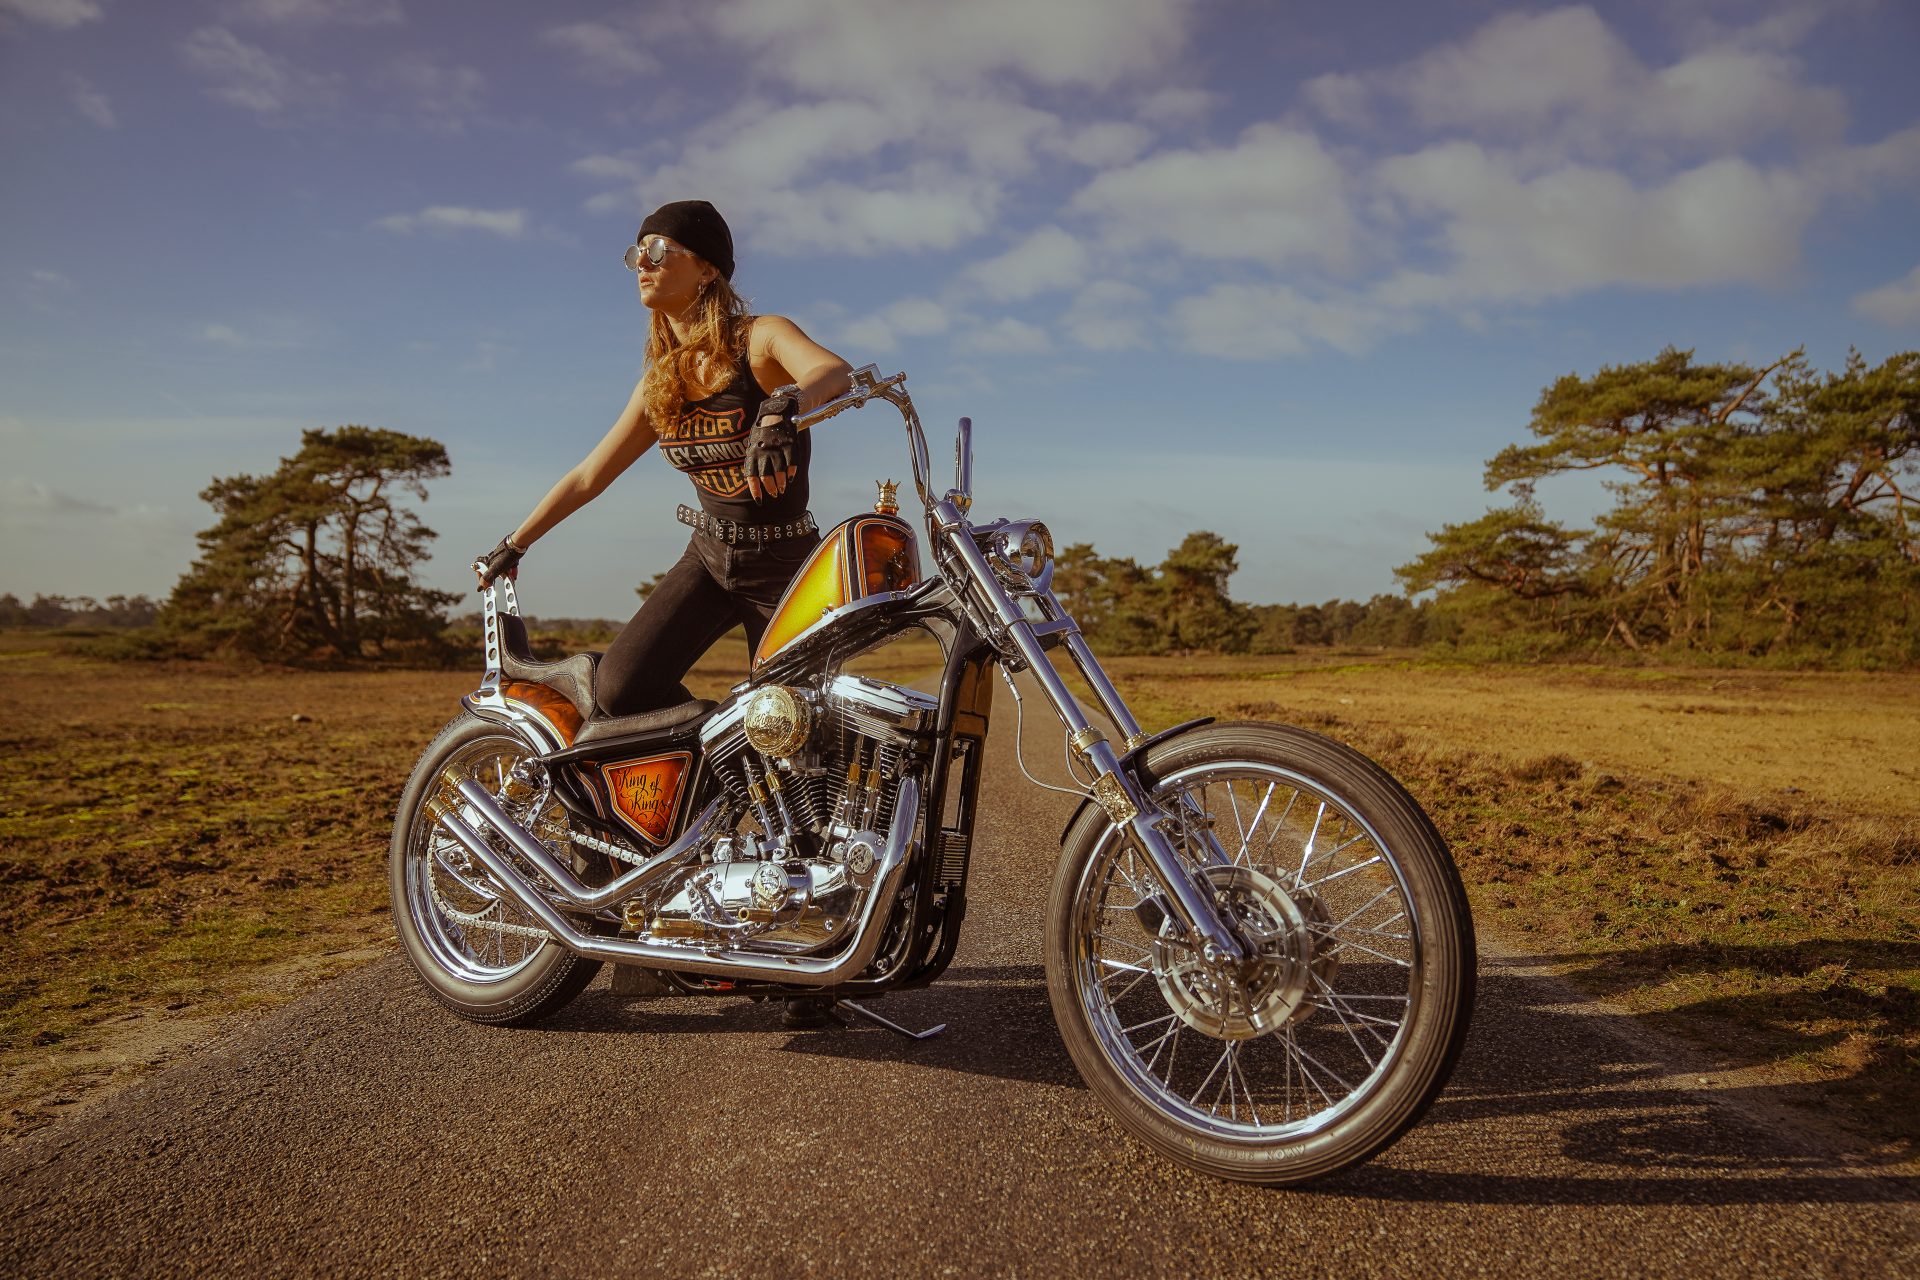
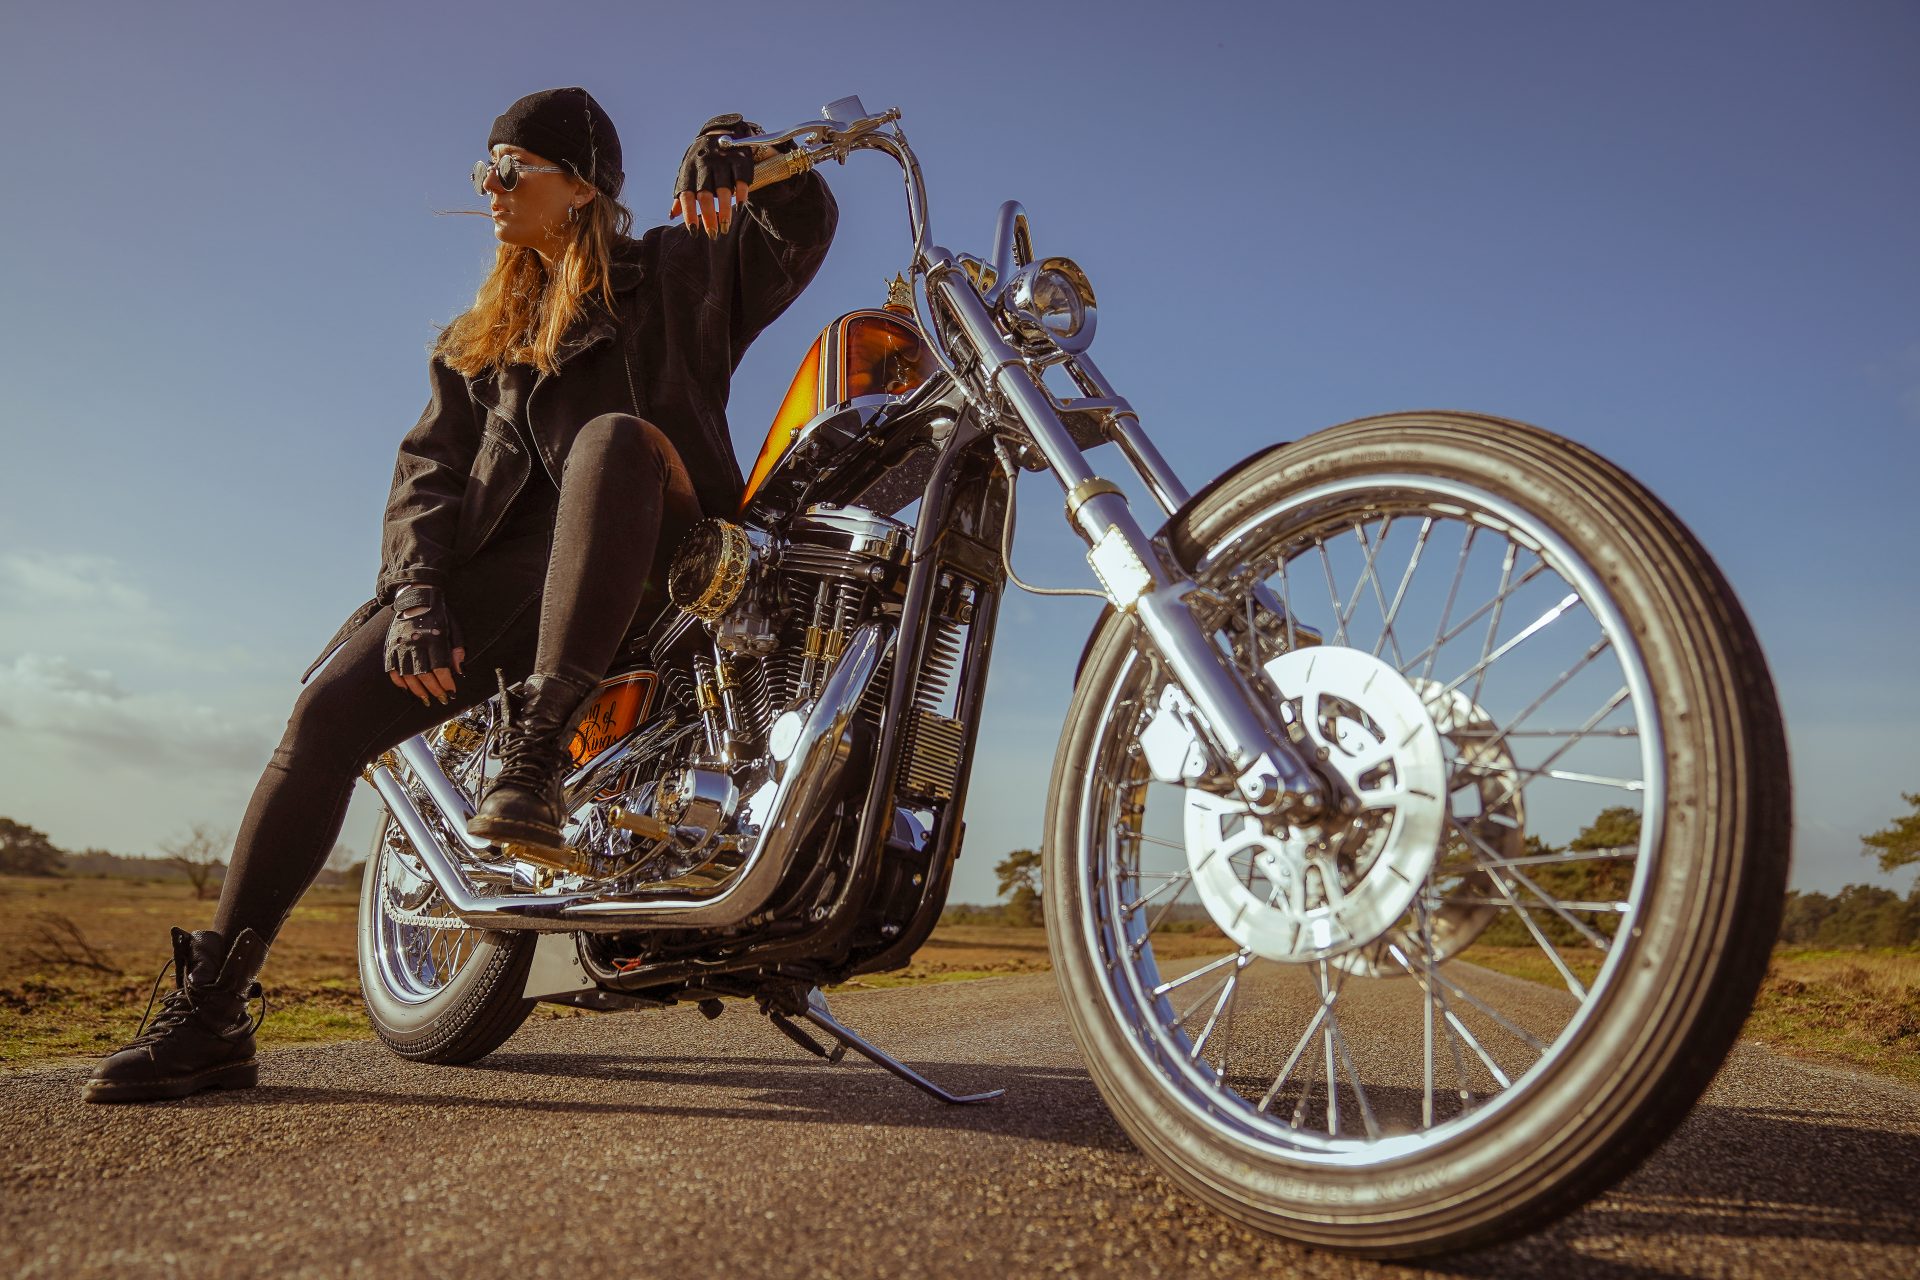
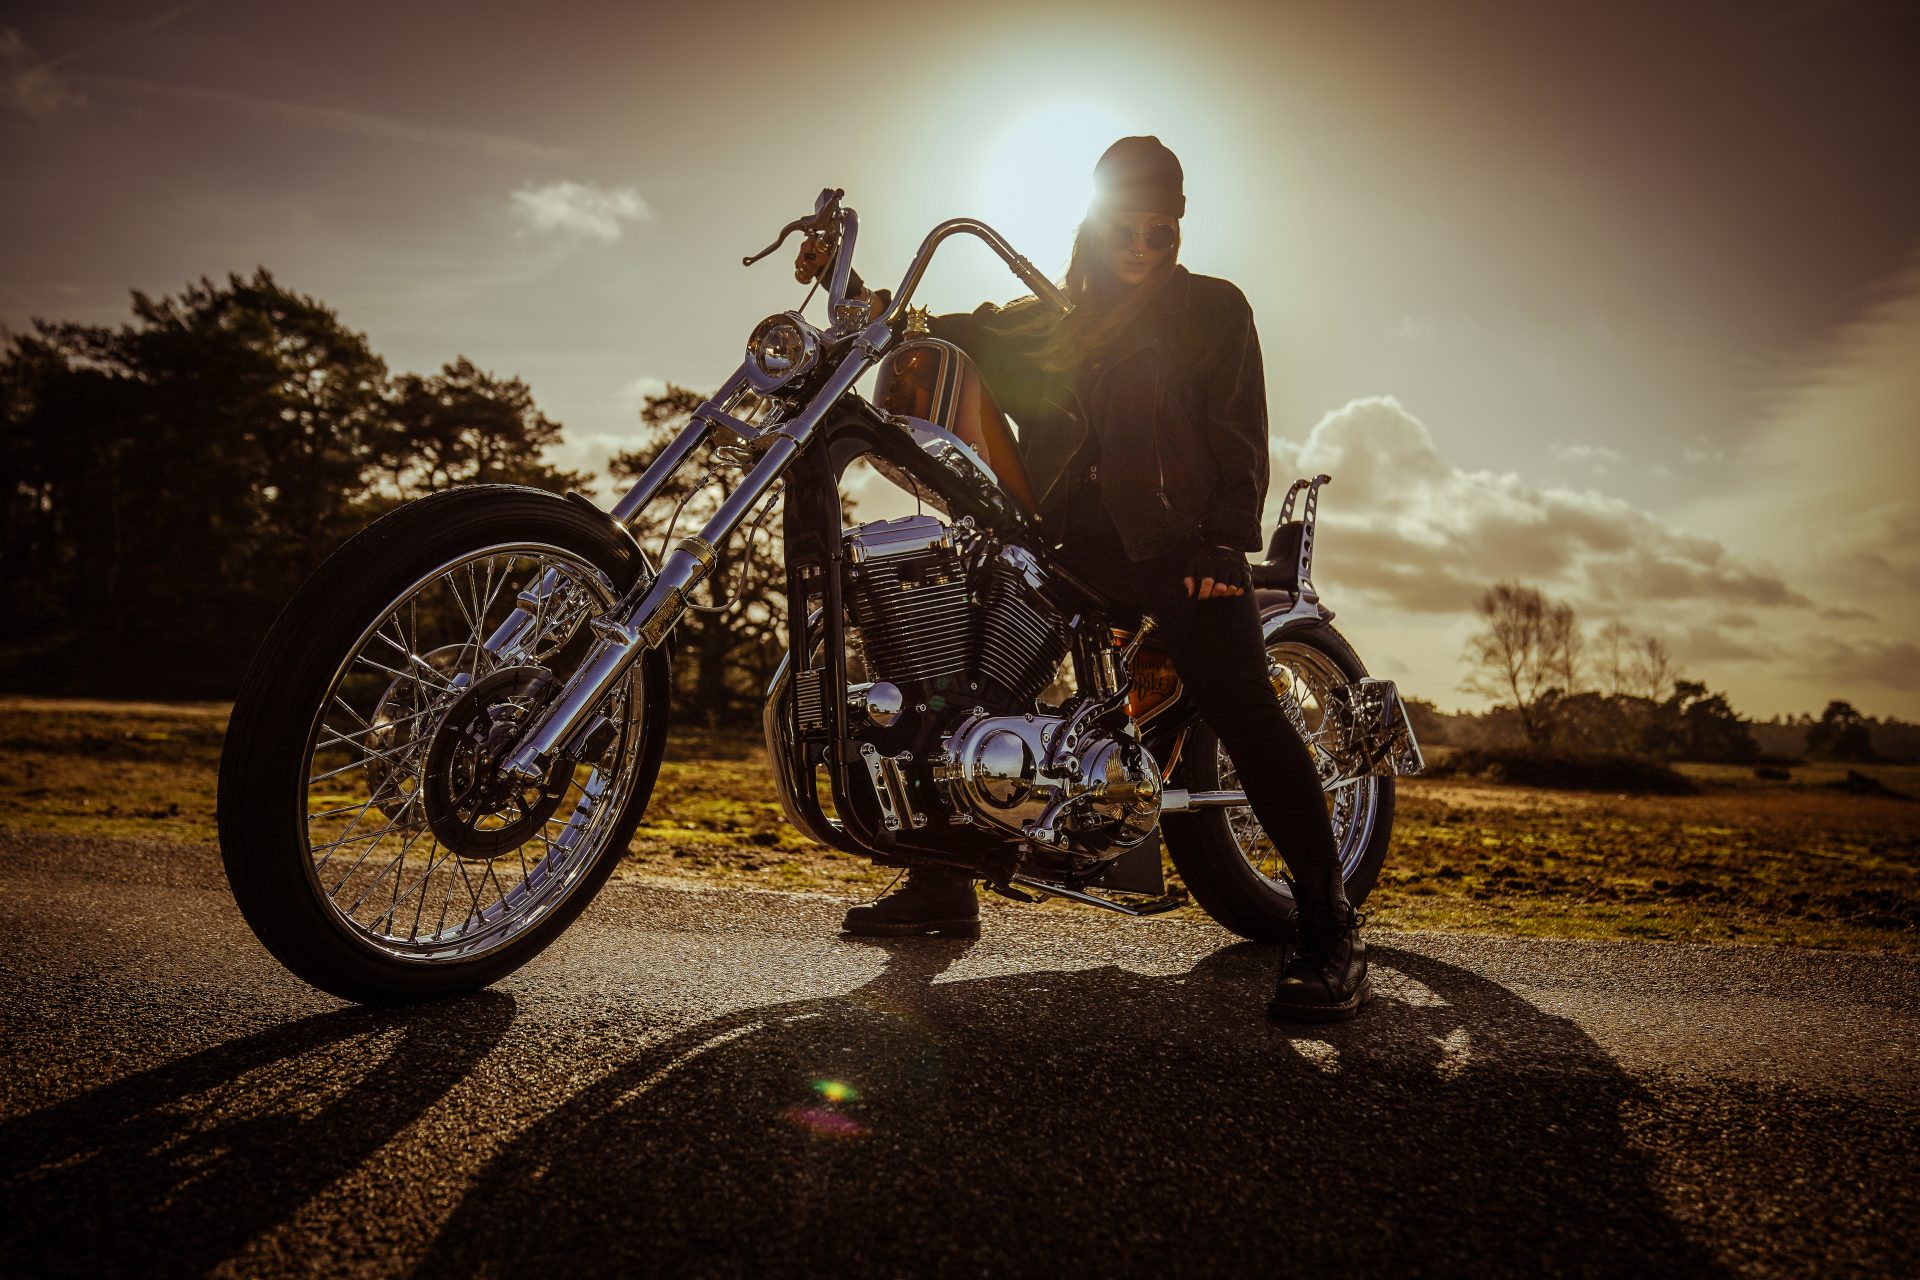
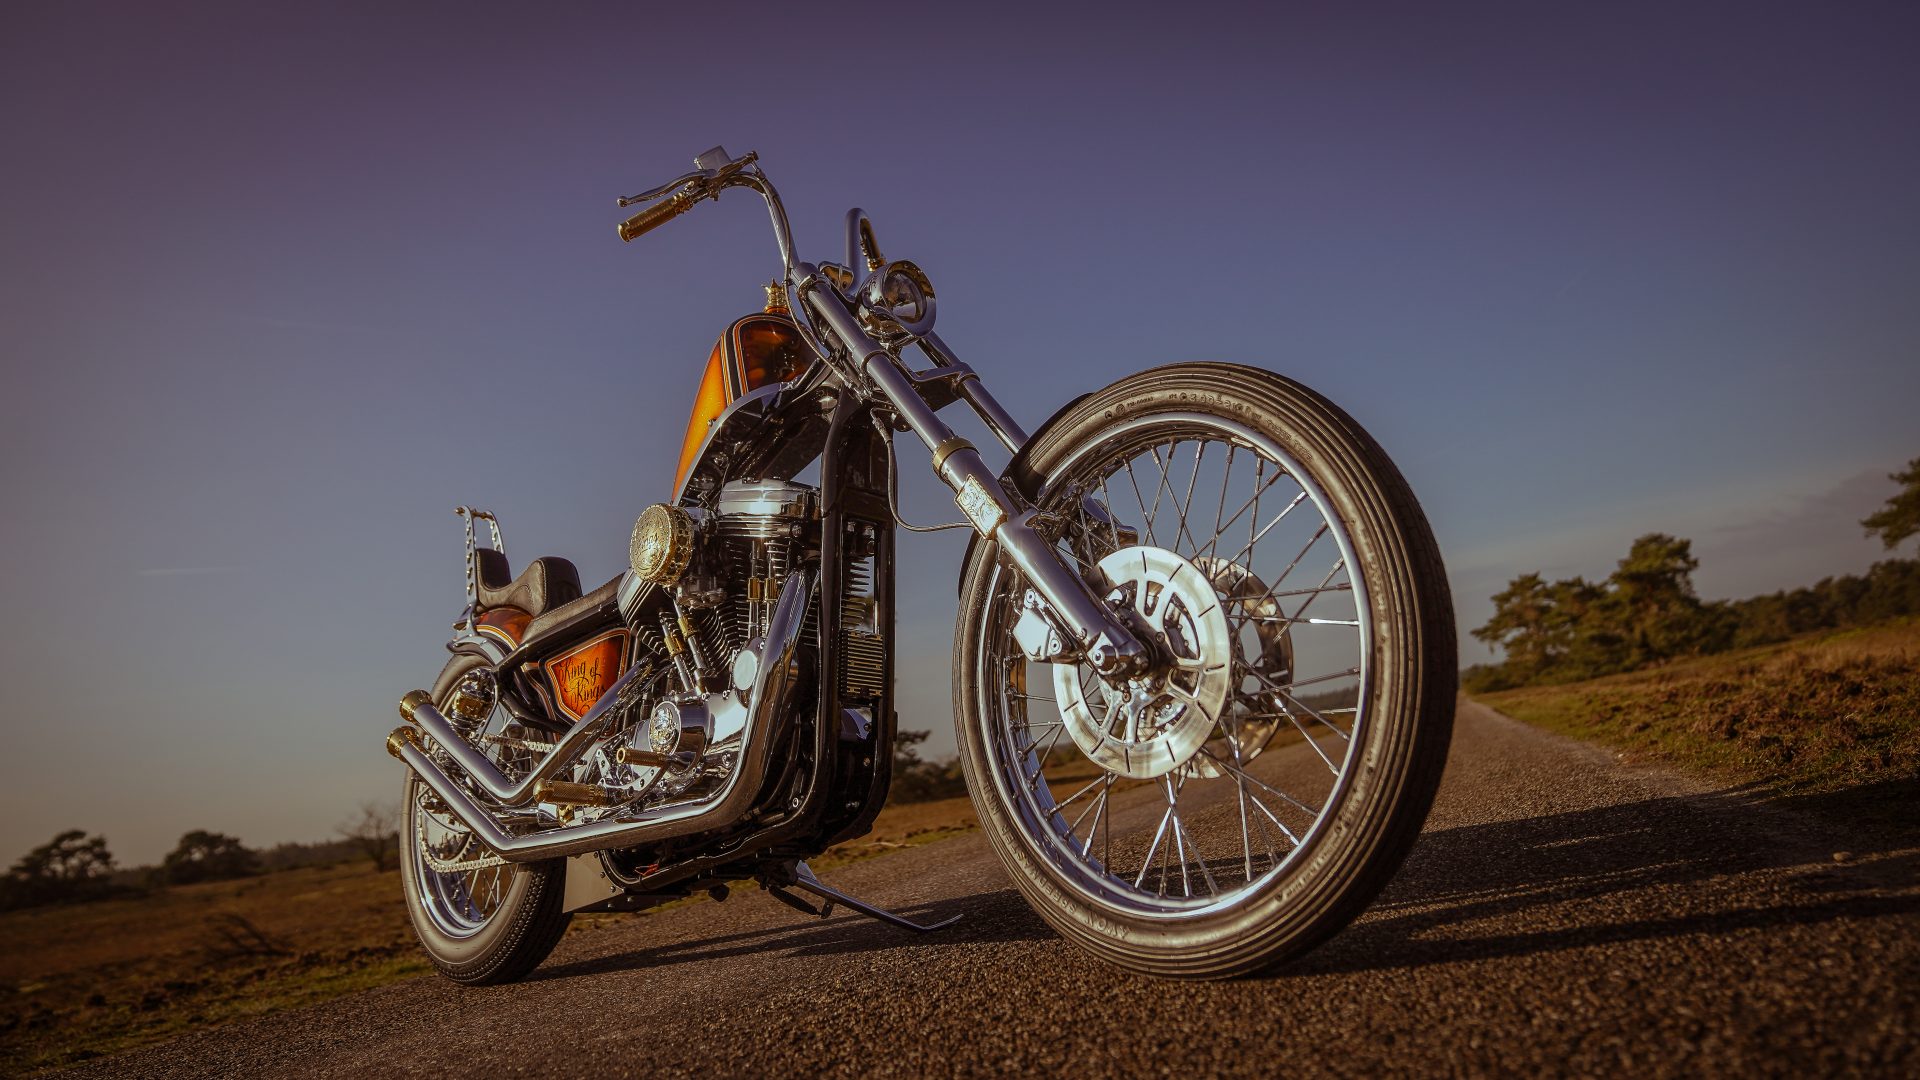
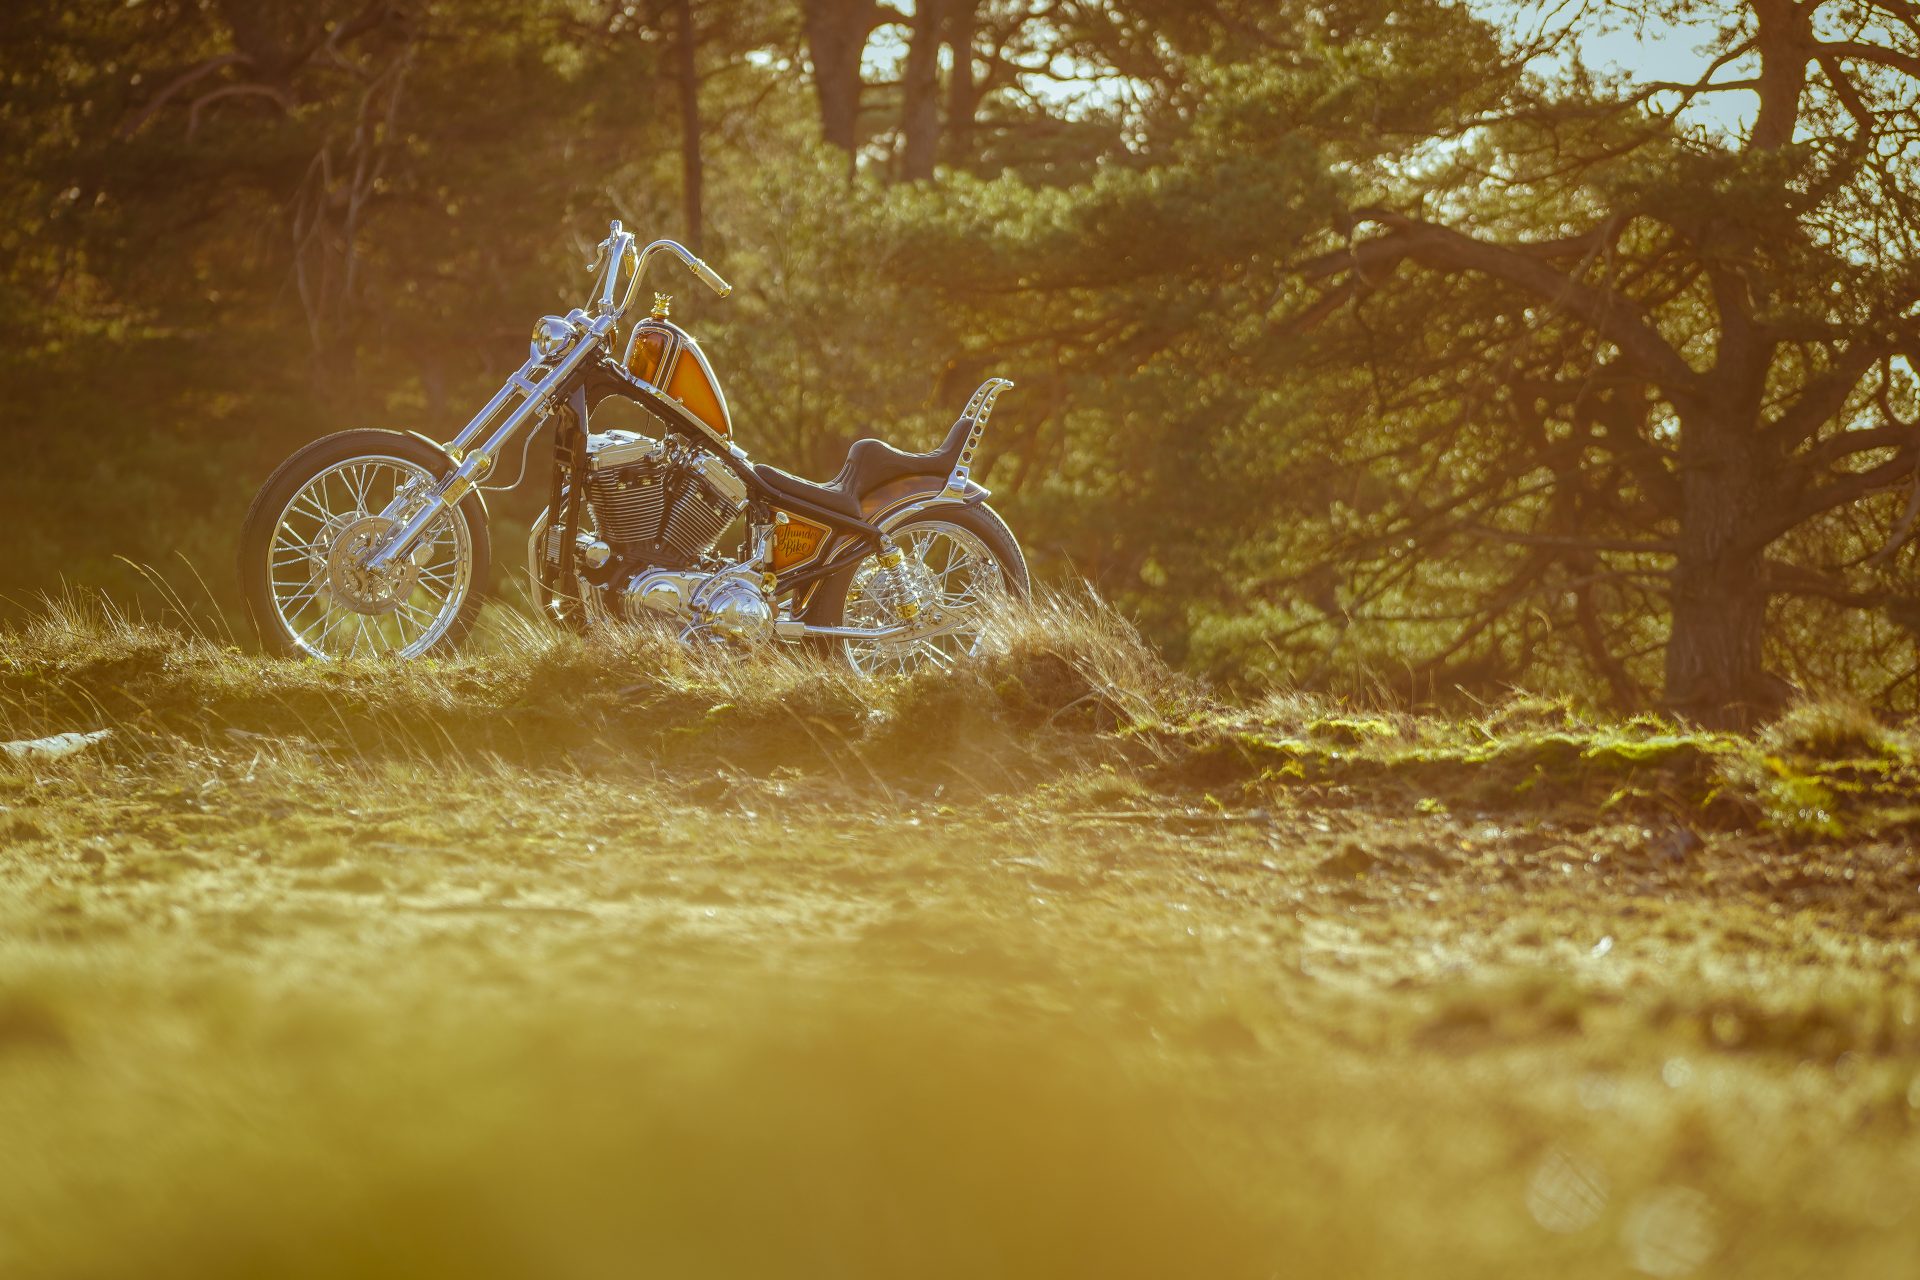
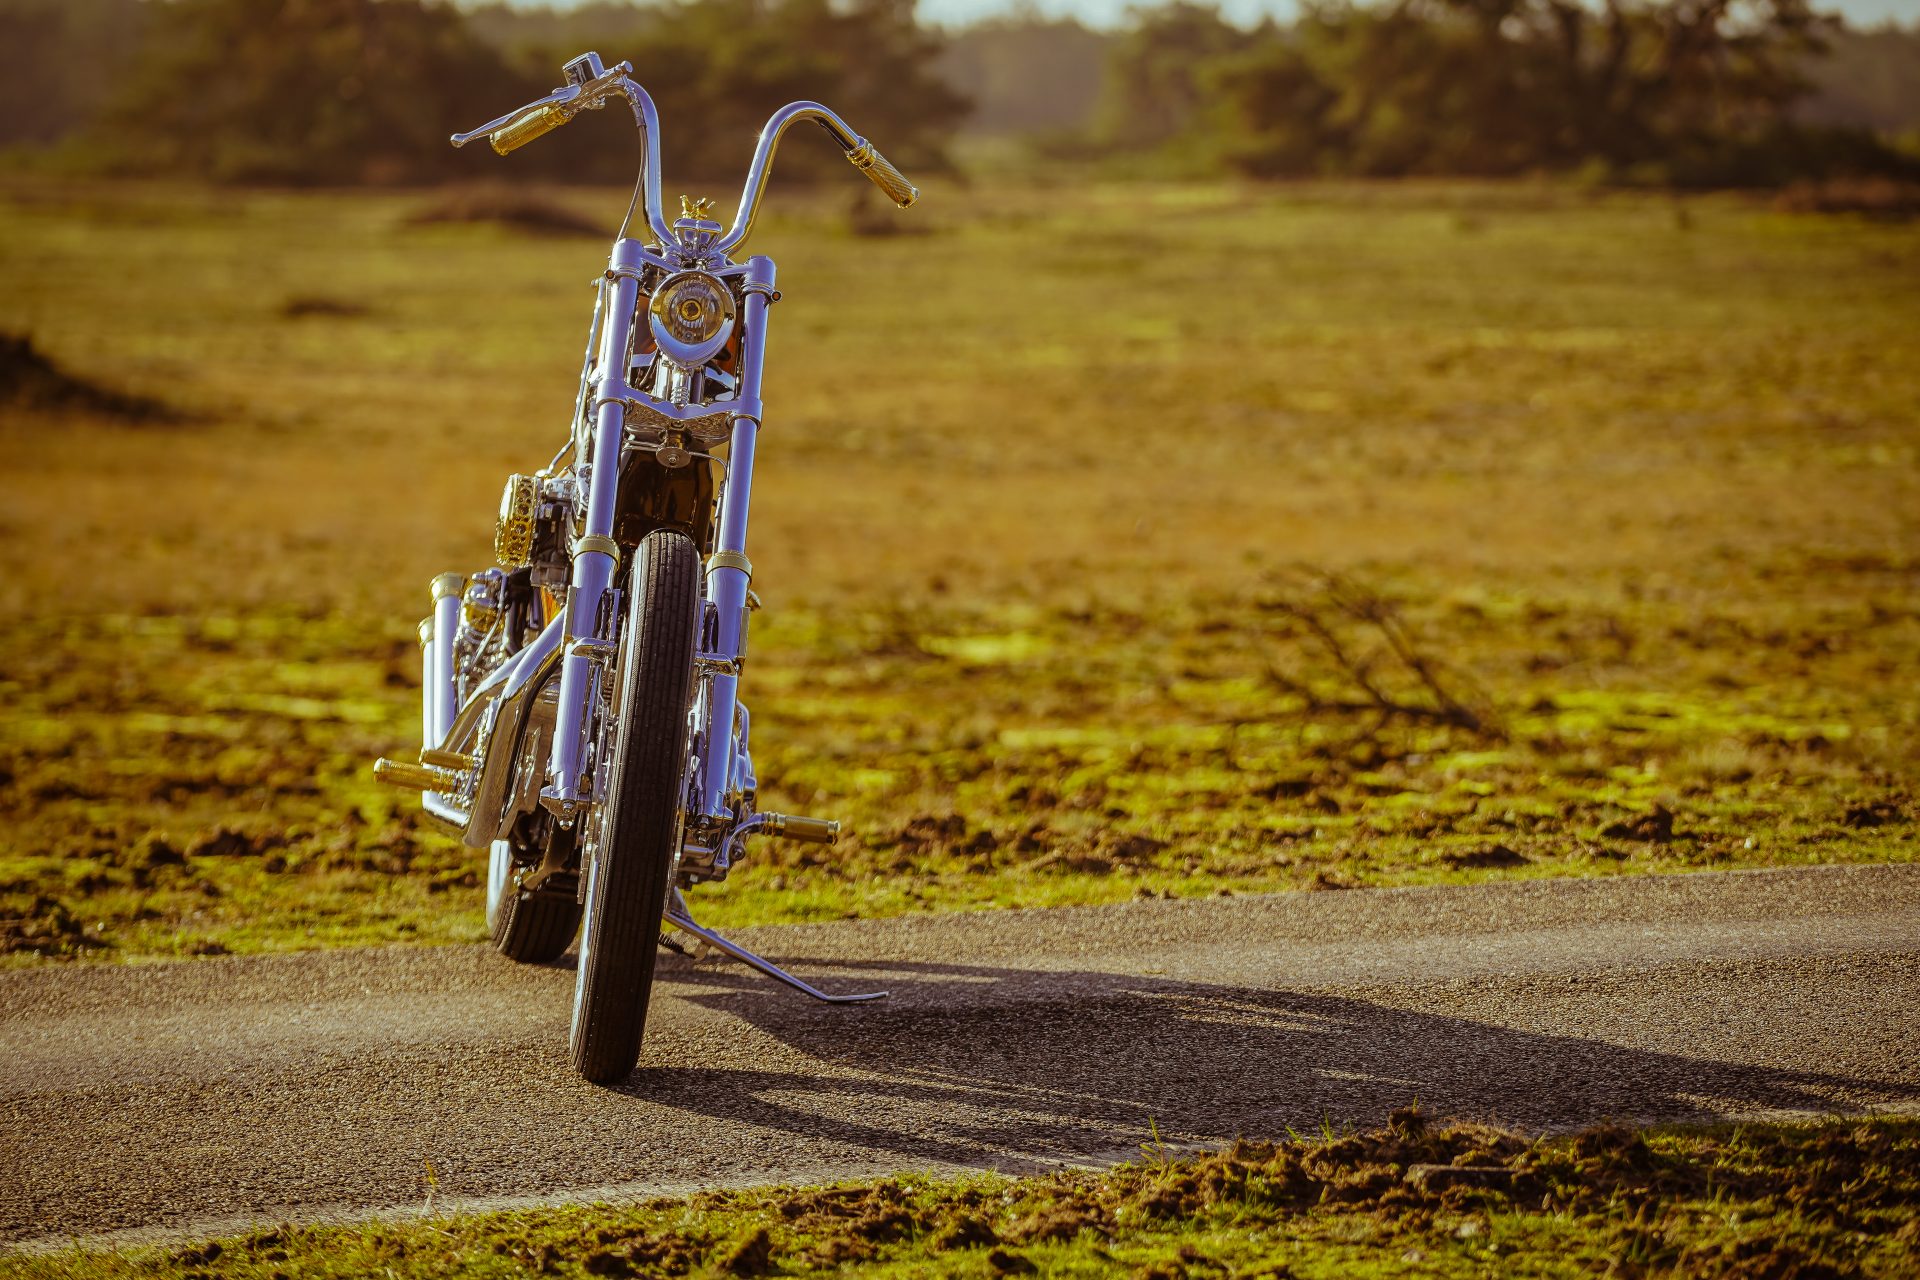
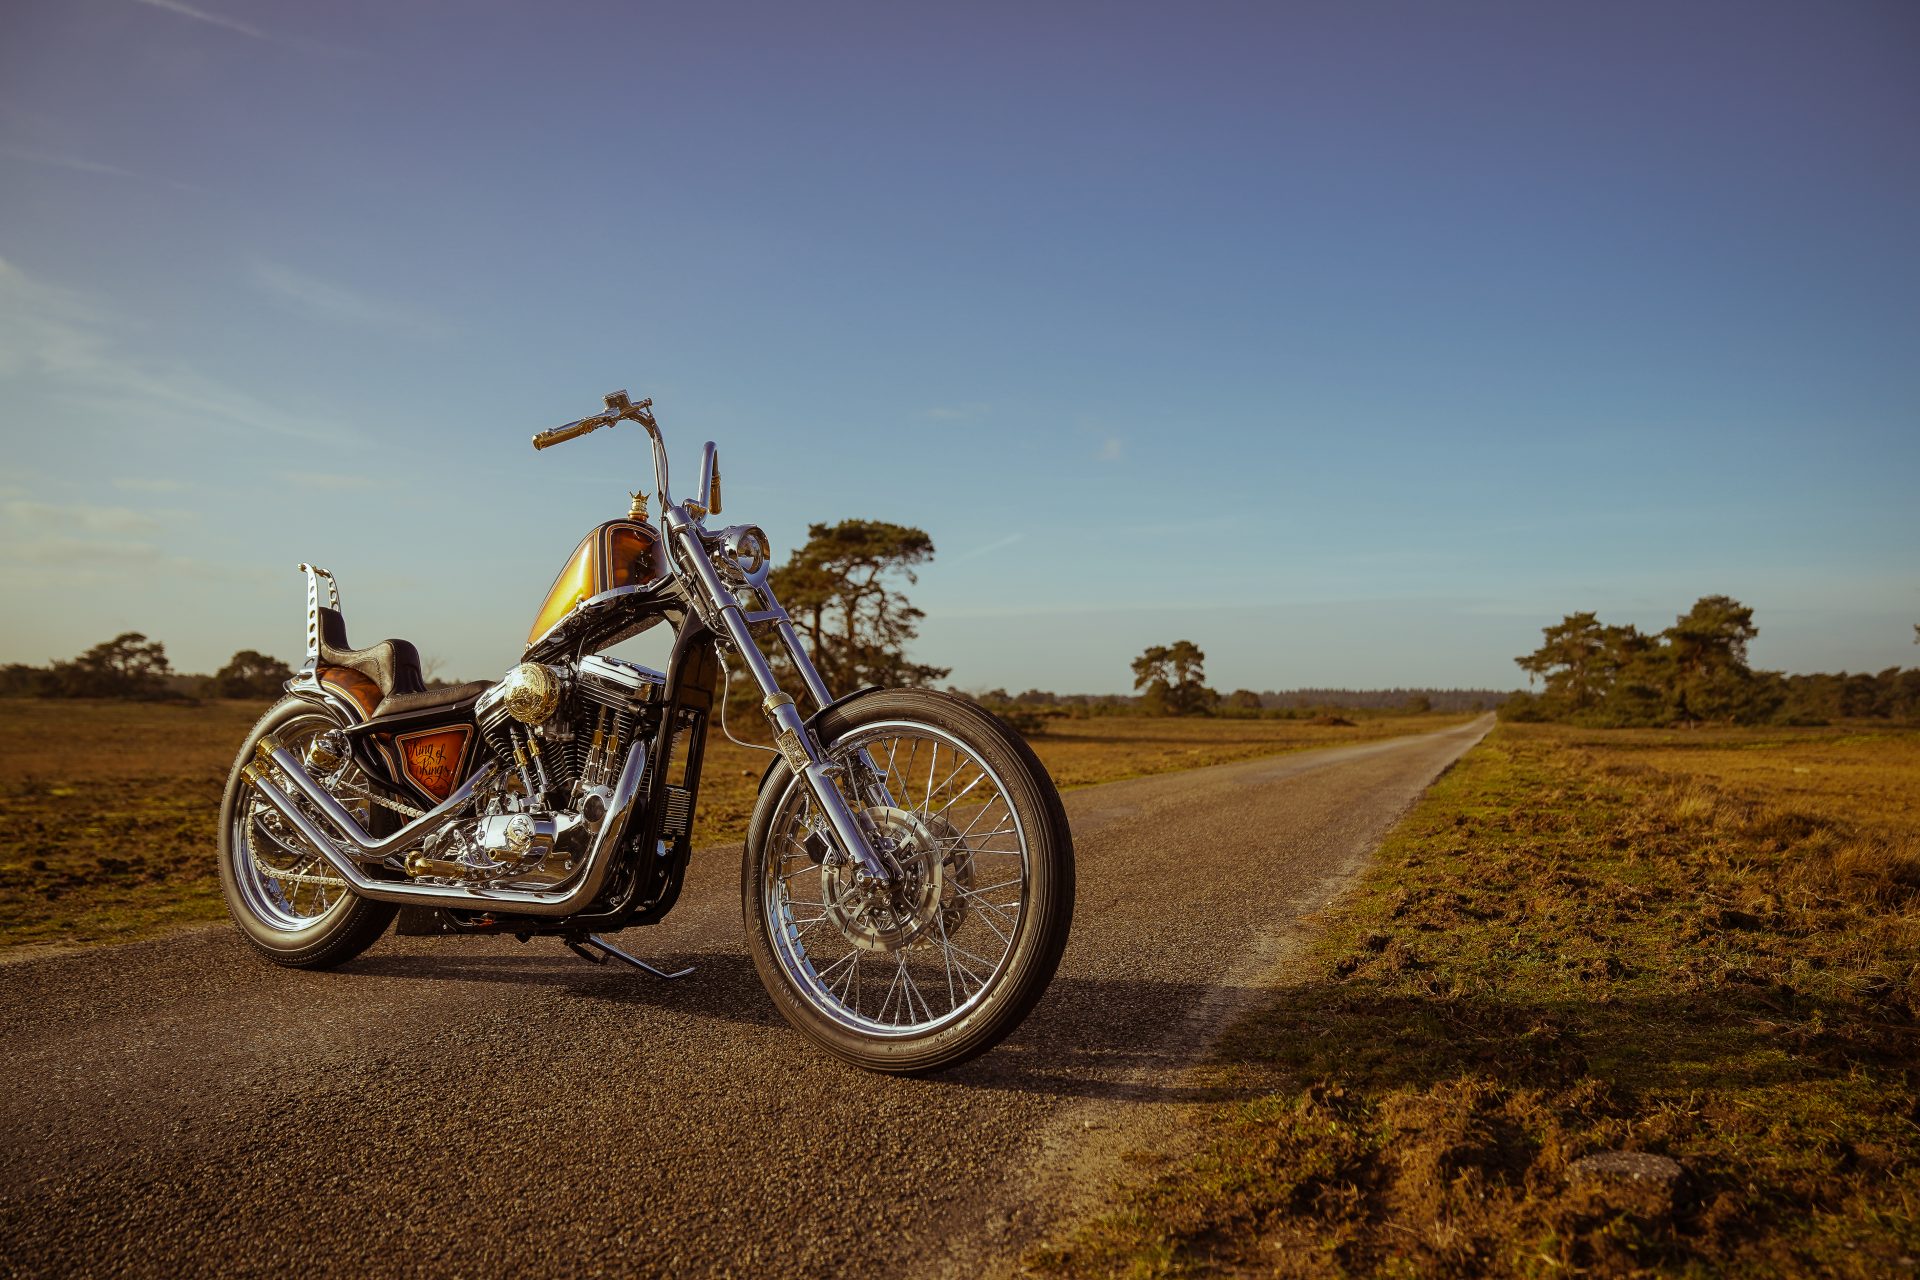
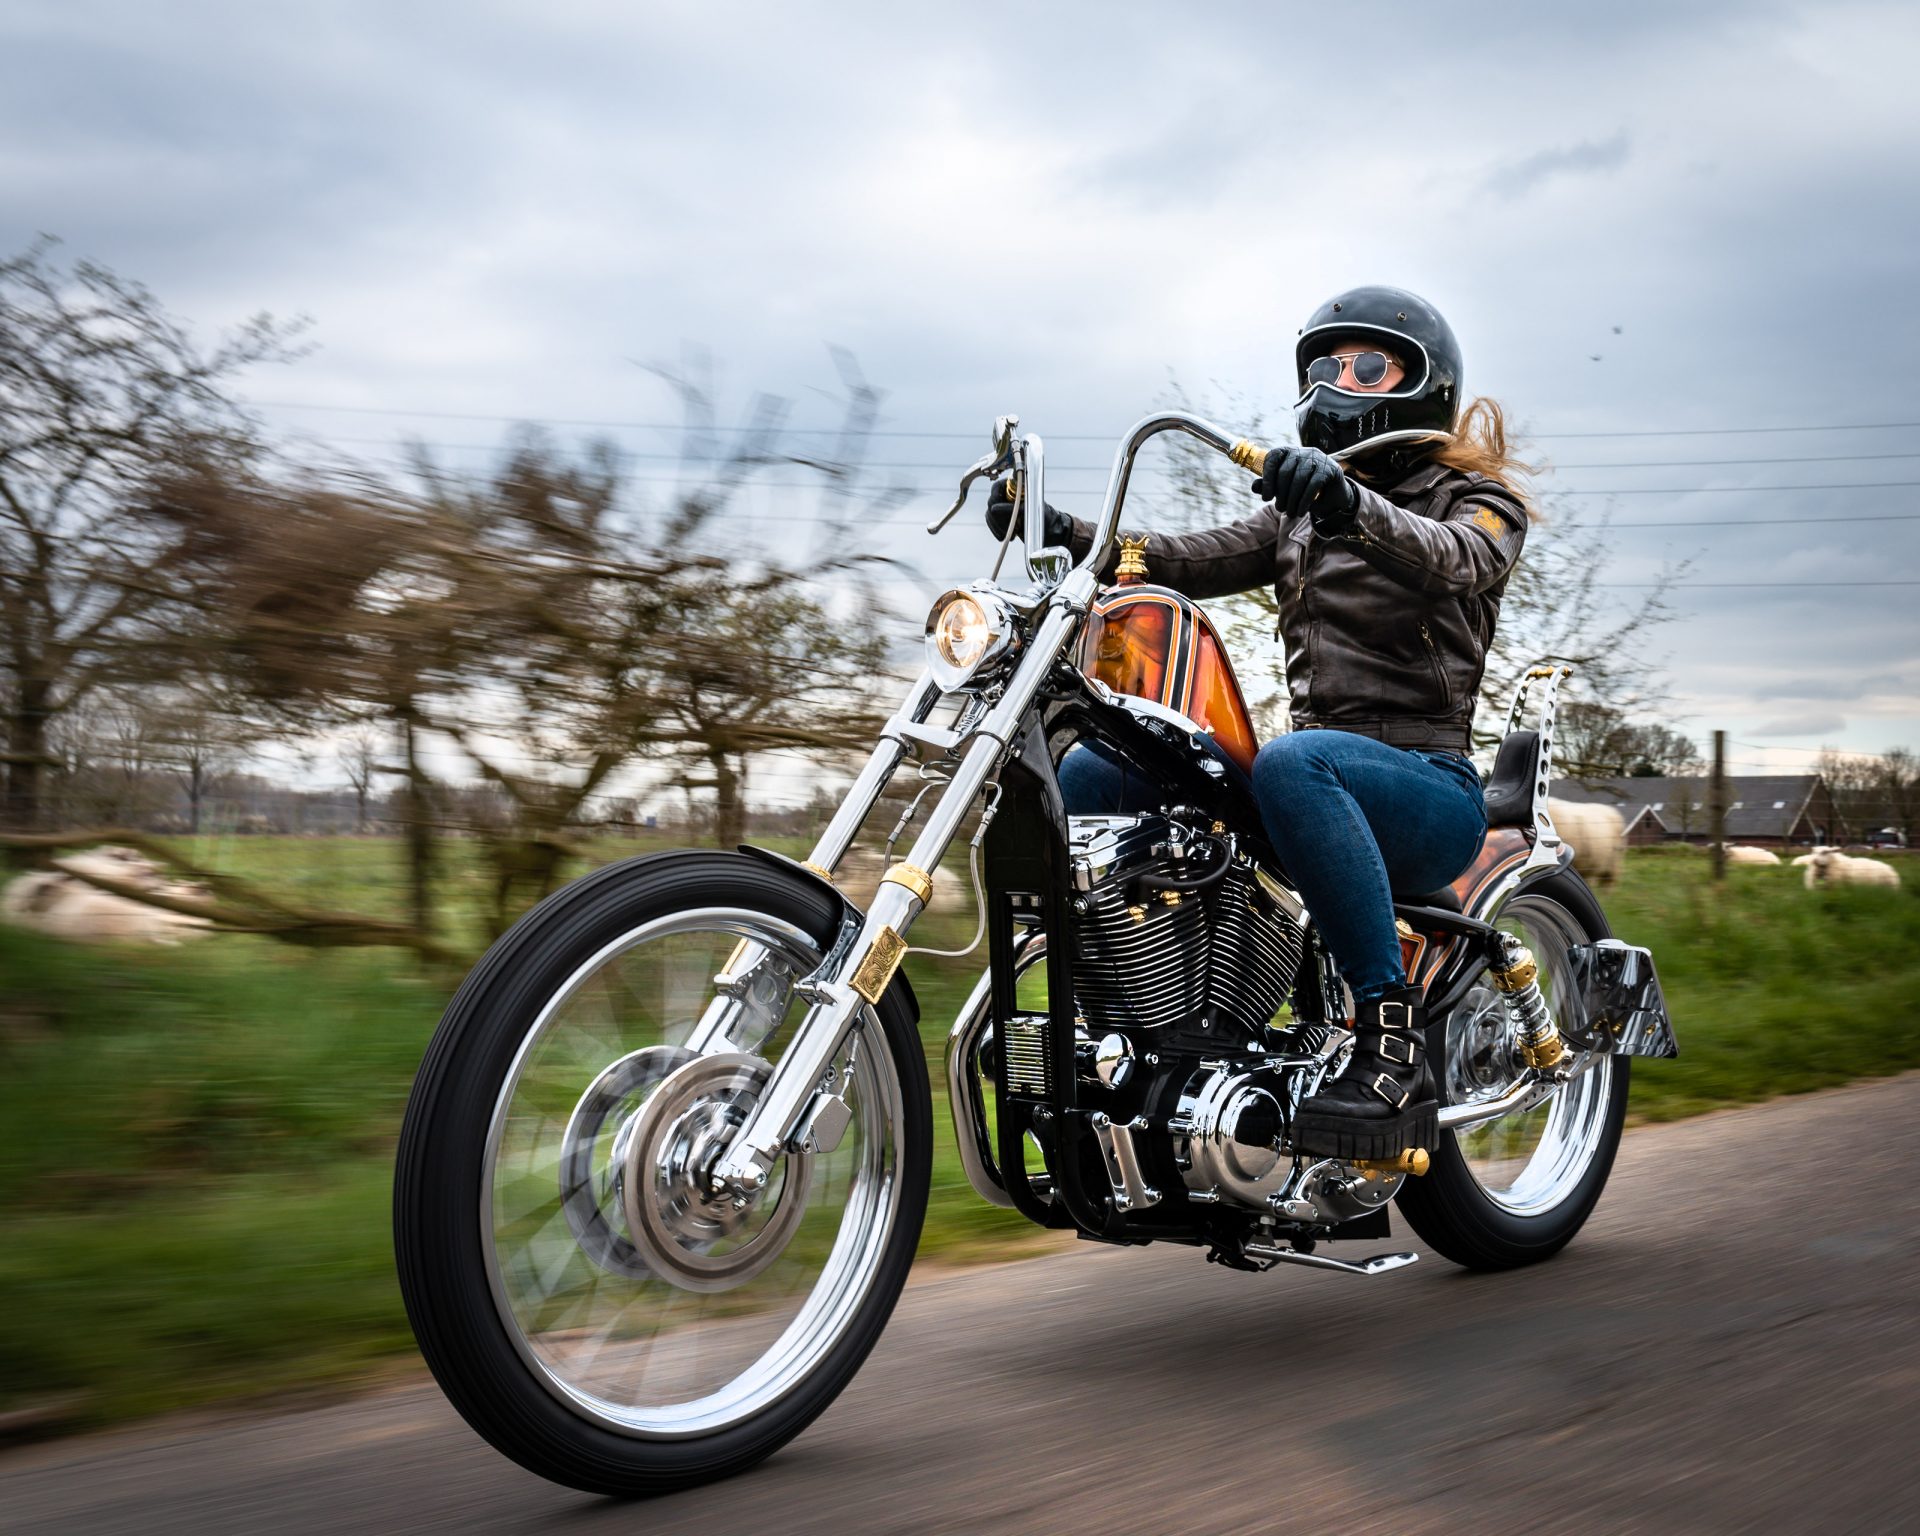
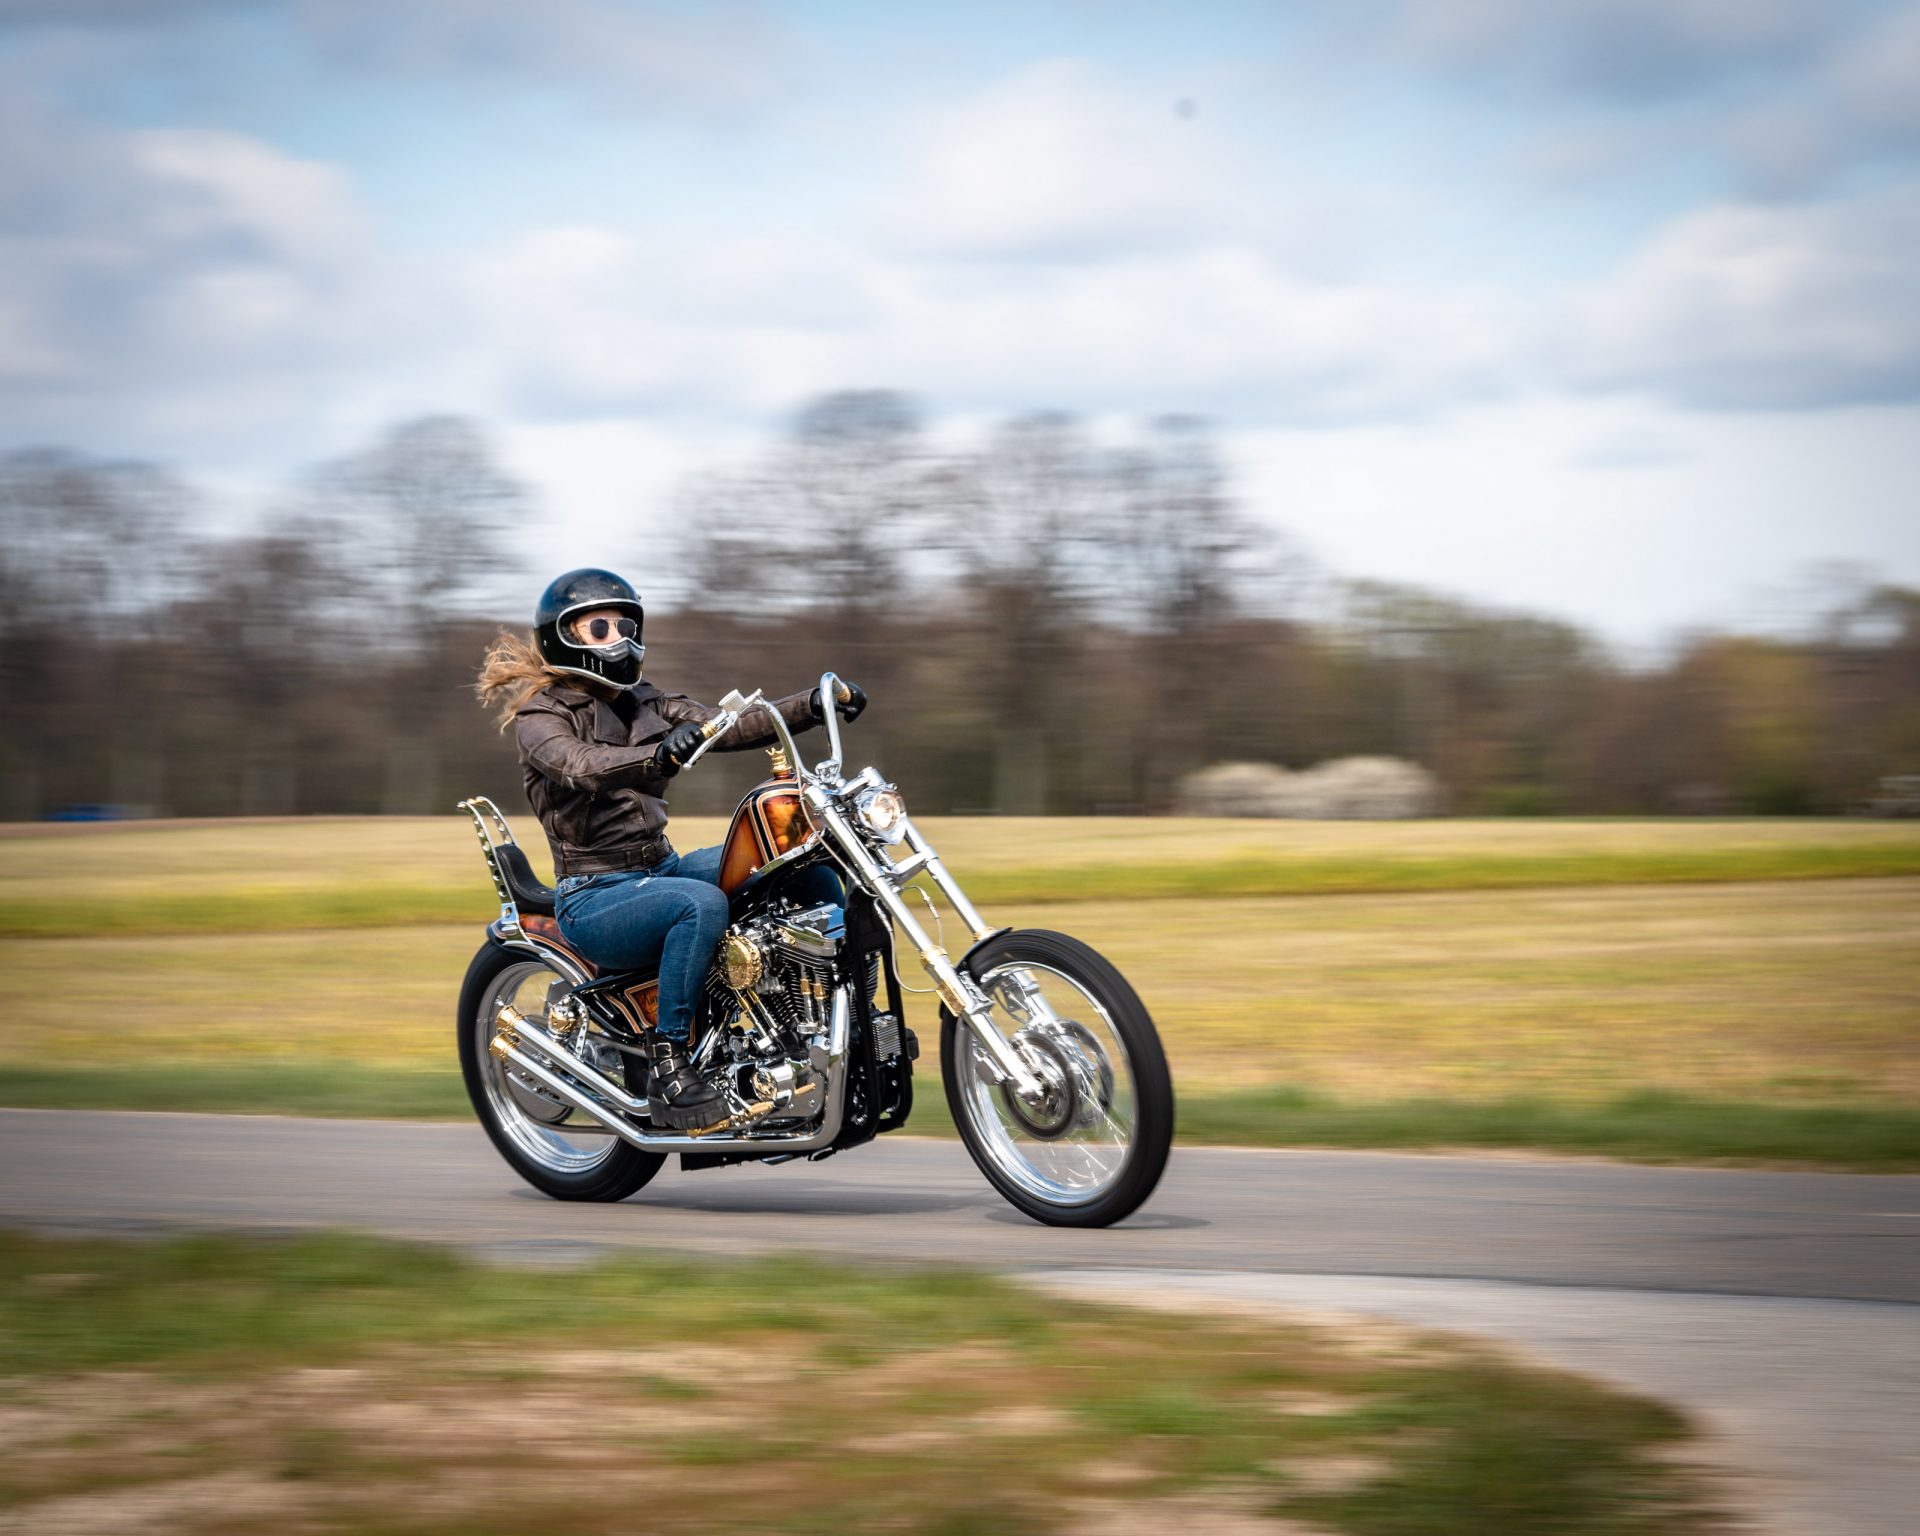
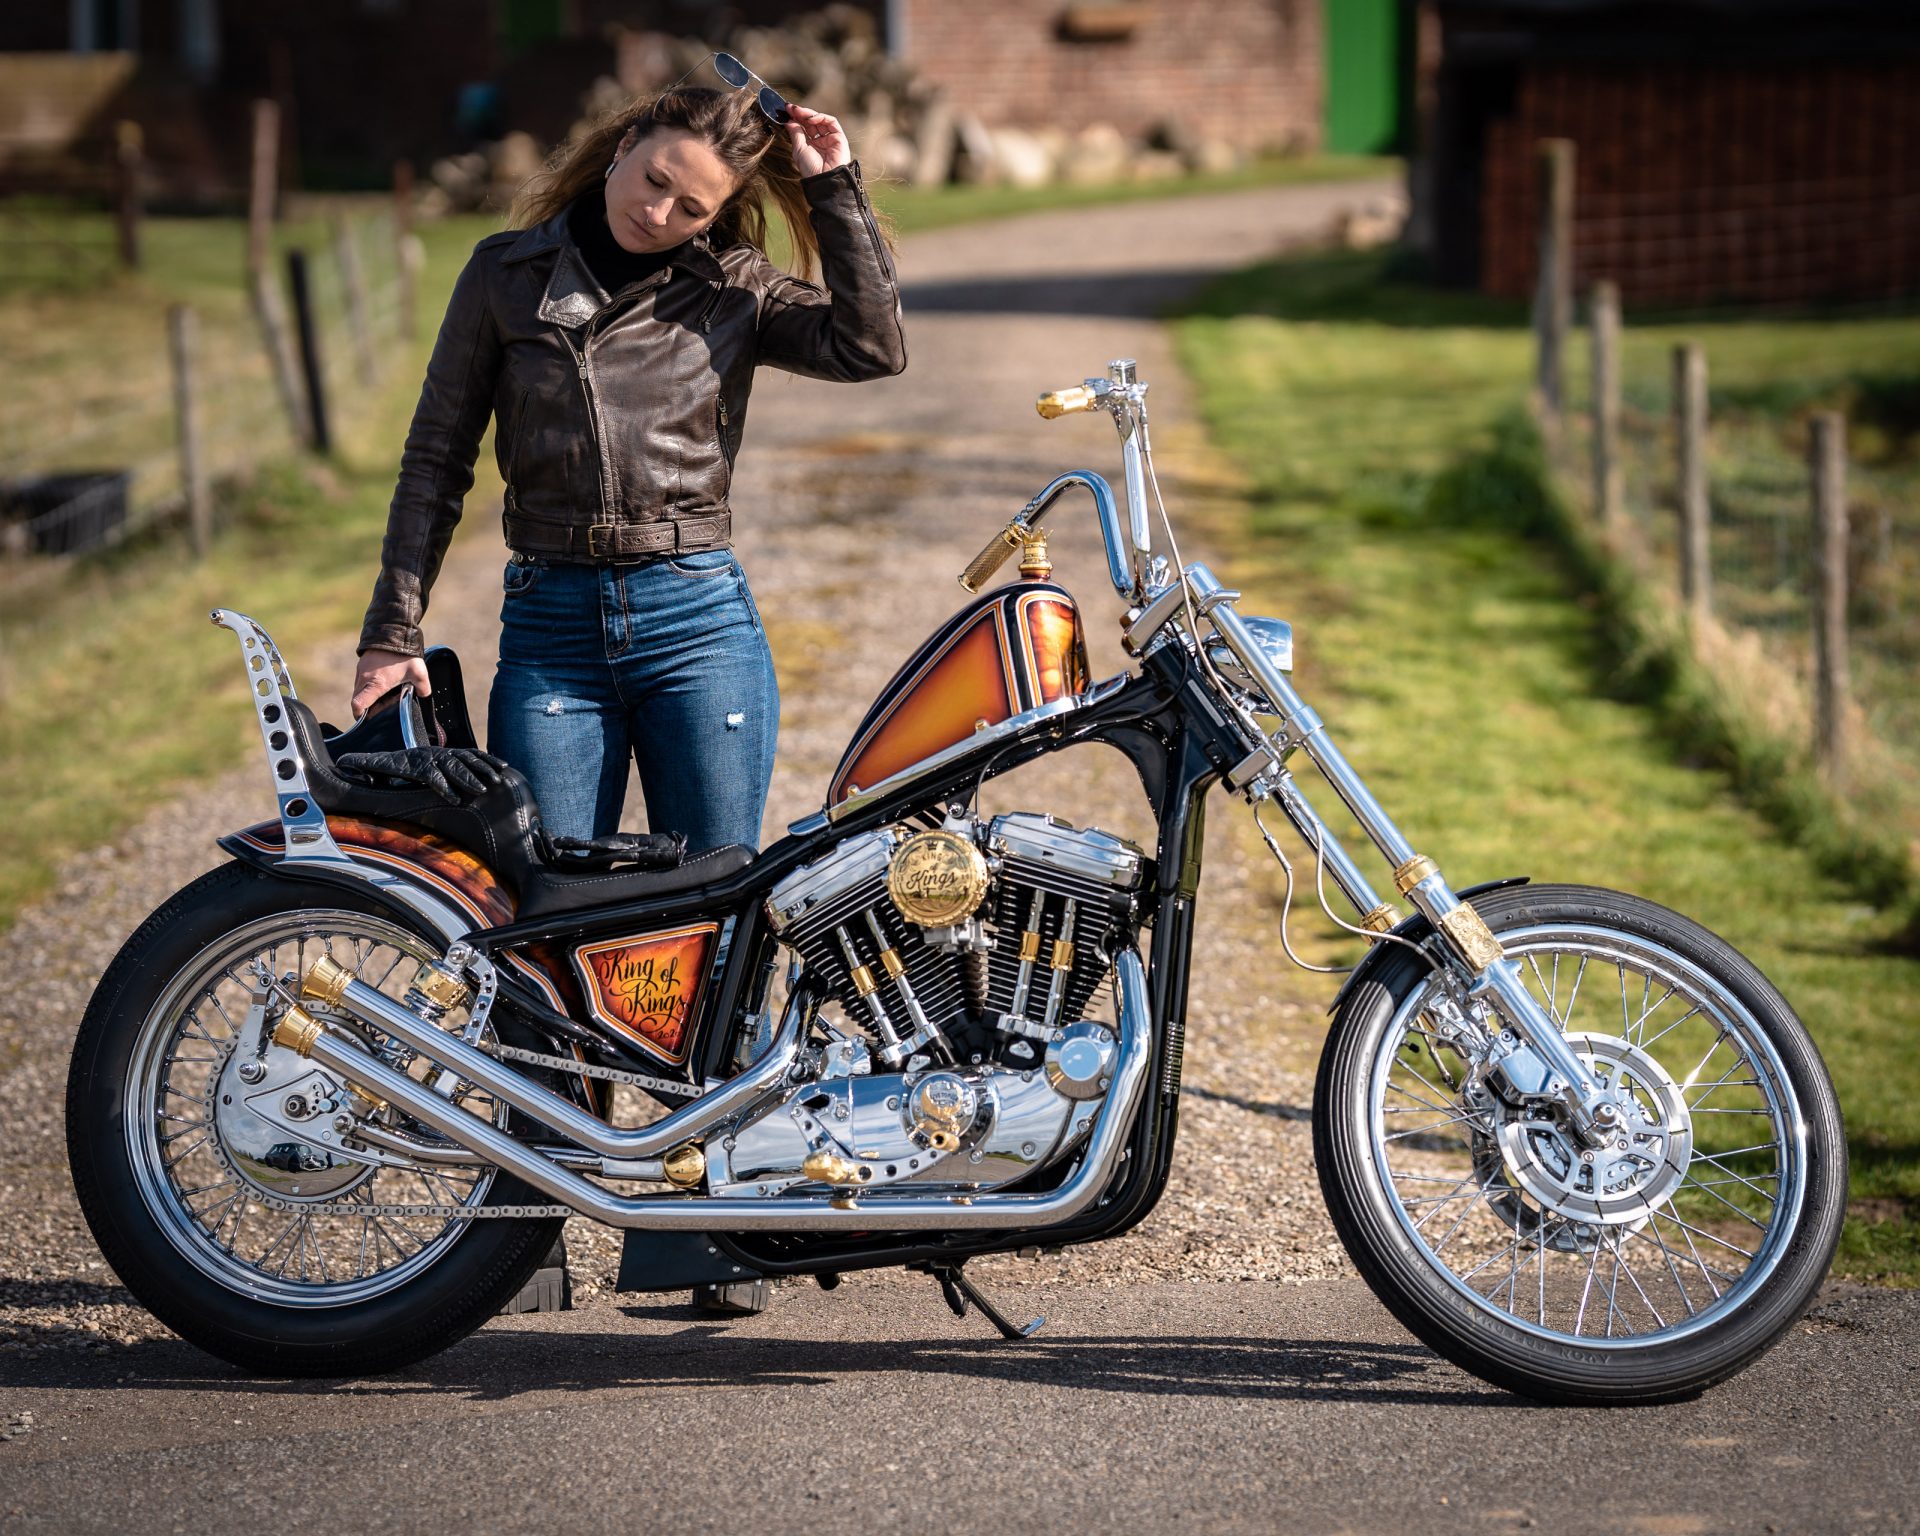
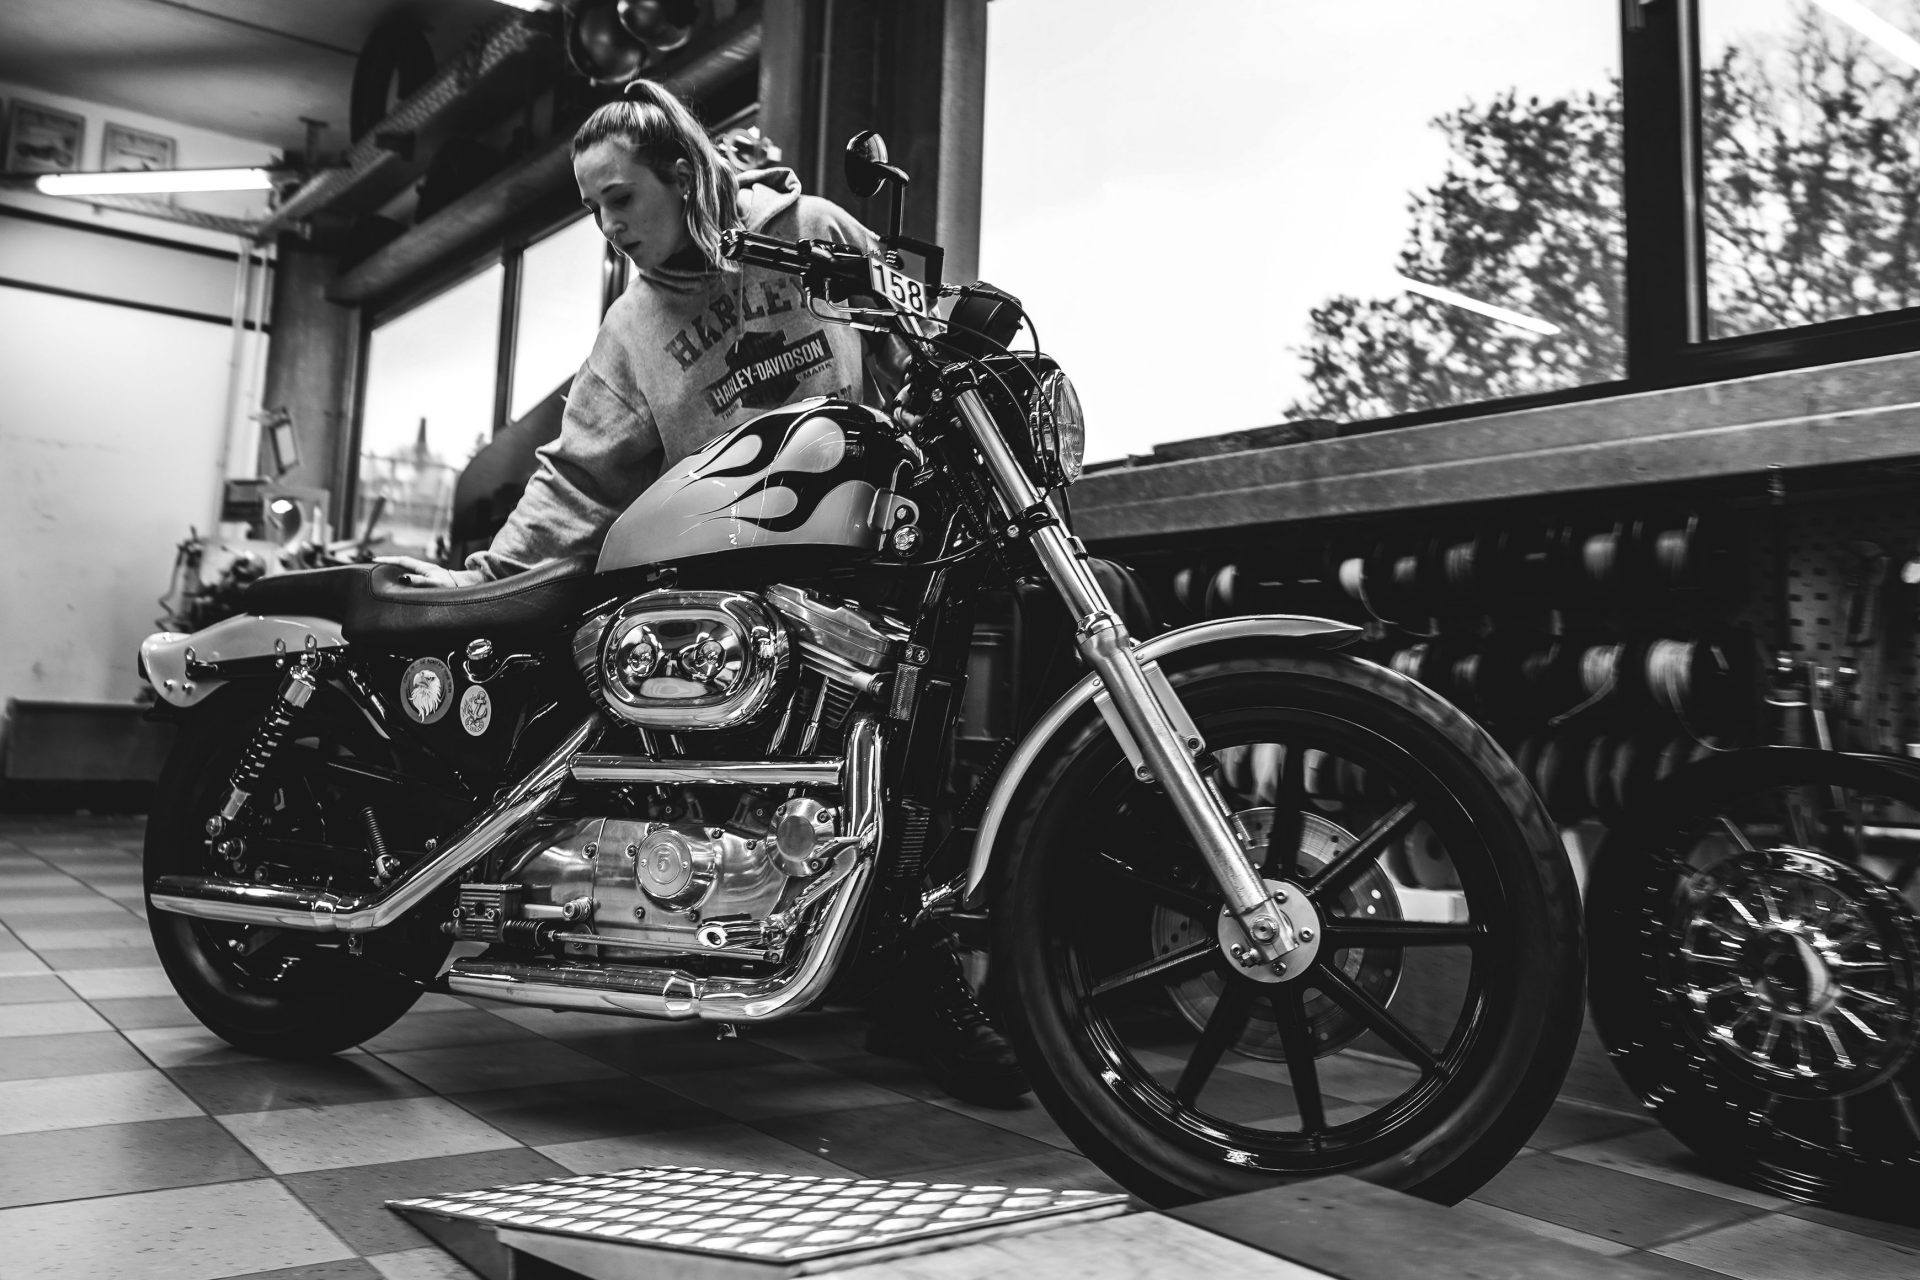
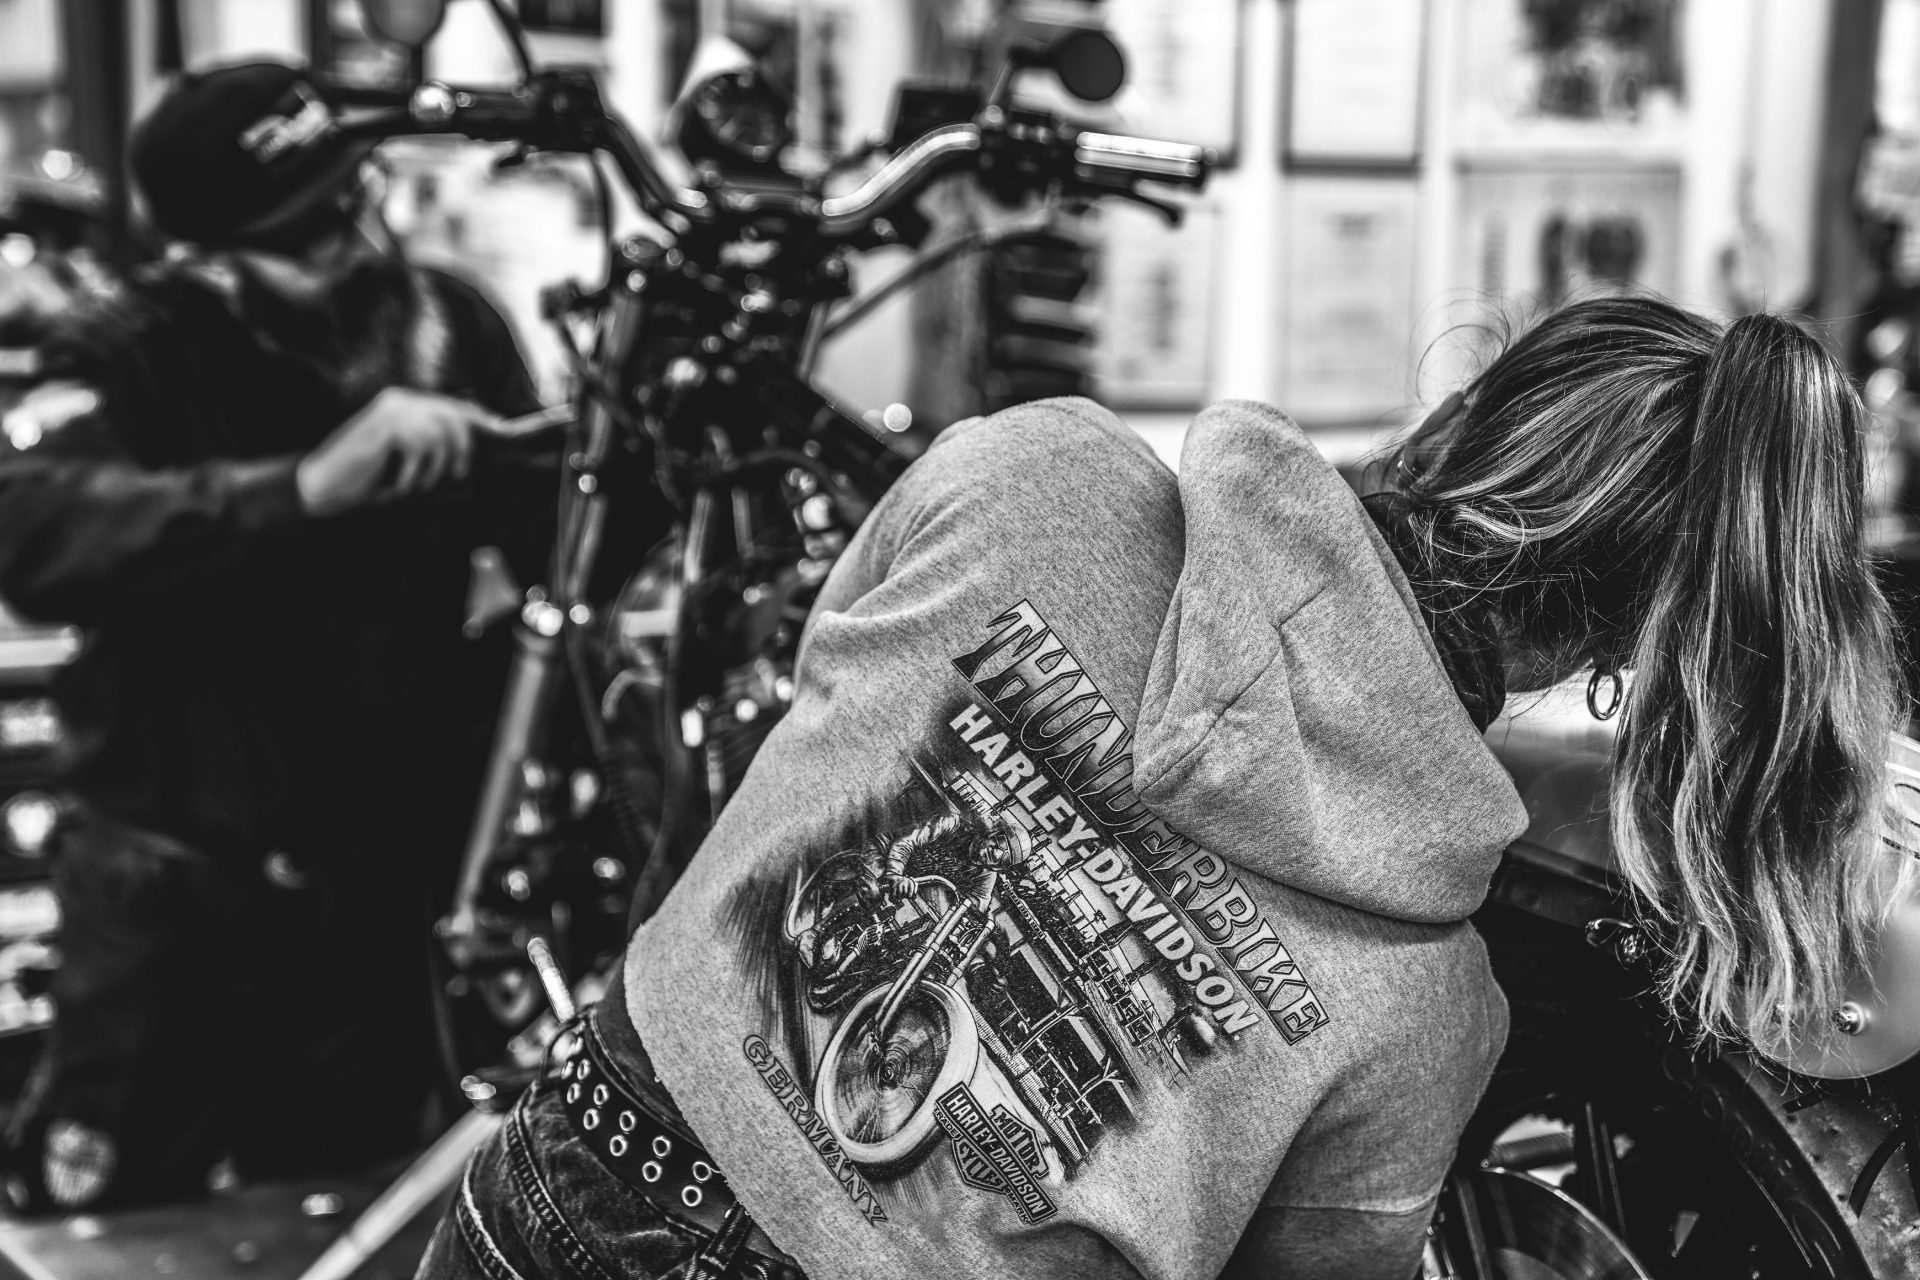
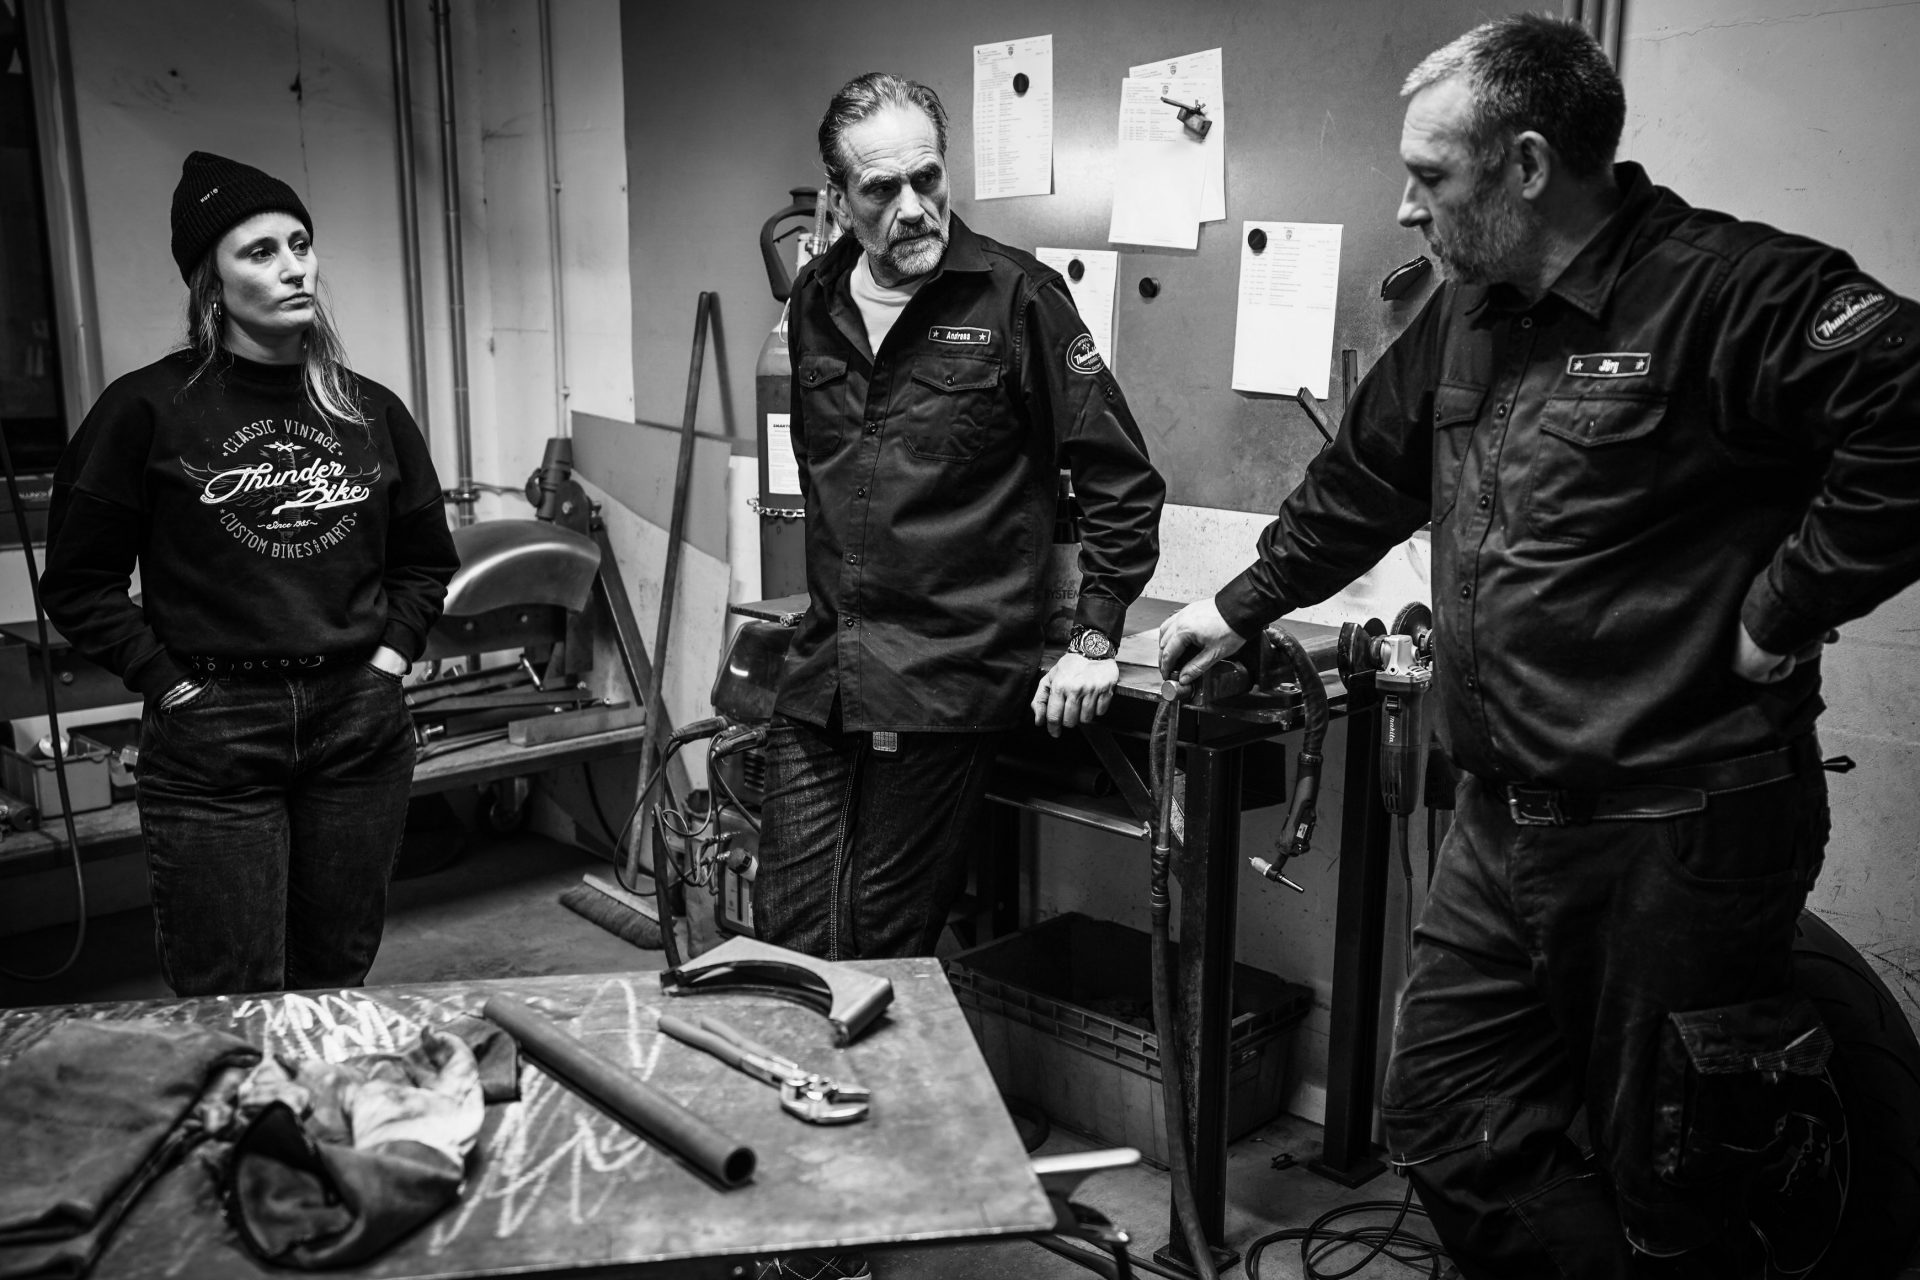
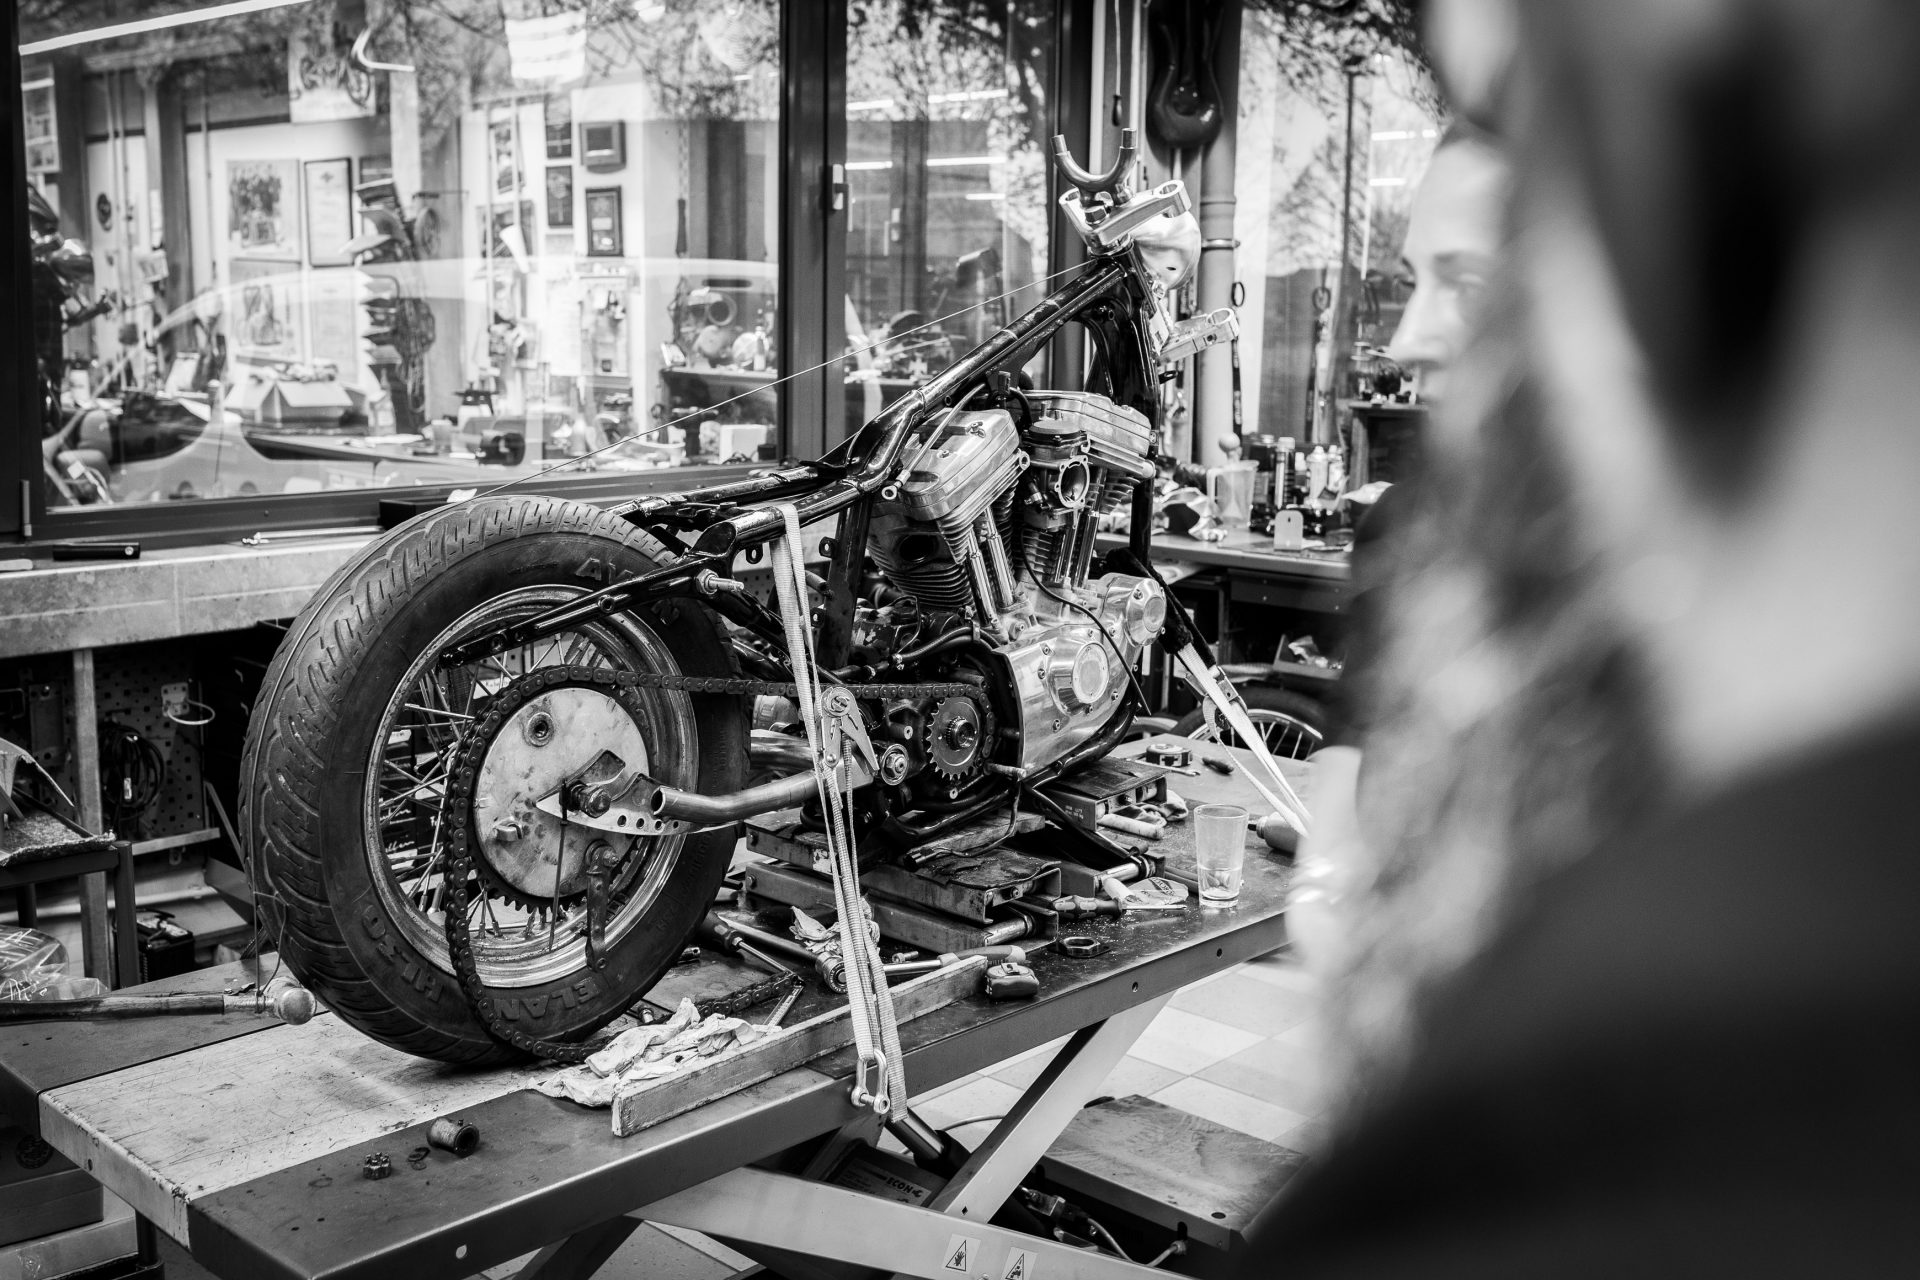
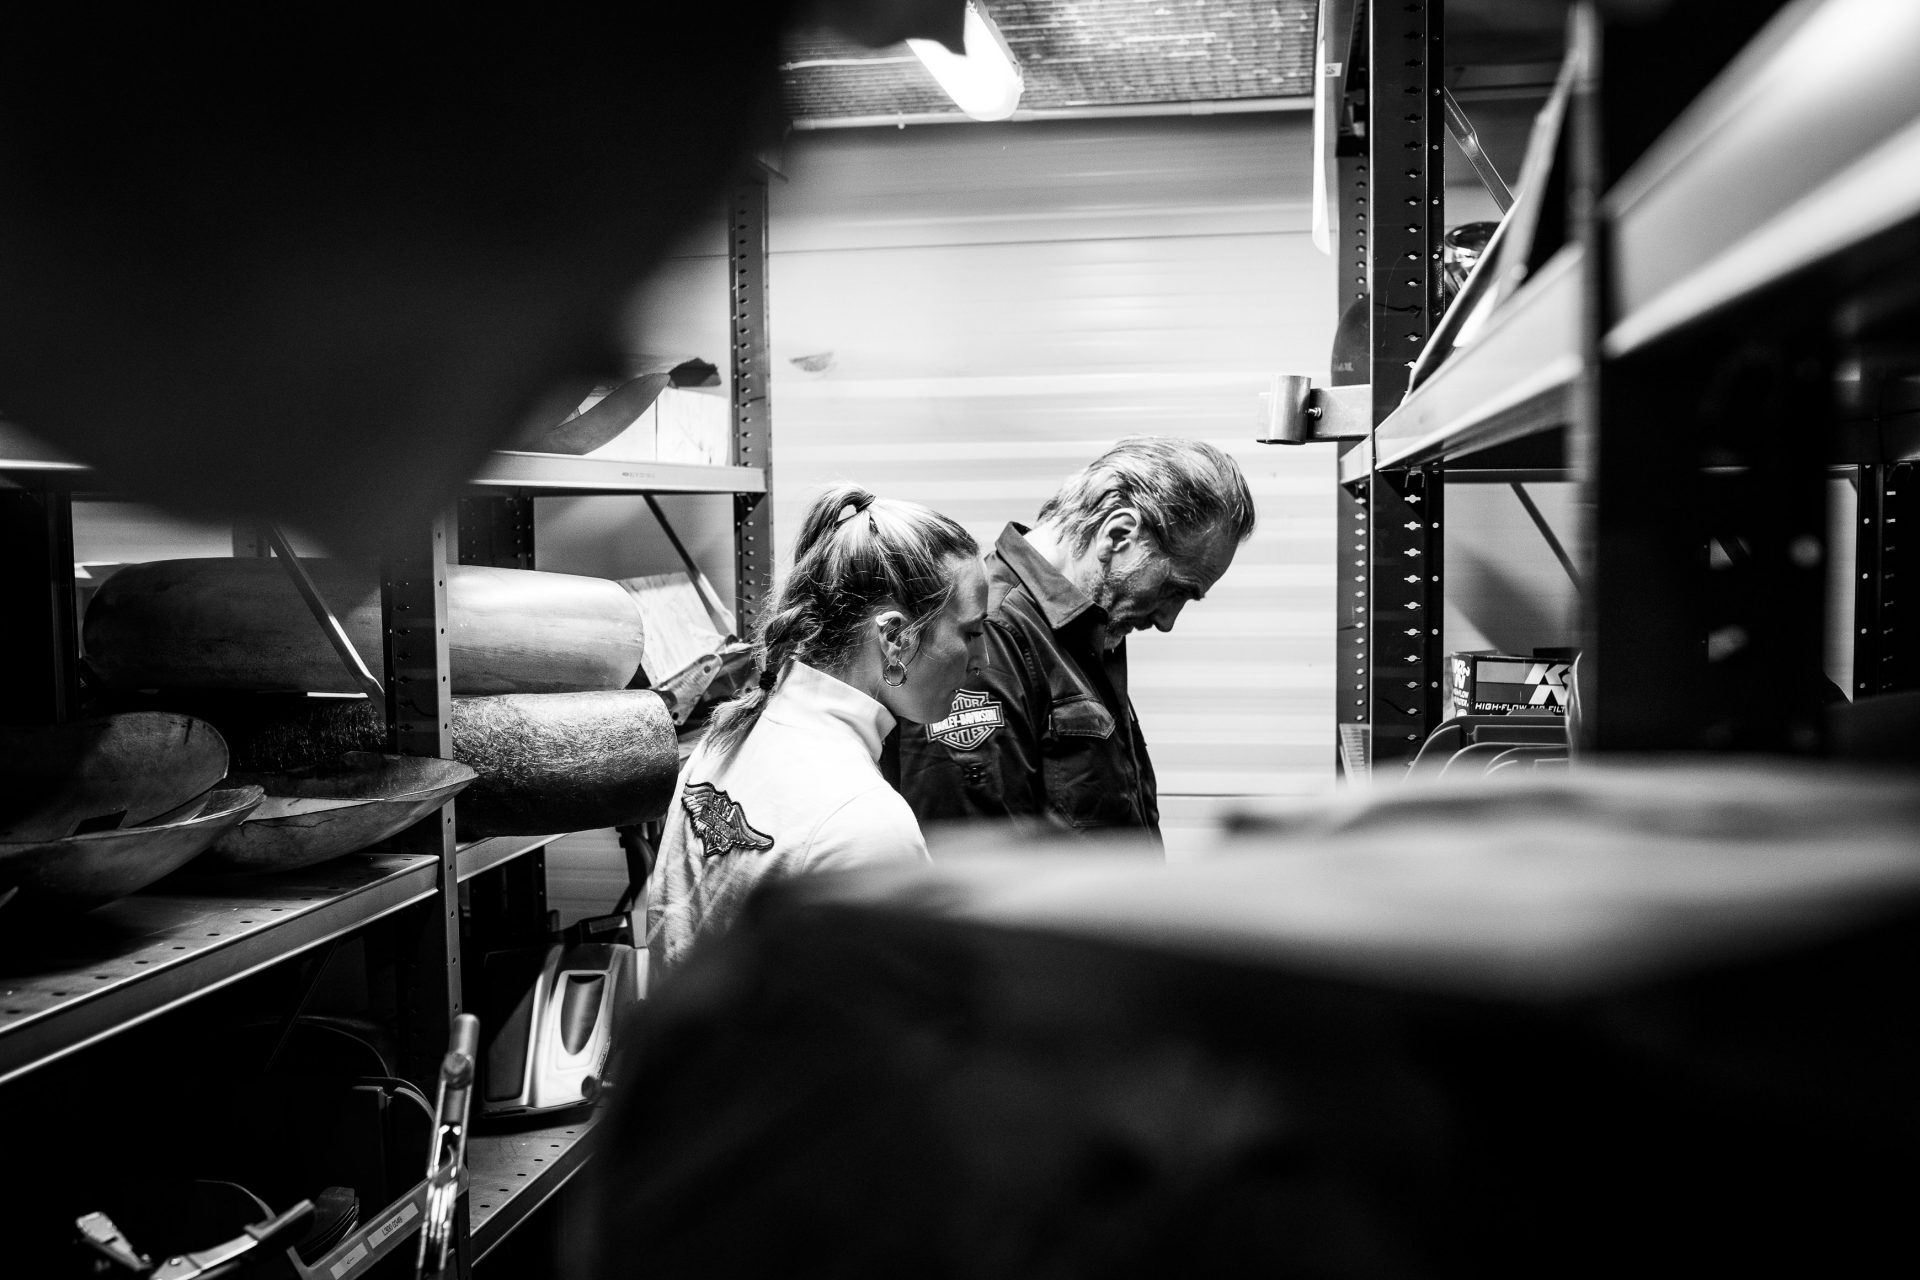
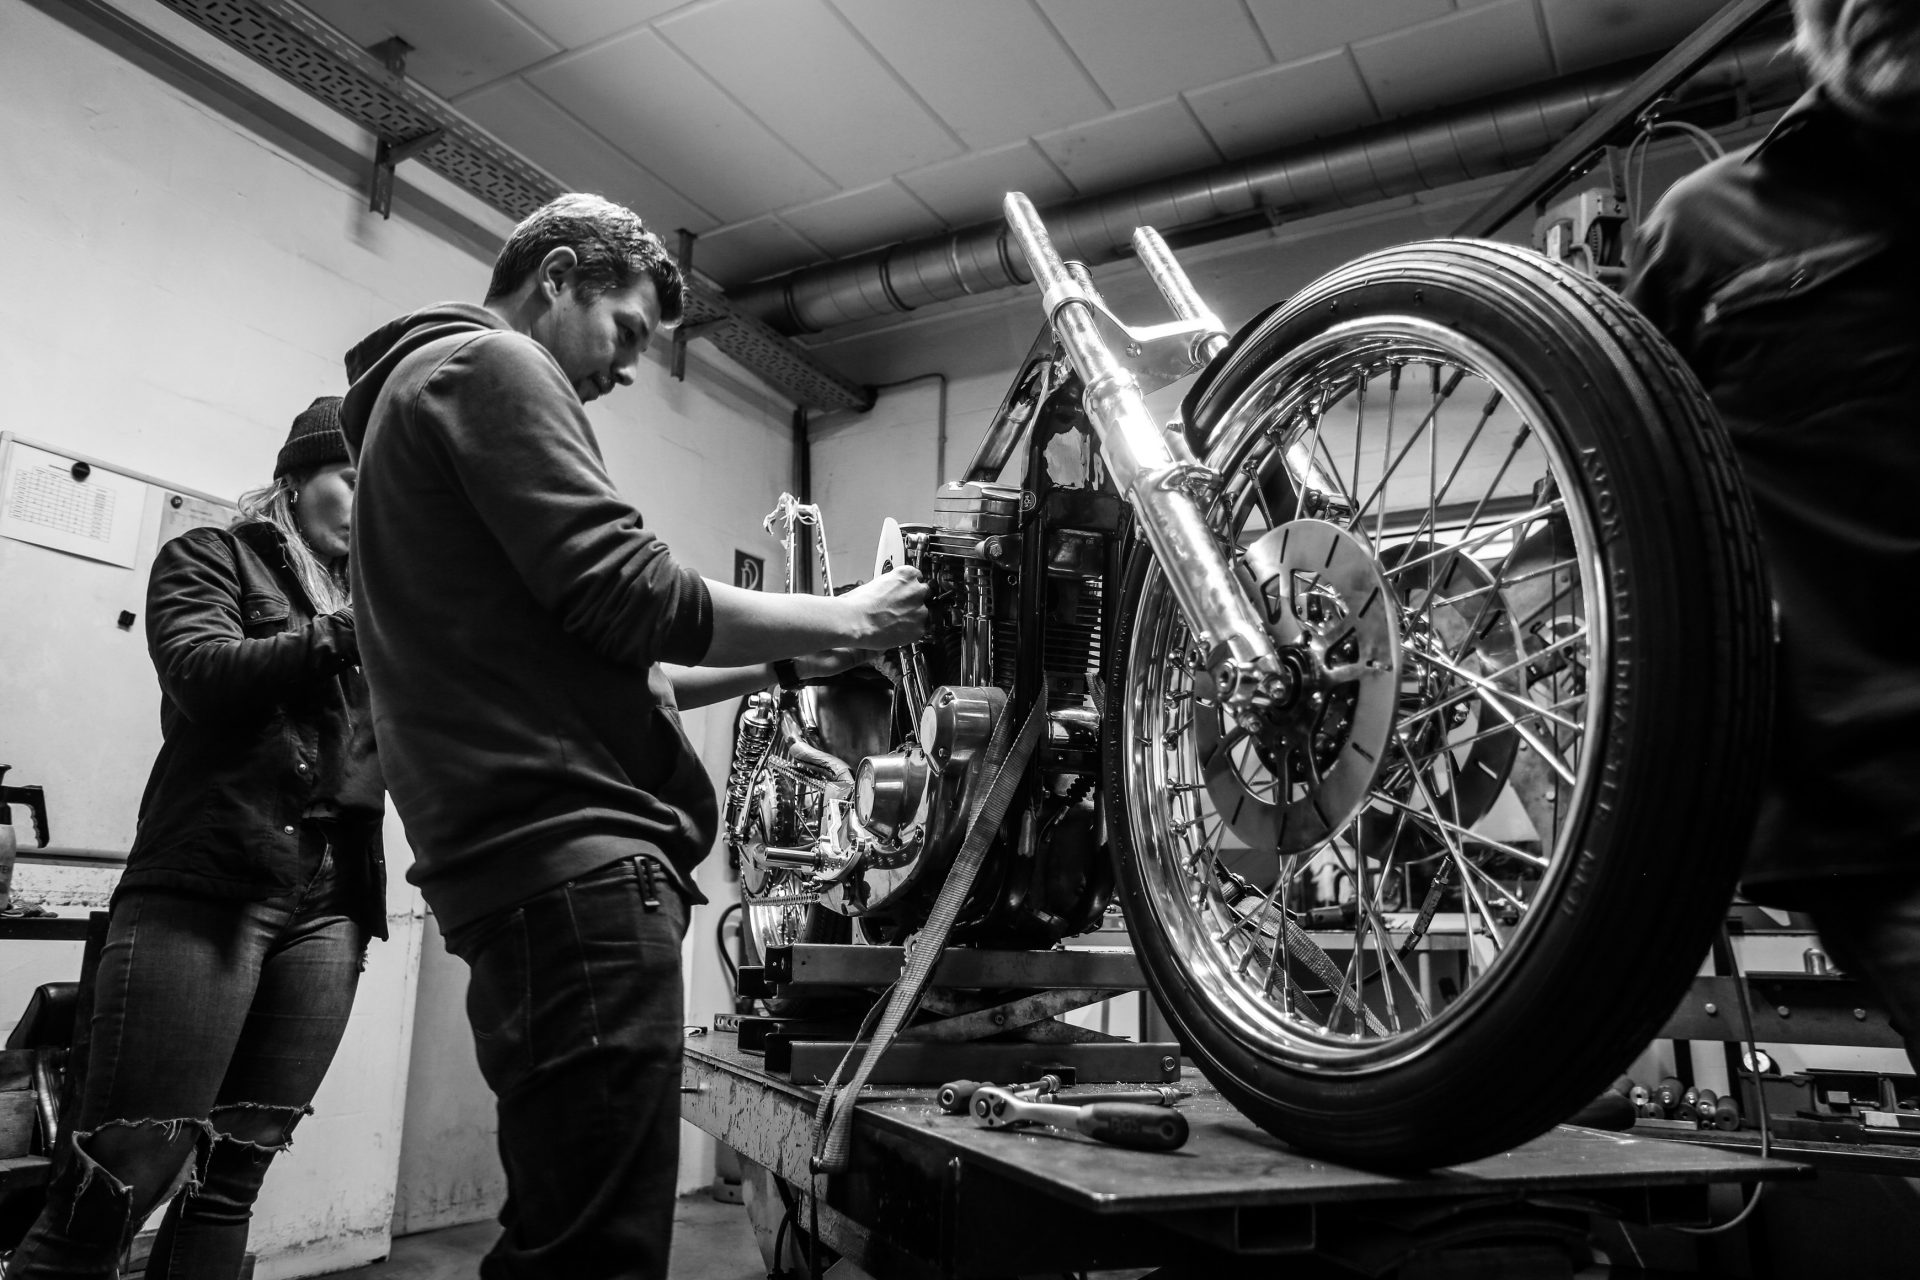
This was the birth of the Emperor, our battle bike based on a 1995 Evo-Sportster. The year of construction is also the birth year of Kim, the daughter of the company founder Andreas Bergerforth.
The bike was mainly built from scratch. The many handmade parts with countless details make this bike a unique, absolute top class Sportster.
Highlights such as the fork, handlebars, fuel tank, oil tank, seat, sissybar, fenders, struts, exhaust and shifter, as well as the unique swingarm and the completely revised engine with an automatic clutch. All truly unique parts that have not been built like this before.

By loading the video you accept the privacy policy of YouTube.
Mehr erfahren
By loading the video you accept the privacy policy of YouTube.
Mehr erfahren
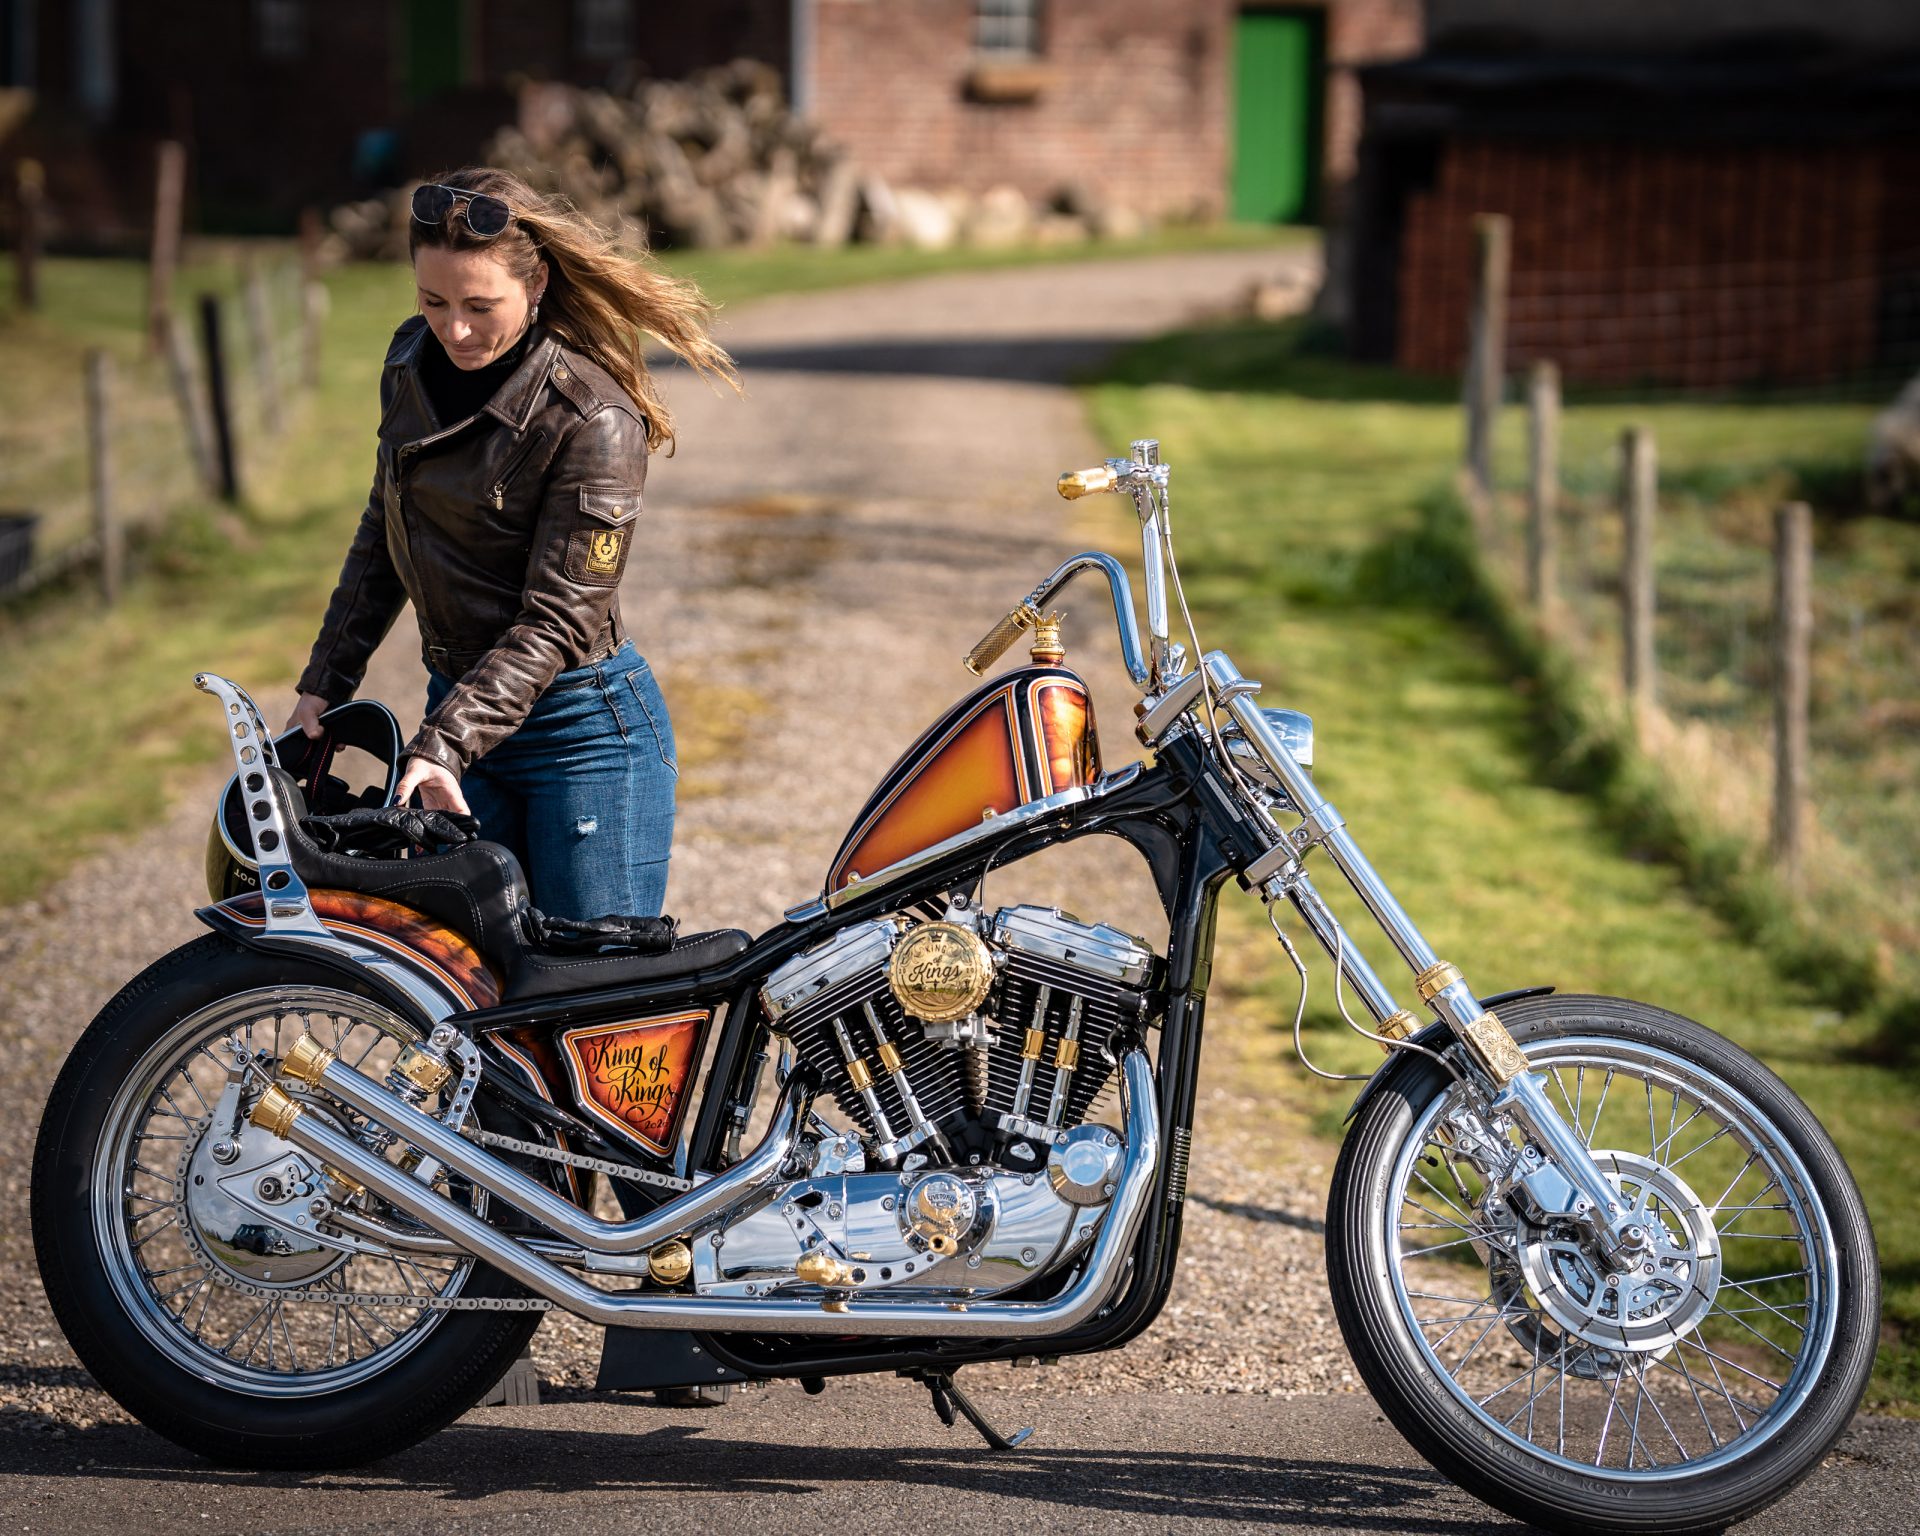
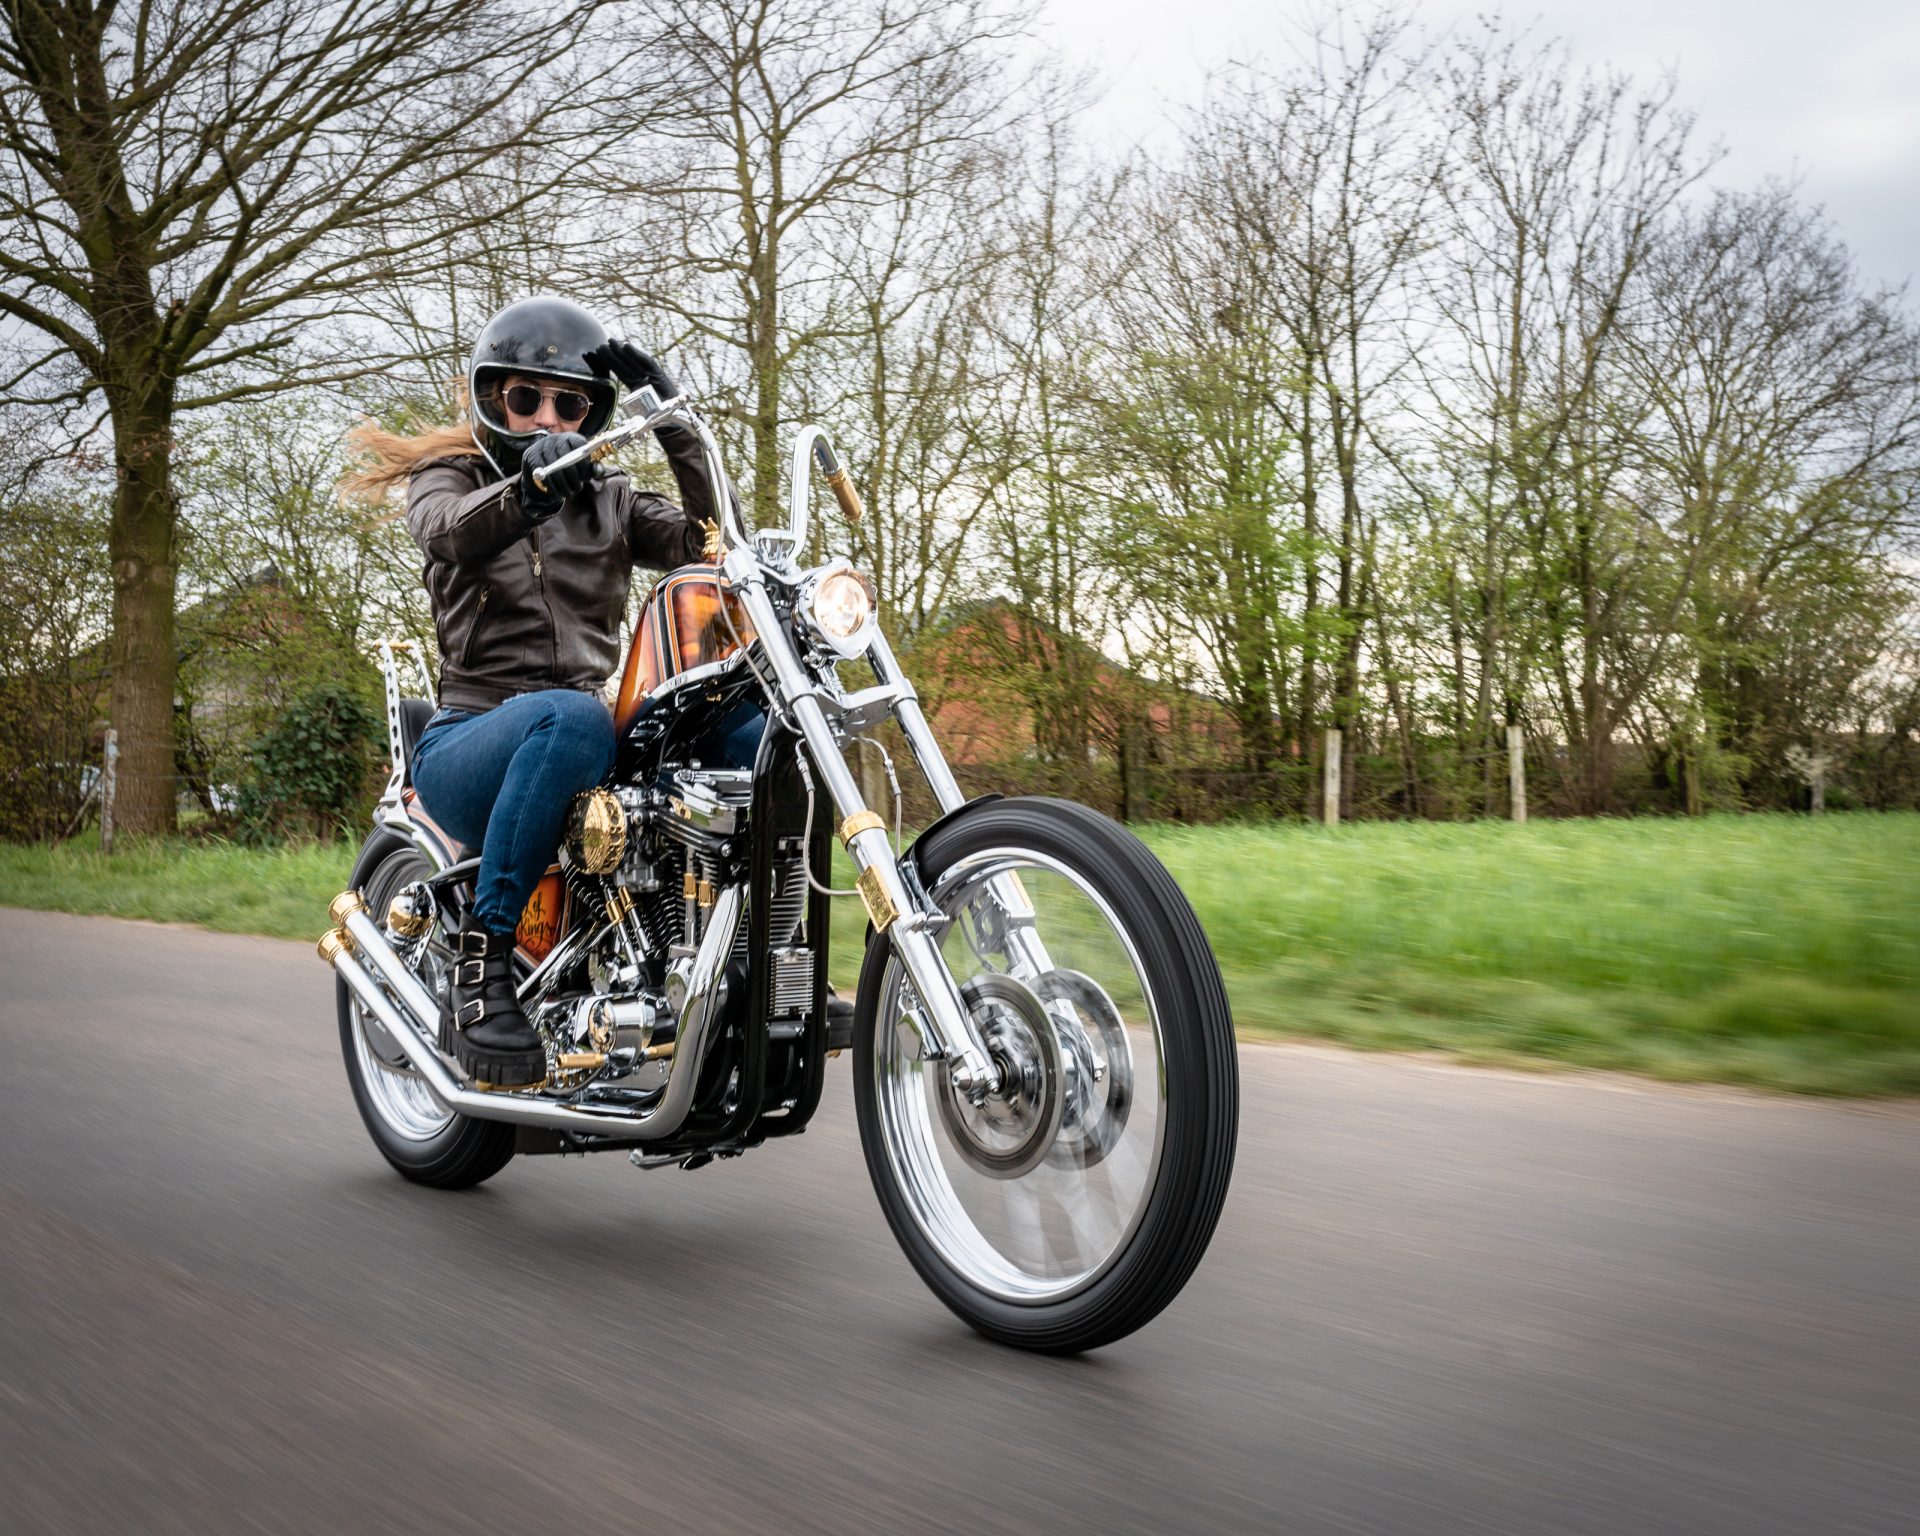
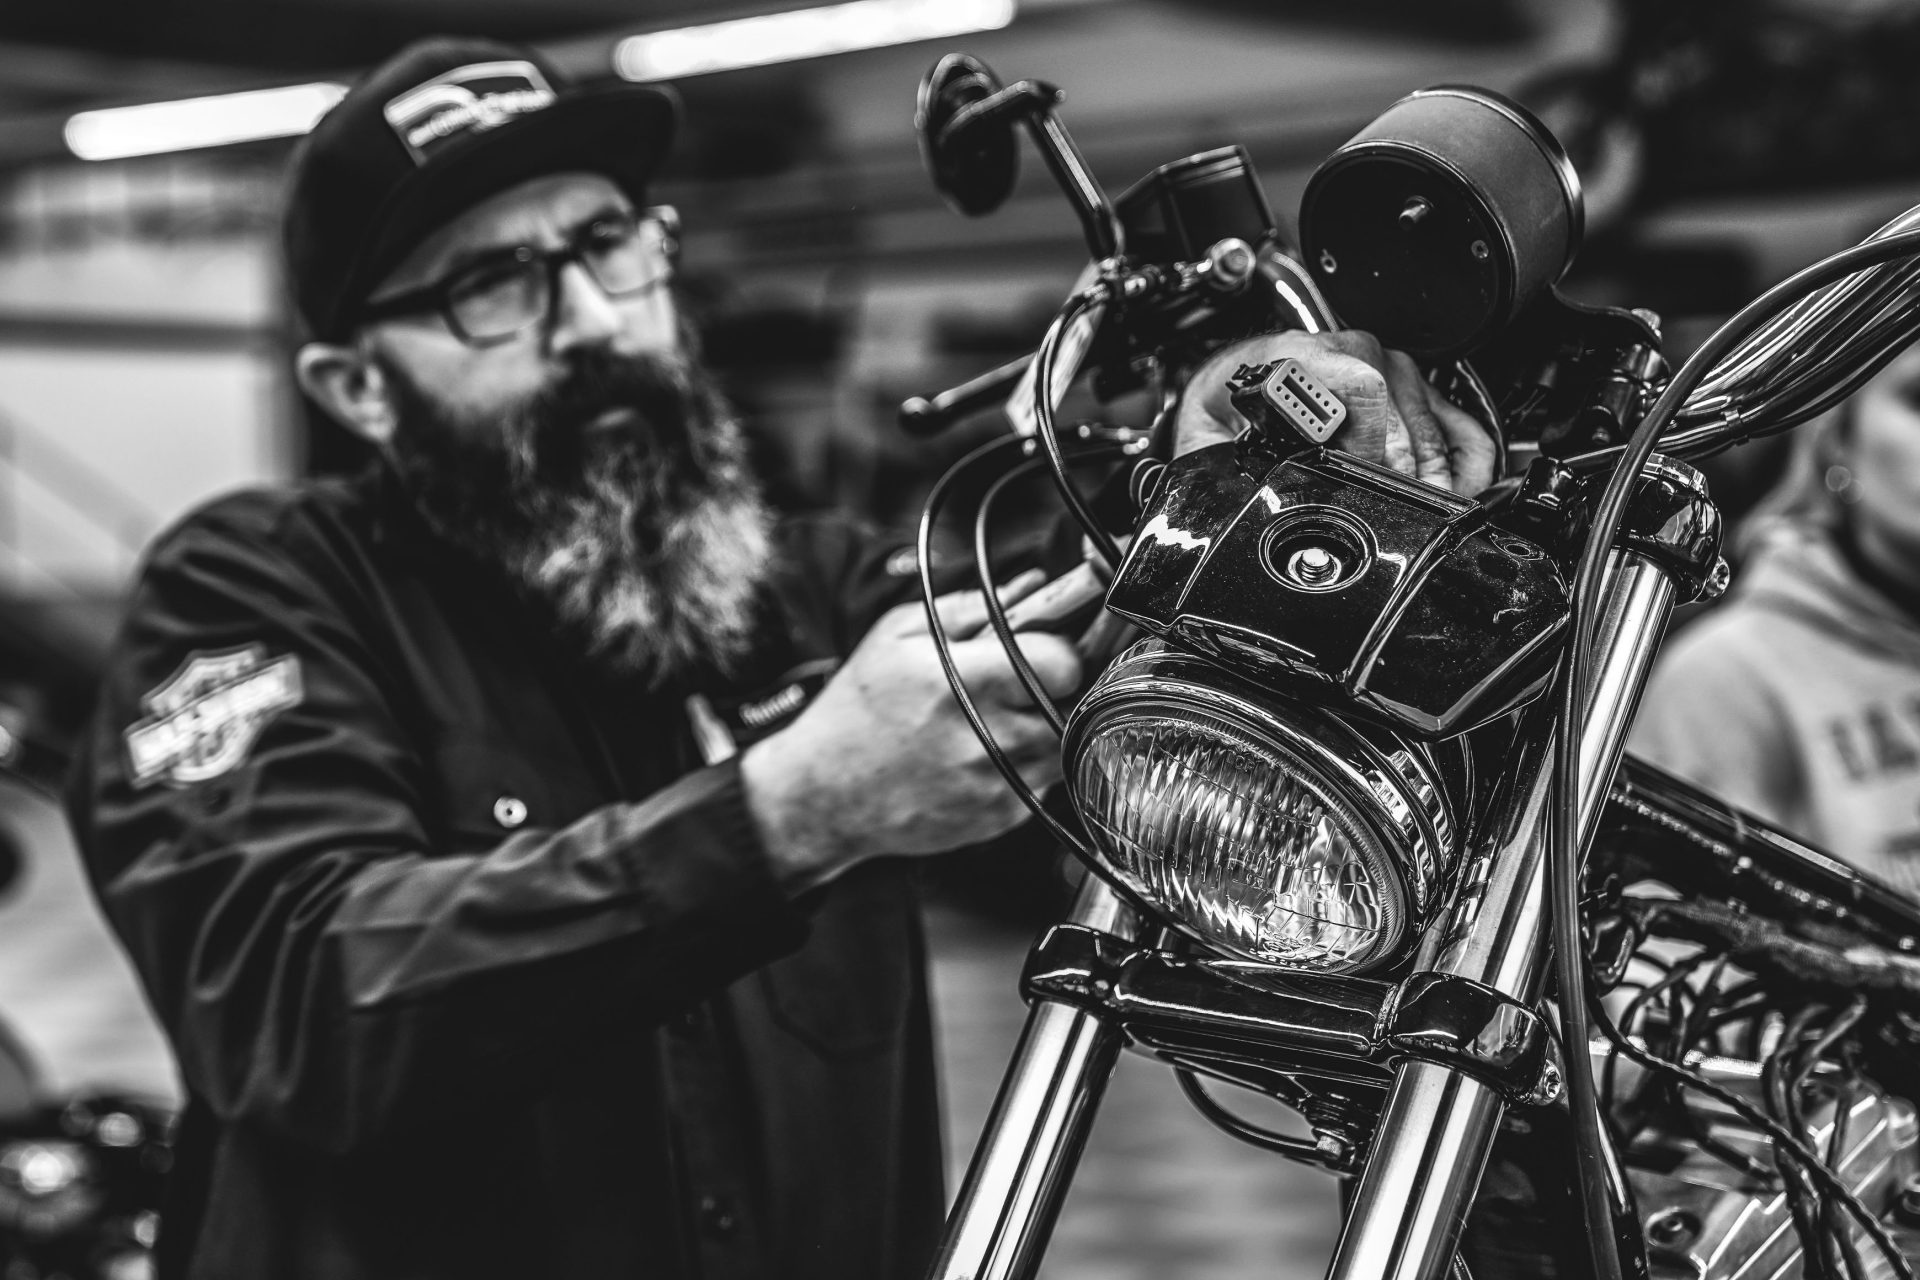
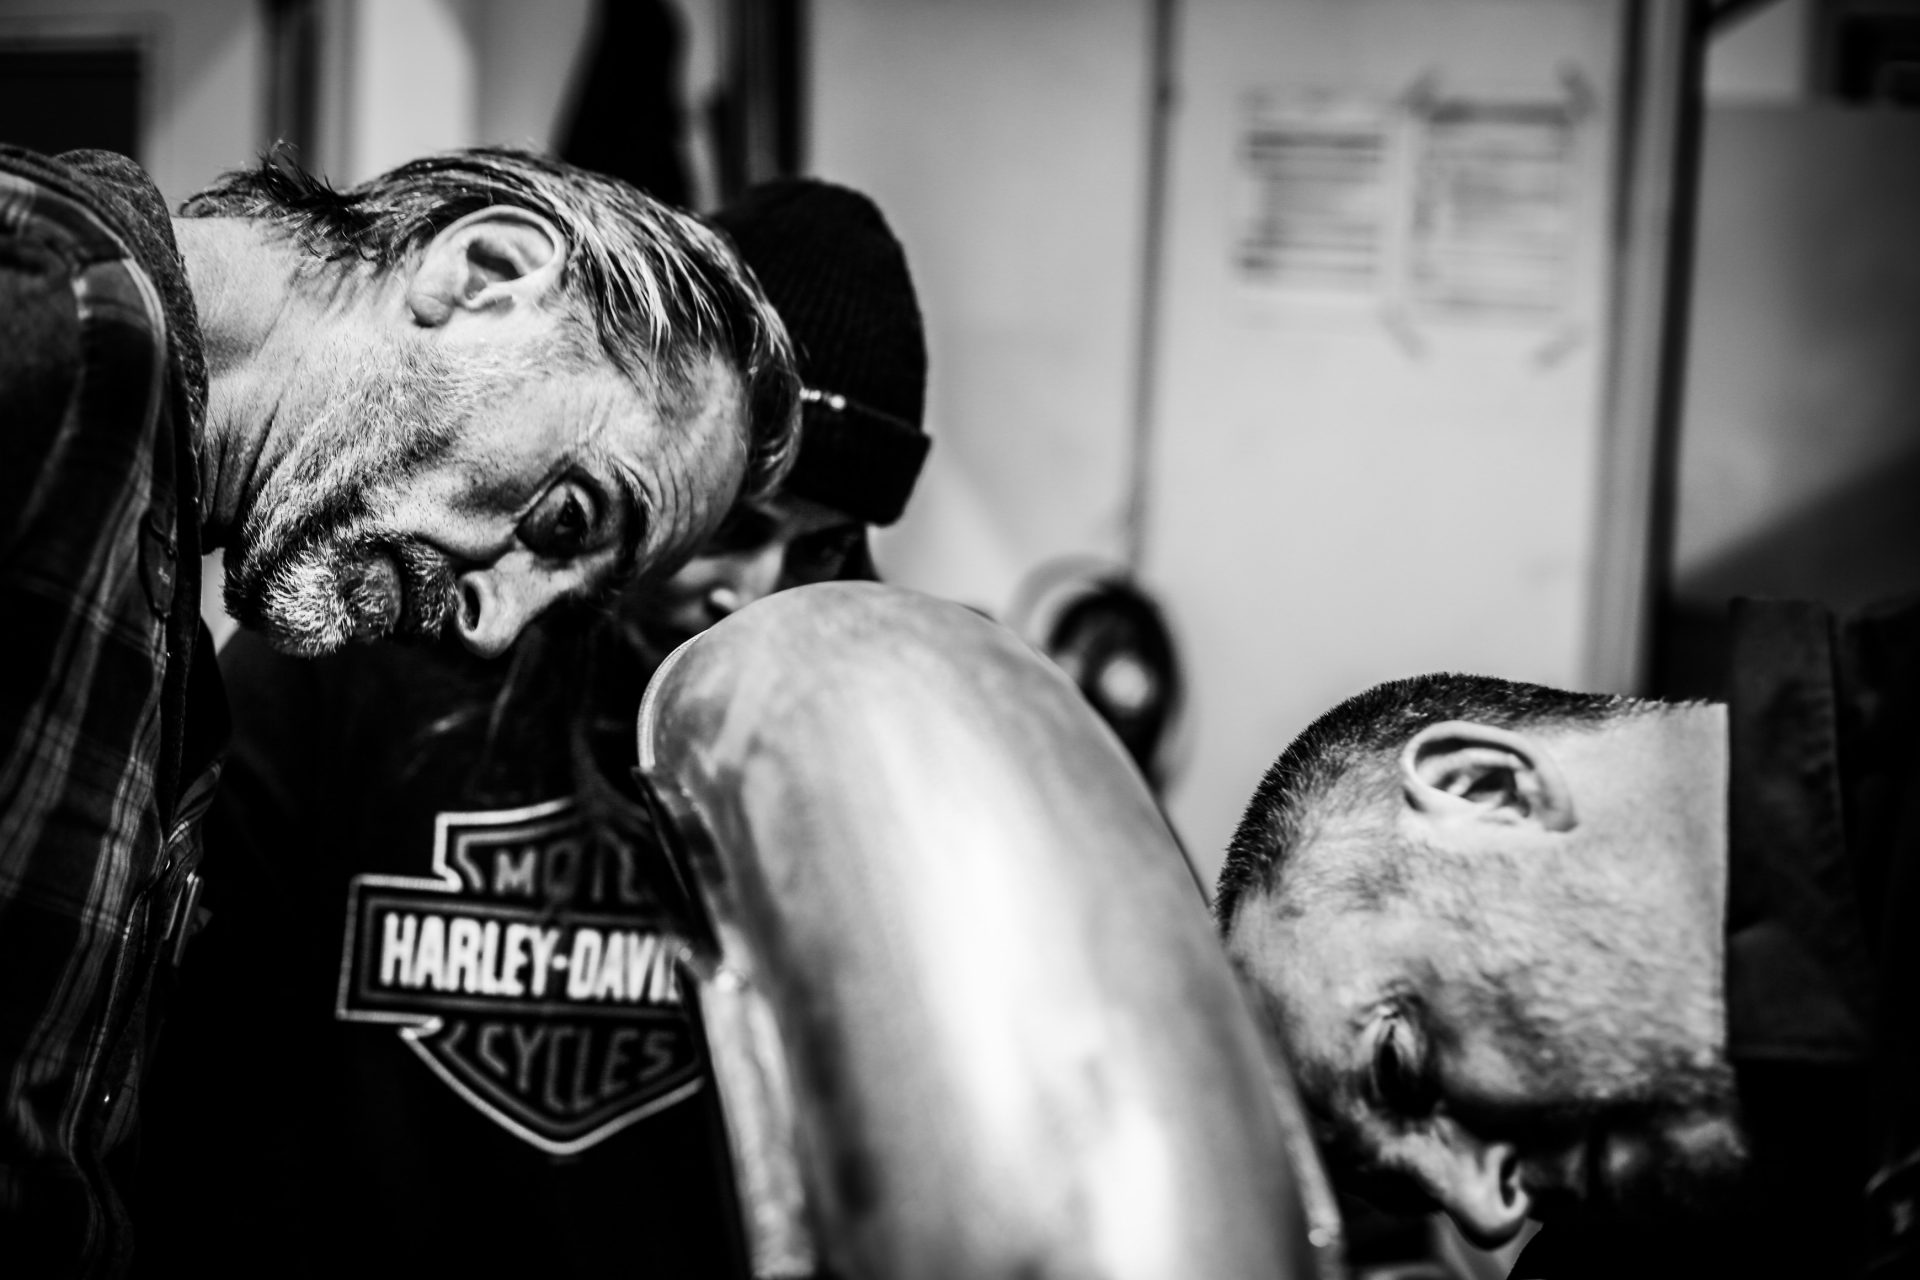
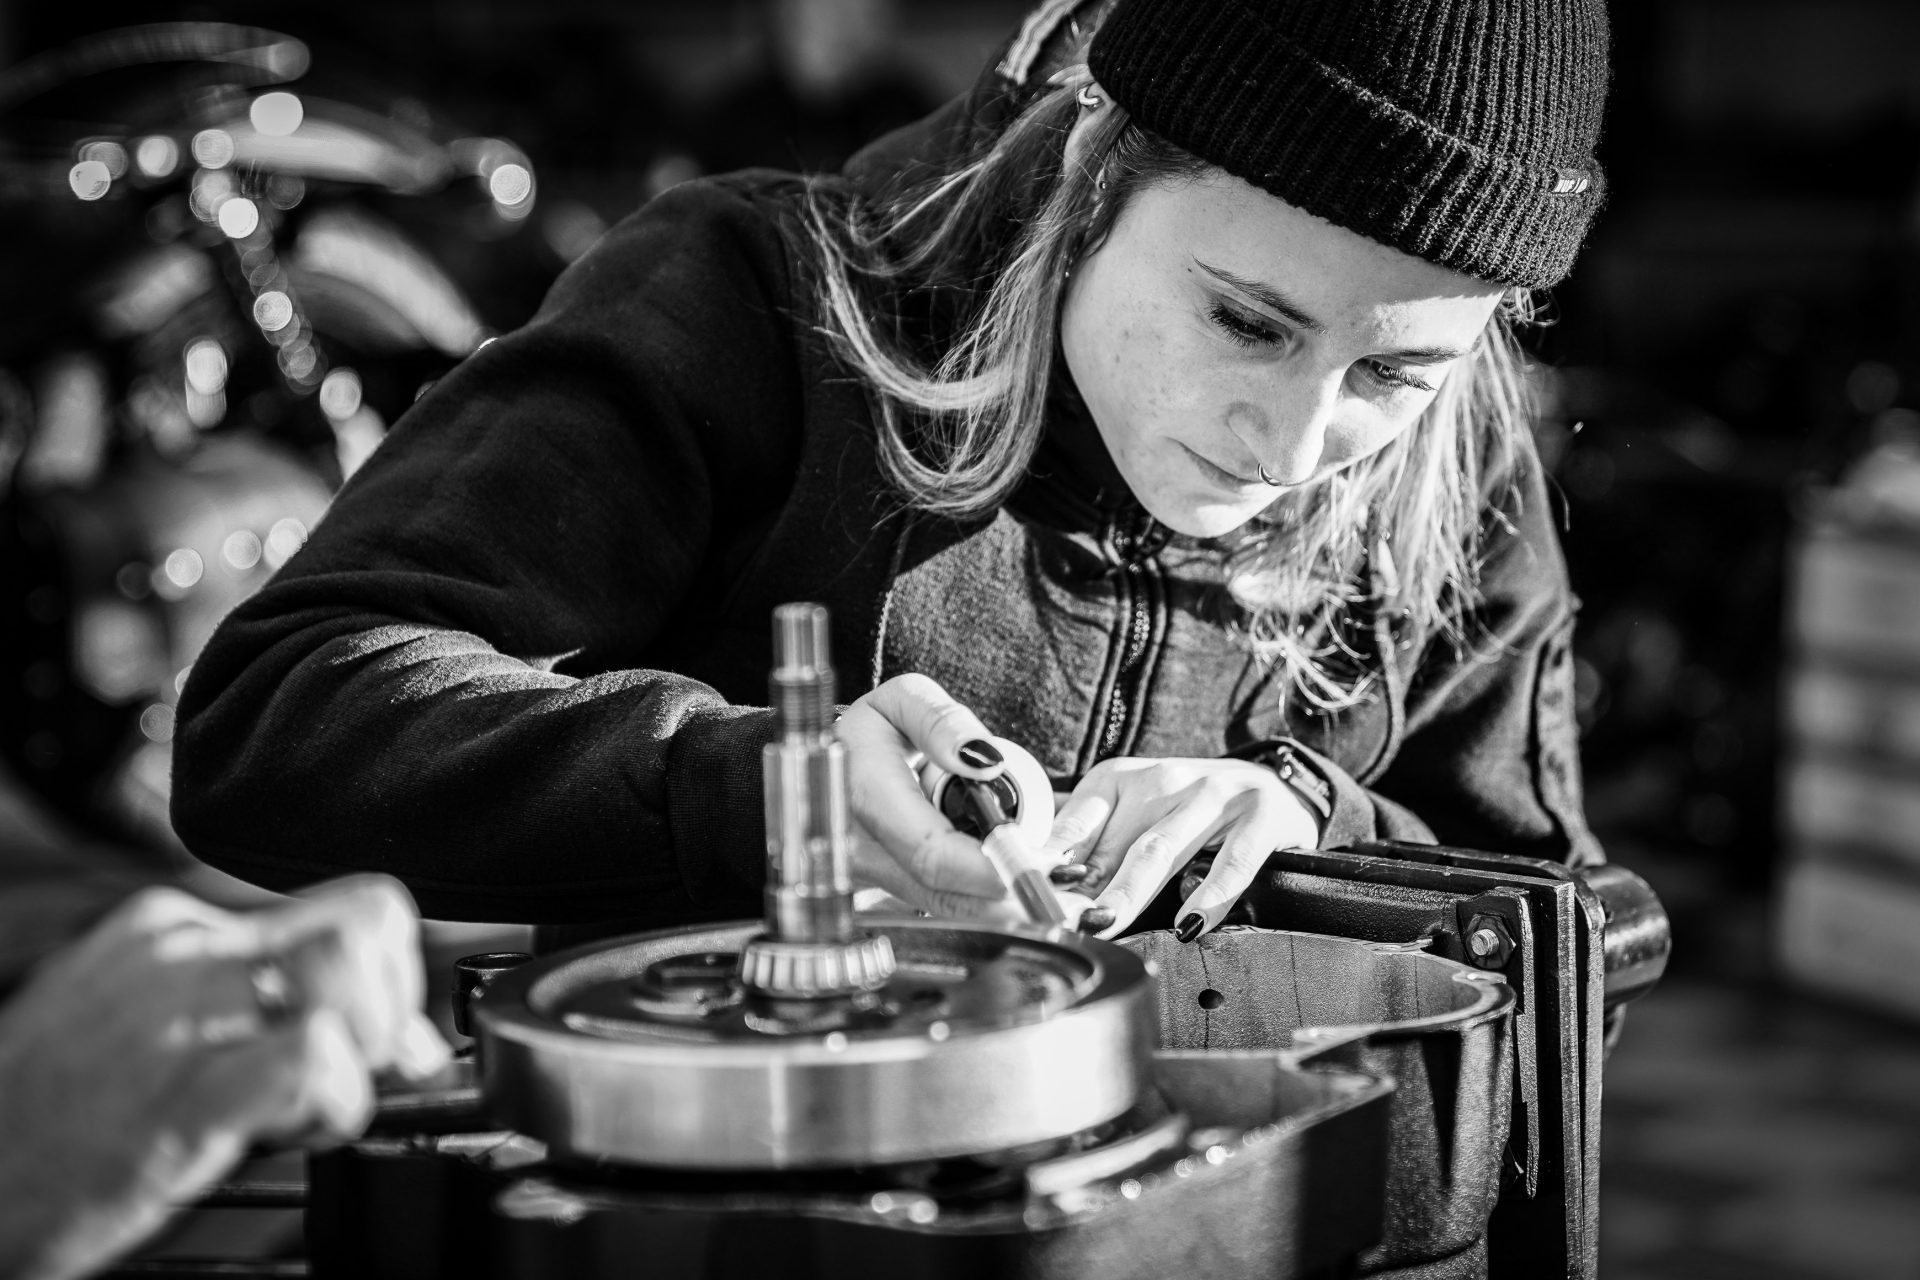
Take a close look and recognize the interaction of form and function in the details .
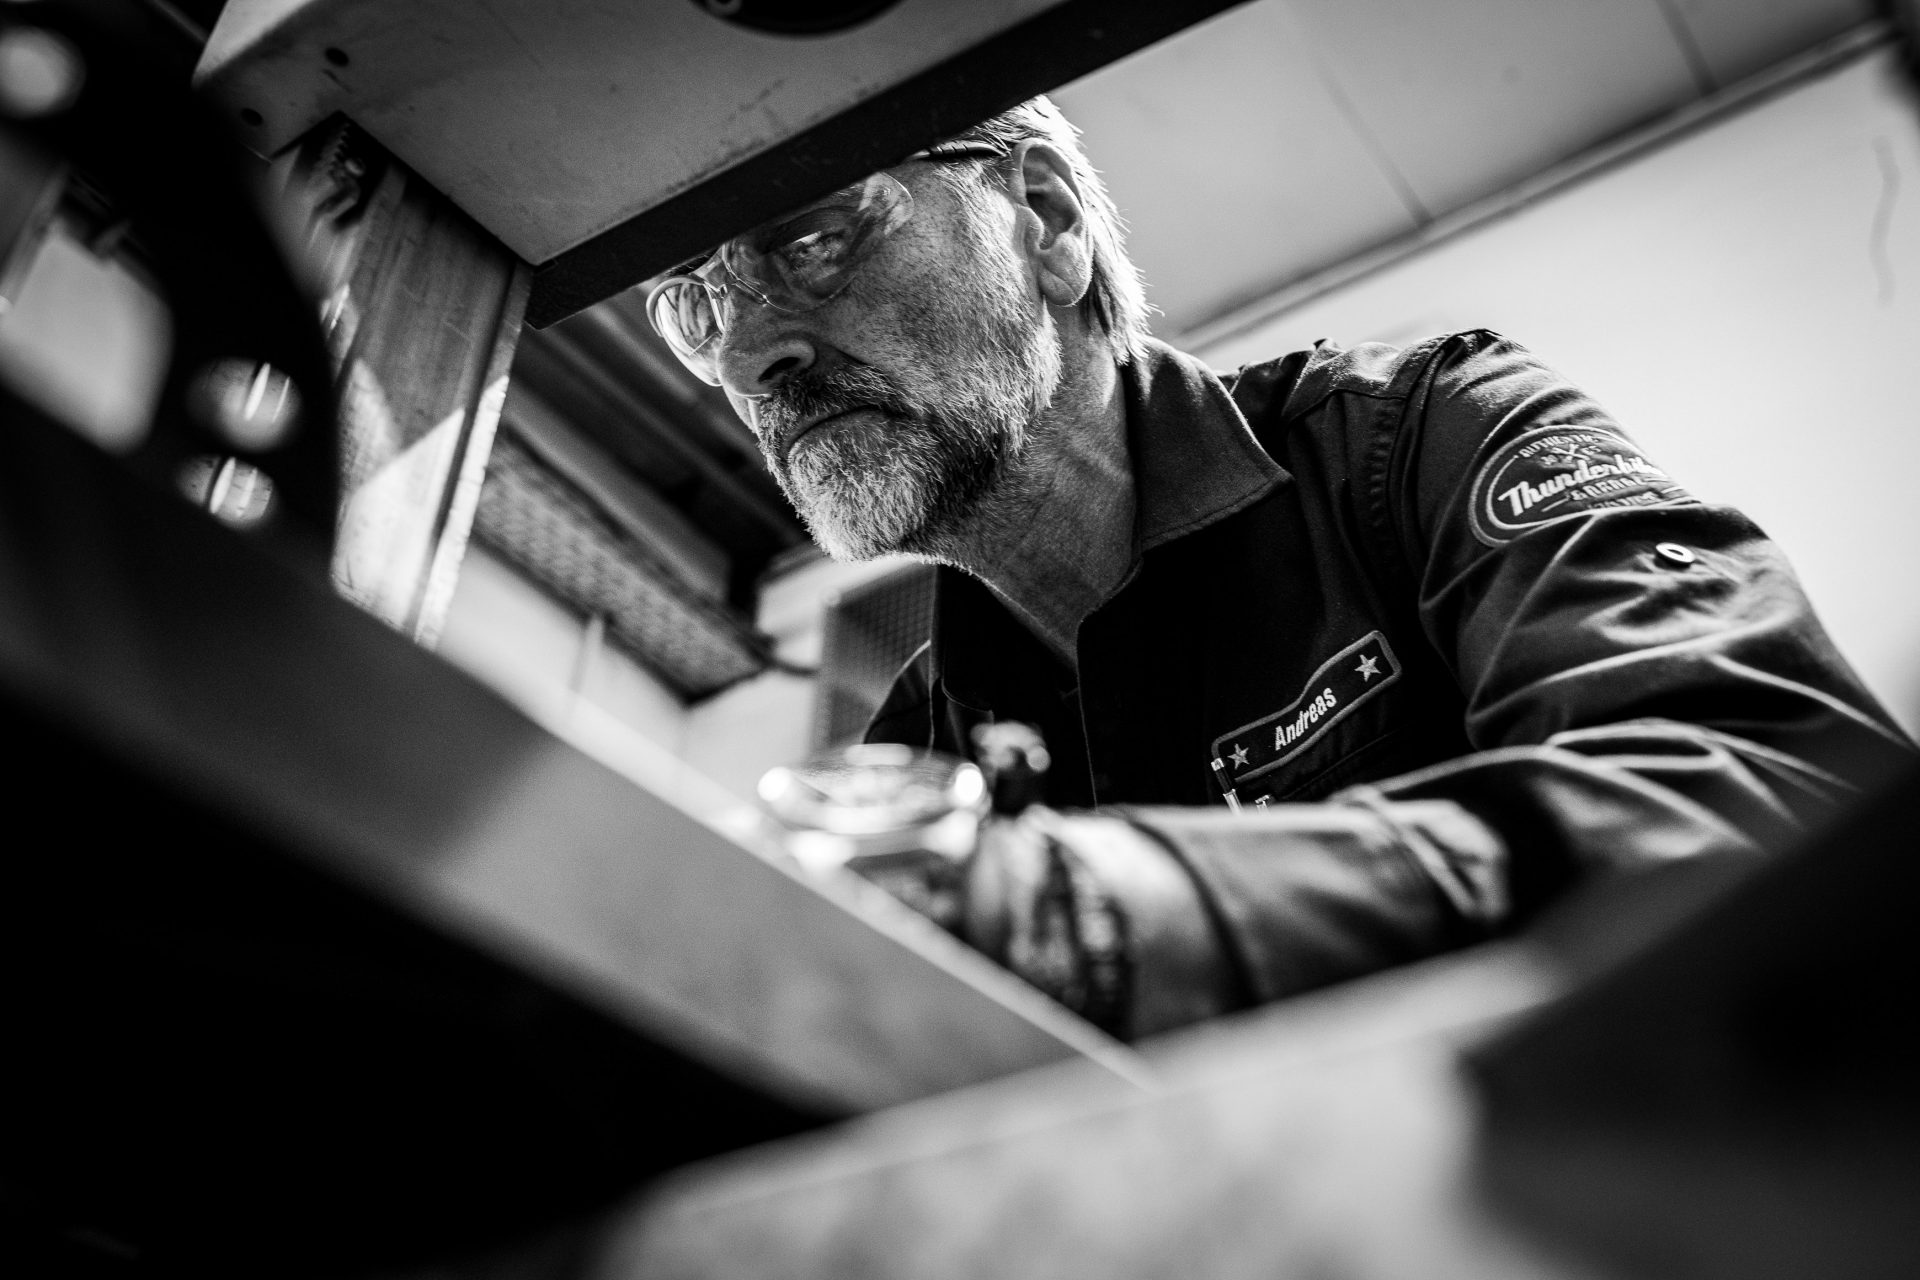
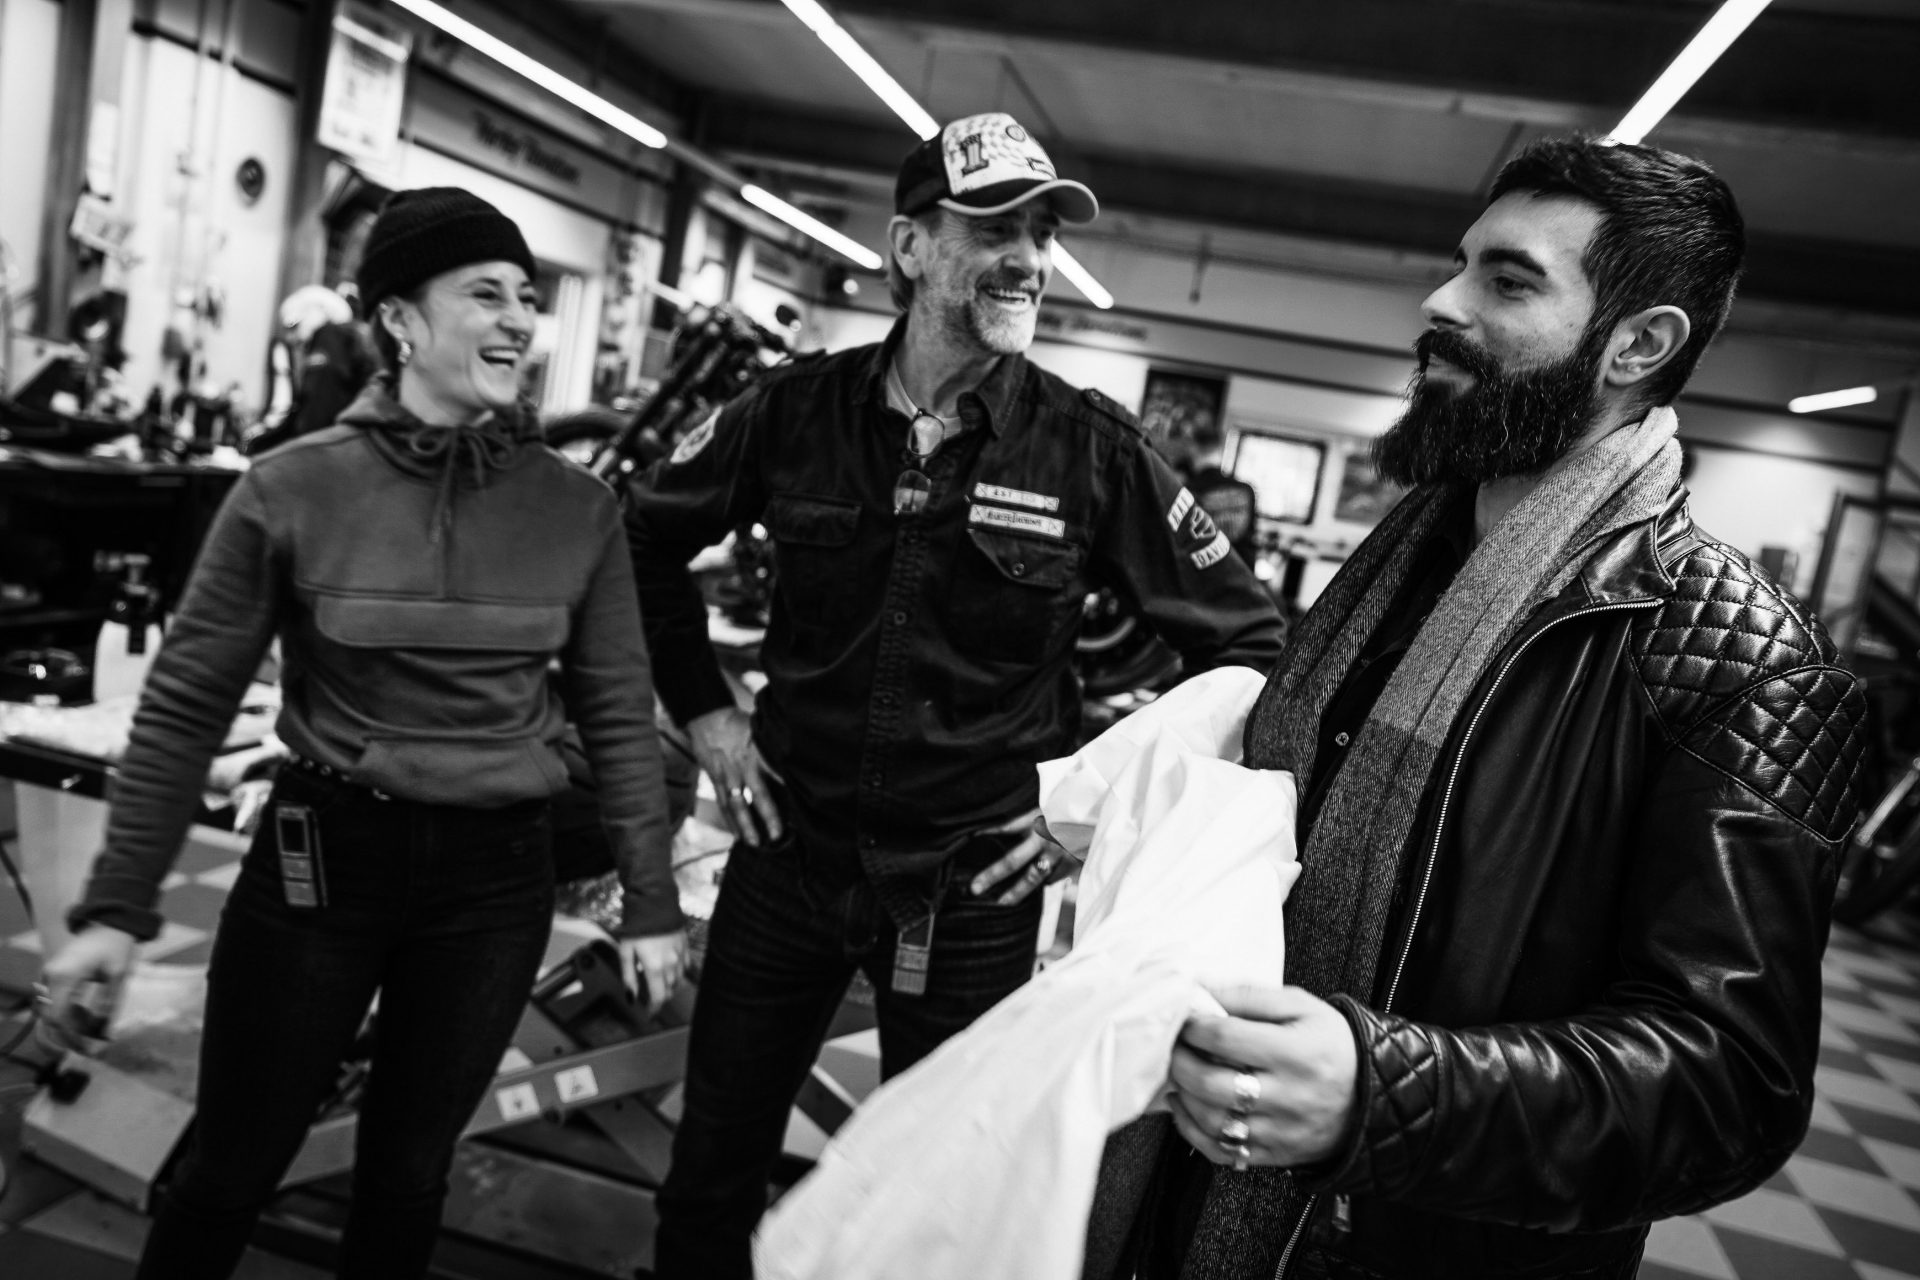
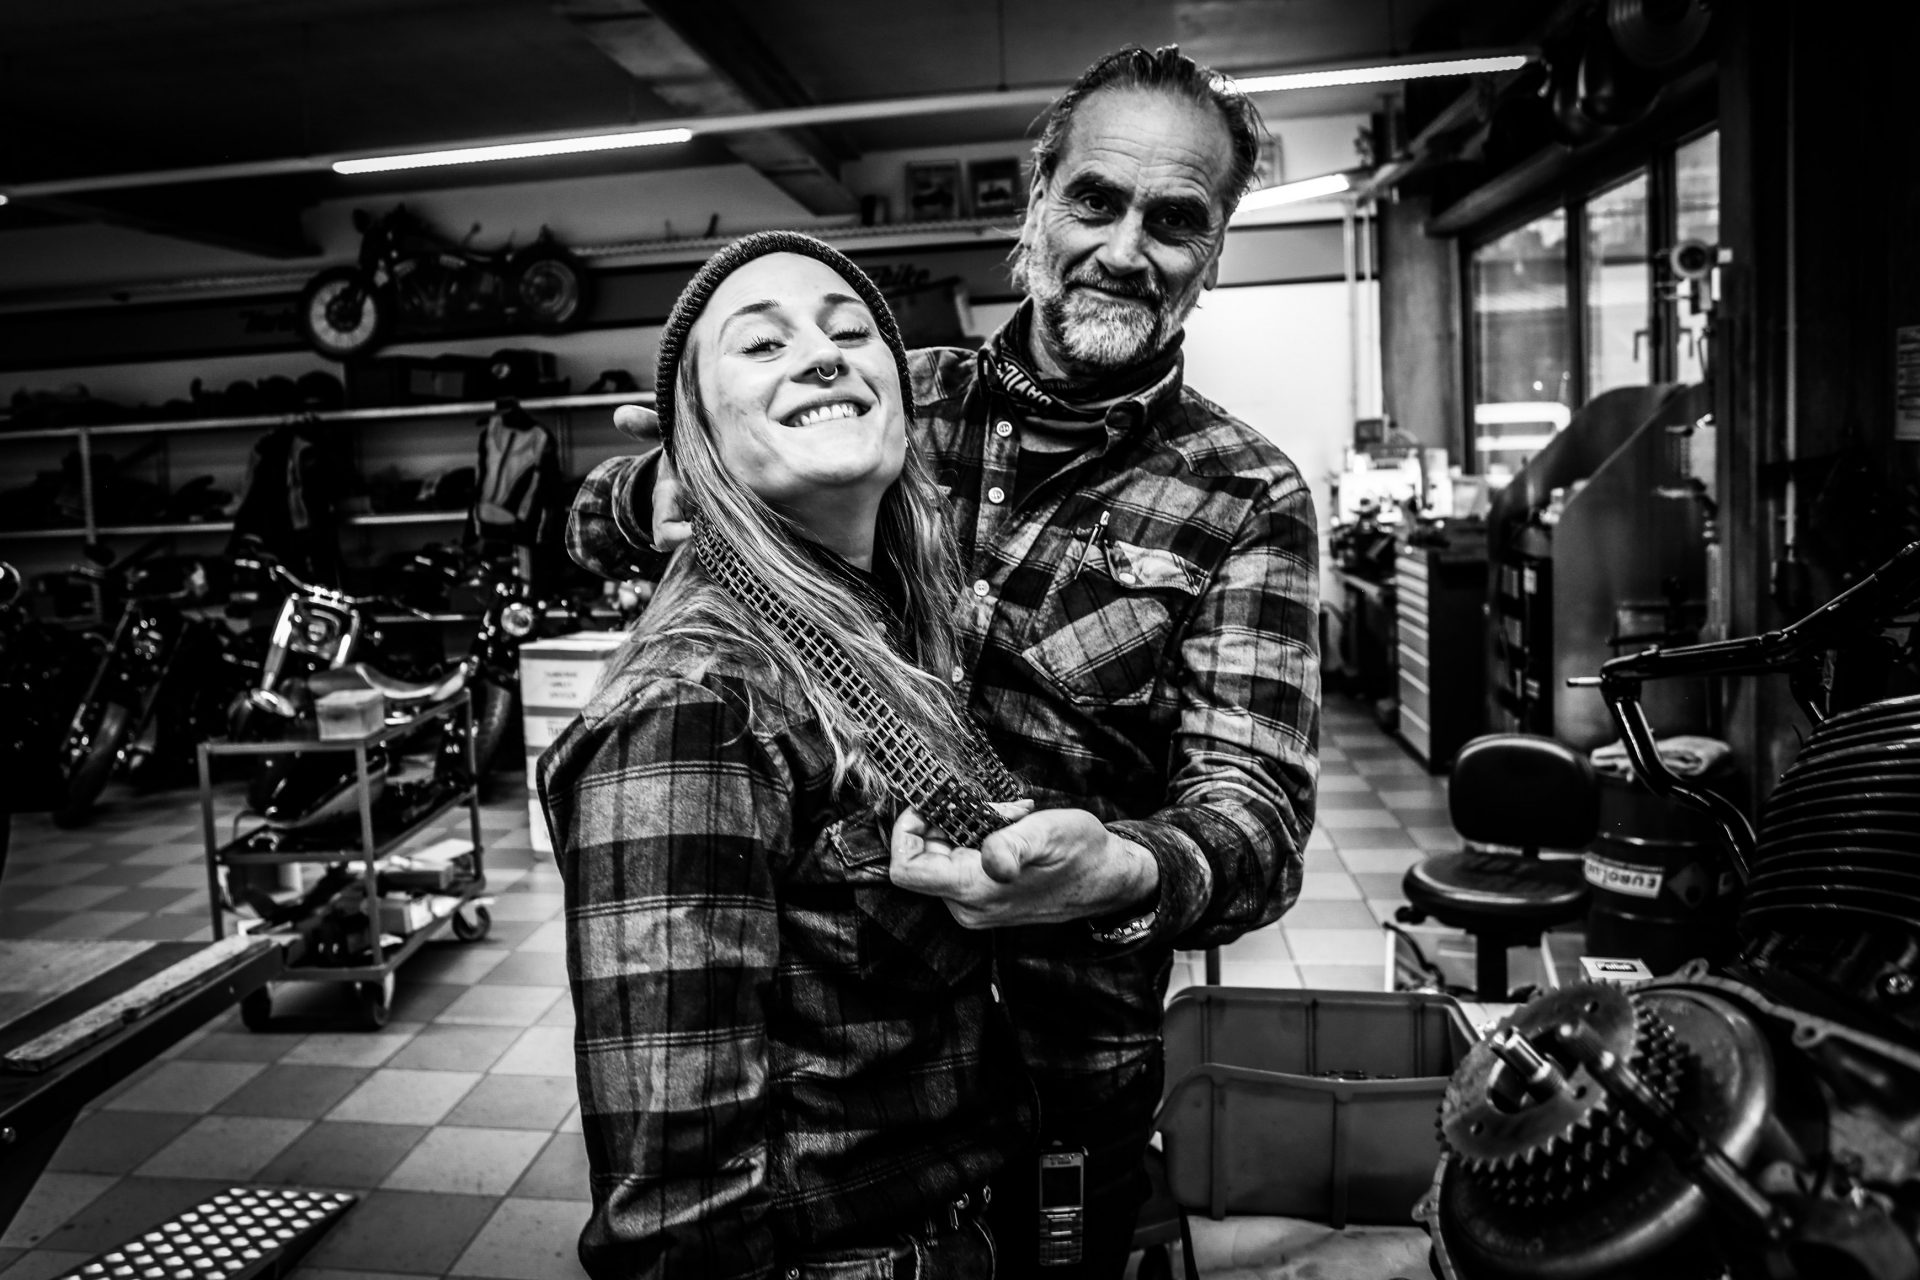
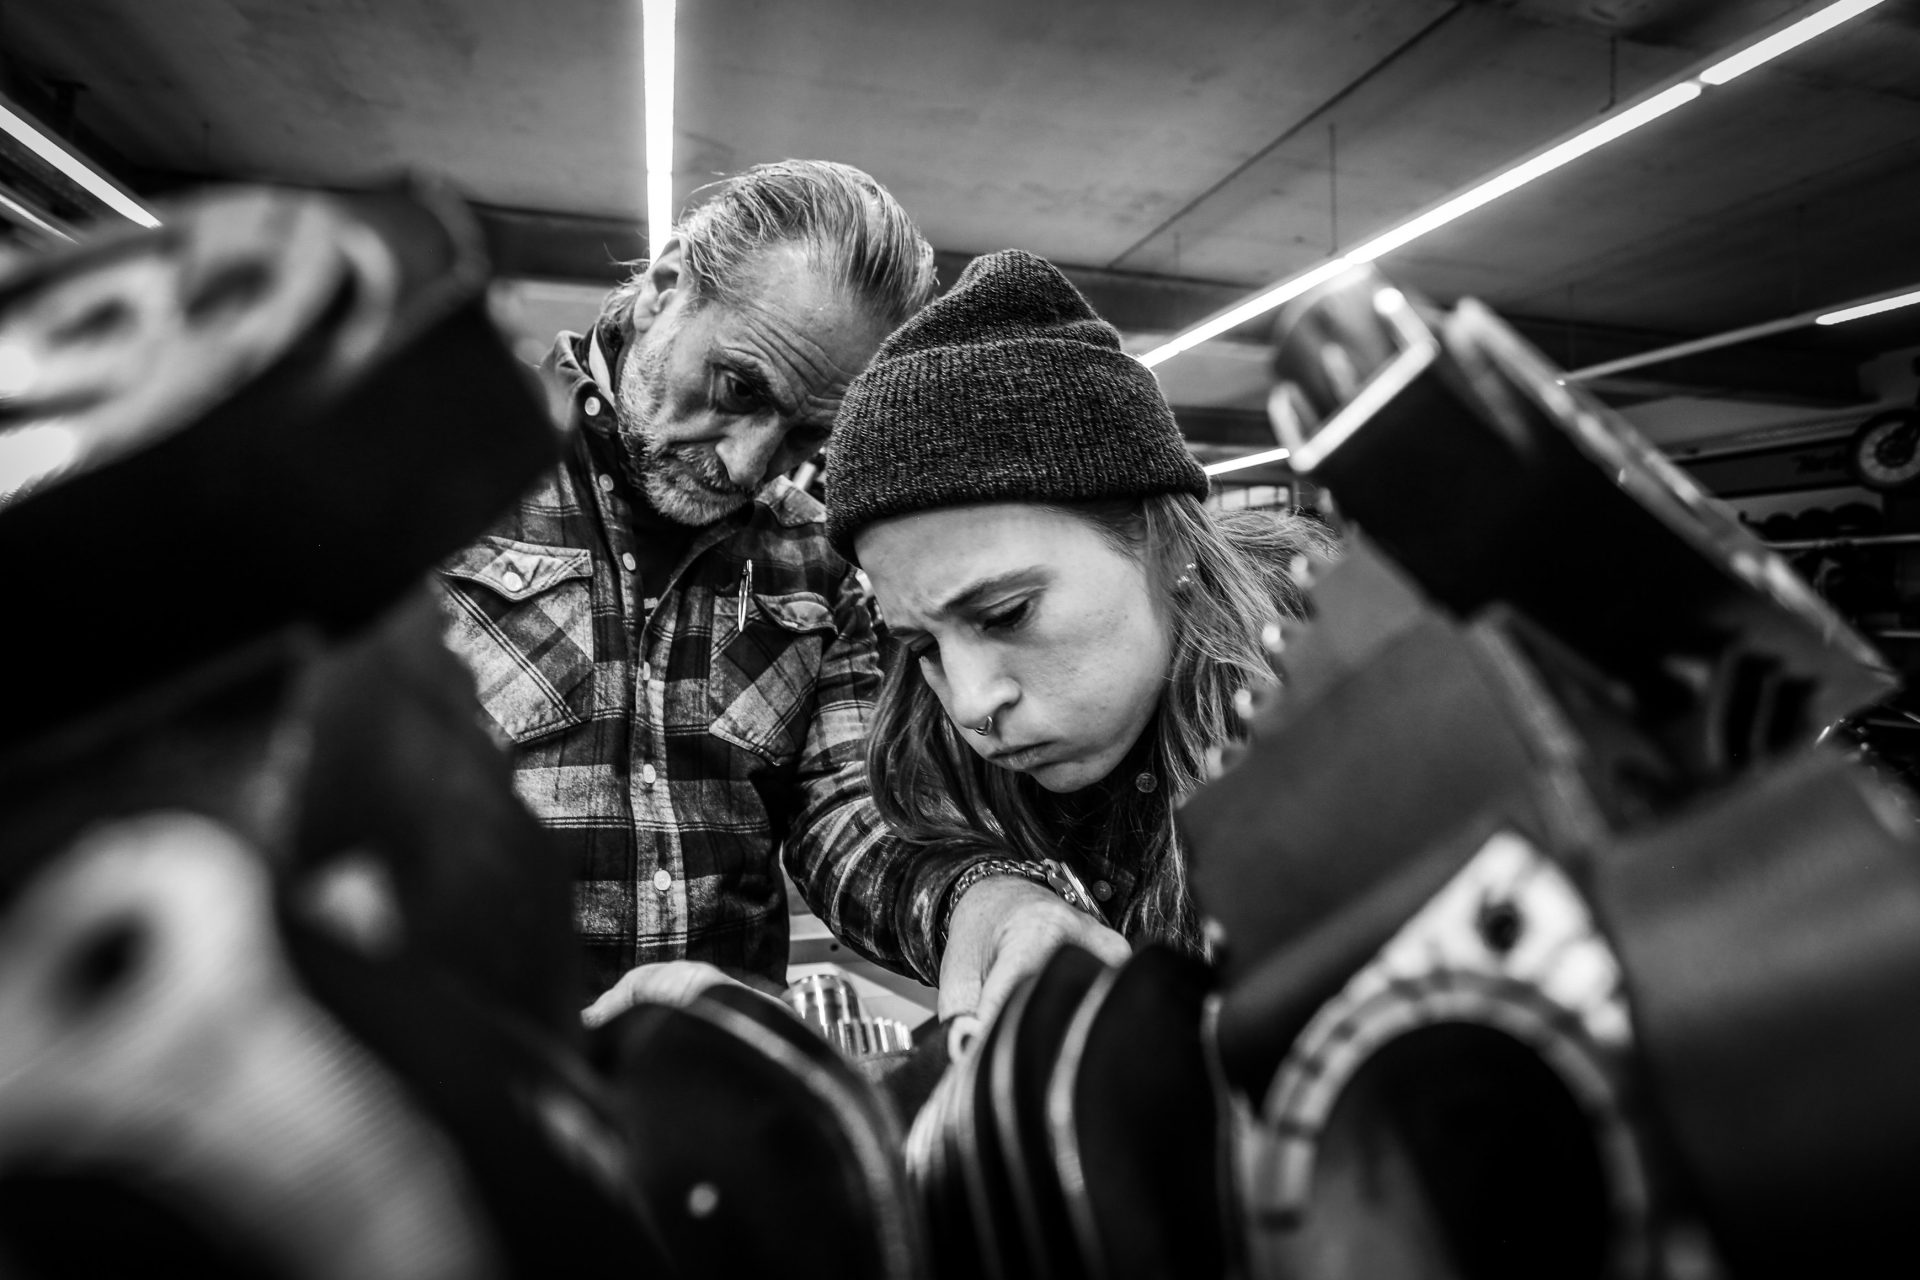
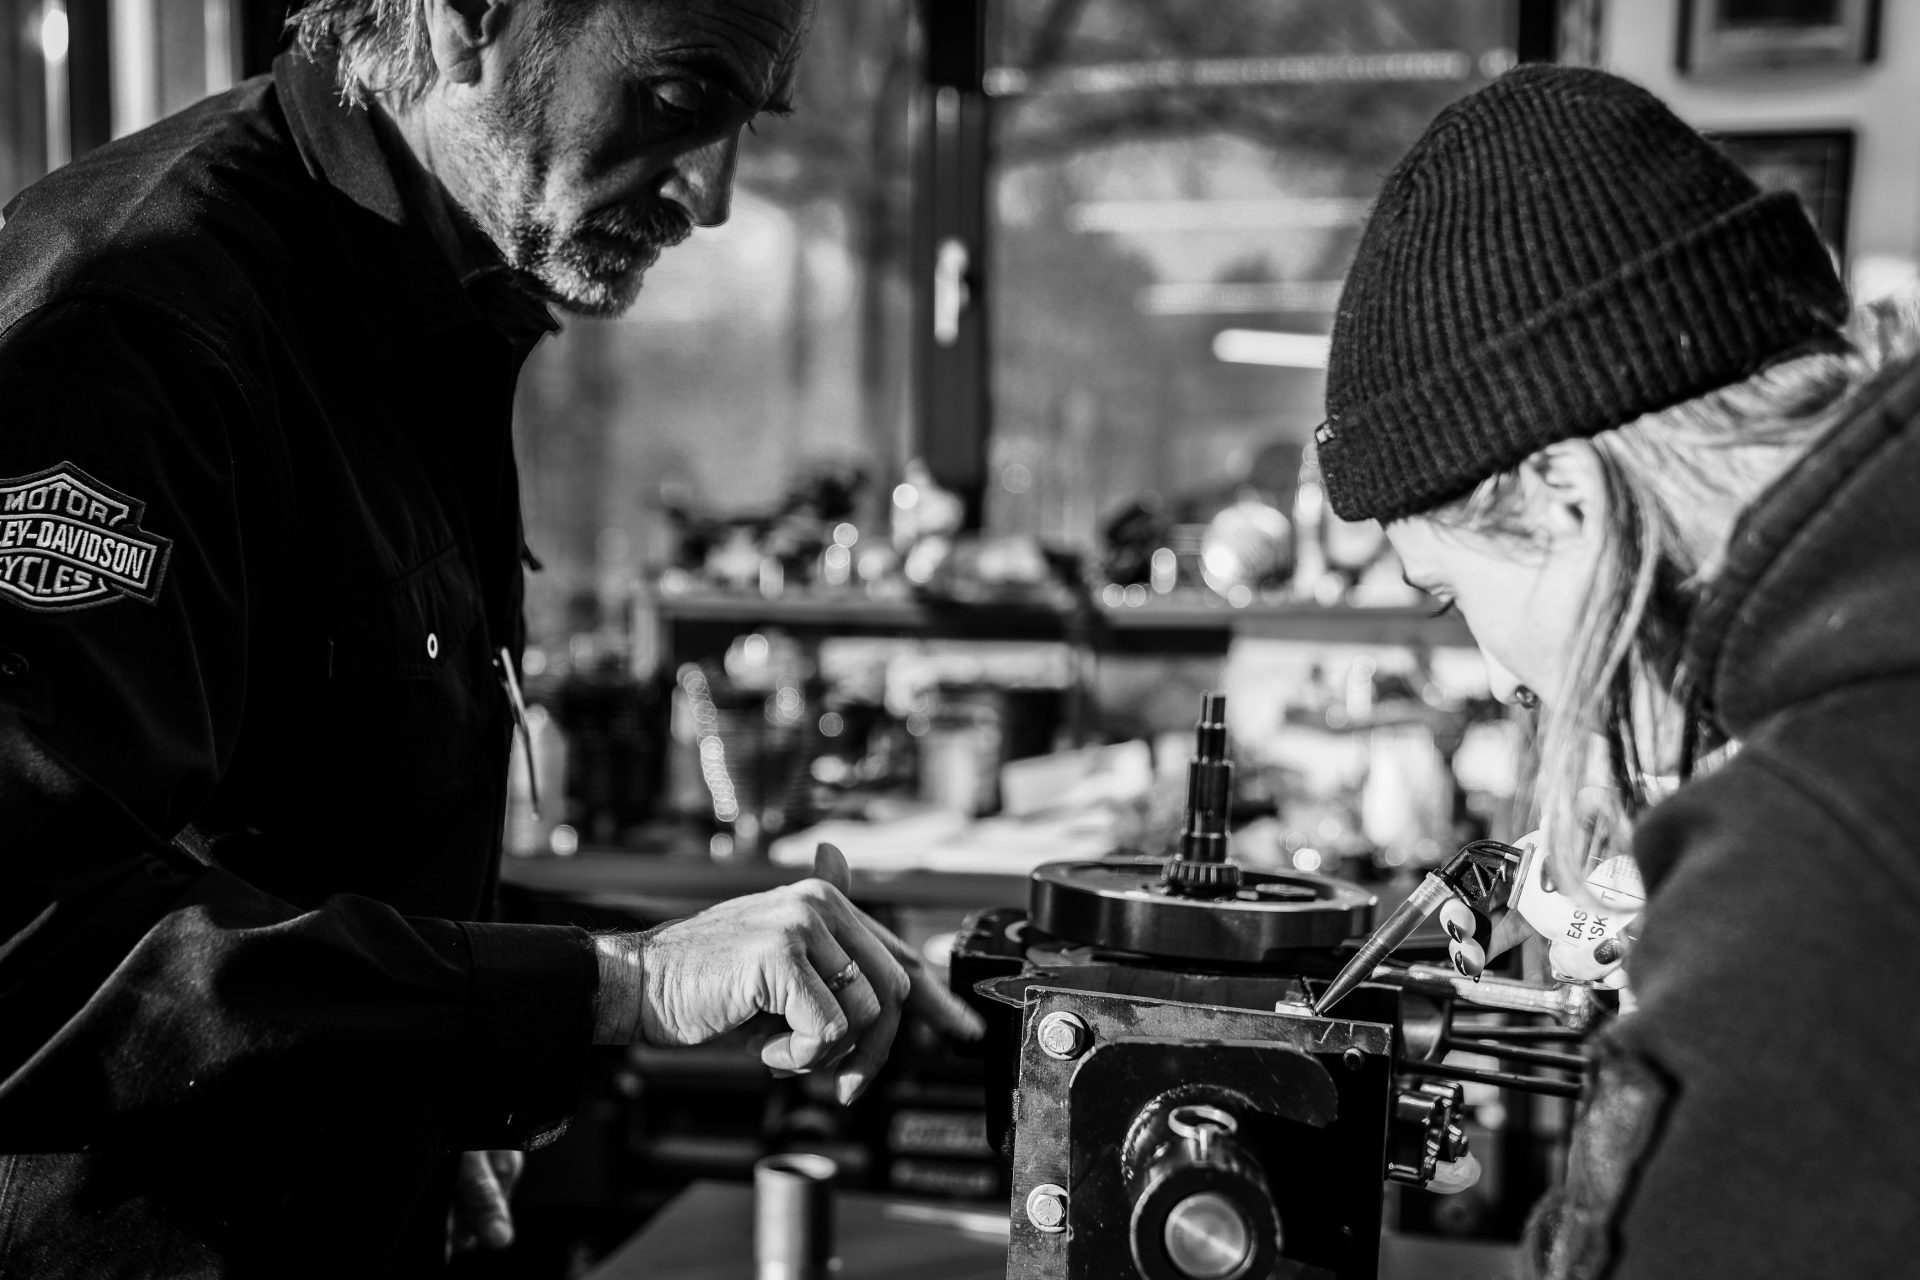
Years of experience and people who love their work have made this unique bike possible.
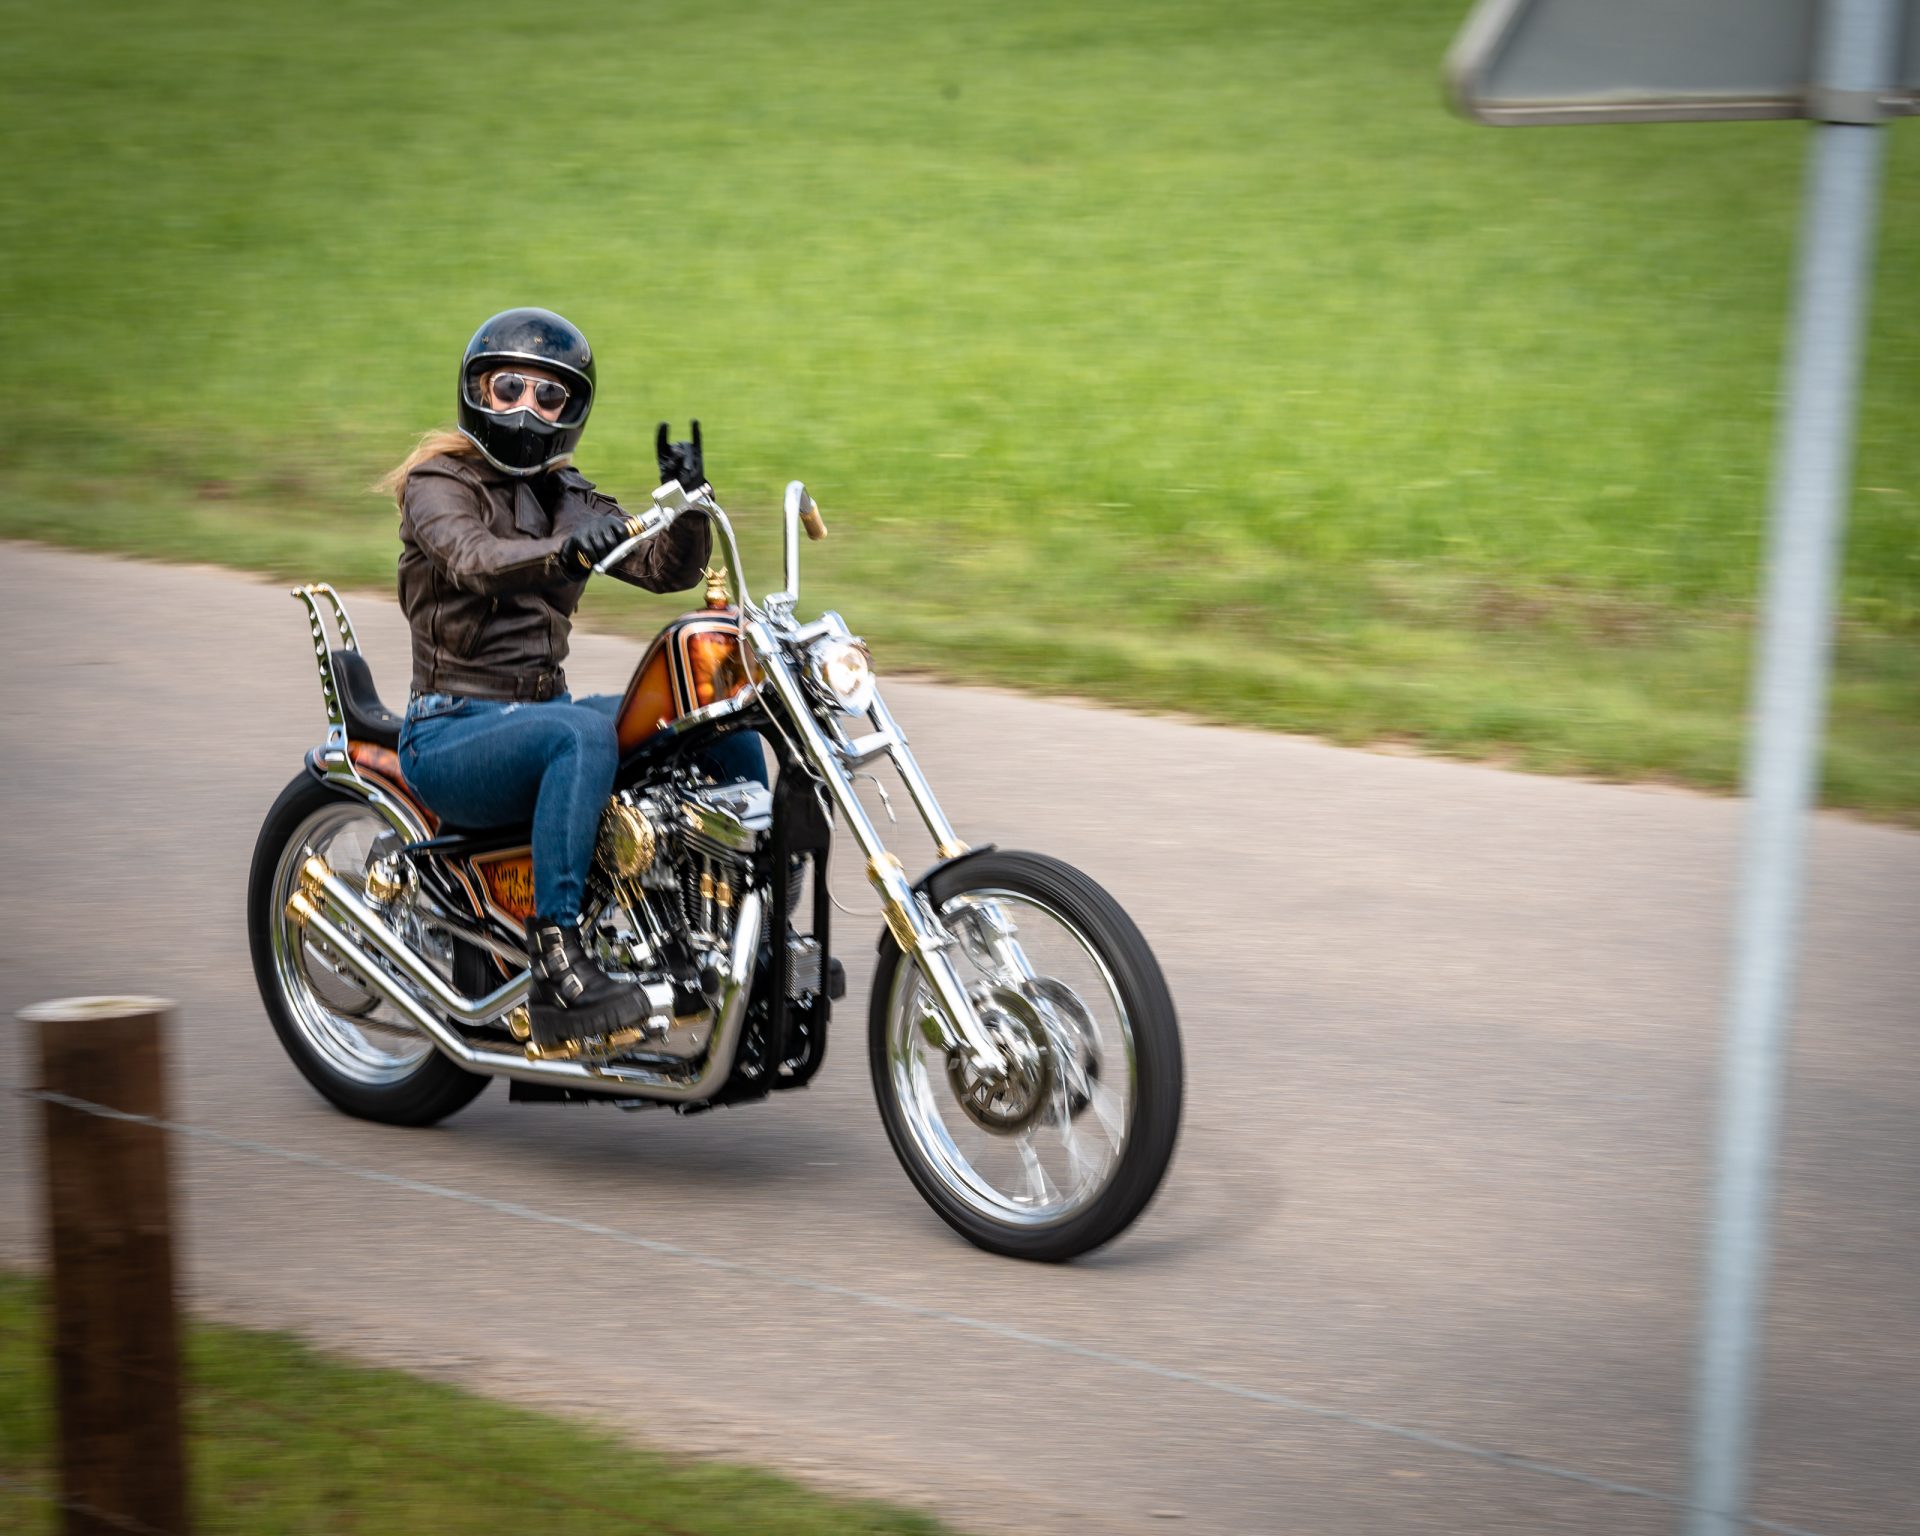
This year the competition will only take place online, so it is very important that you vote for us!
Vote for us online, many thanks!
Galery


Parts
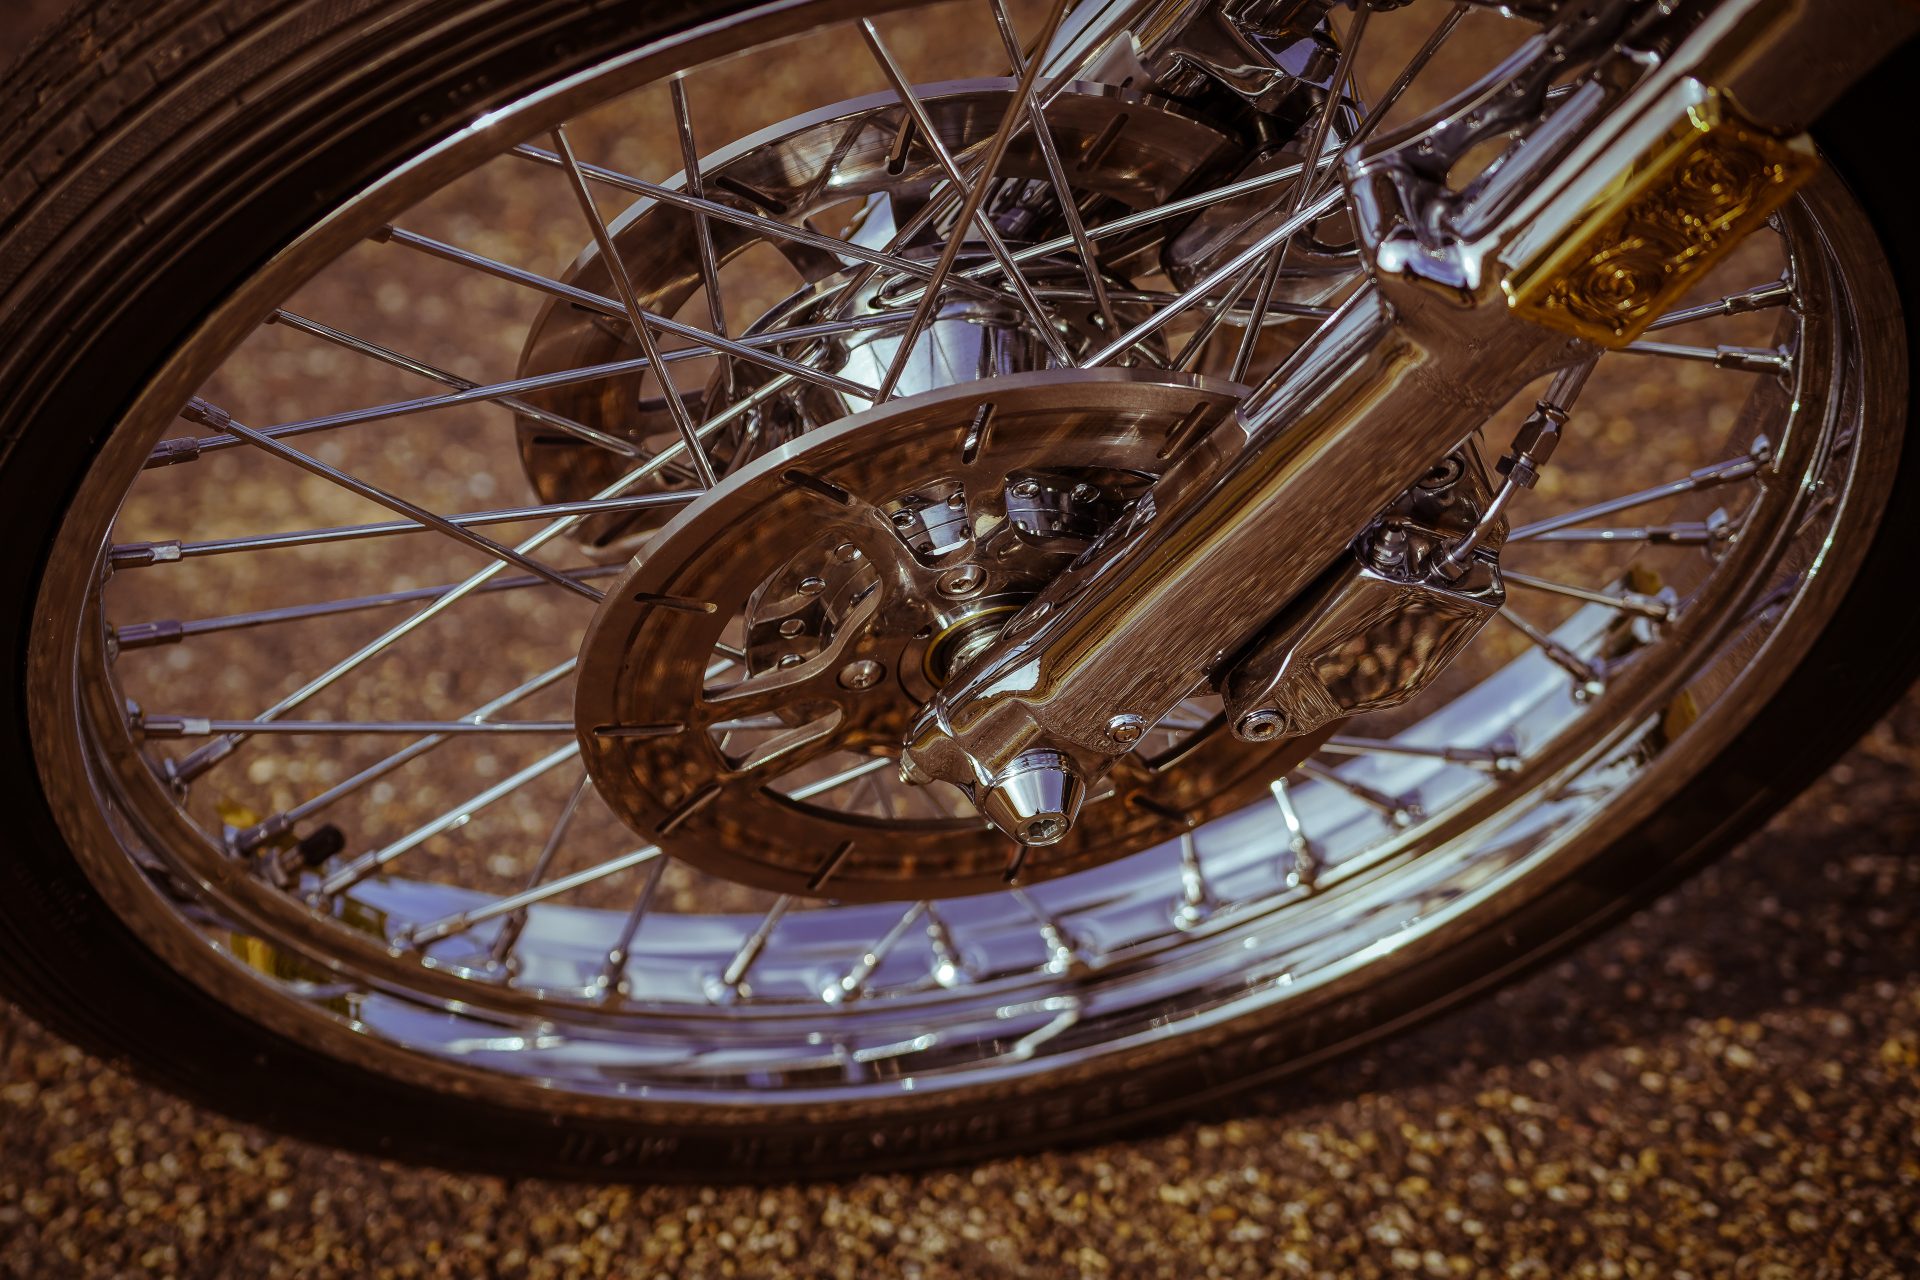
- Front Wheel – HD Ironhead 2.15×21
- Front Tire – Avon Speedmaster 3.00×21
- Rear Wheel – TTS 4×19
- Rear Tire – Shinko 4.00×19
- Fender/ Struts – Thunderbike
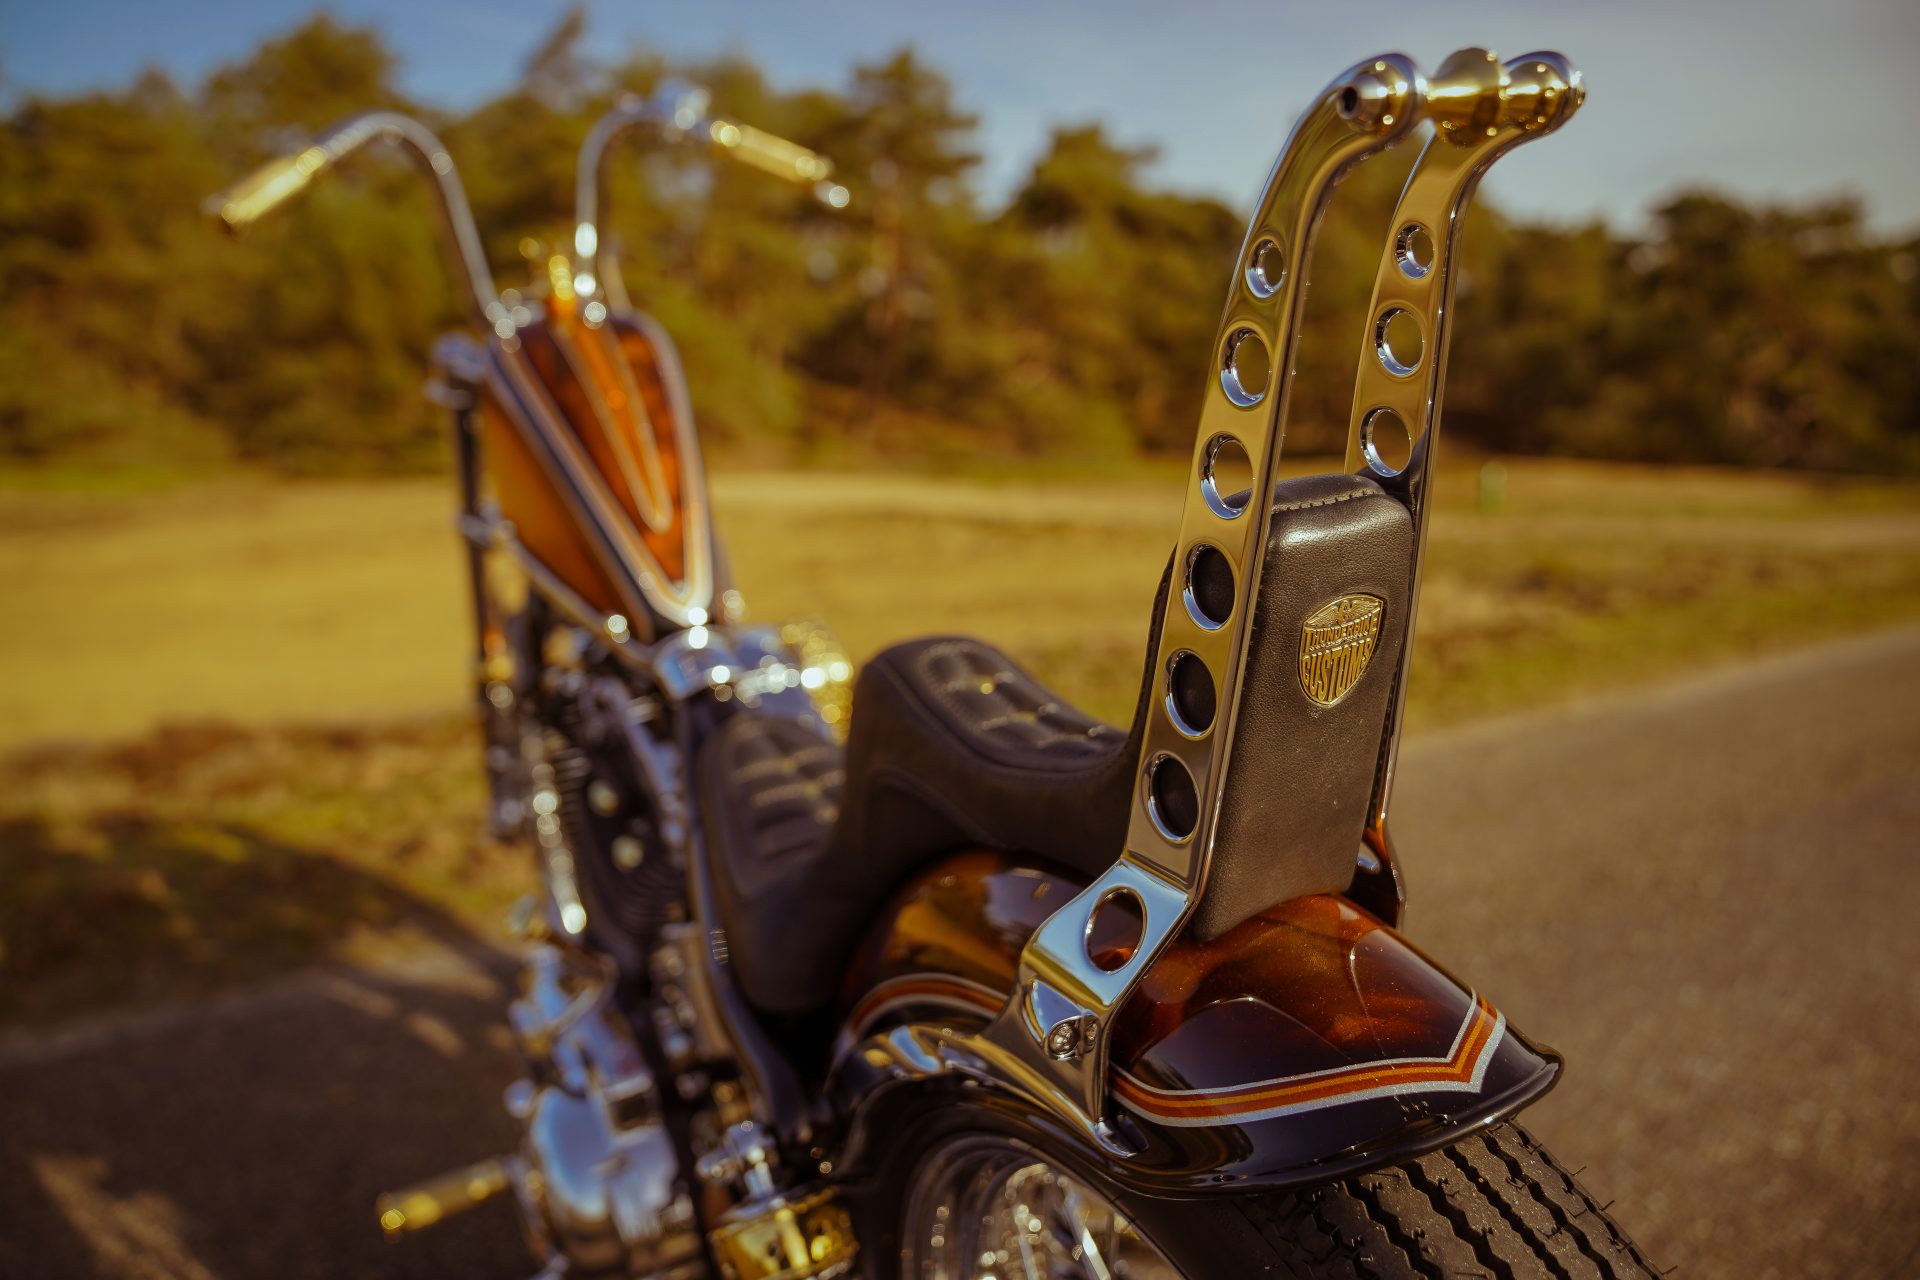
- Sissybar – Thunderbike
- Brake Caliper – HD Ironhead
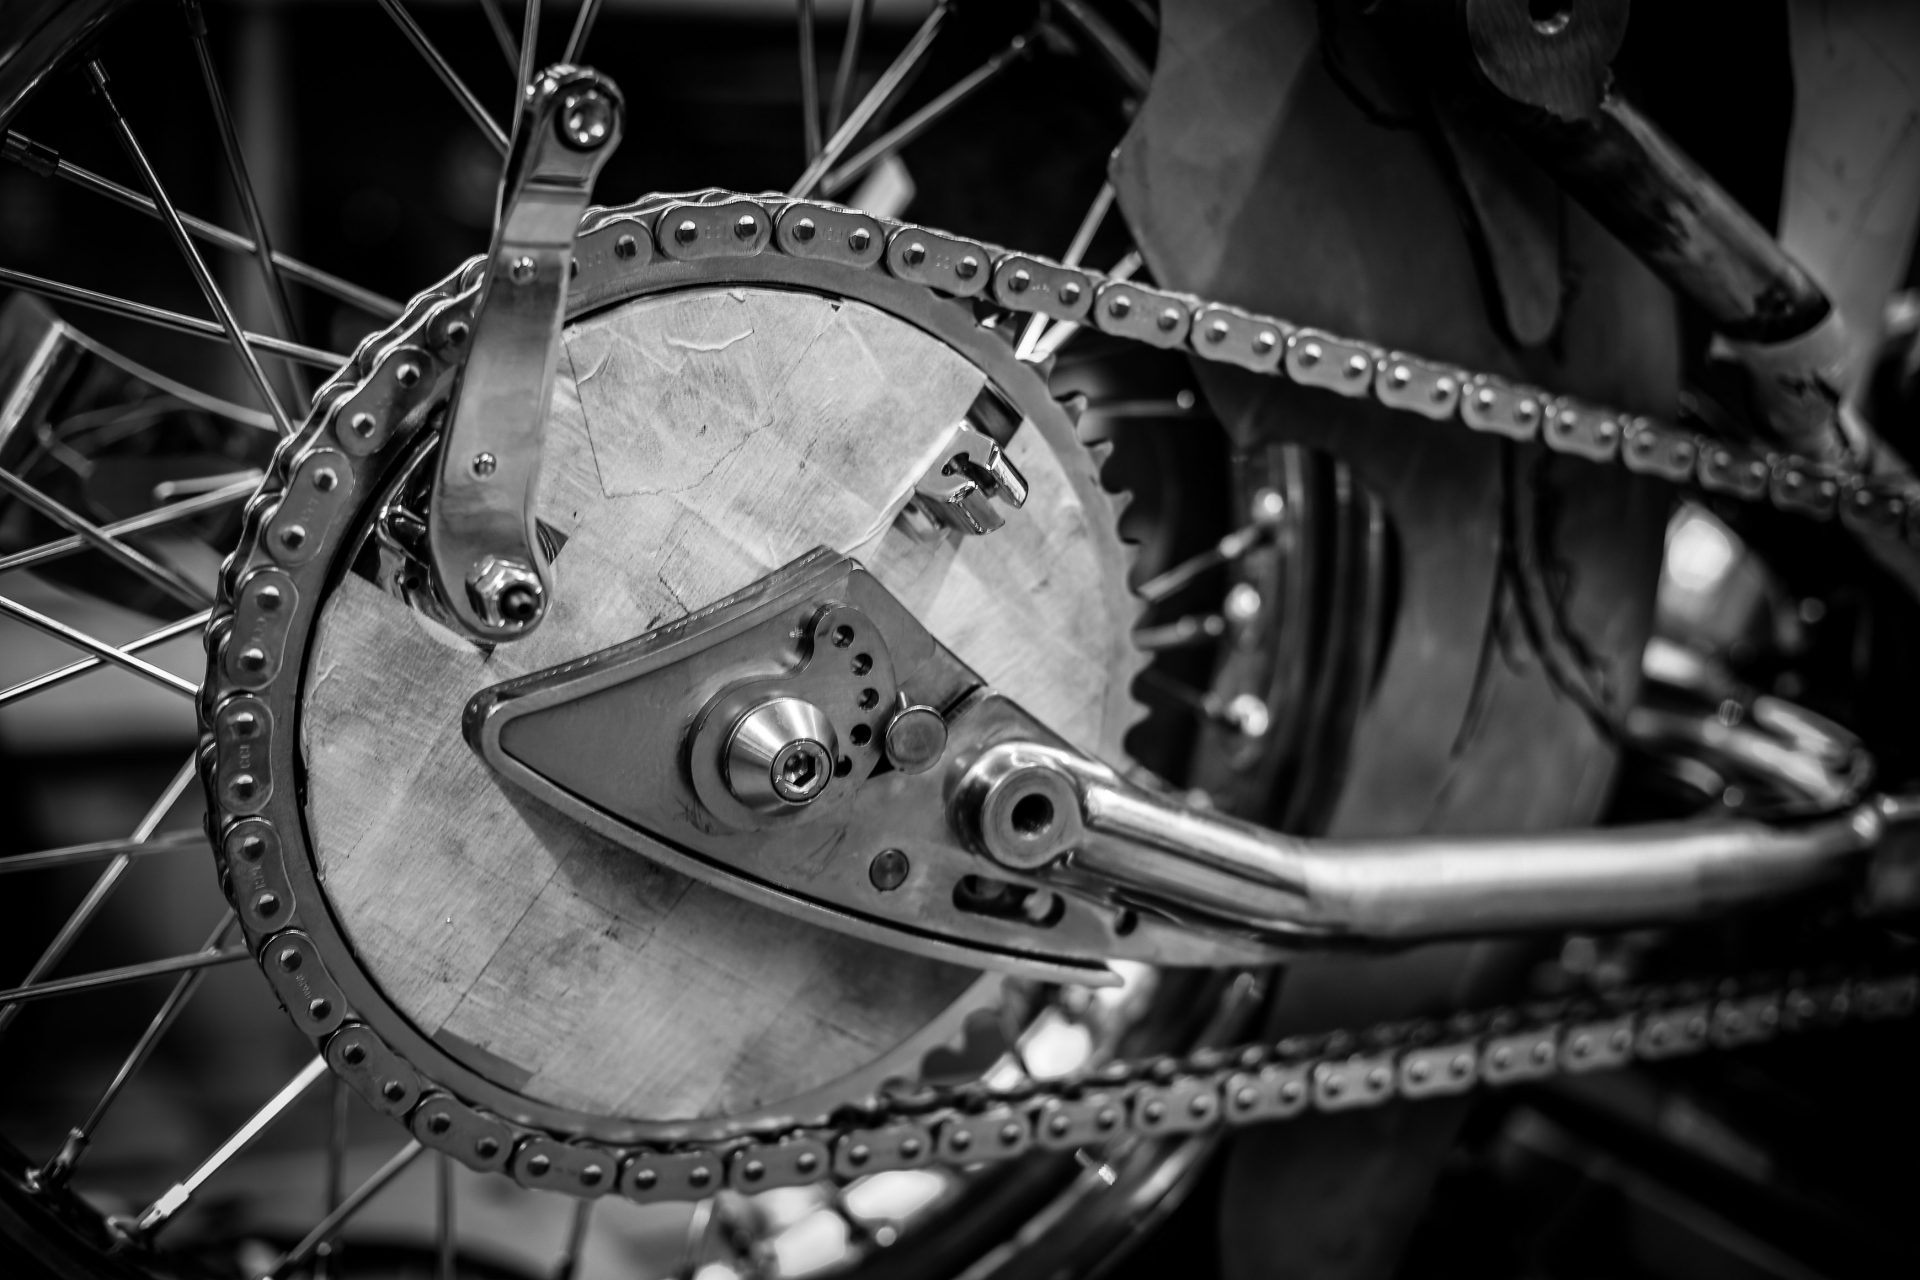
- Brake Disc – Thunderbike
- Fork – Narrow Glide Ironhead
- Tripe Tree – Thunderbike
- Turn Signals – Thunderbike
- Headlight – Thunderbike
- Speedometer – Motogadget
- Speedo Bracket – Thunderbike
- Handlebar – Thunderbike
- Master Brake Cylinder – Kustom Tech
- Internal Grip Set- Müller
- Automatic Clutch – Rekluse
- Power Filter – Thunderbike
- Grips – Thunderbike
- Foot Controls – Thunderbike
- Fuel Tank – Thunderbike
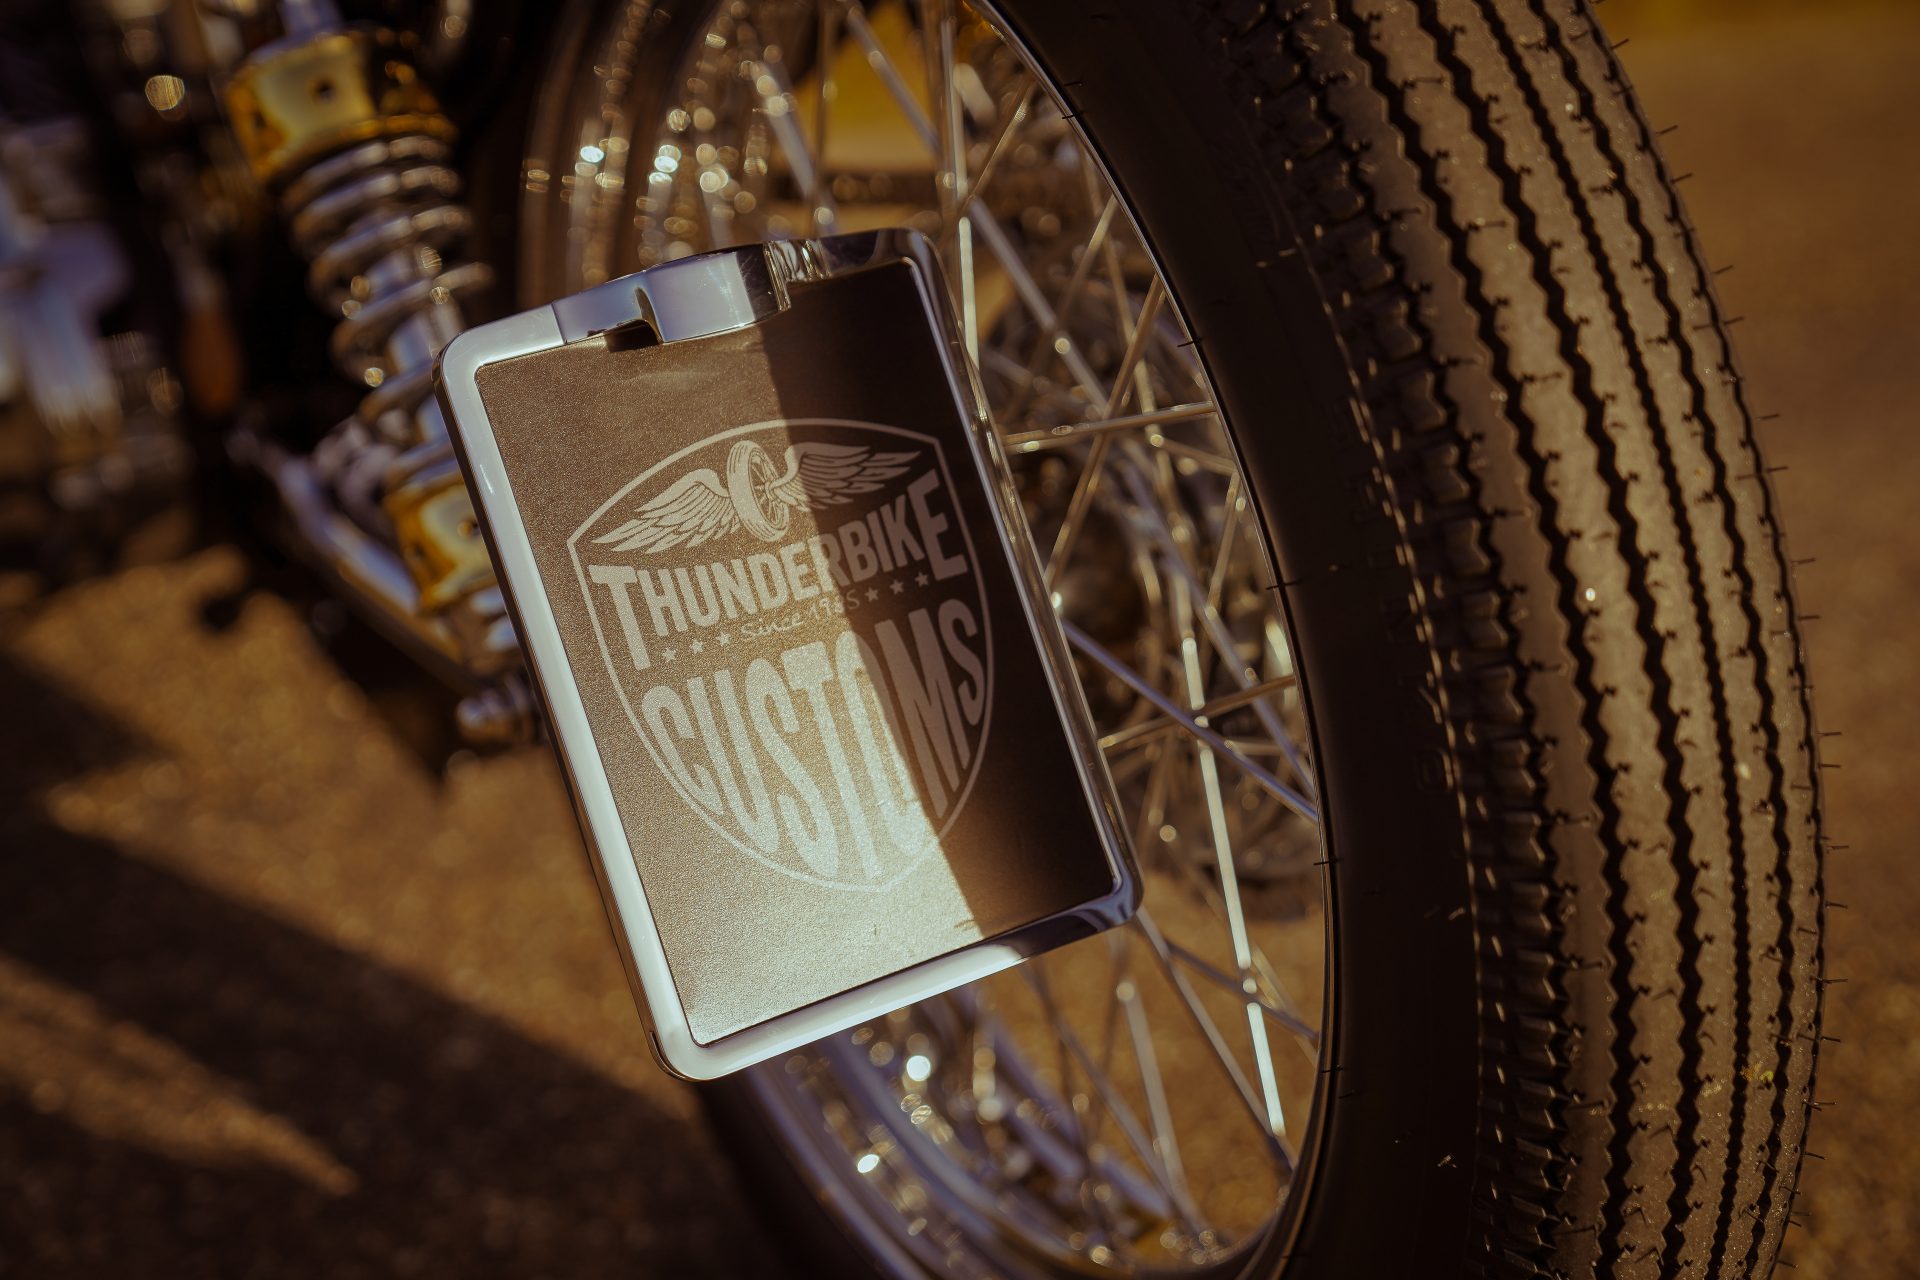
- License Plate Bracket – Thunderbike
- Brake Drum / Wheel Hub – HD Ironhead
- Schwingarm – Thunderbike
- Shock Cover – Thunderbike
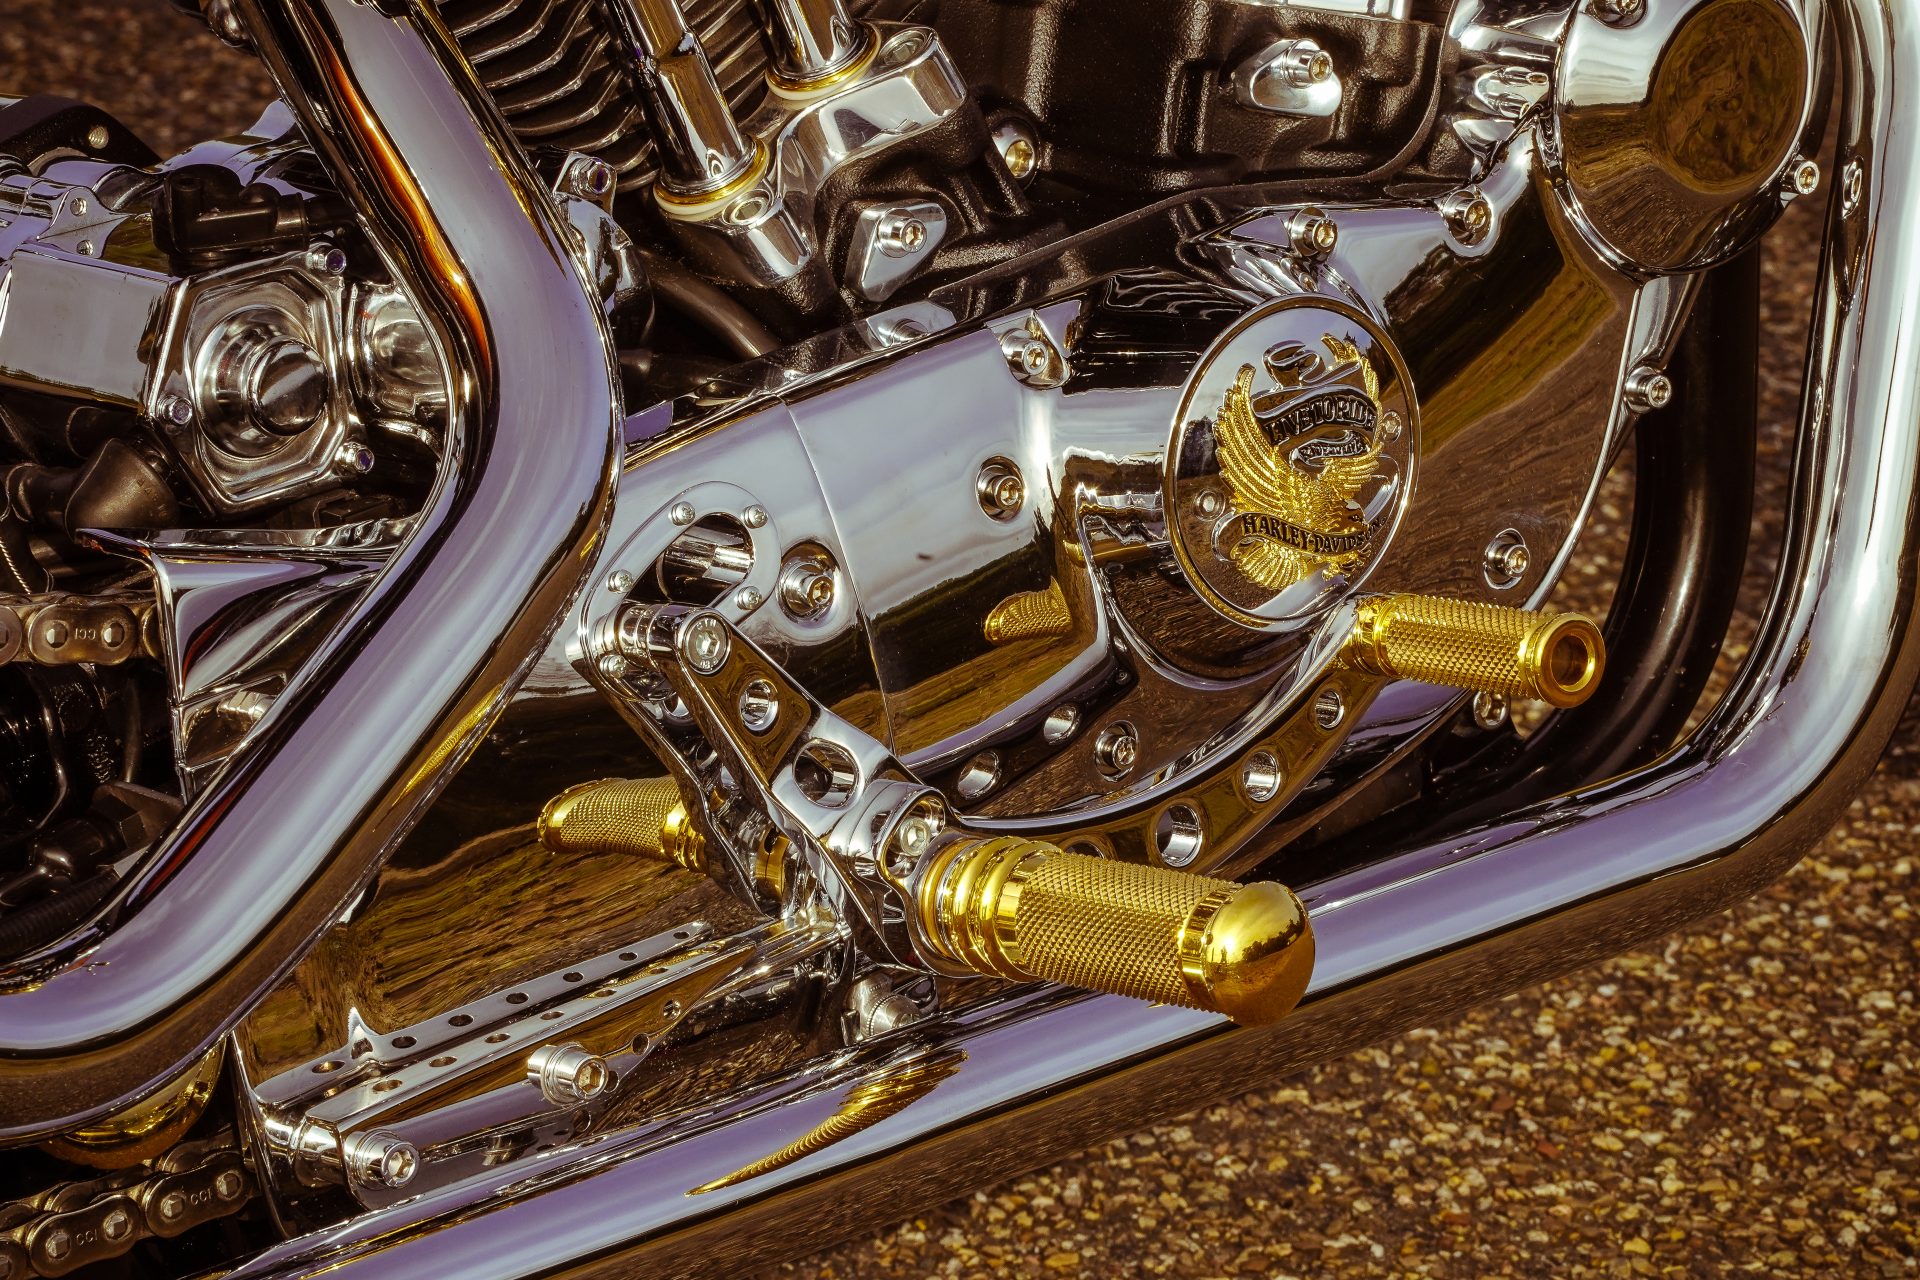
- Engine Cover- H-D Chrome Kit
- Primary Cover – H-D Chrome Kit
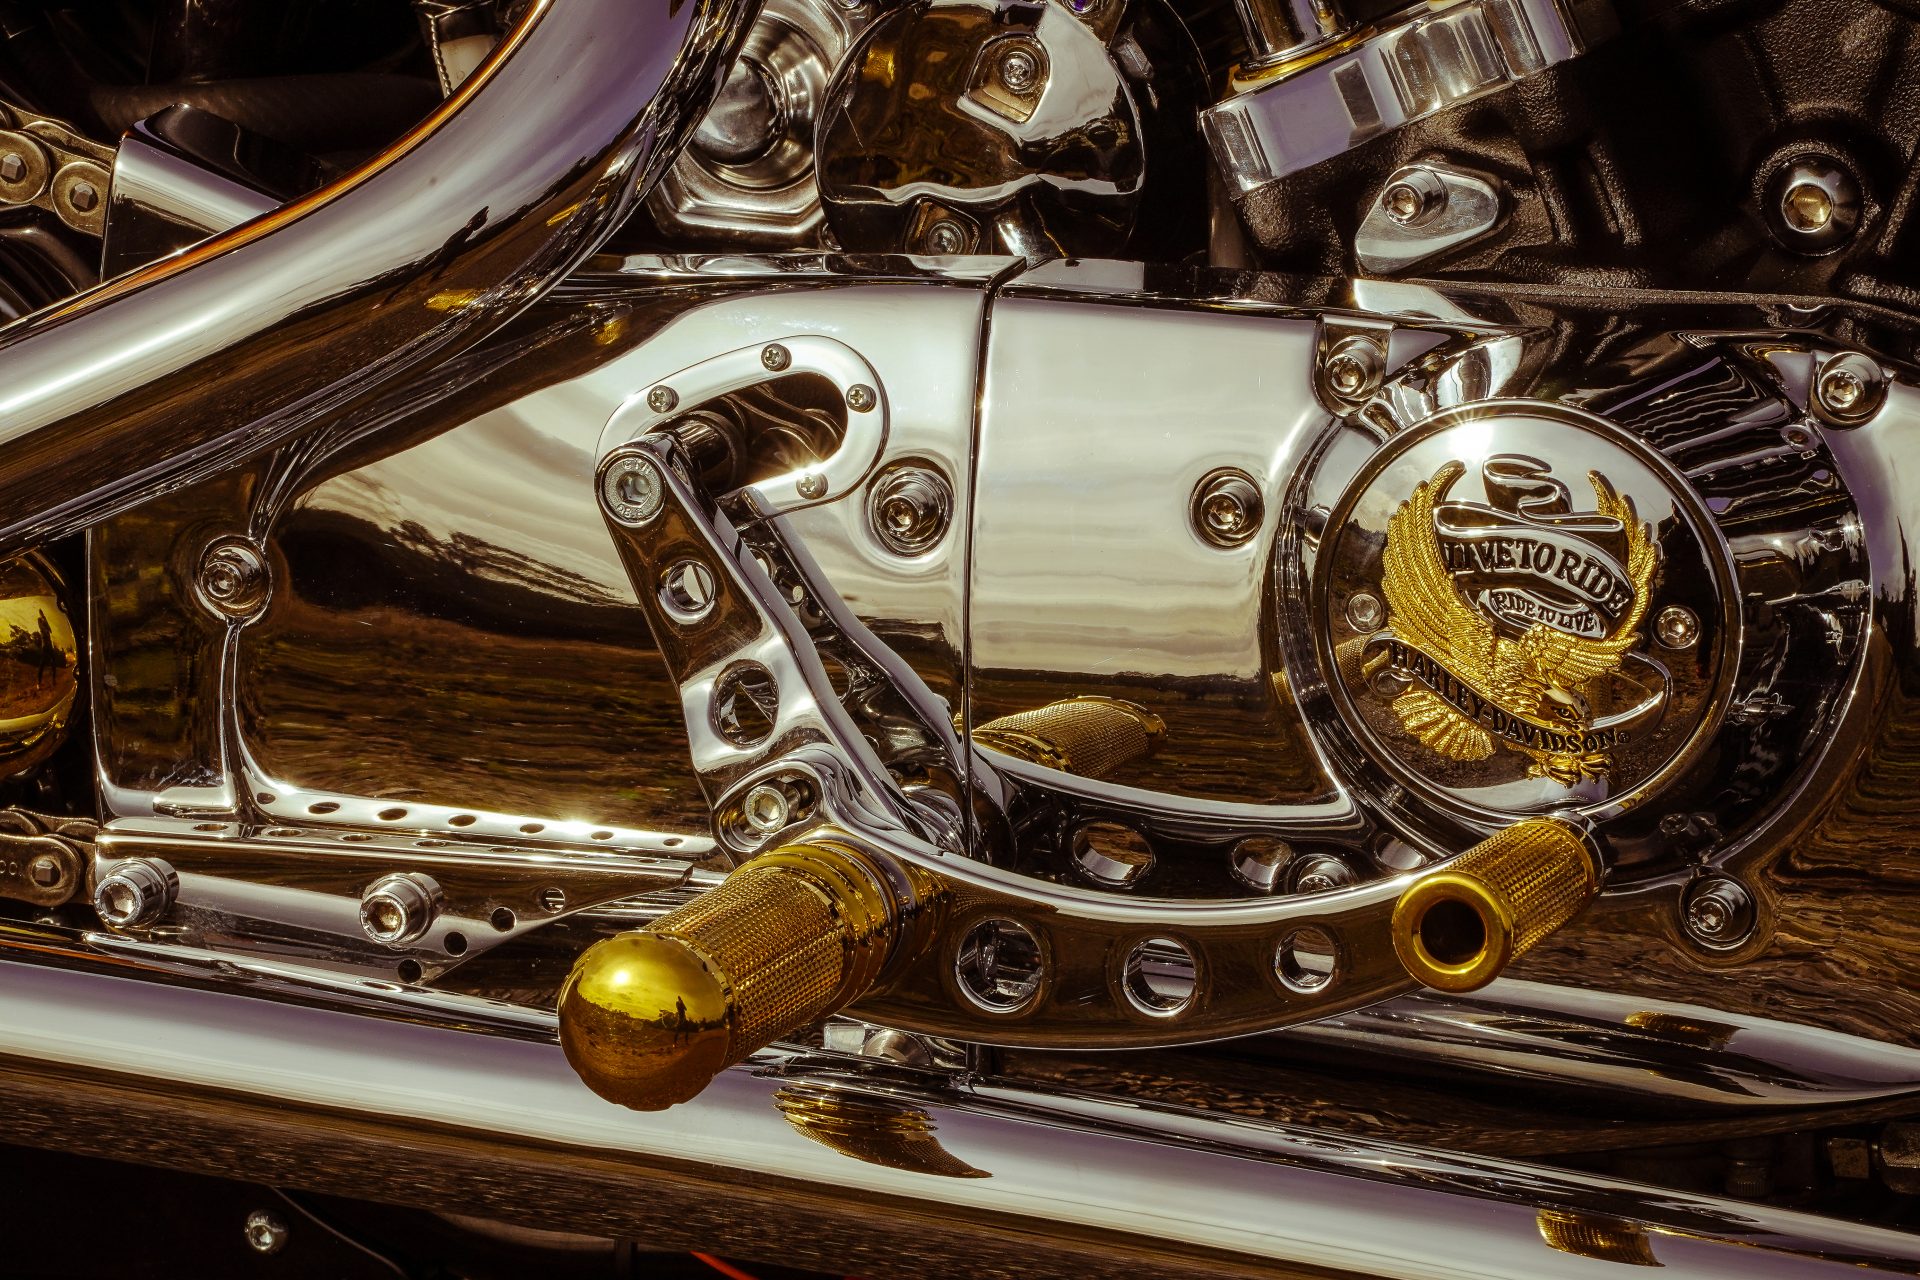
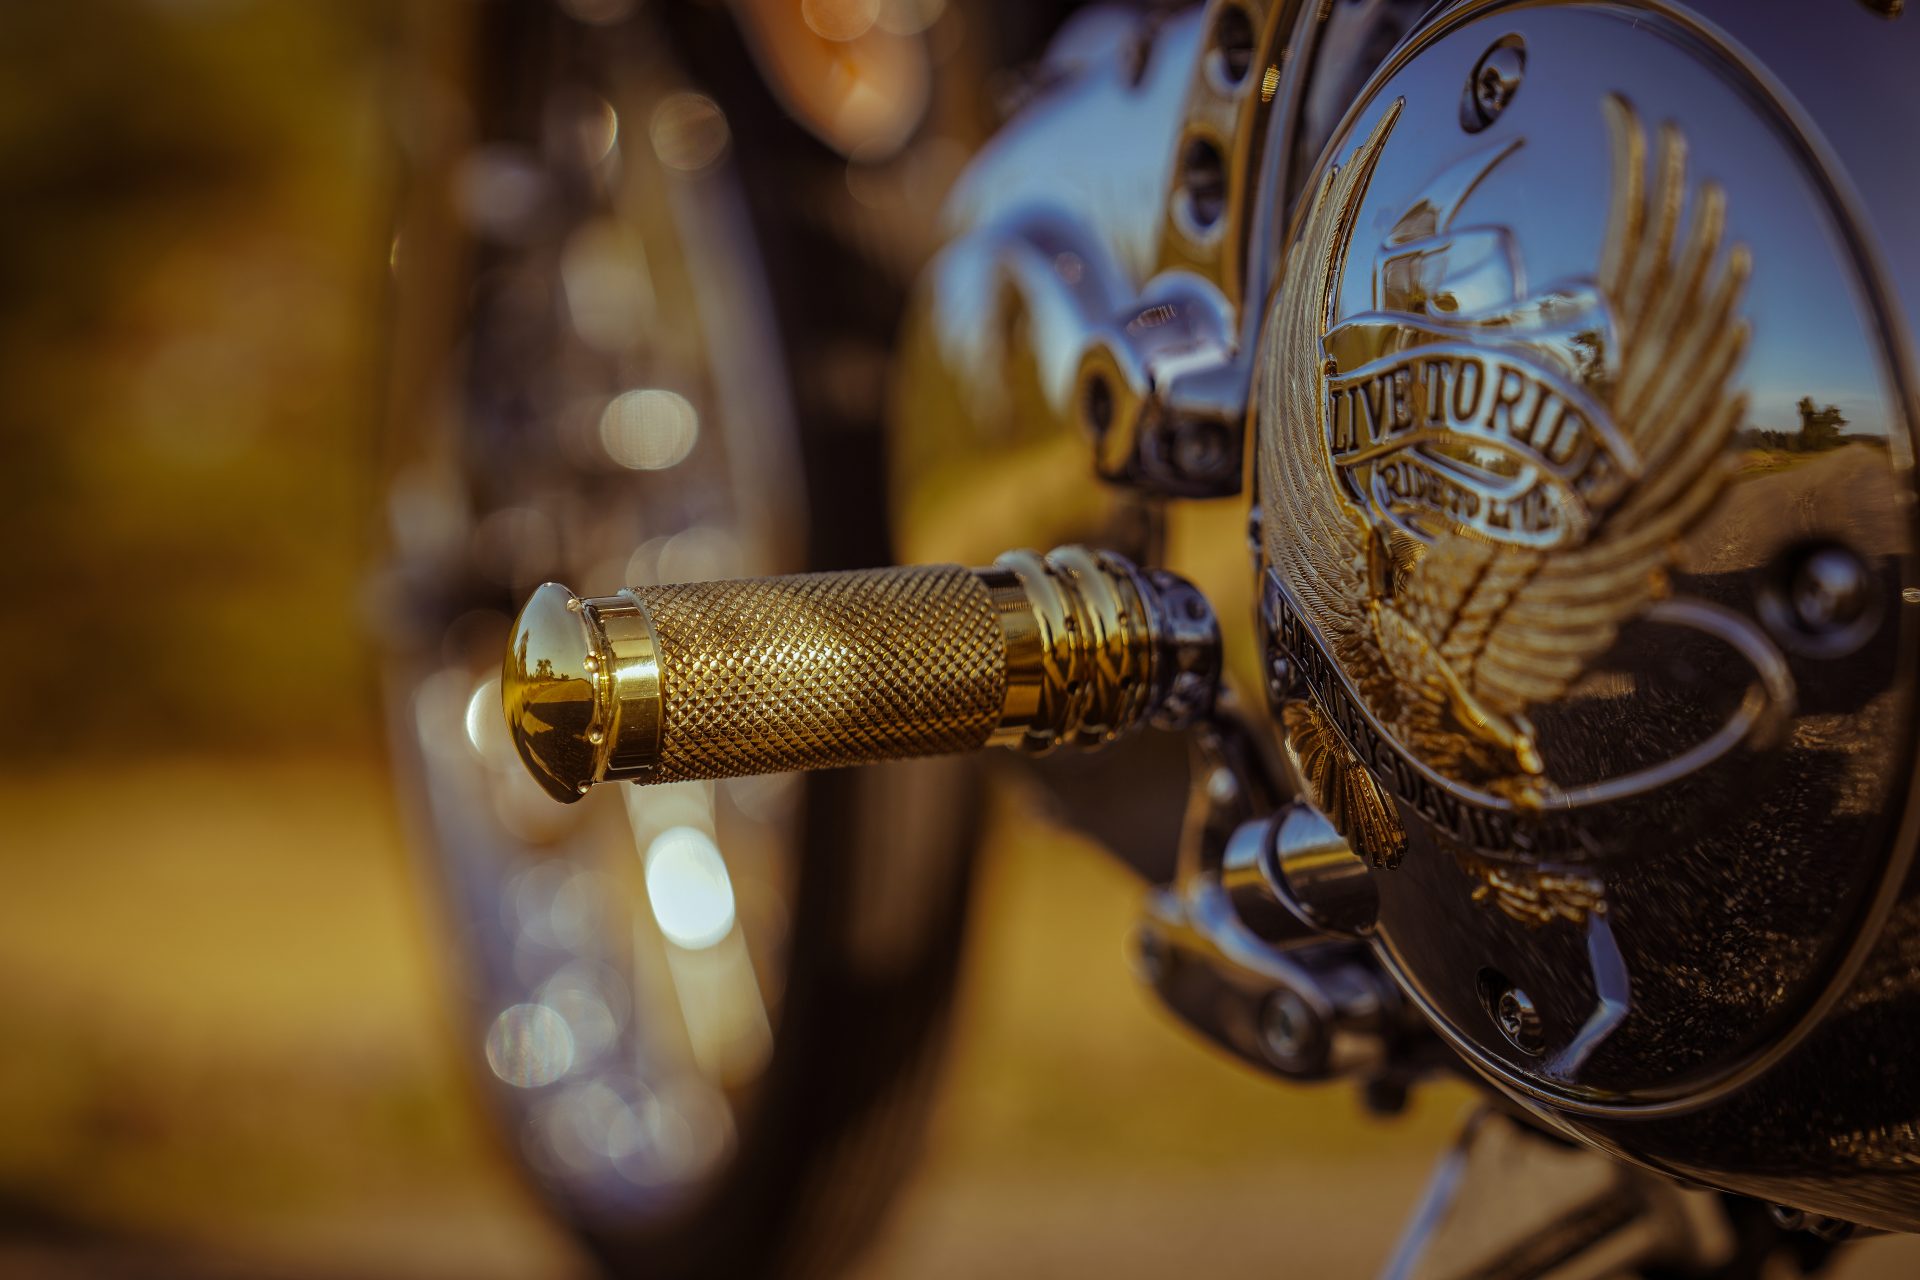
- Timer Cover – HD Life to Ride
- Clutch Cover – HD Life to Ride
- Rocker Box Kit – H-D Chrome Kit
- Exhaust – Drag Pipes
- Seat – Spirit Leather
- Engraving – Carsten Estermann
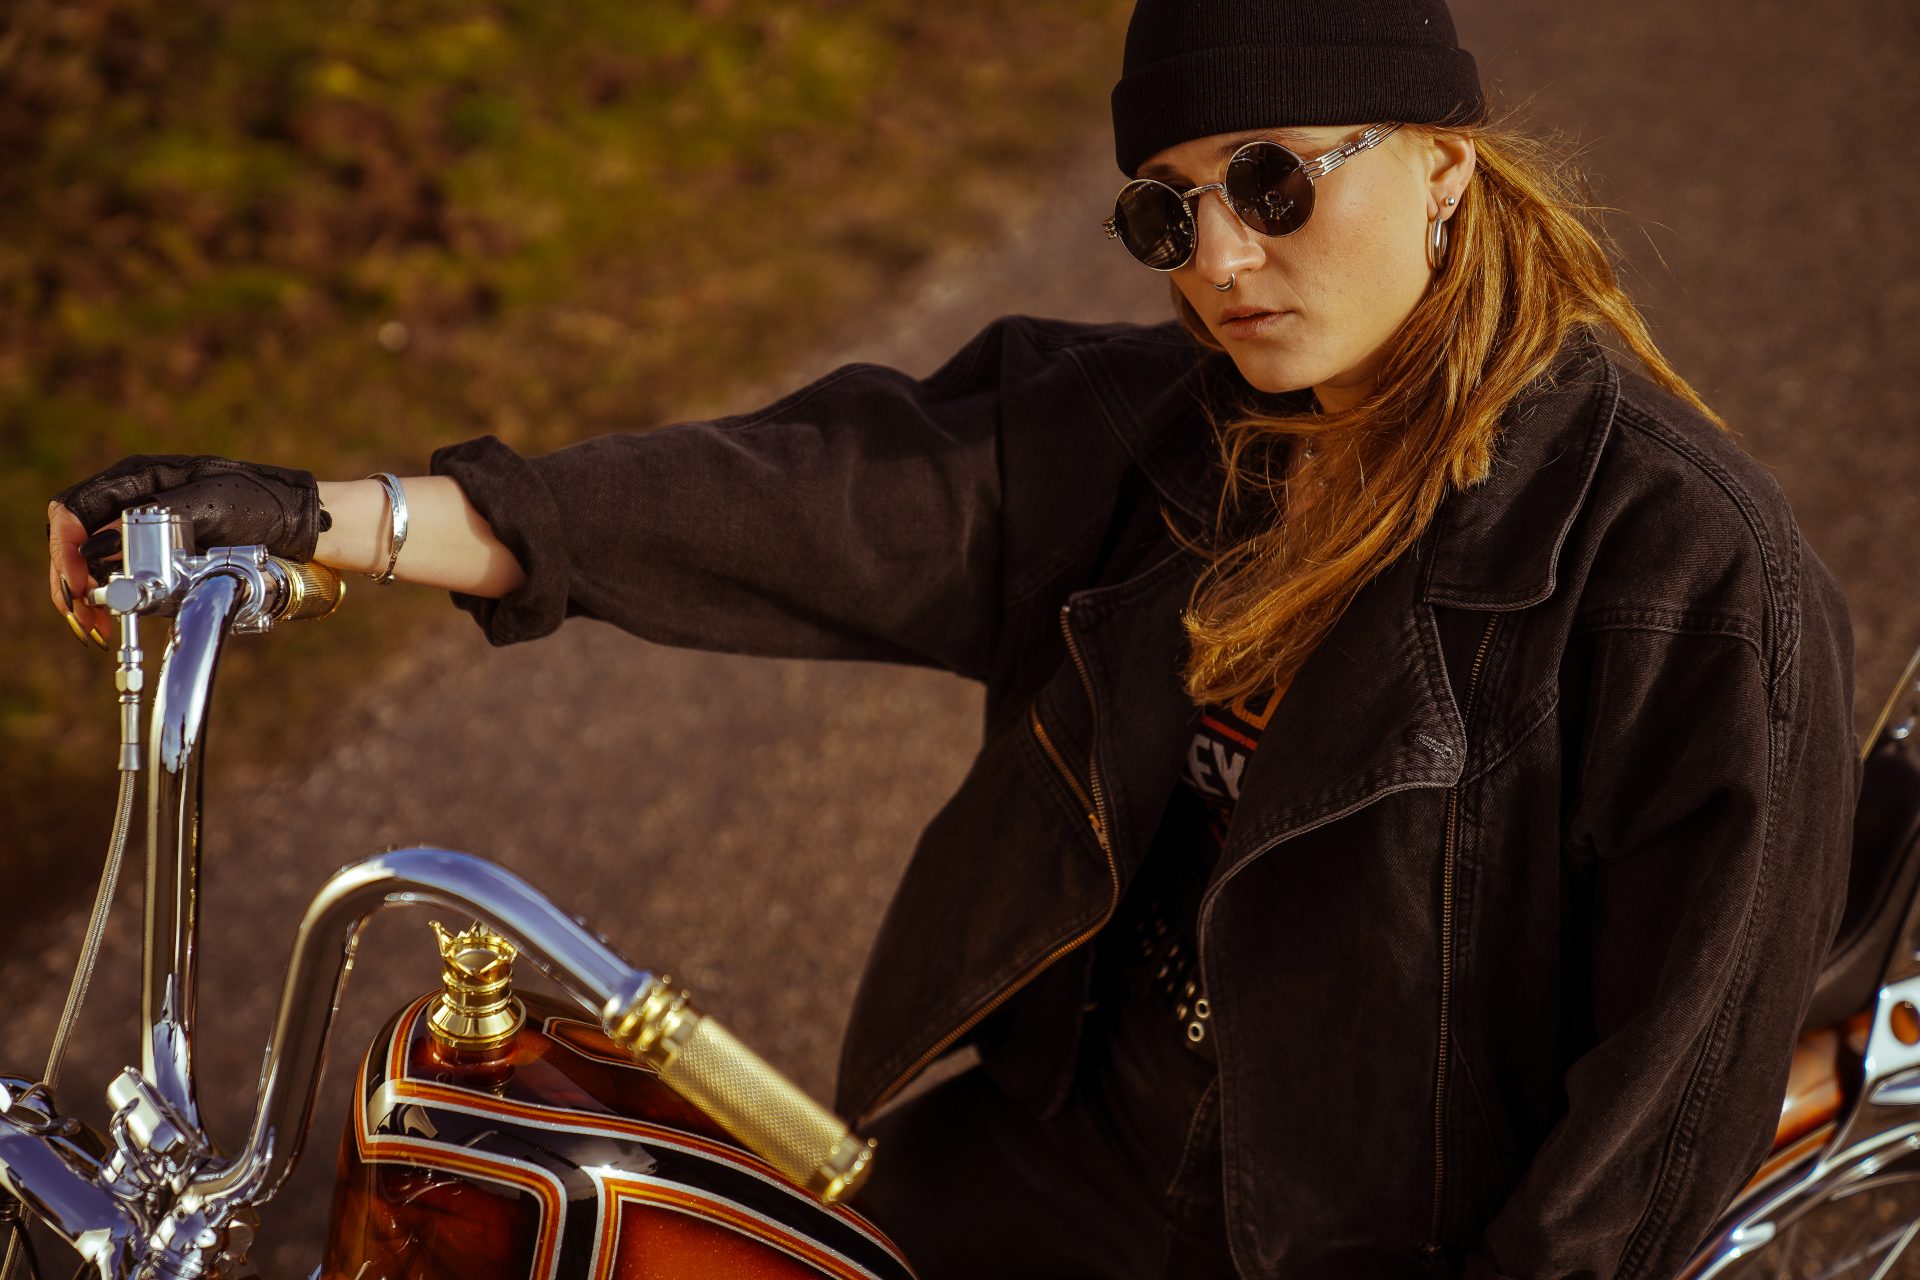
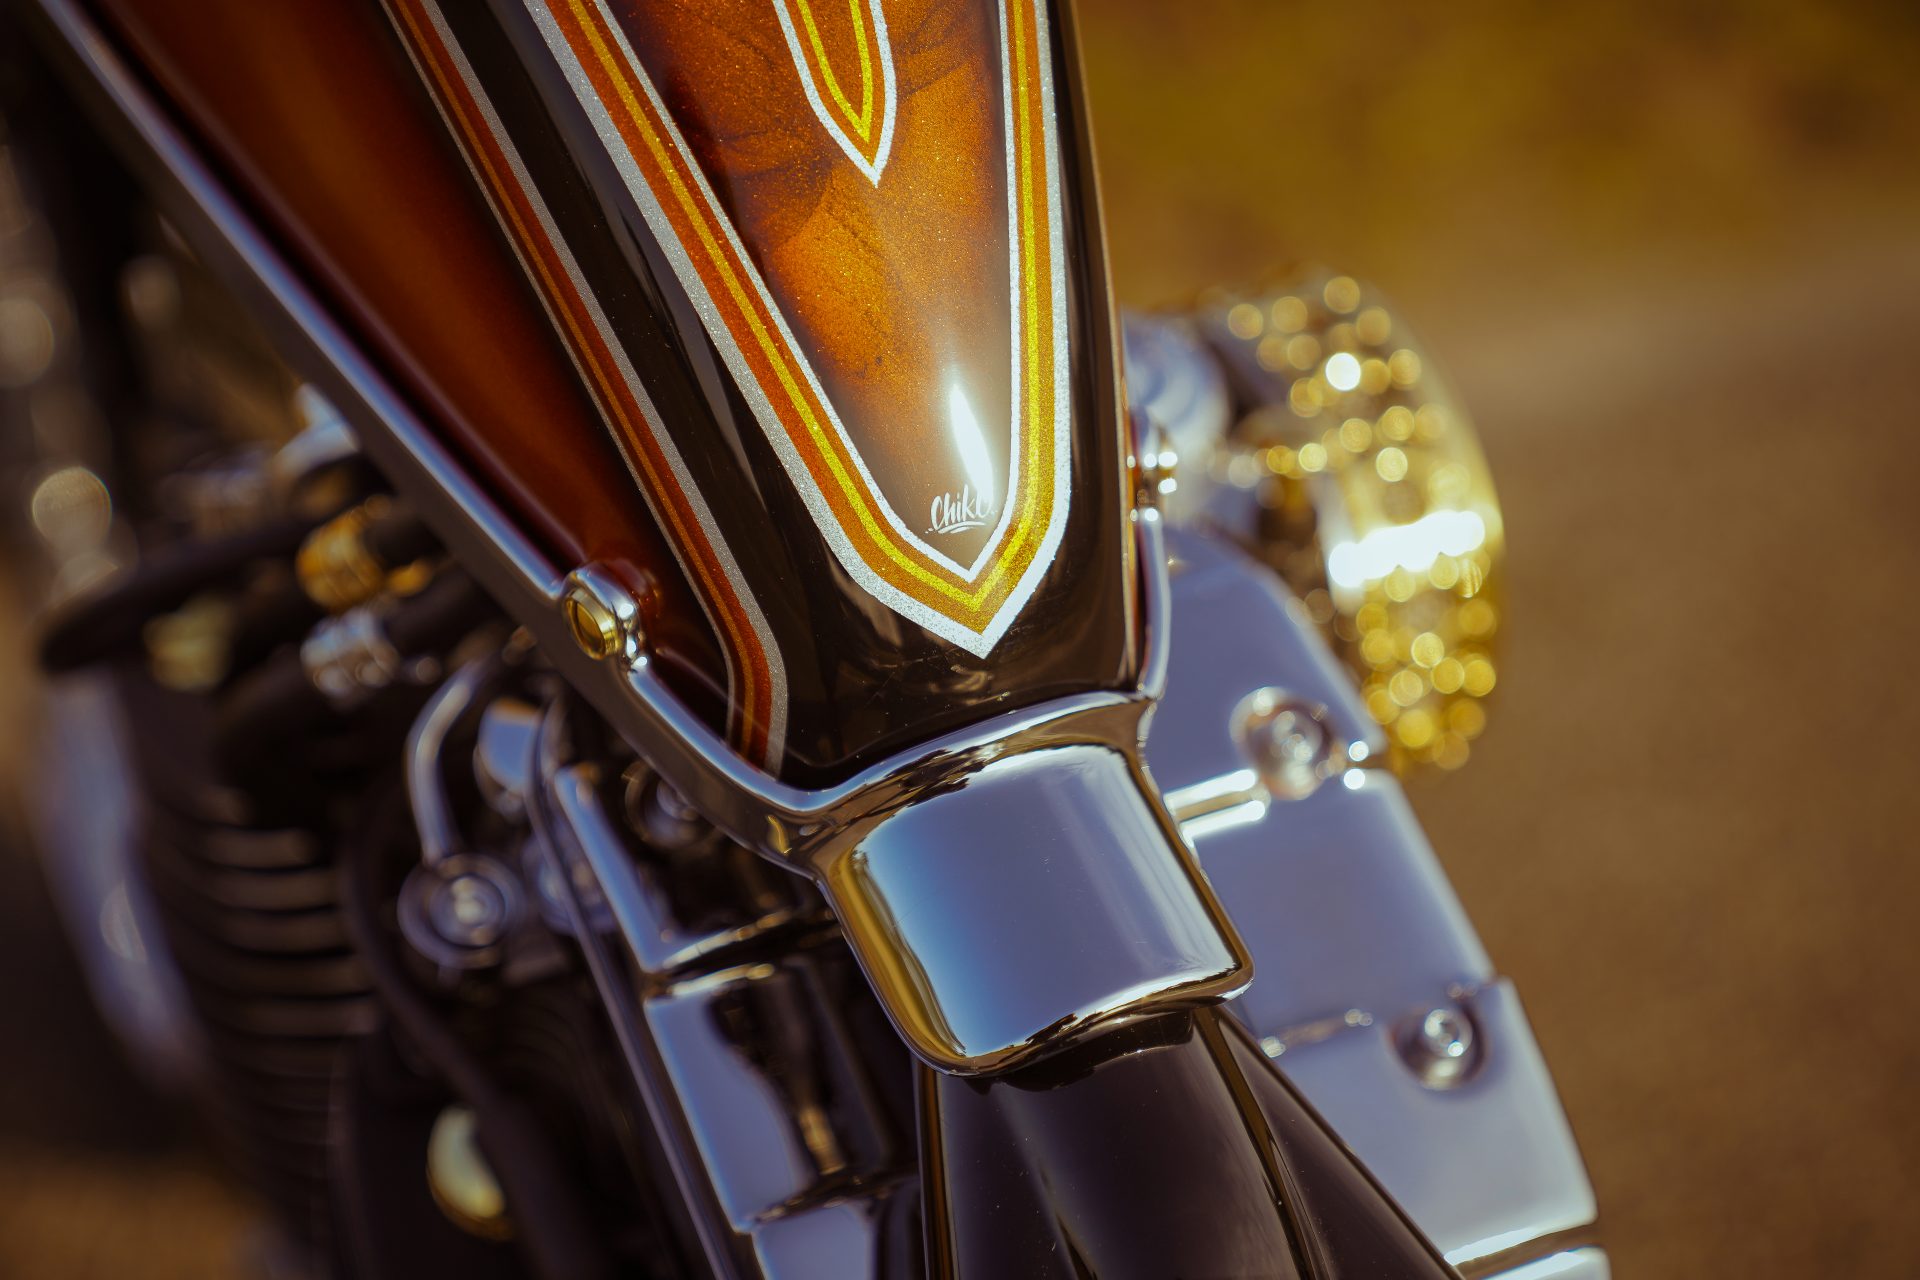
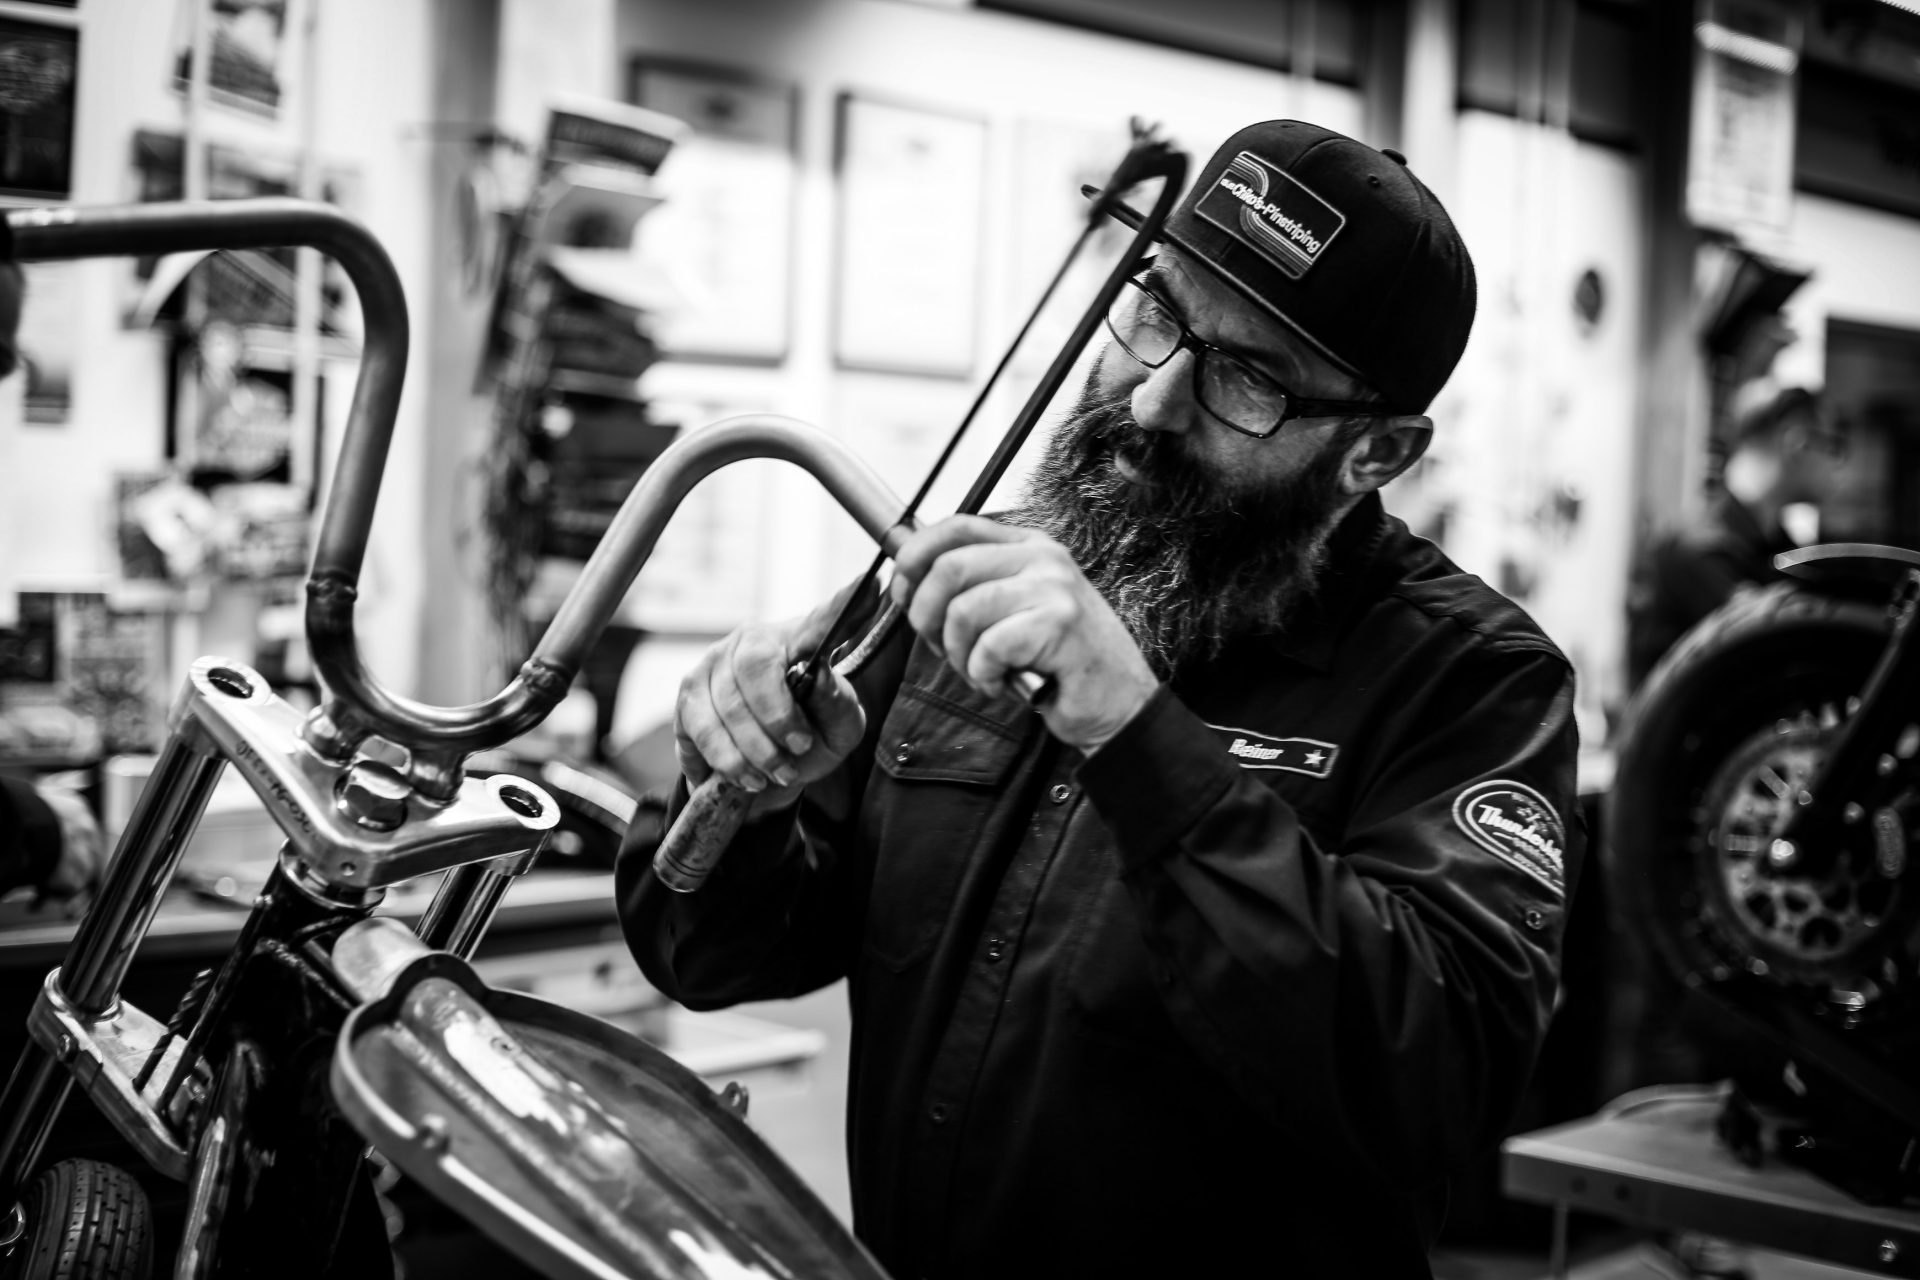
- Painting – Chiko´s Pinstriping
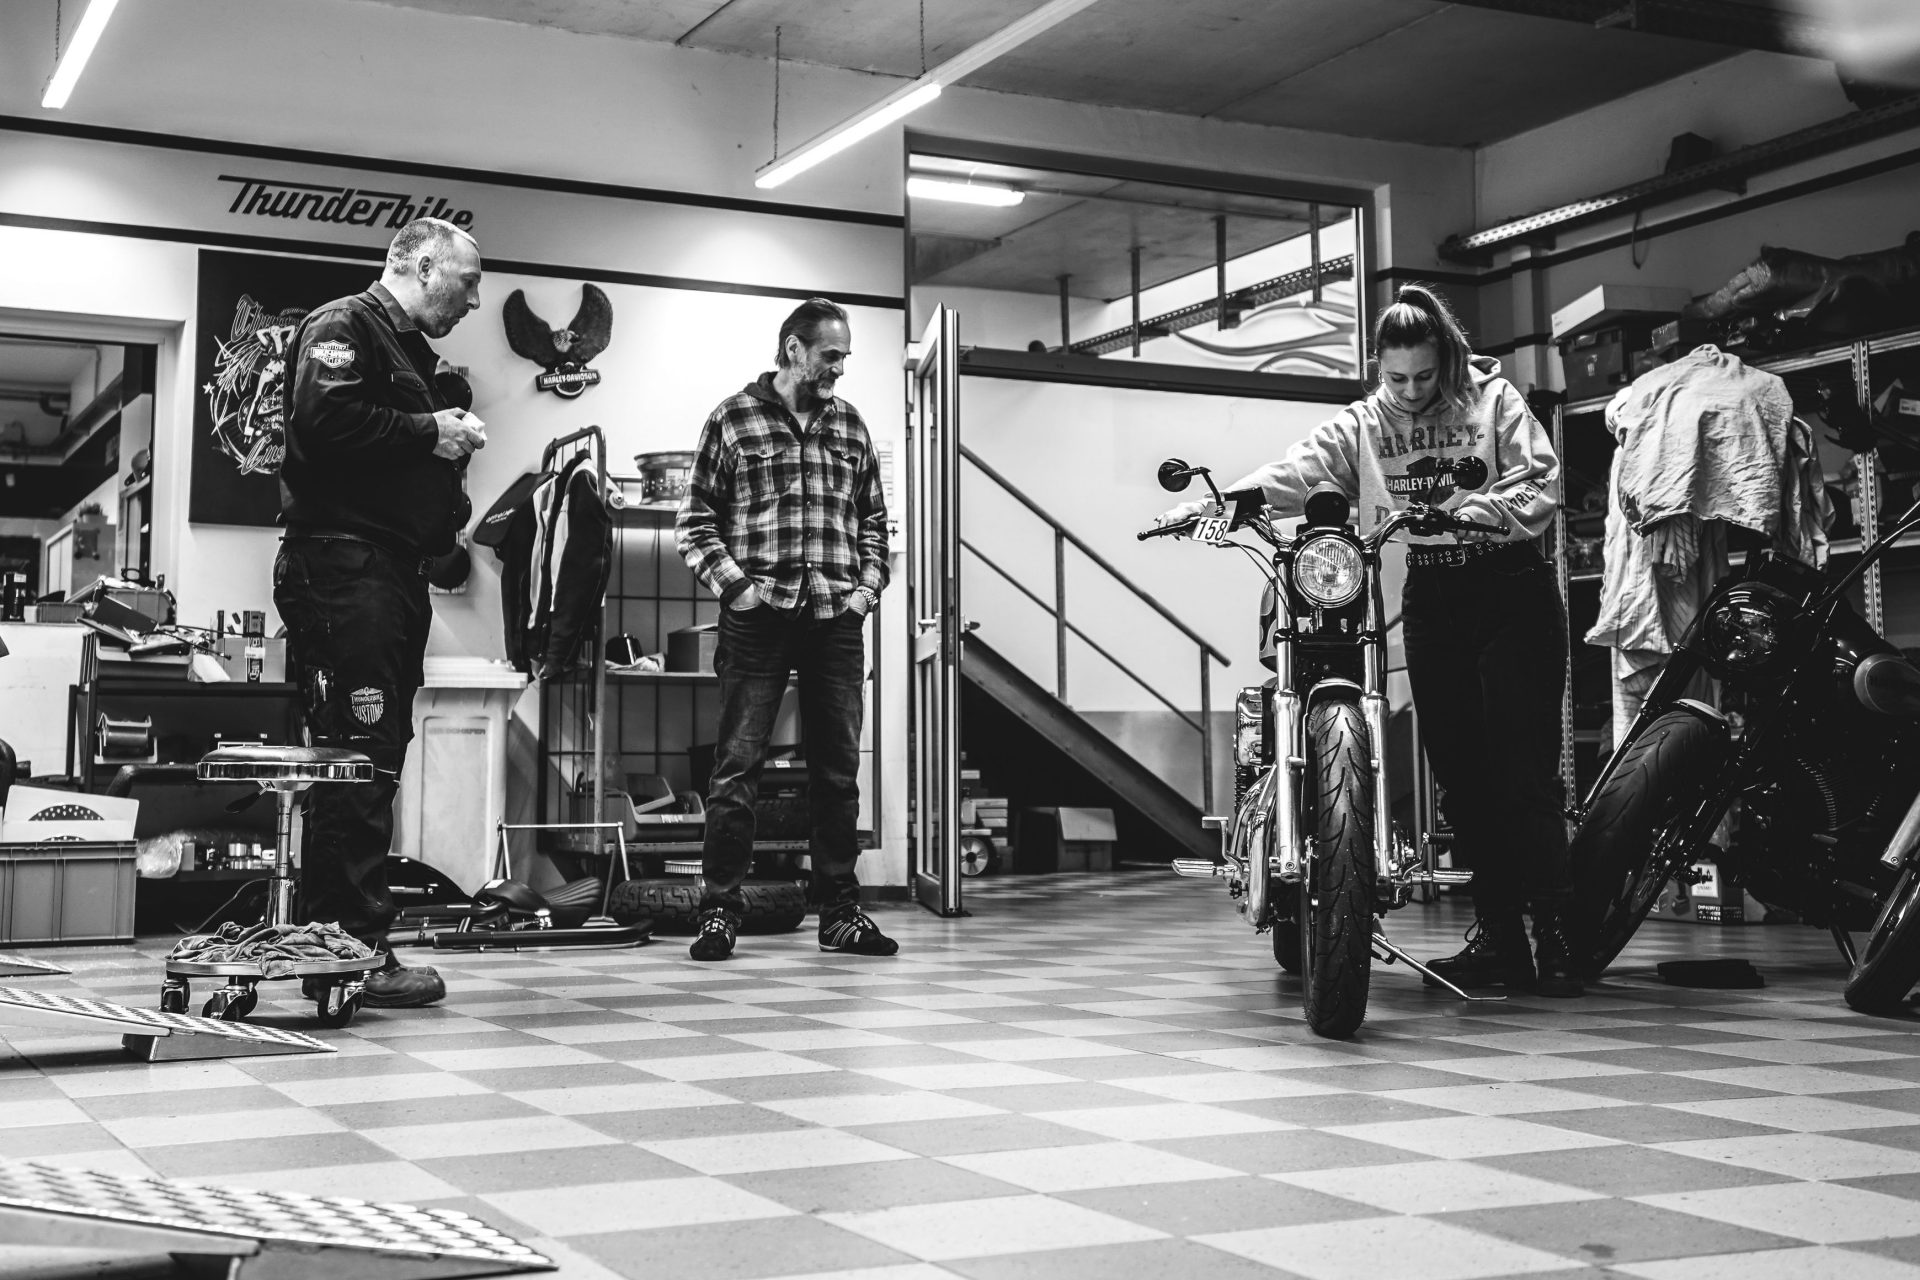
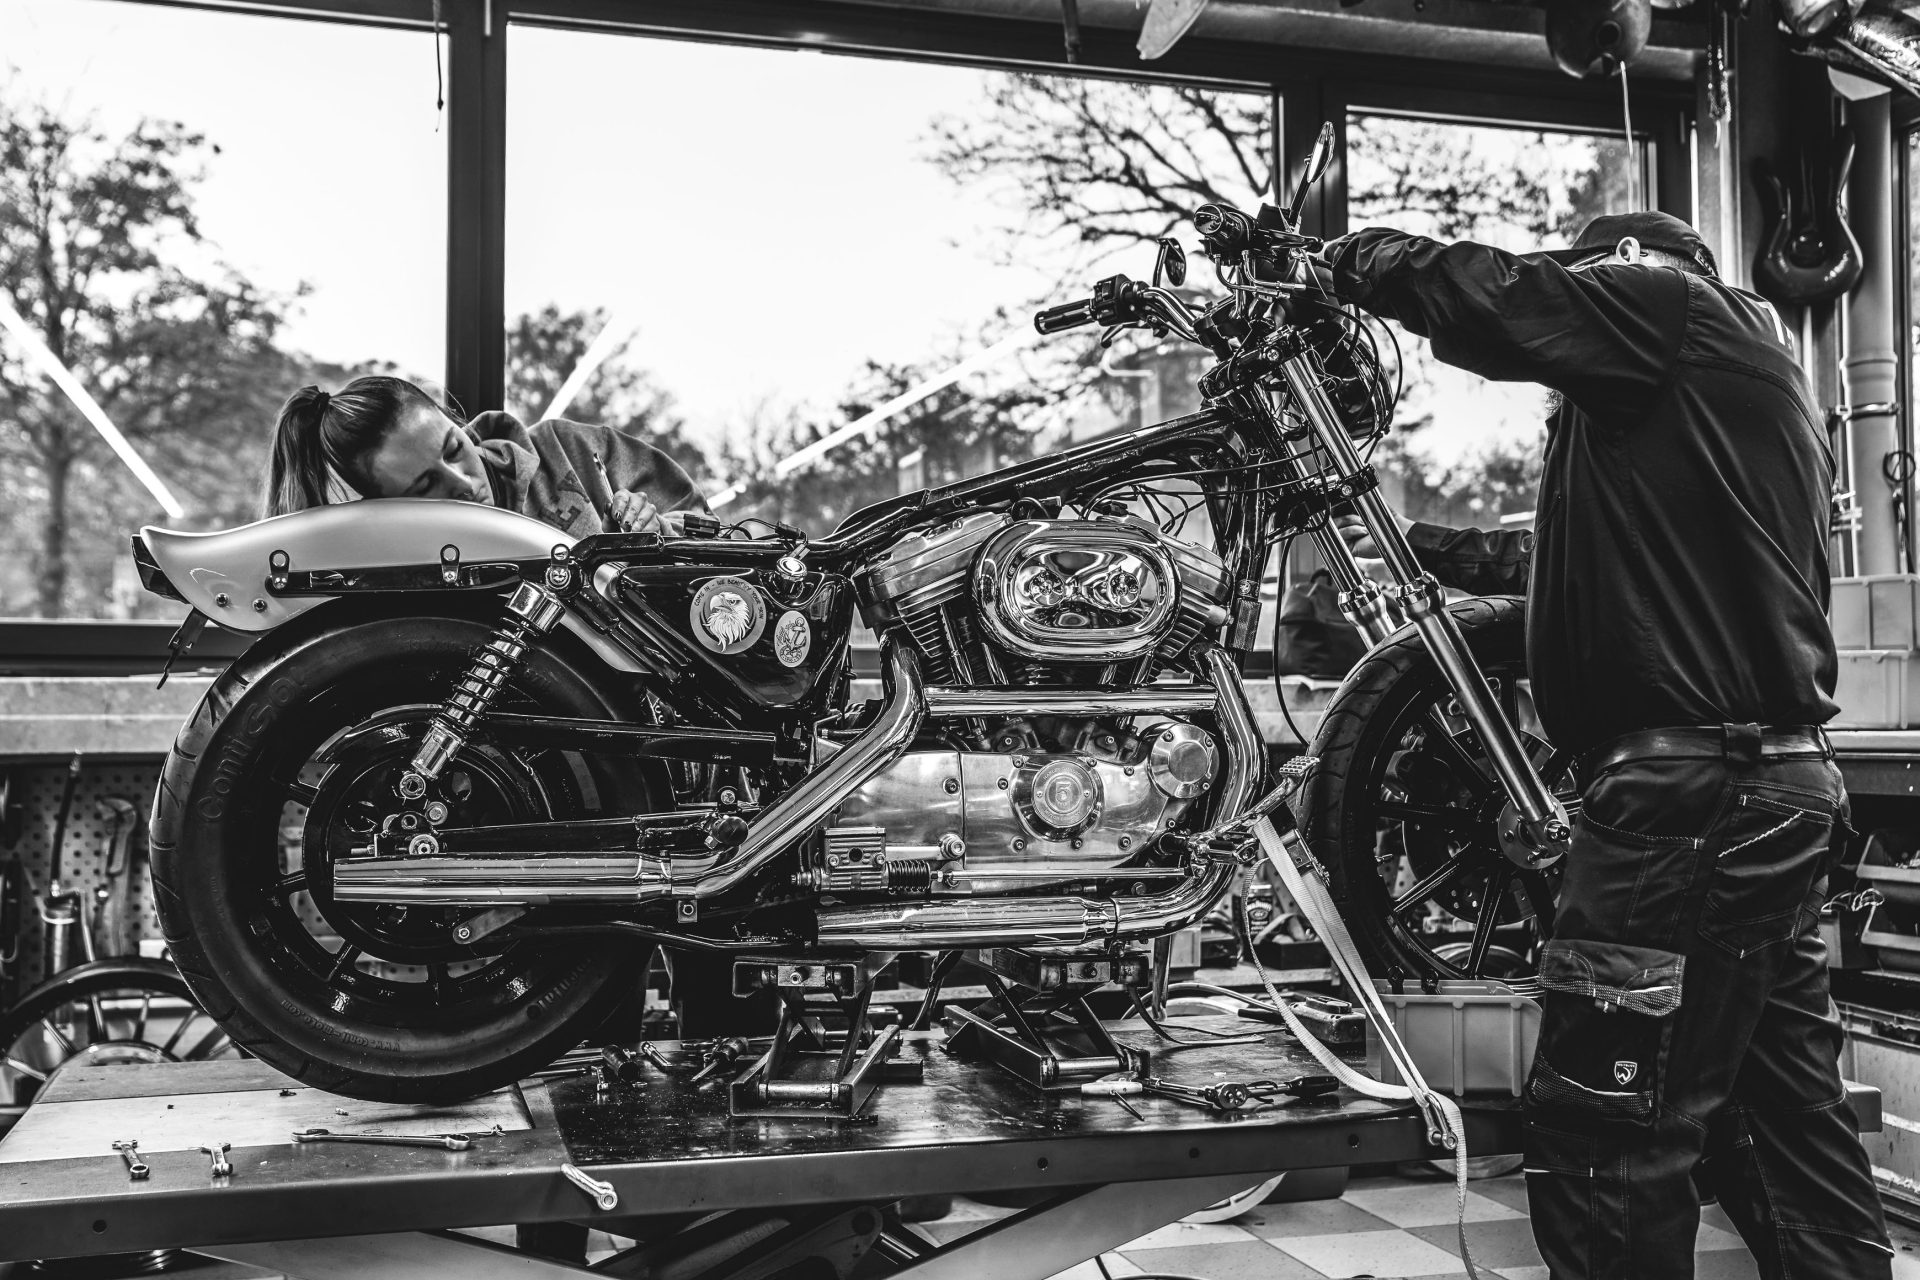
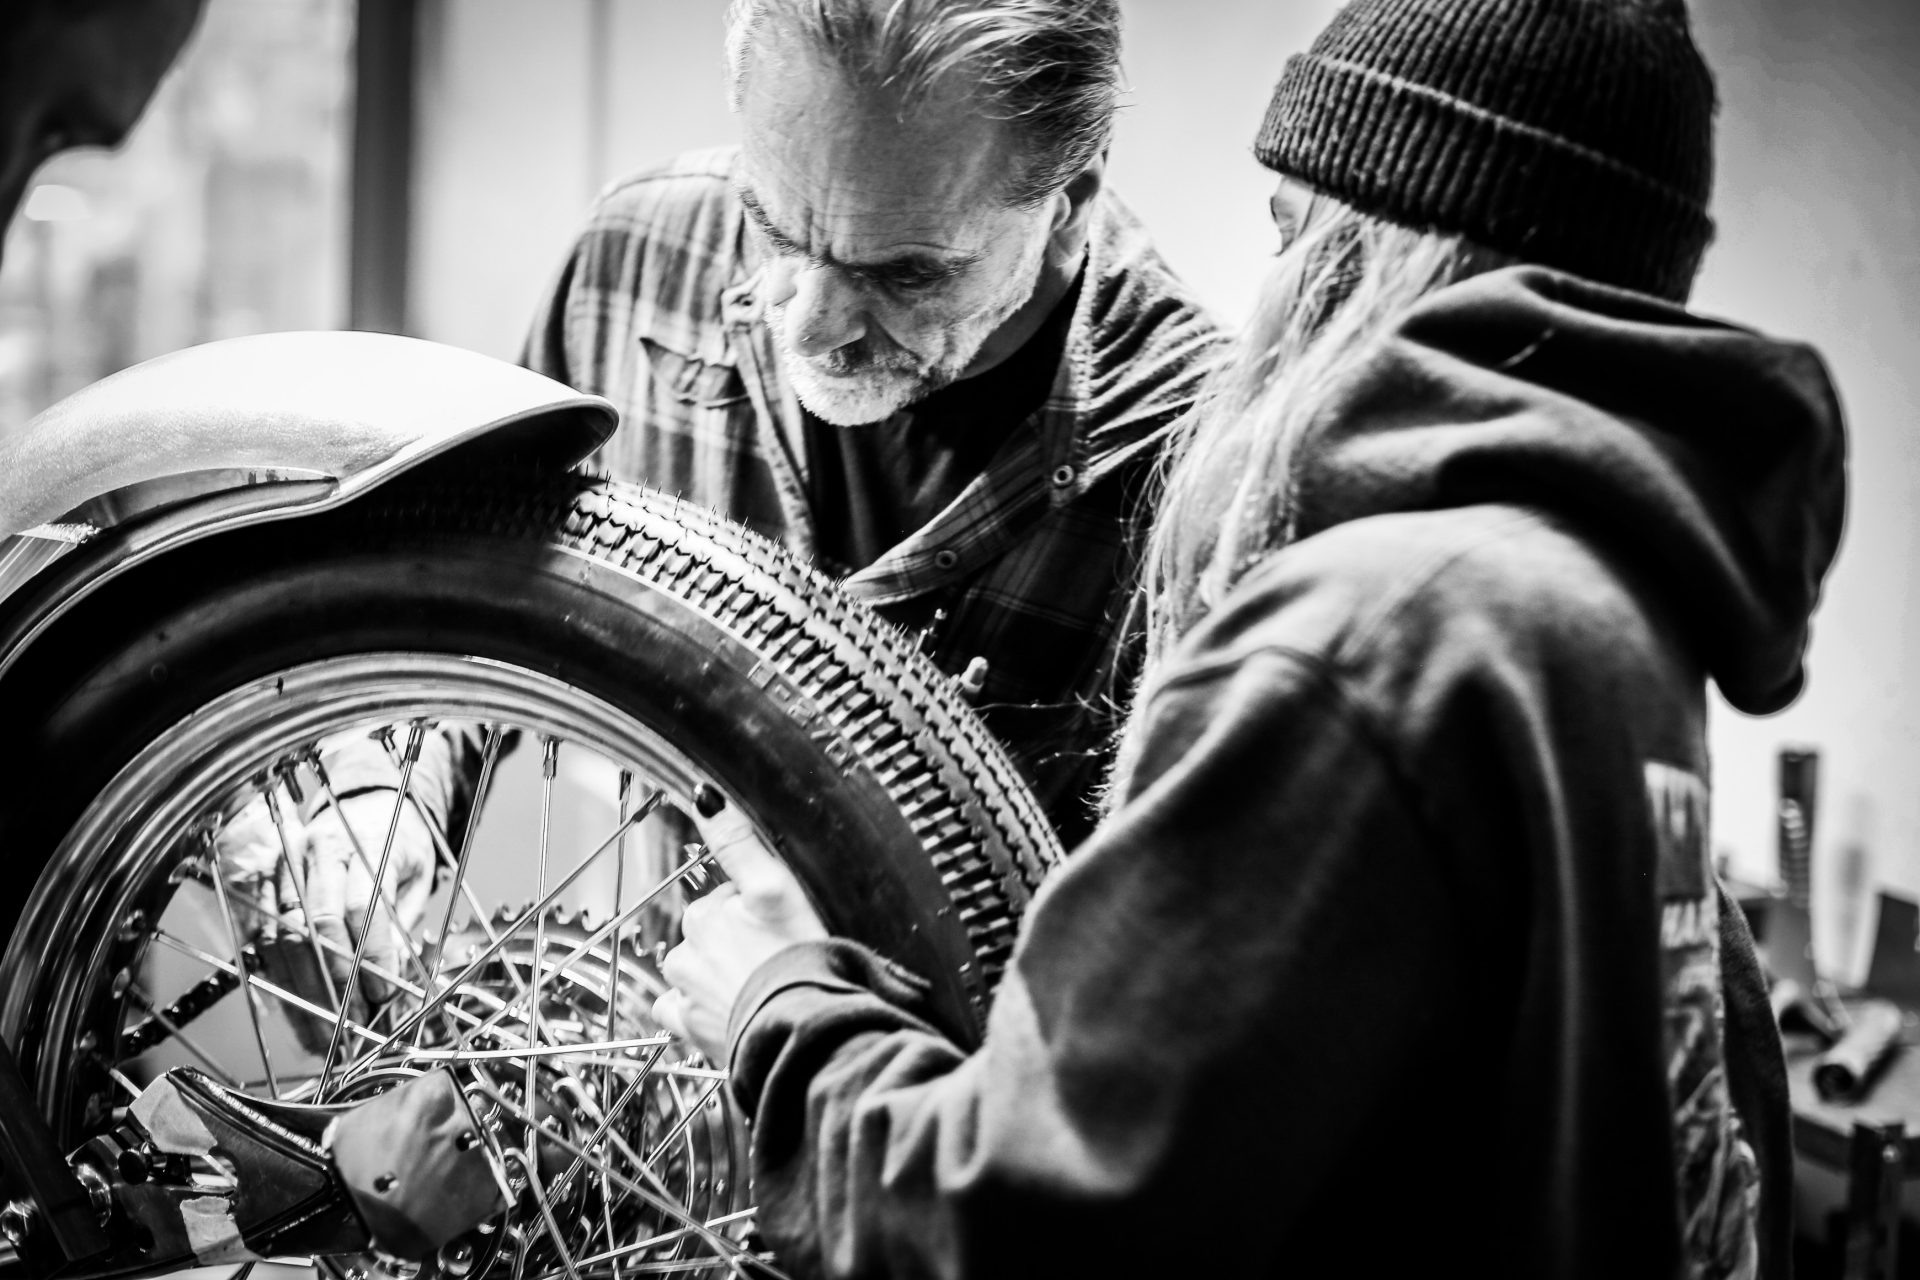
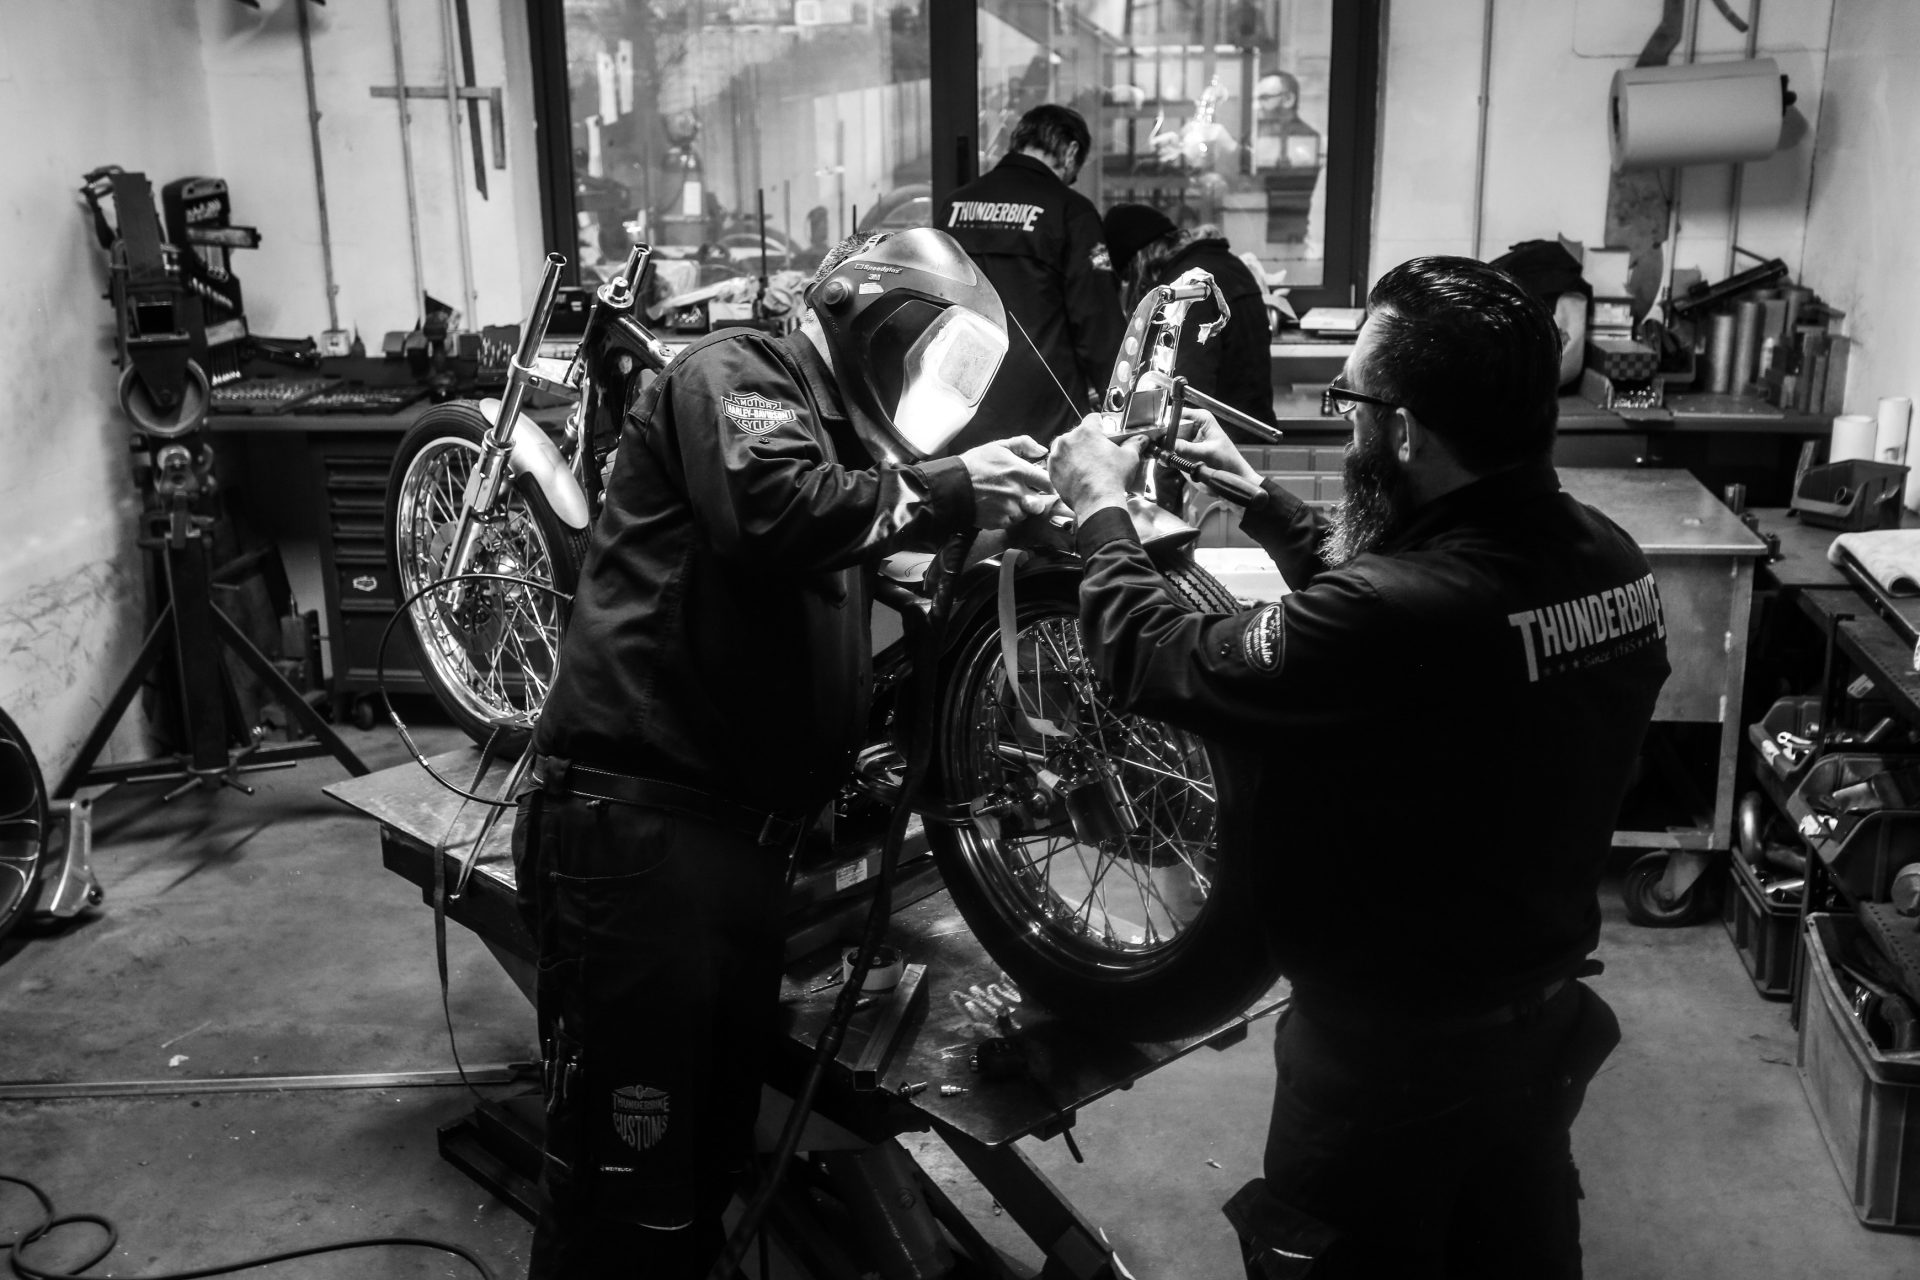
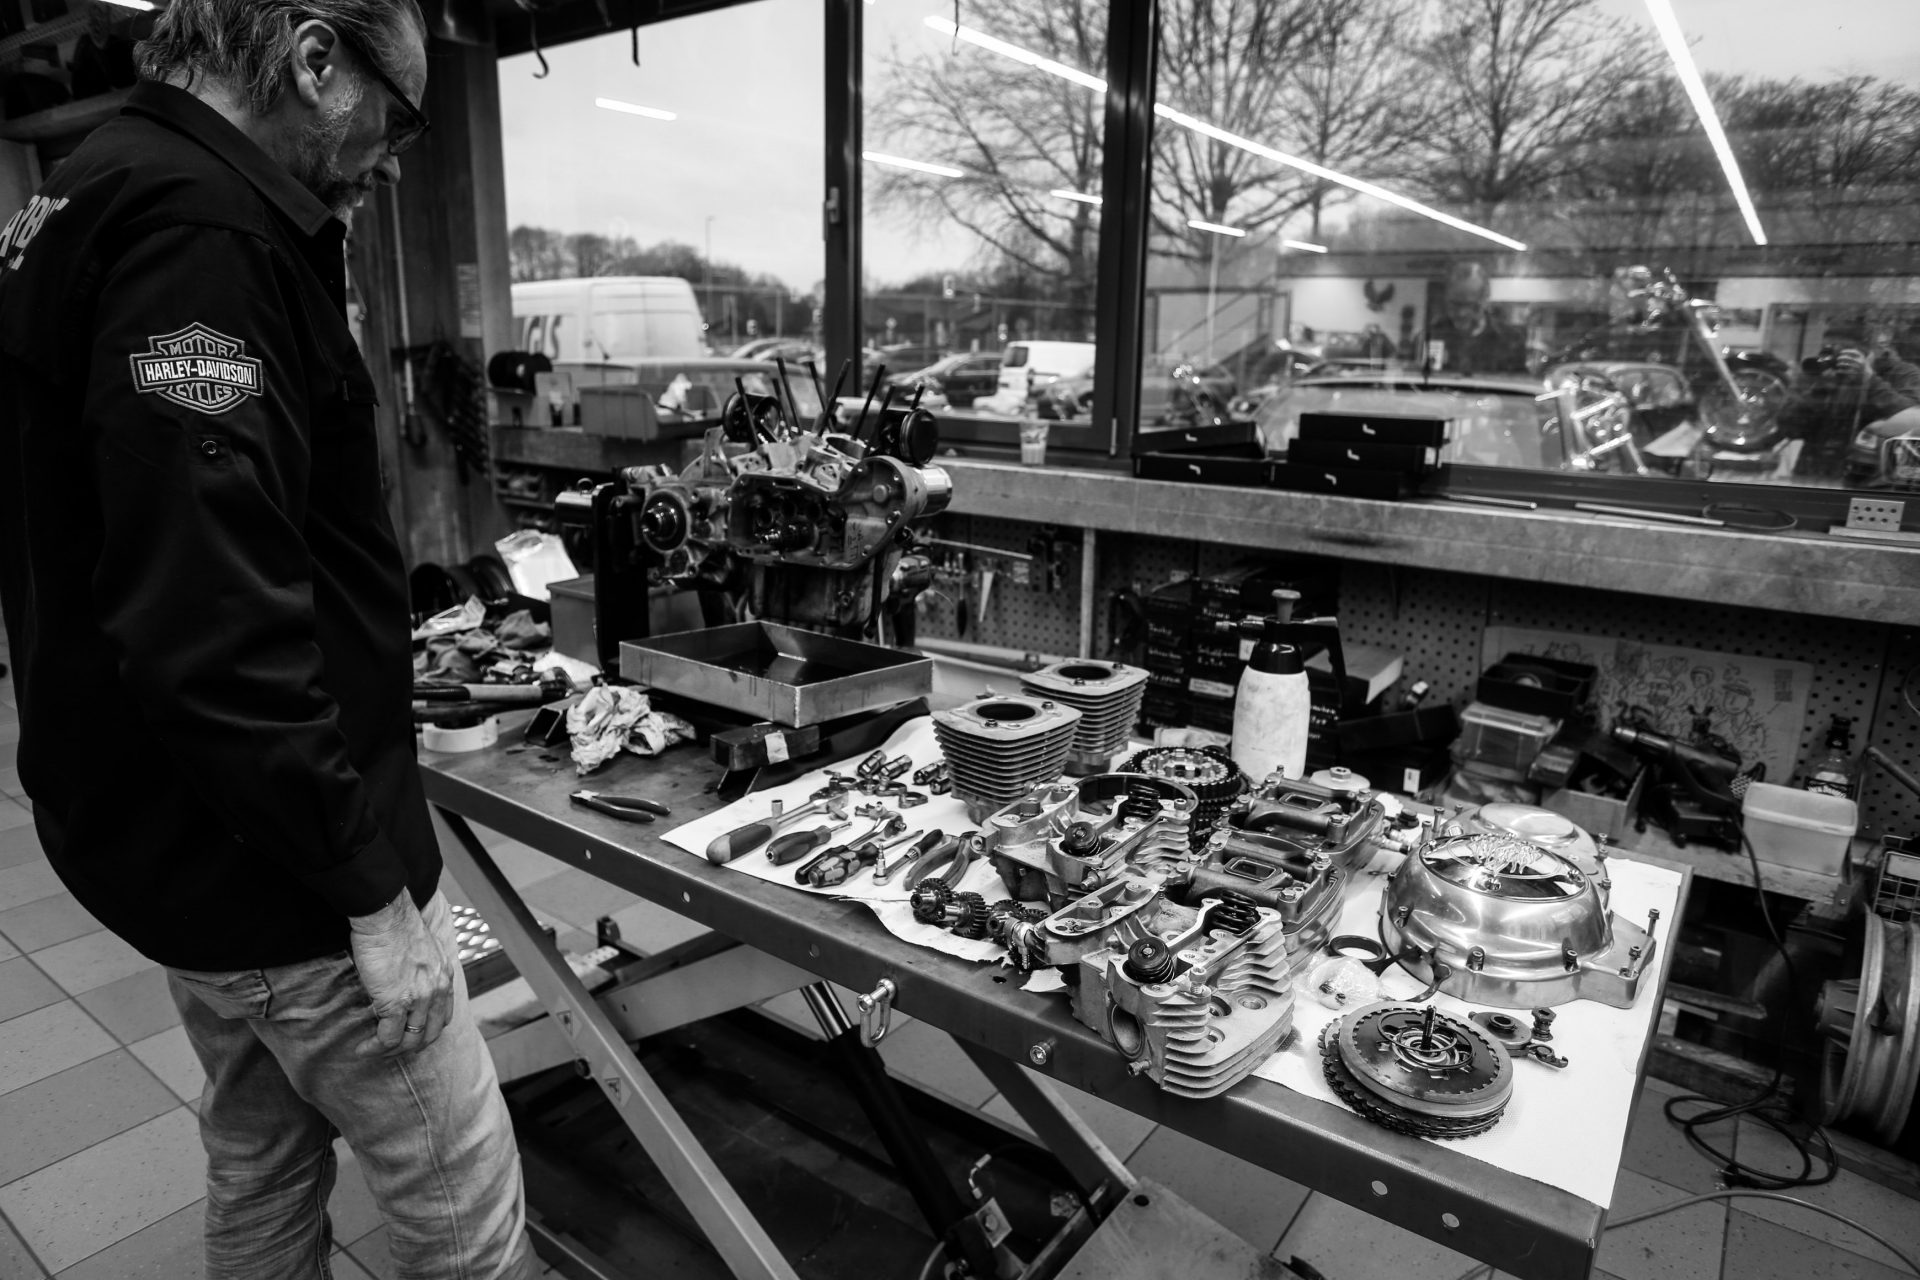
Making of
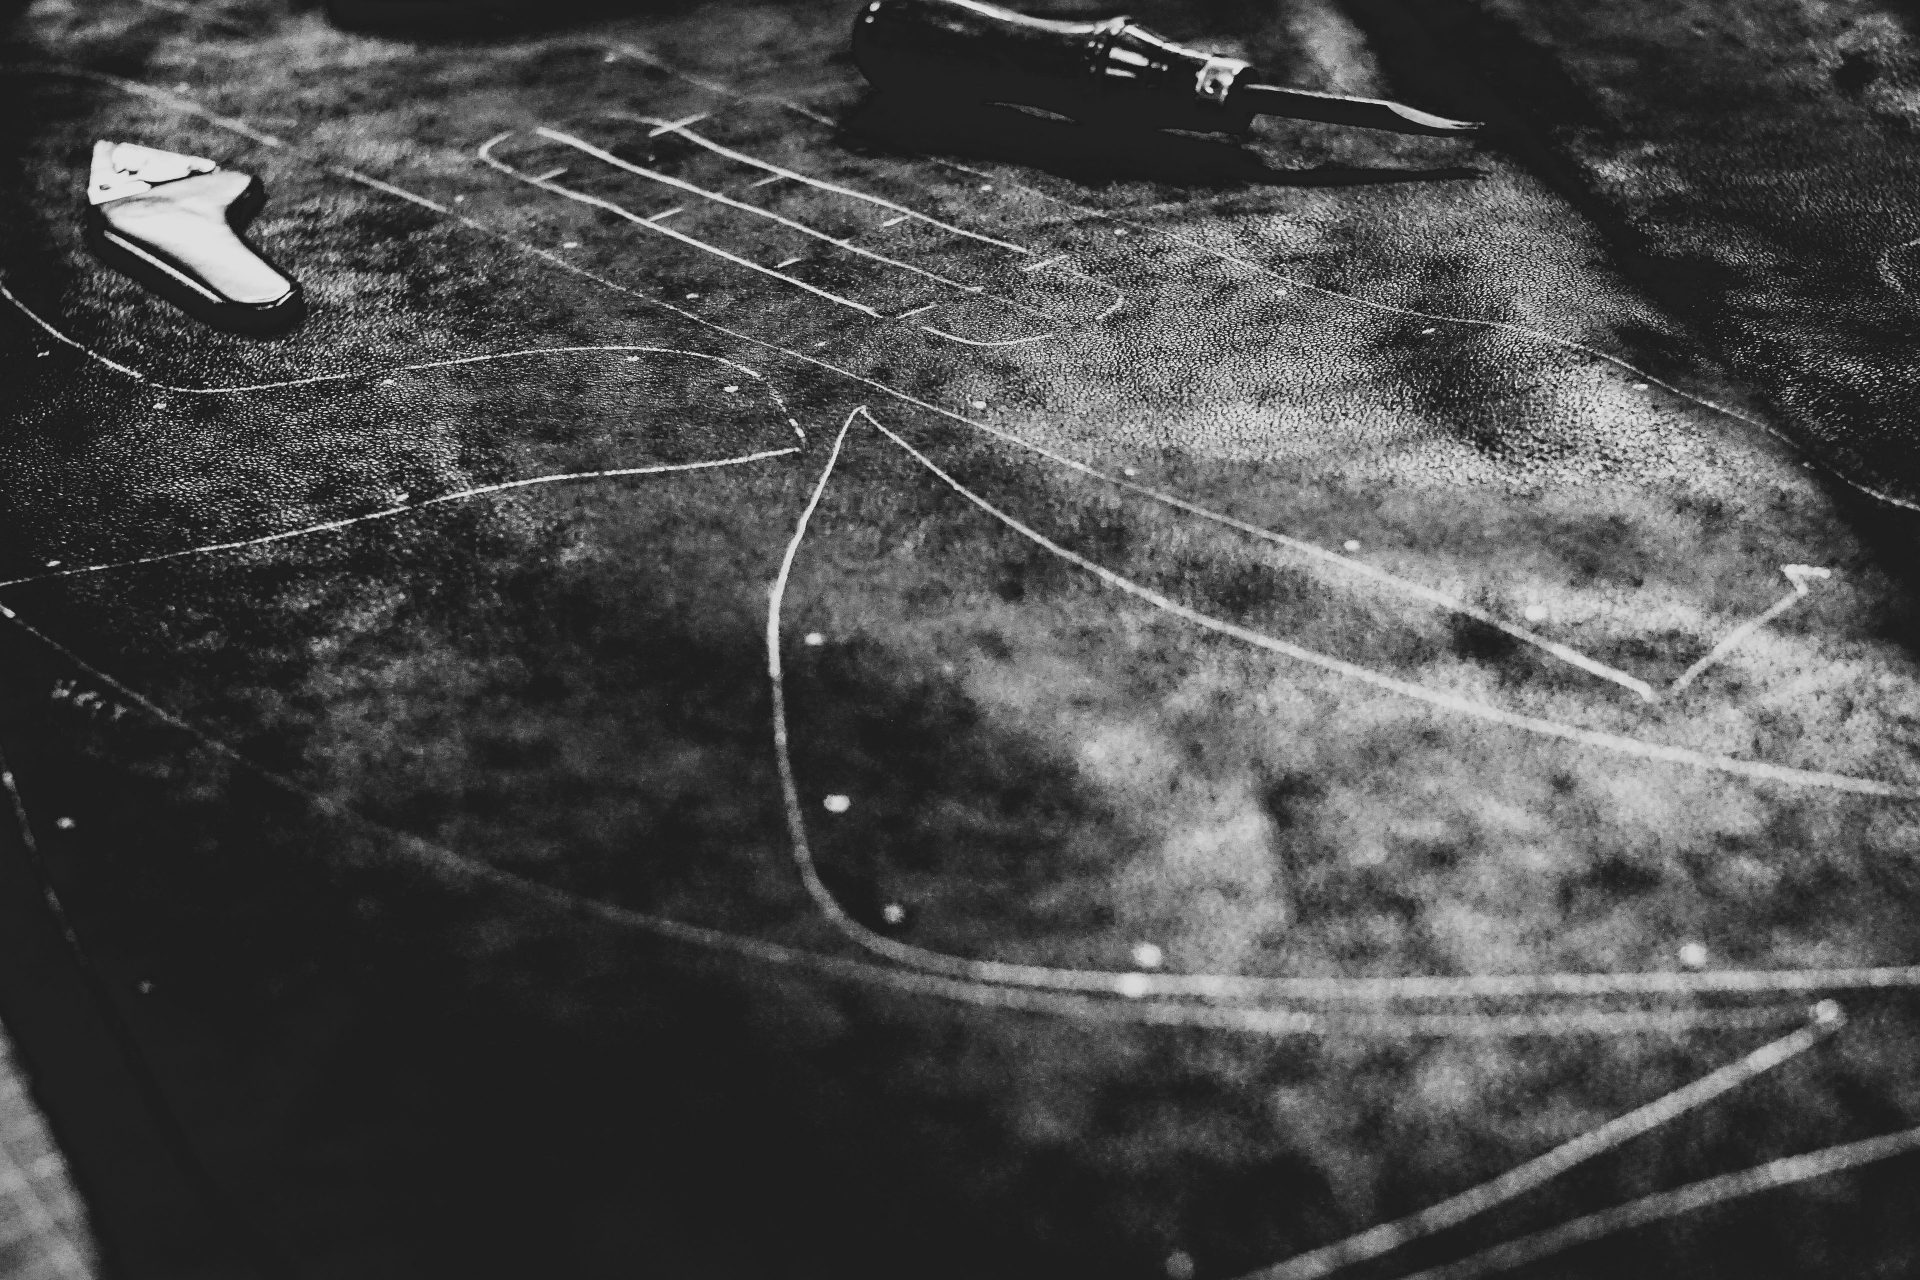
Stripping & Inventory


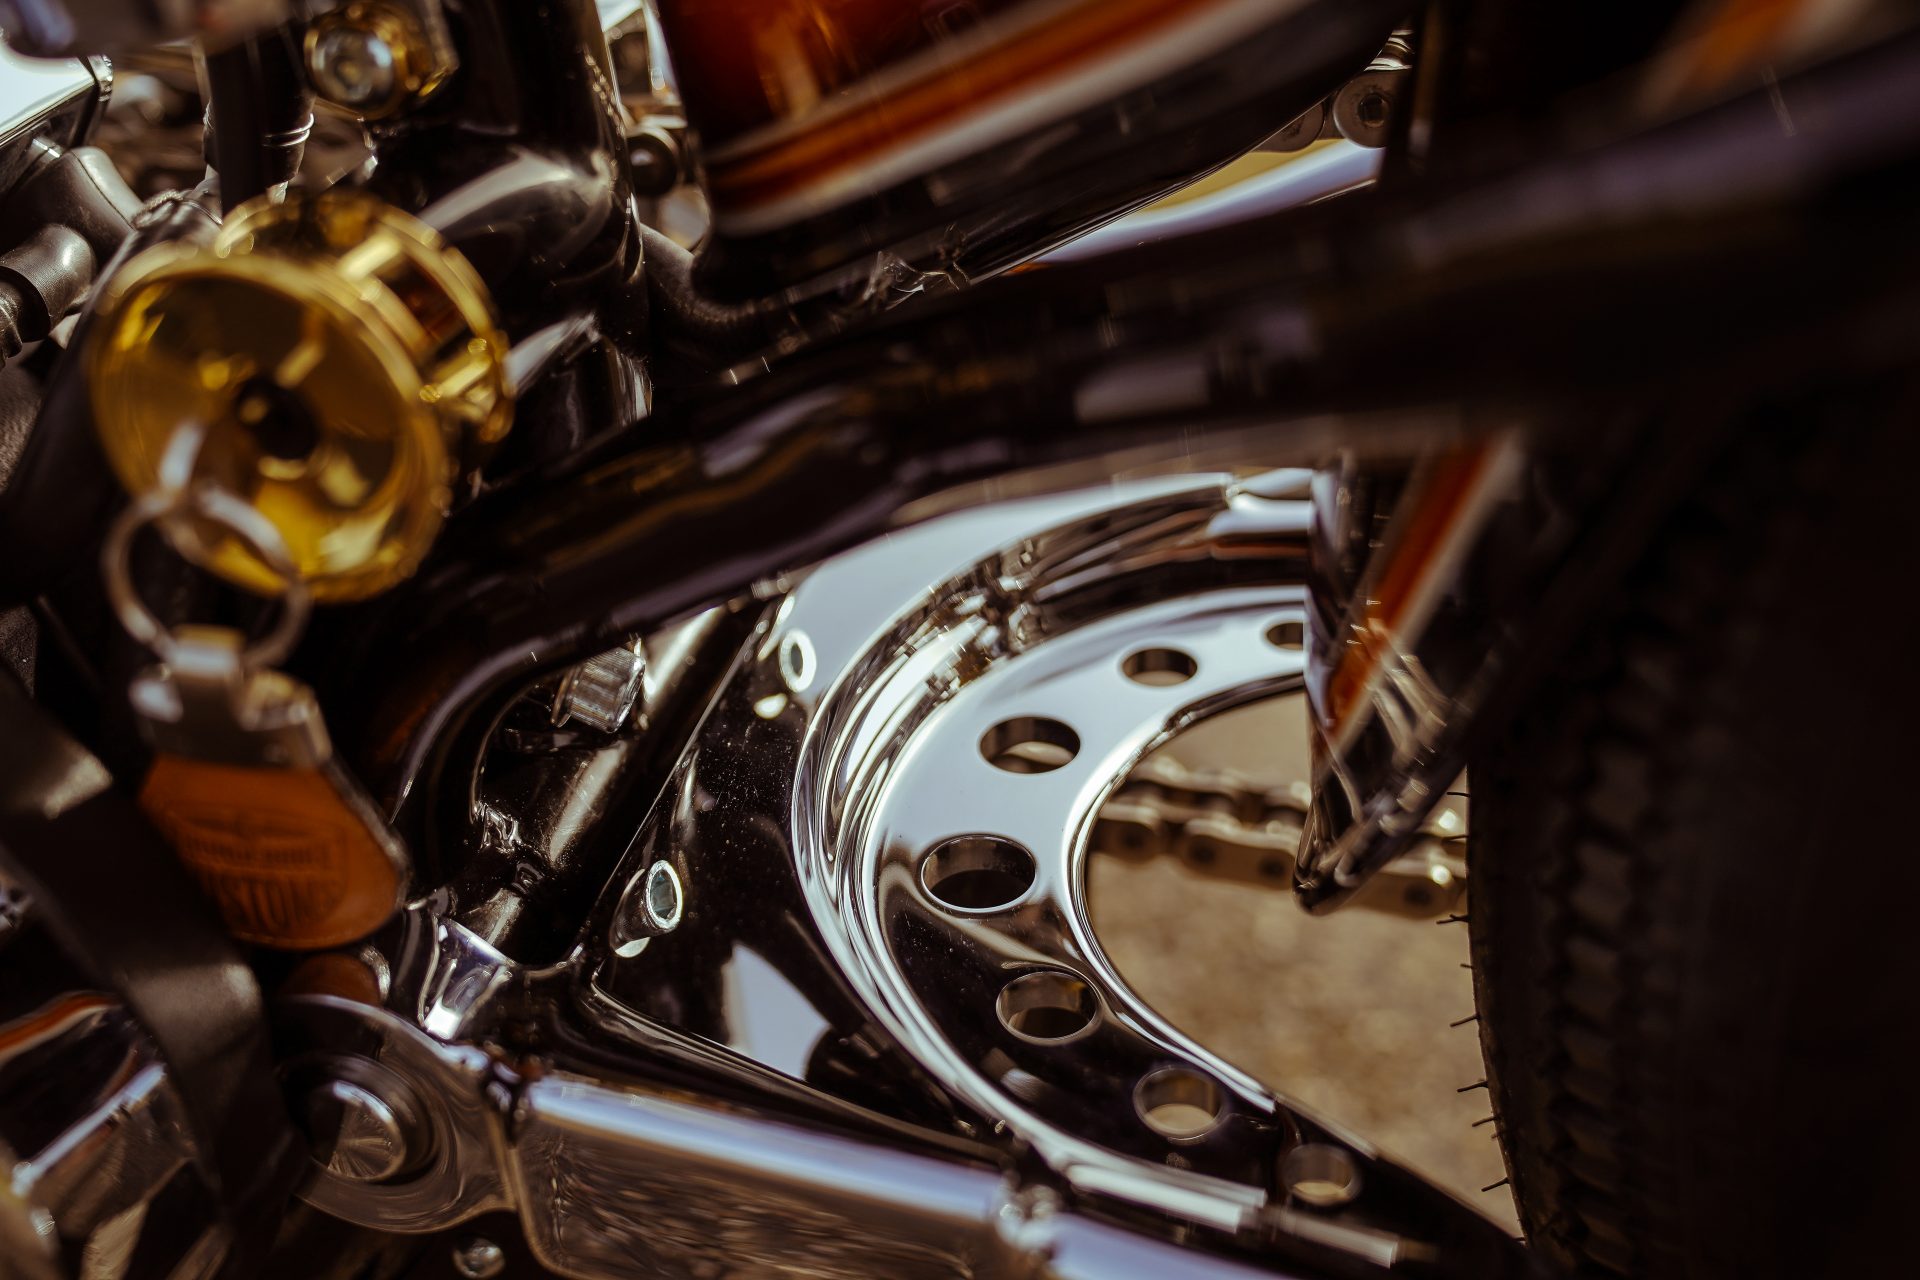
The Swingarm
By loading the video you accept the privacy policy of YouTube.
Mehr erfahren
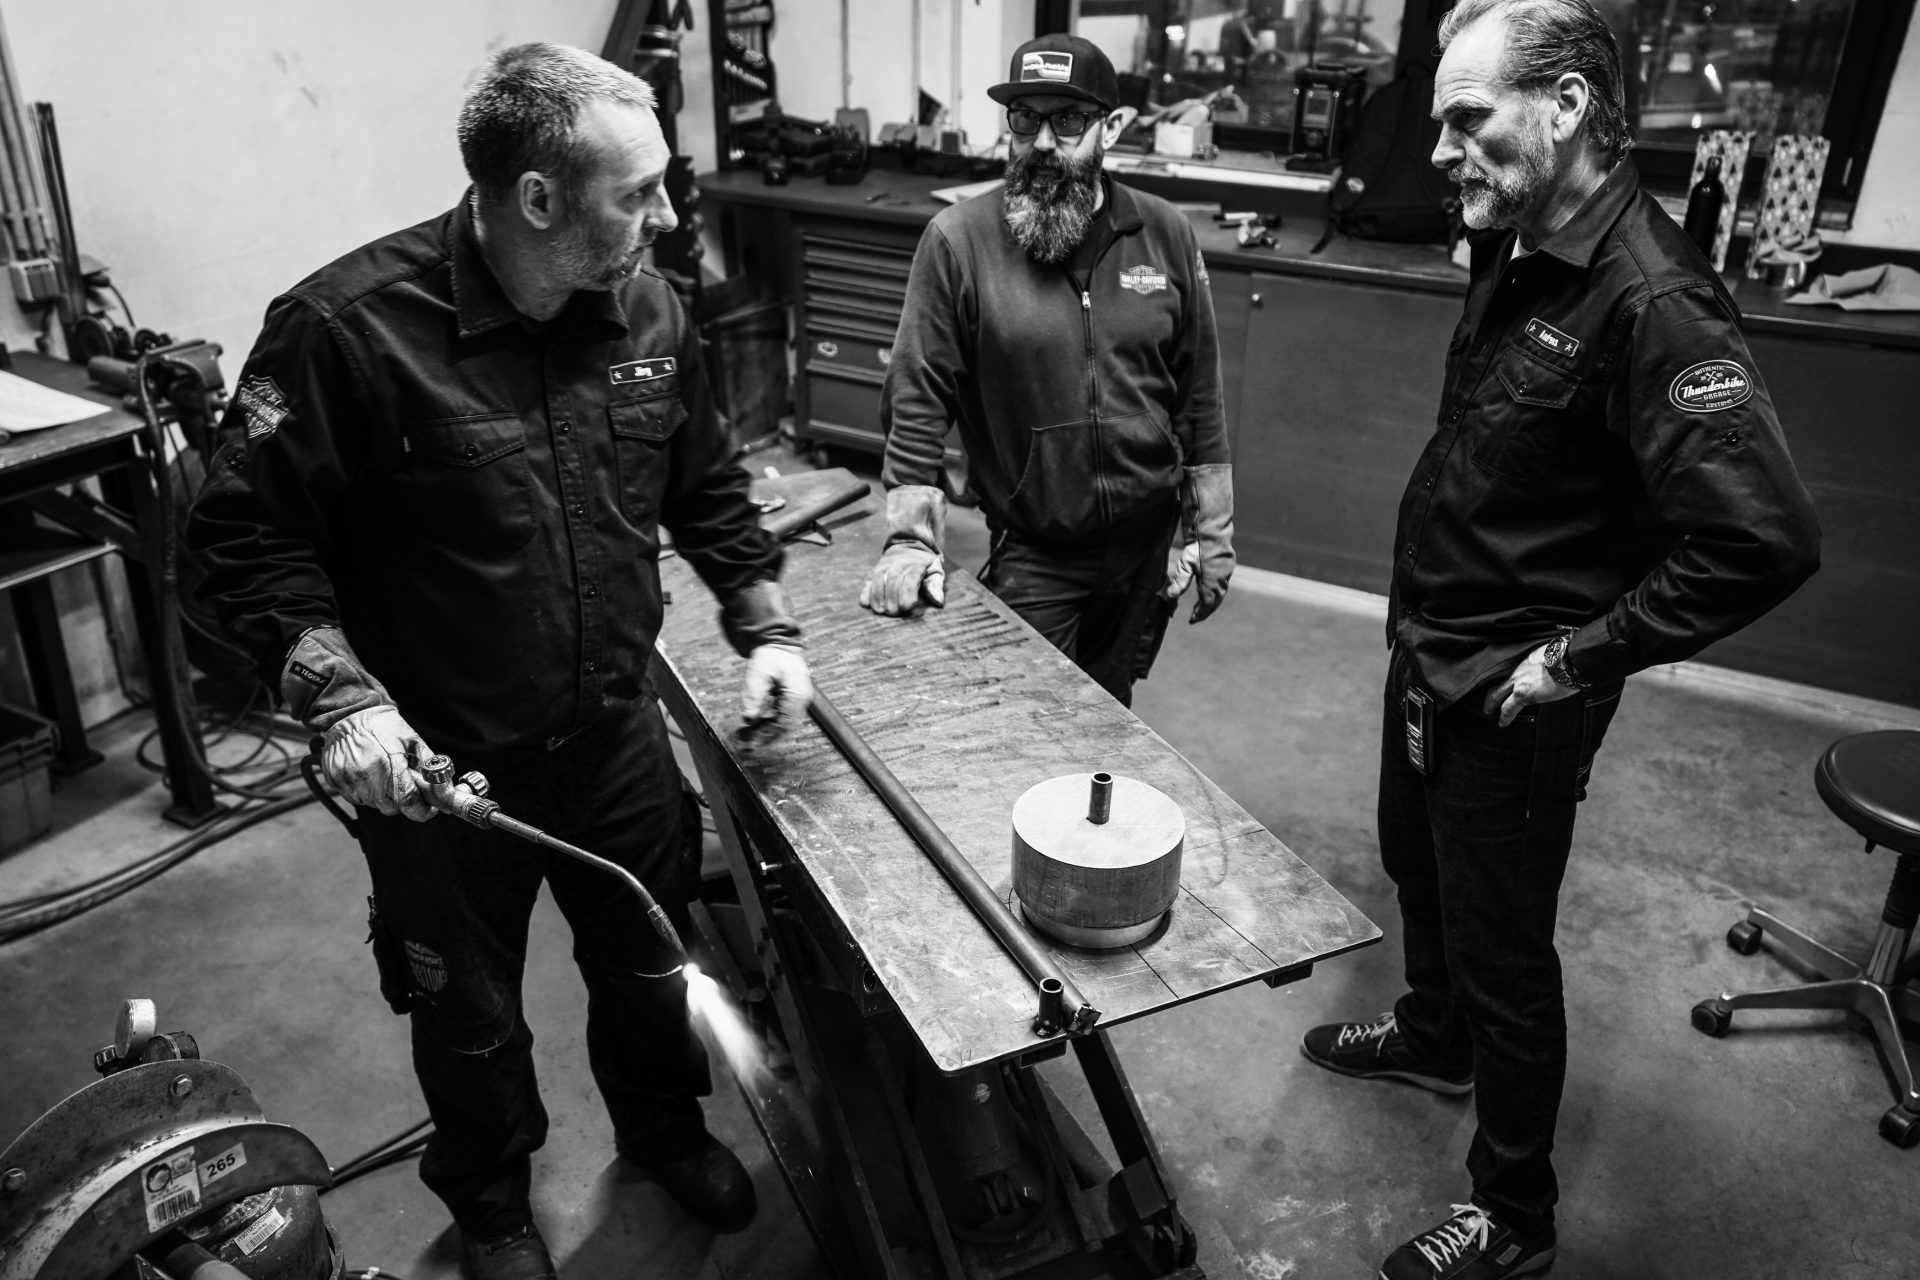
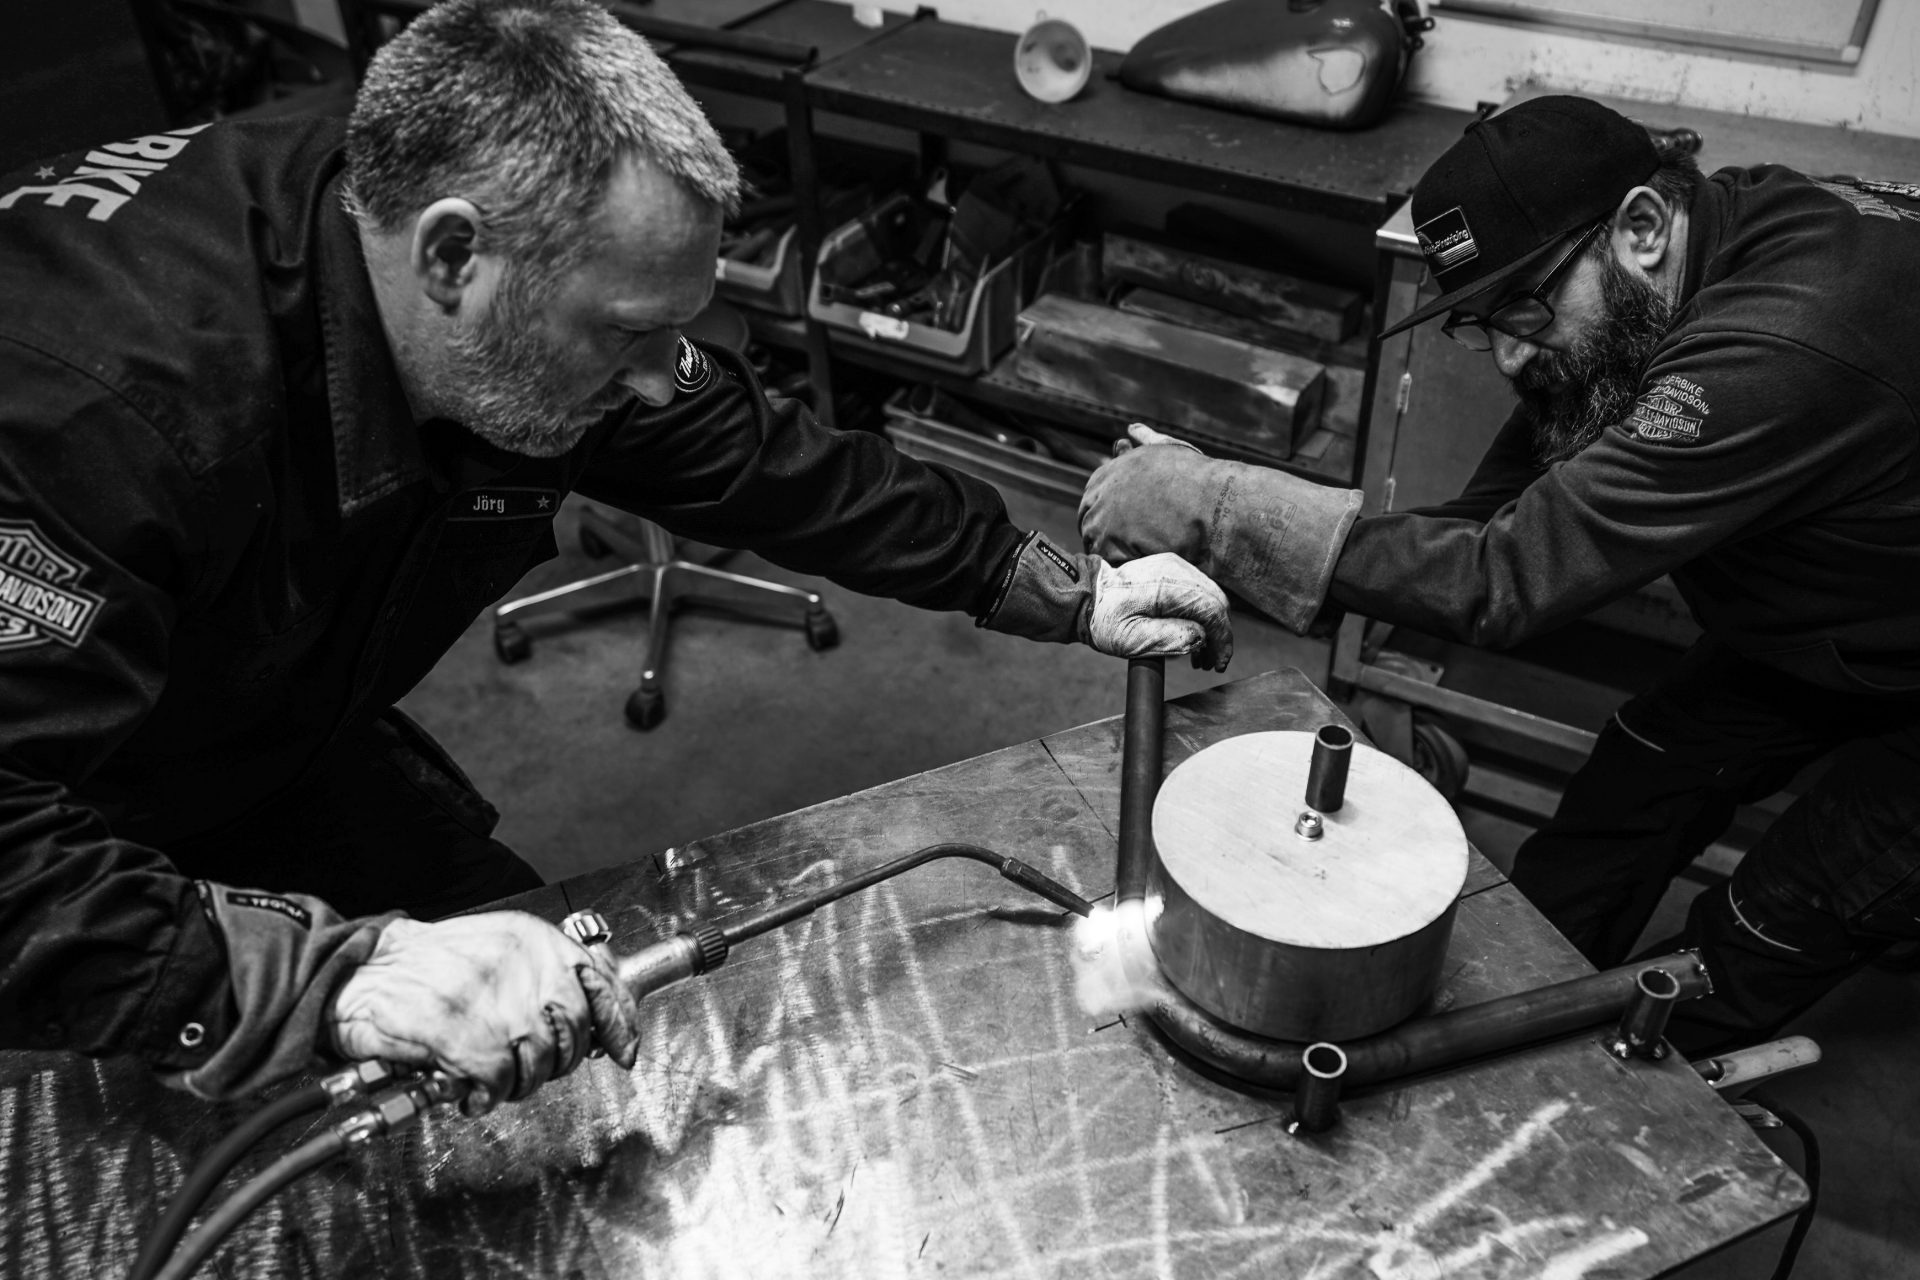
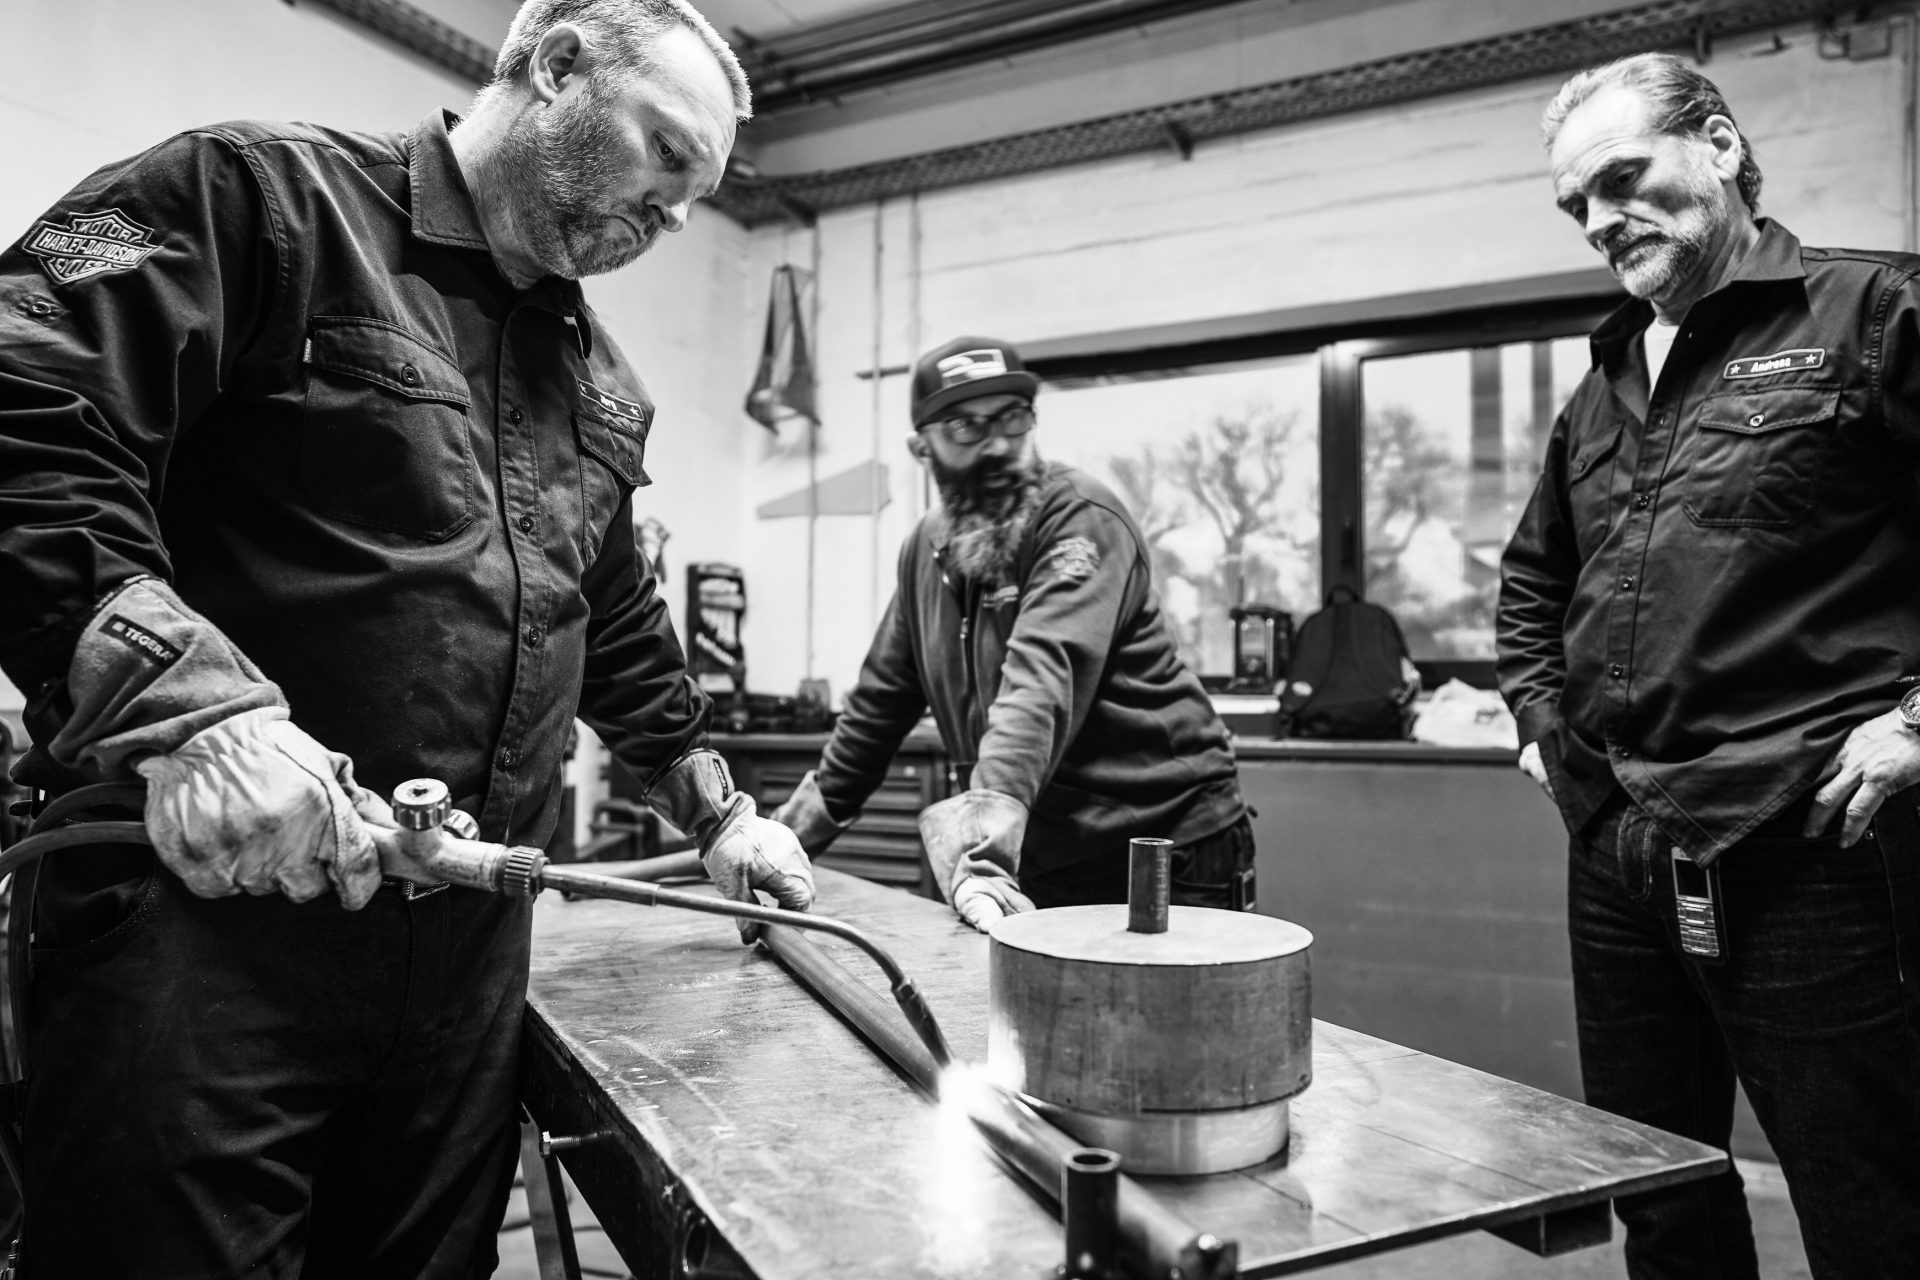
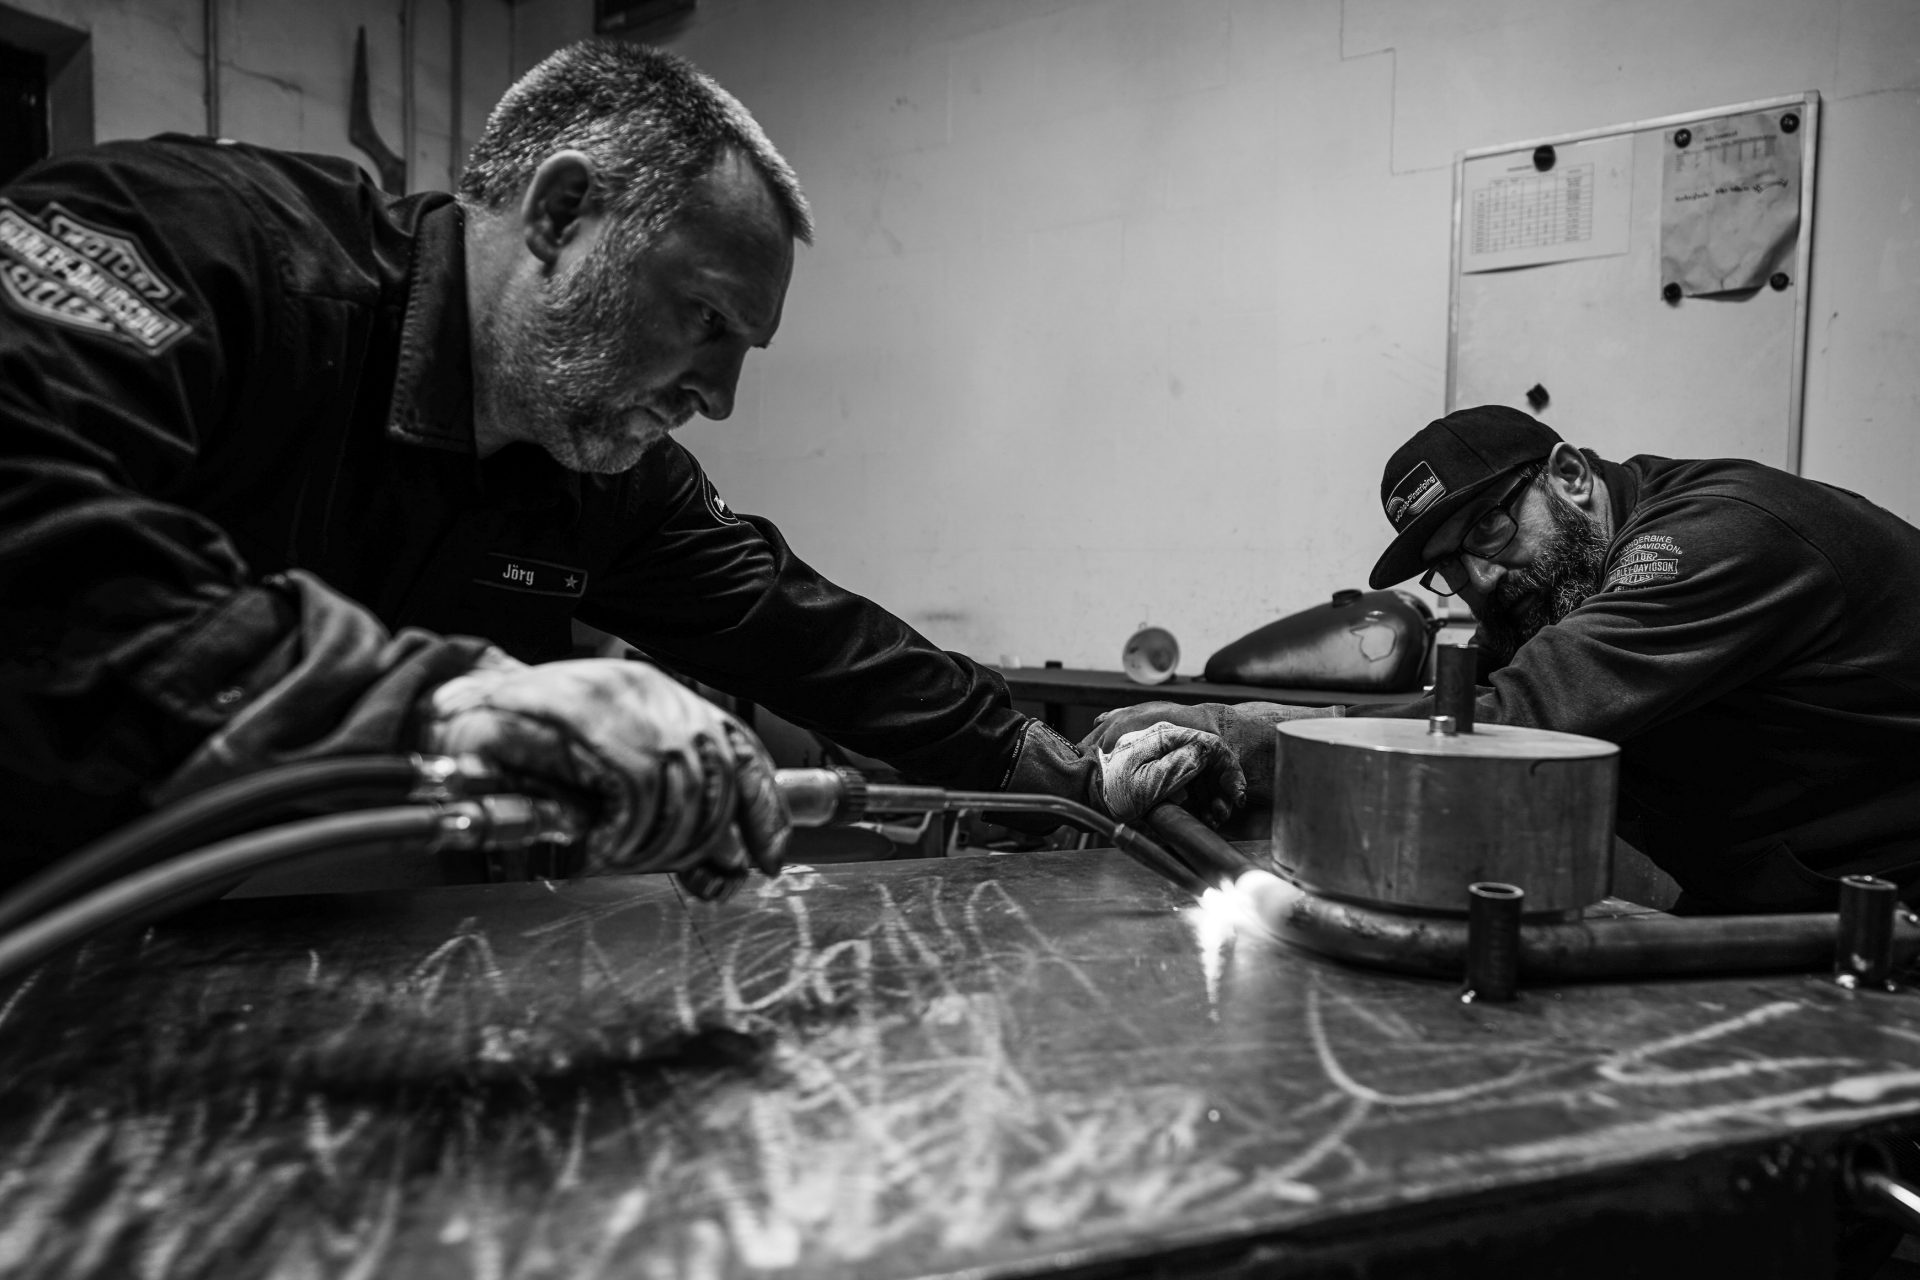
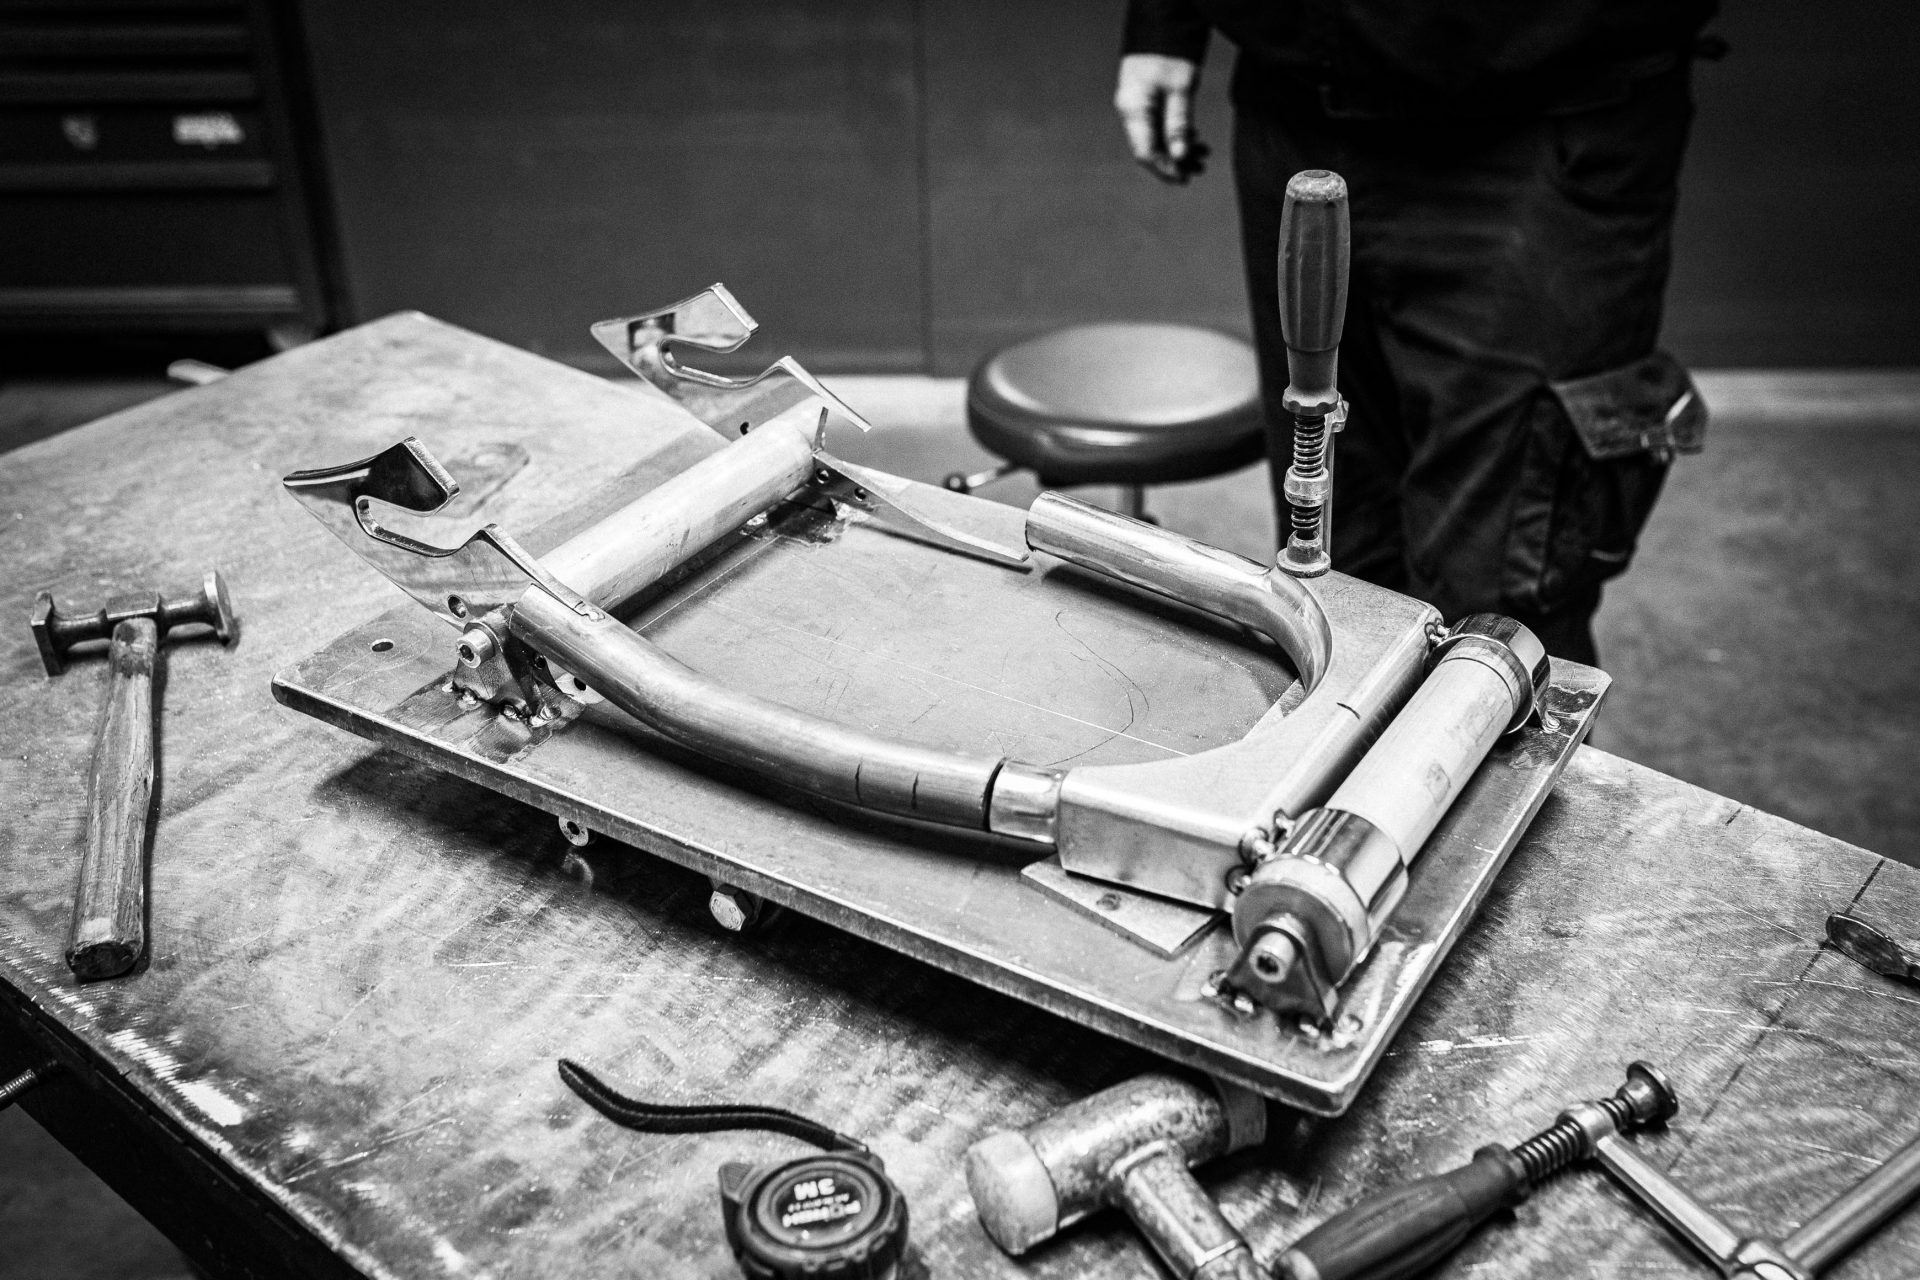
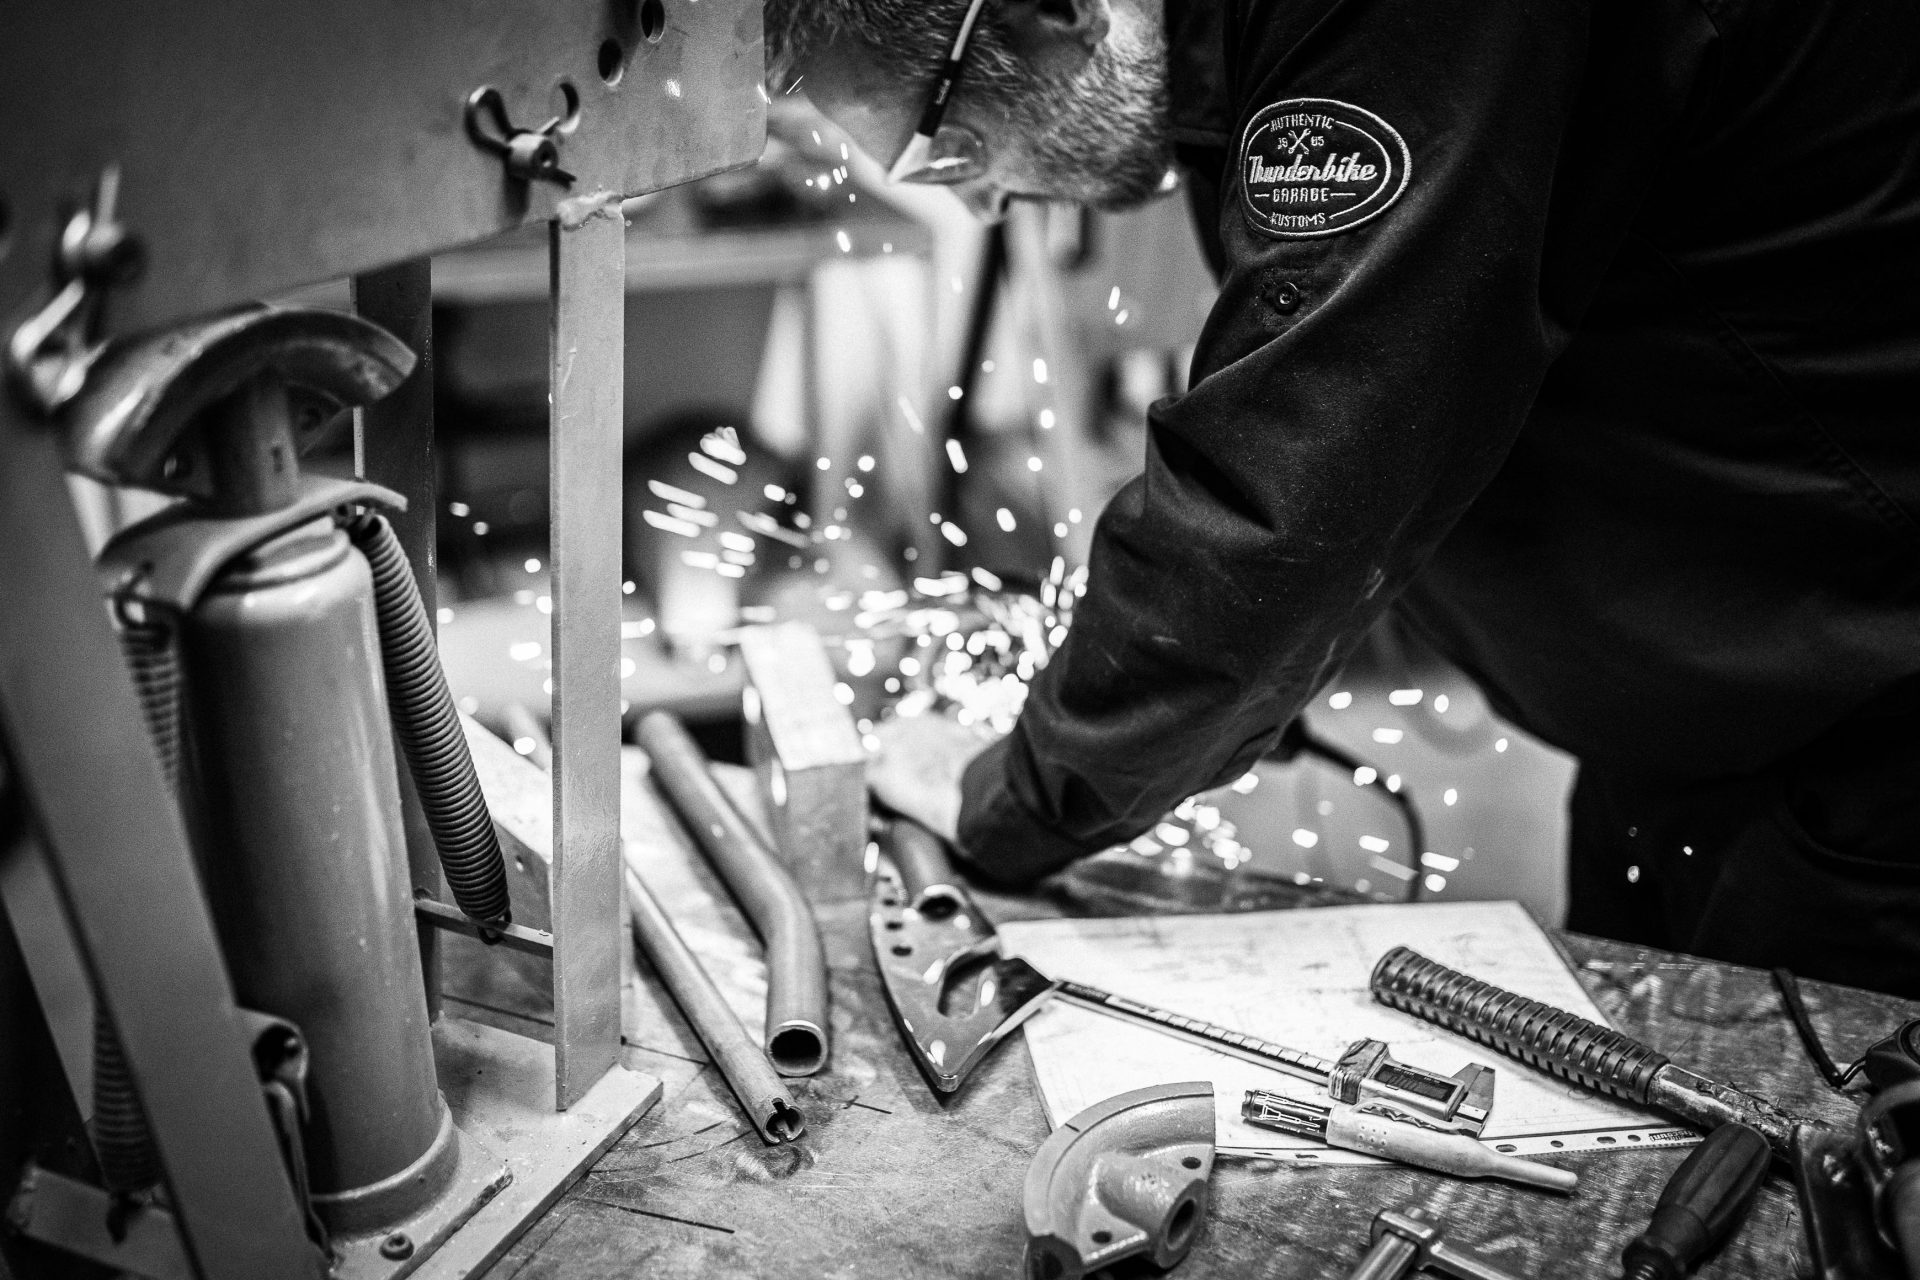
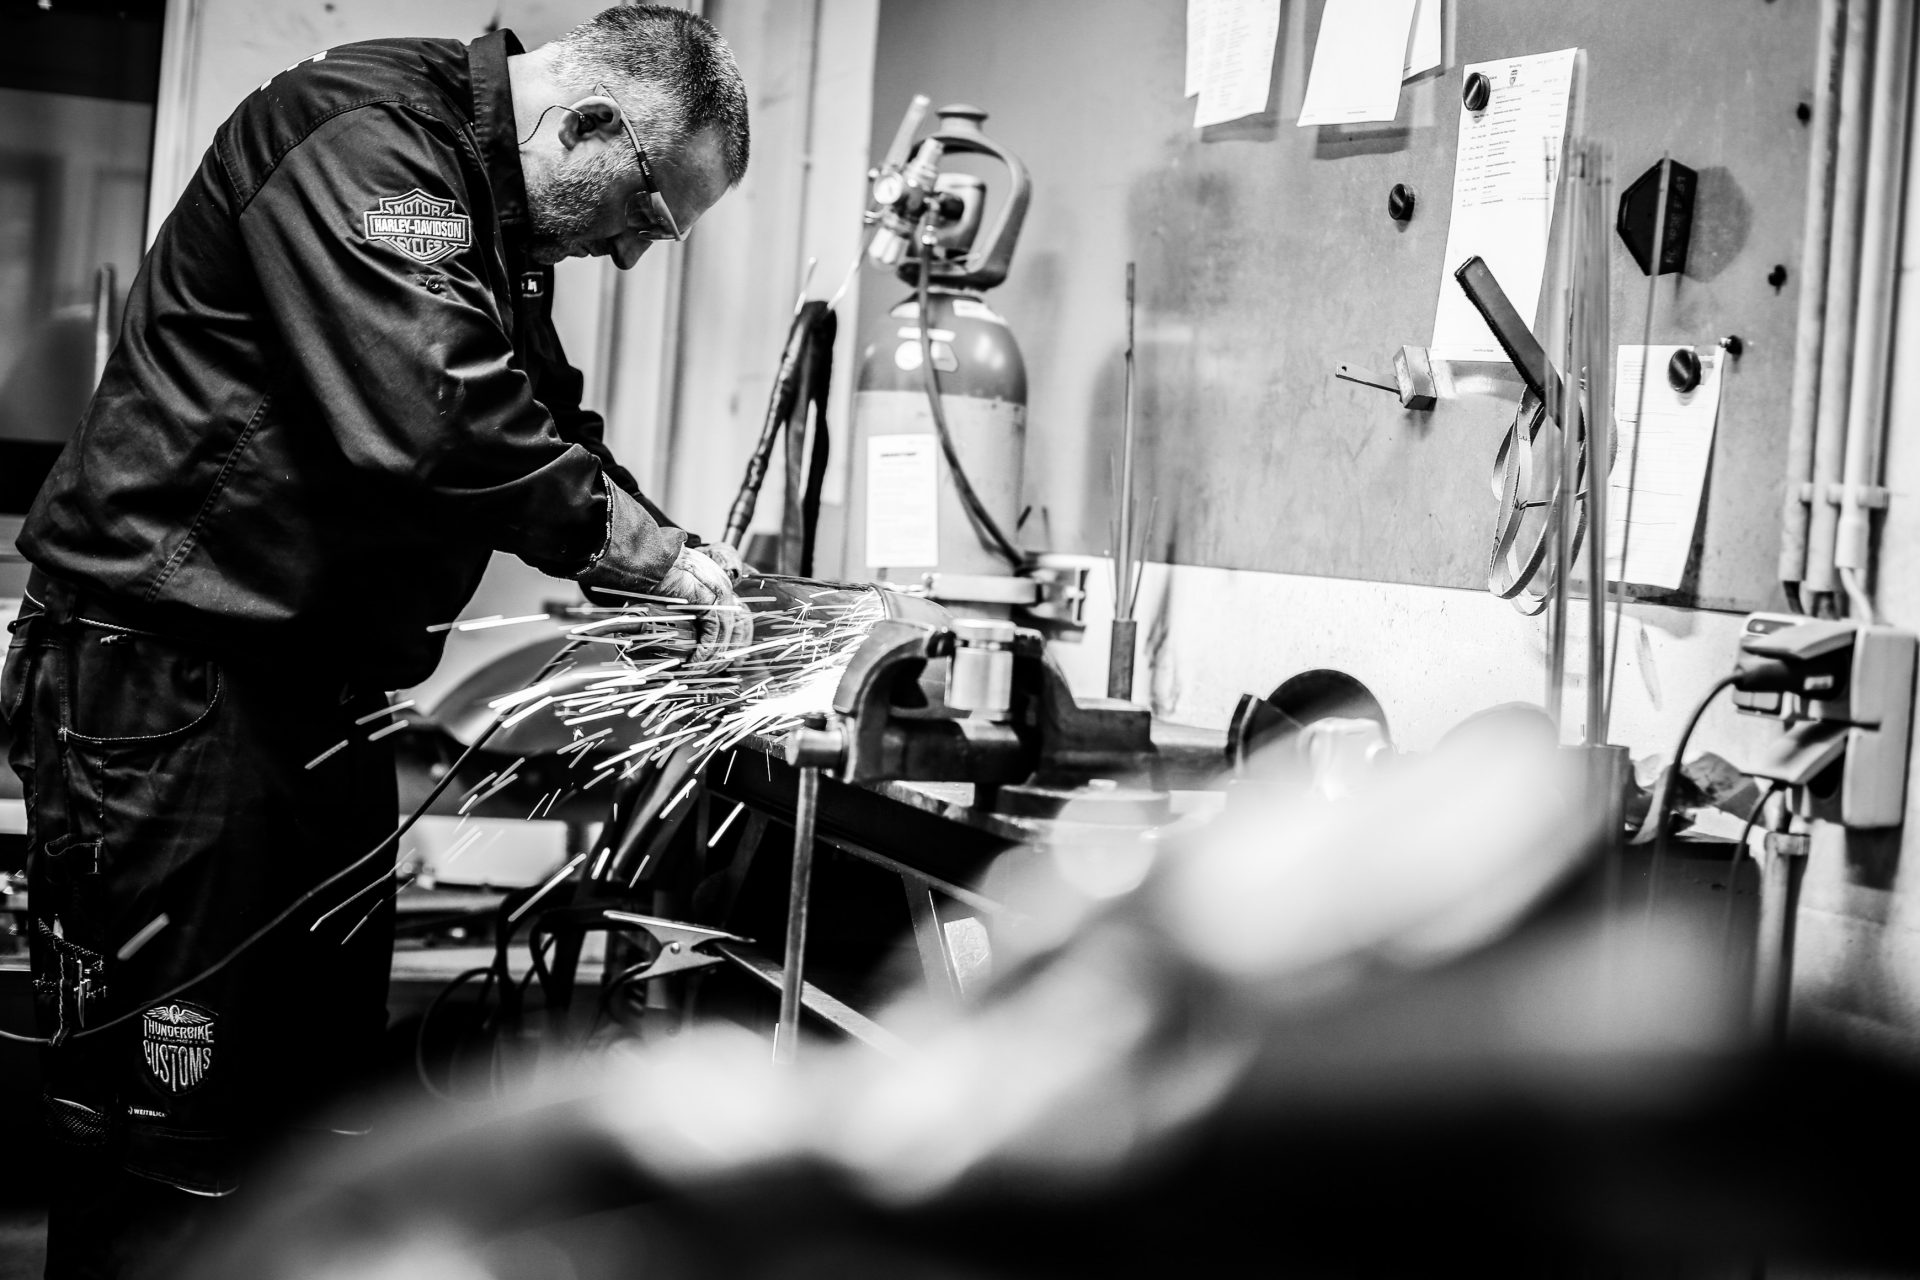
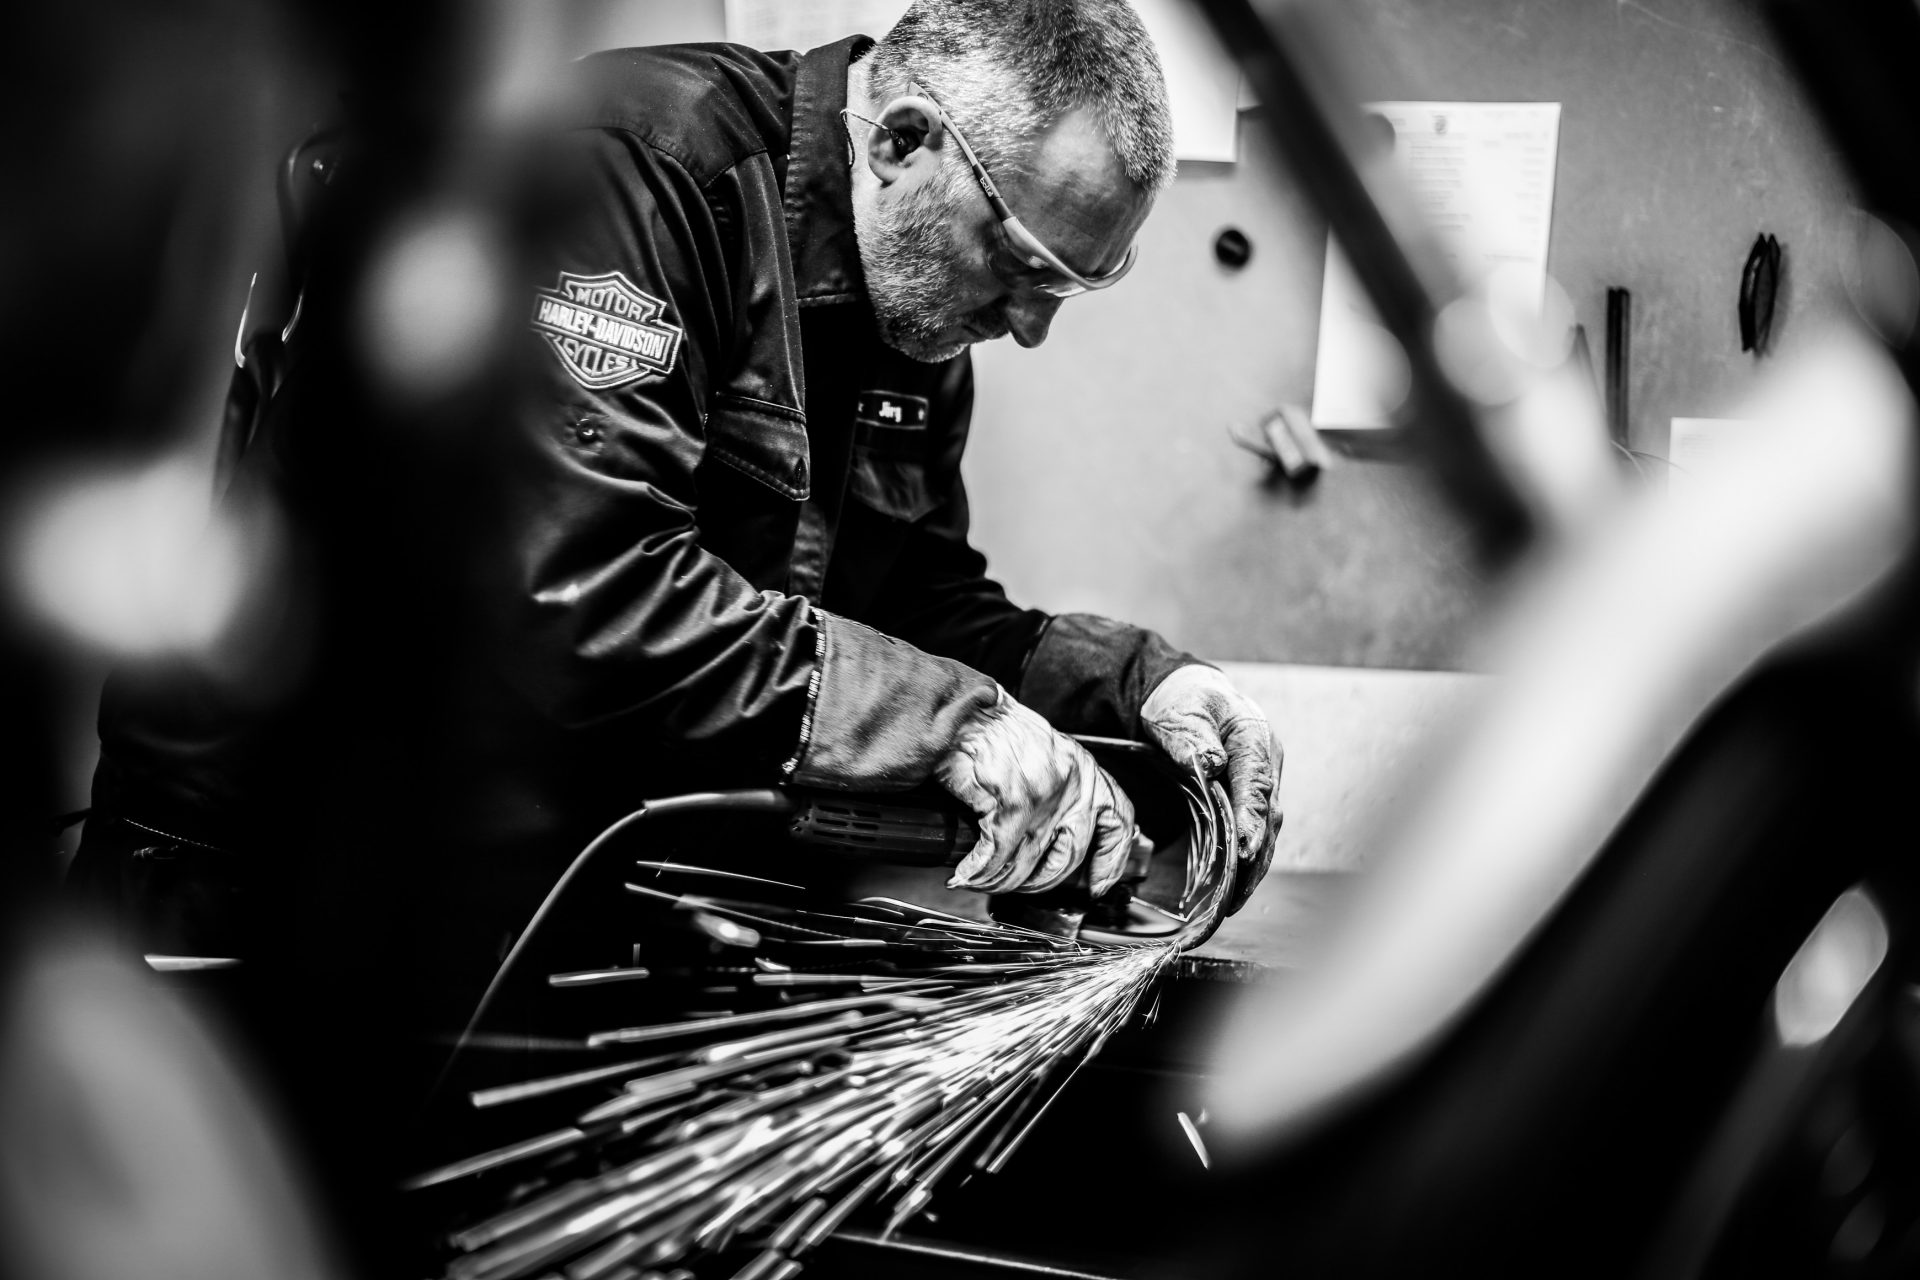
The swingarm is one of our favorite parts for very special bike projects.
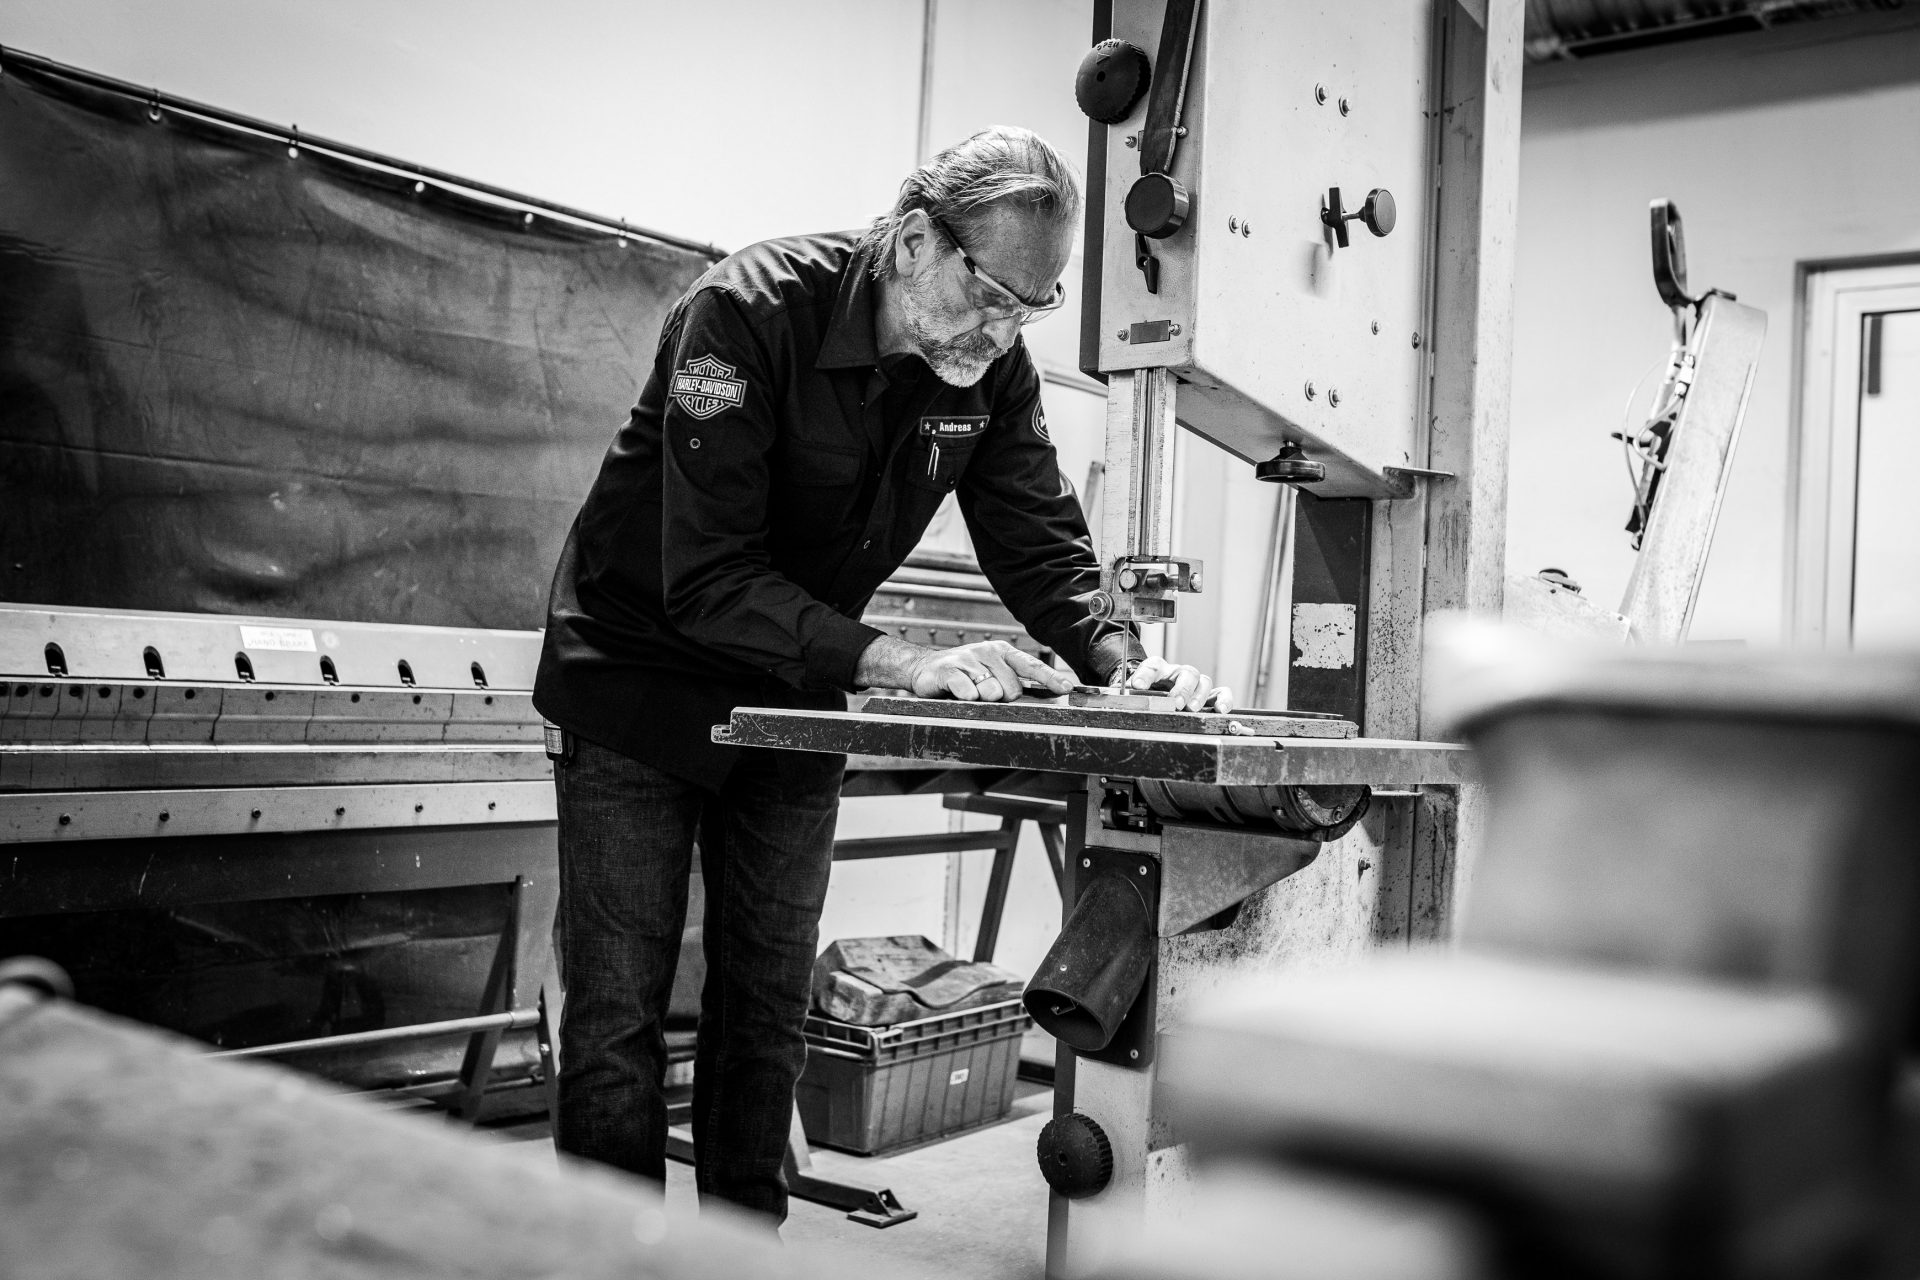
The design was created by us in a highly contemporary method on the computer. The realization, on the opposite, was created in the old blacksmith’s method. As you can see in the Making Of, it all started with a simple steel tube, which was bent by Jörg and Reiner with lots of fire, smoke, and pure „Craftsmanship“.
Two folded parts and two machined parts form the connecting part to the bearing points on the frame, so the front section of the swing arm is finished. The rear part of the swingarm is much more complicated, more than 20 individual parts that are welded together are necessary to bring this sophisticated form together with corresponding function. So the brake arm support, chain adjuster, lower shock mounts and license plate bracket are not simply bolt on, they blend in perfectly into the design of the swingarm.


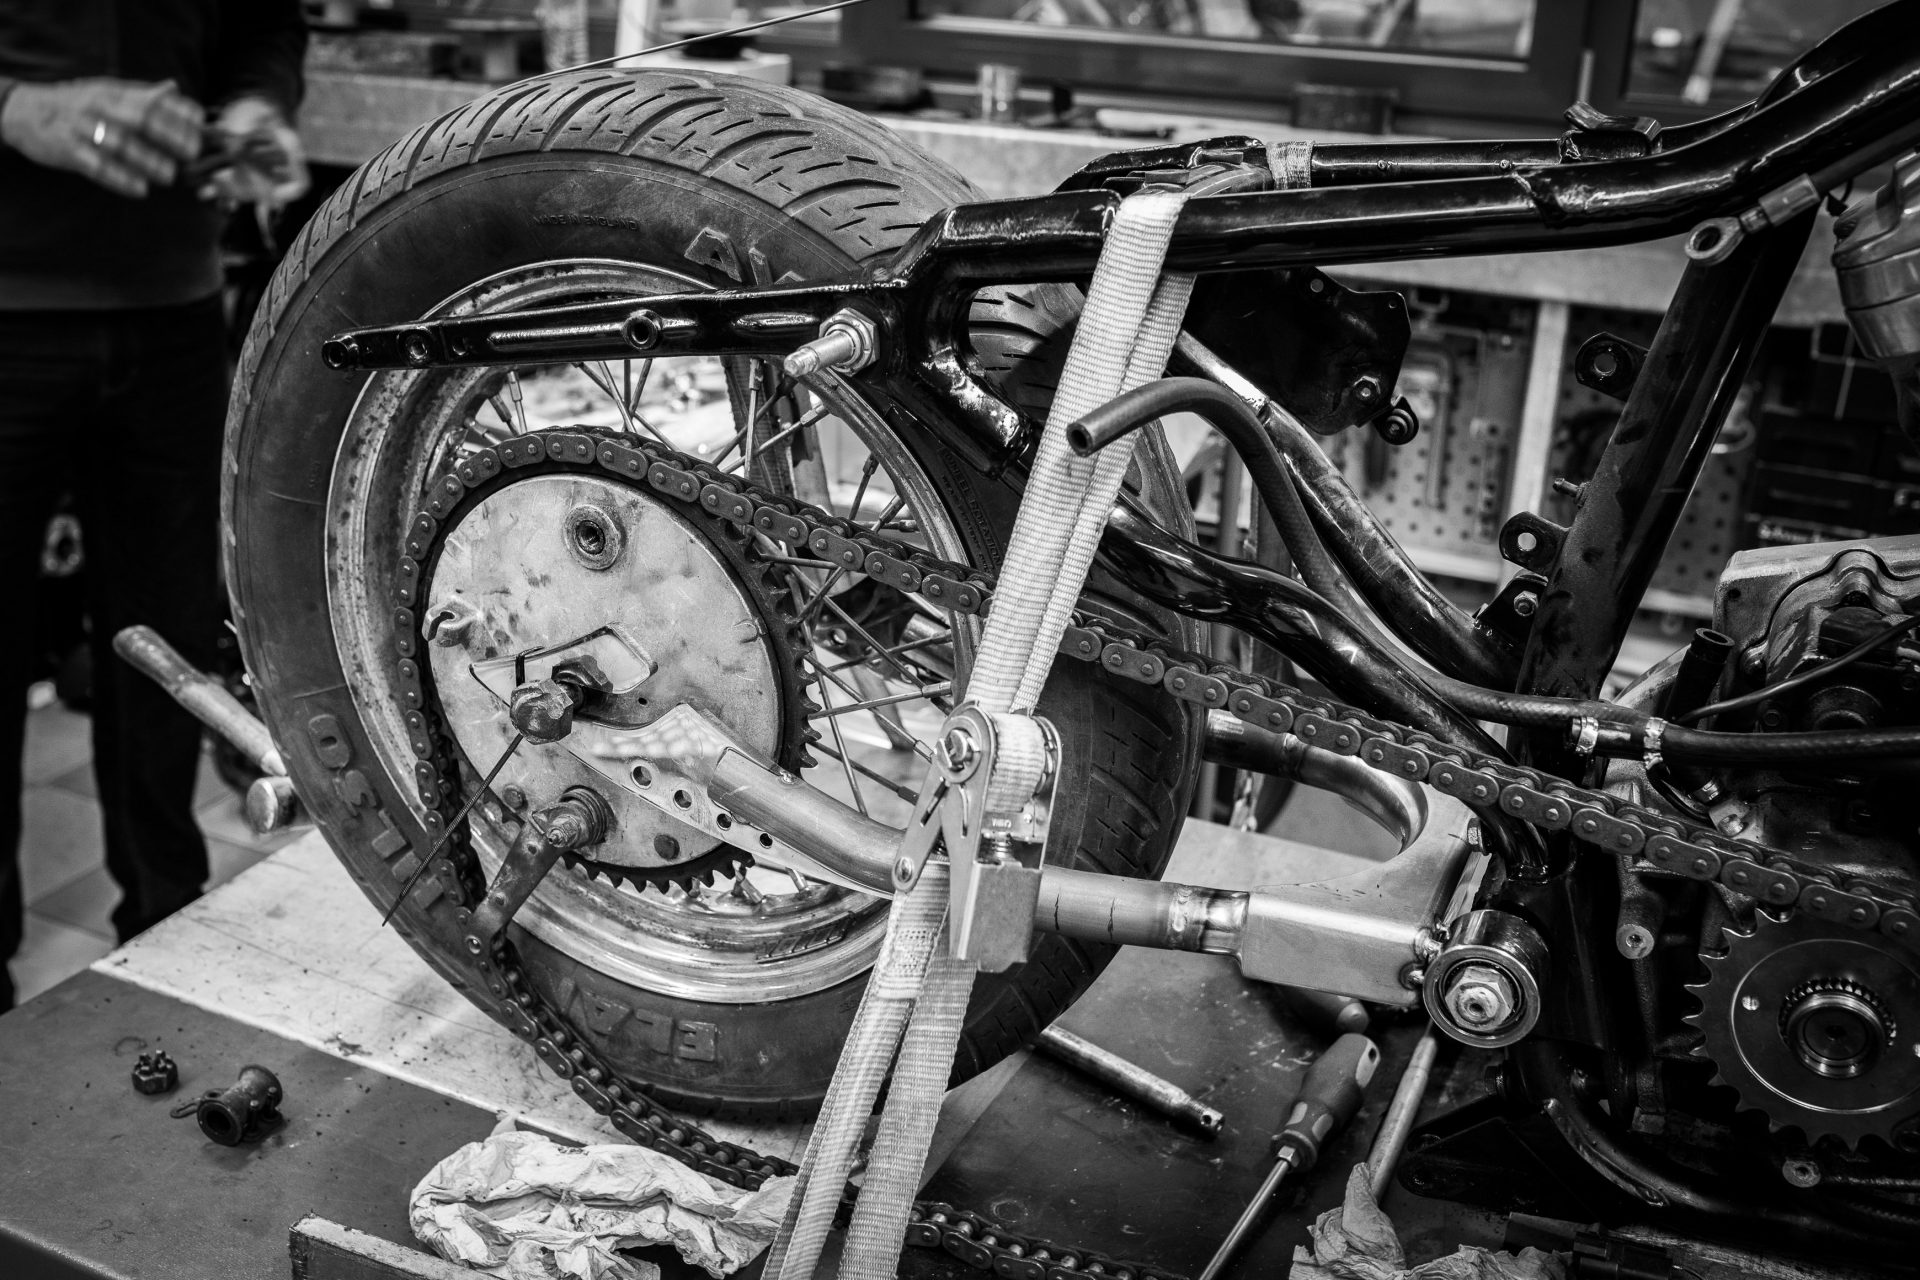


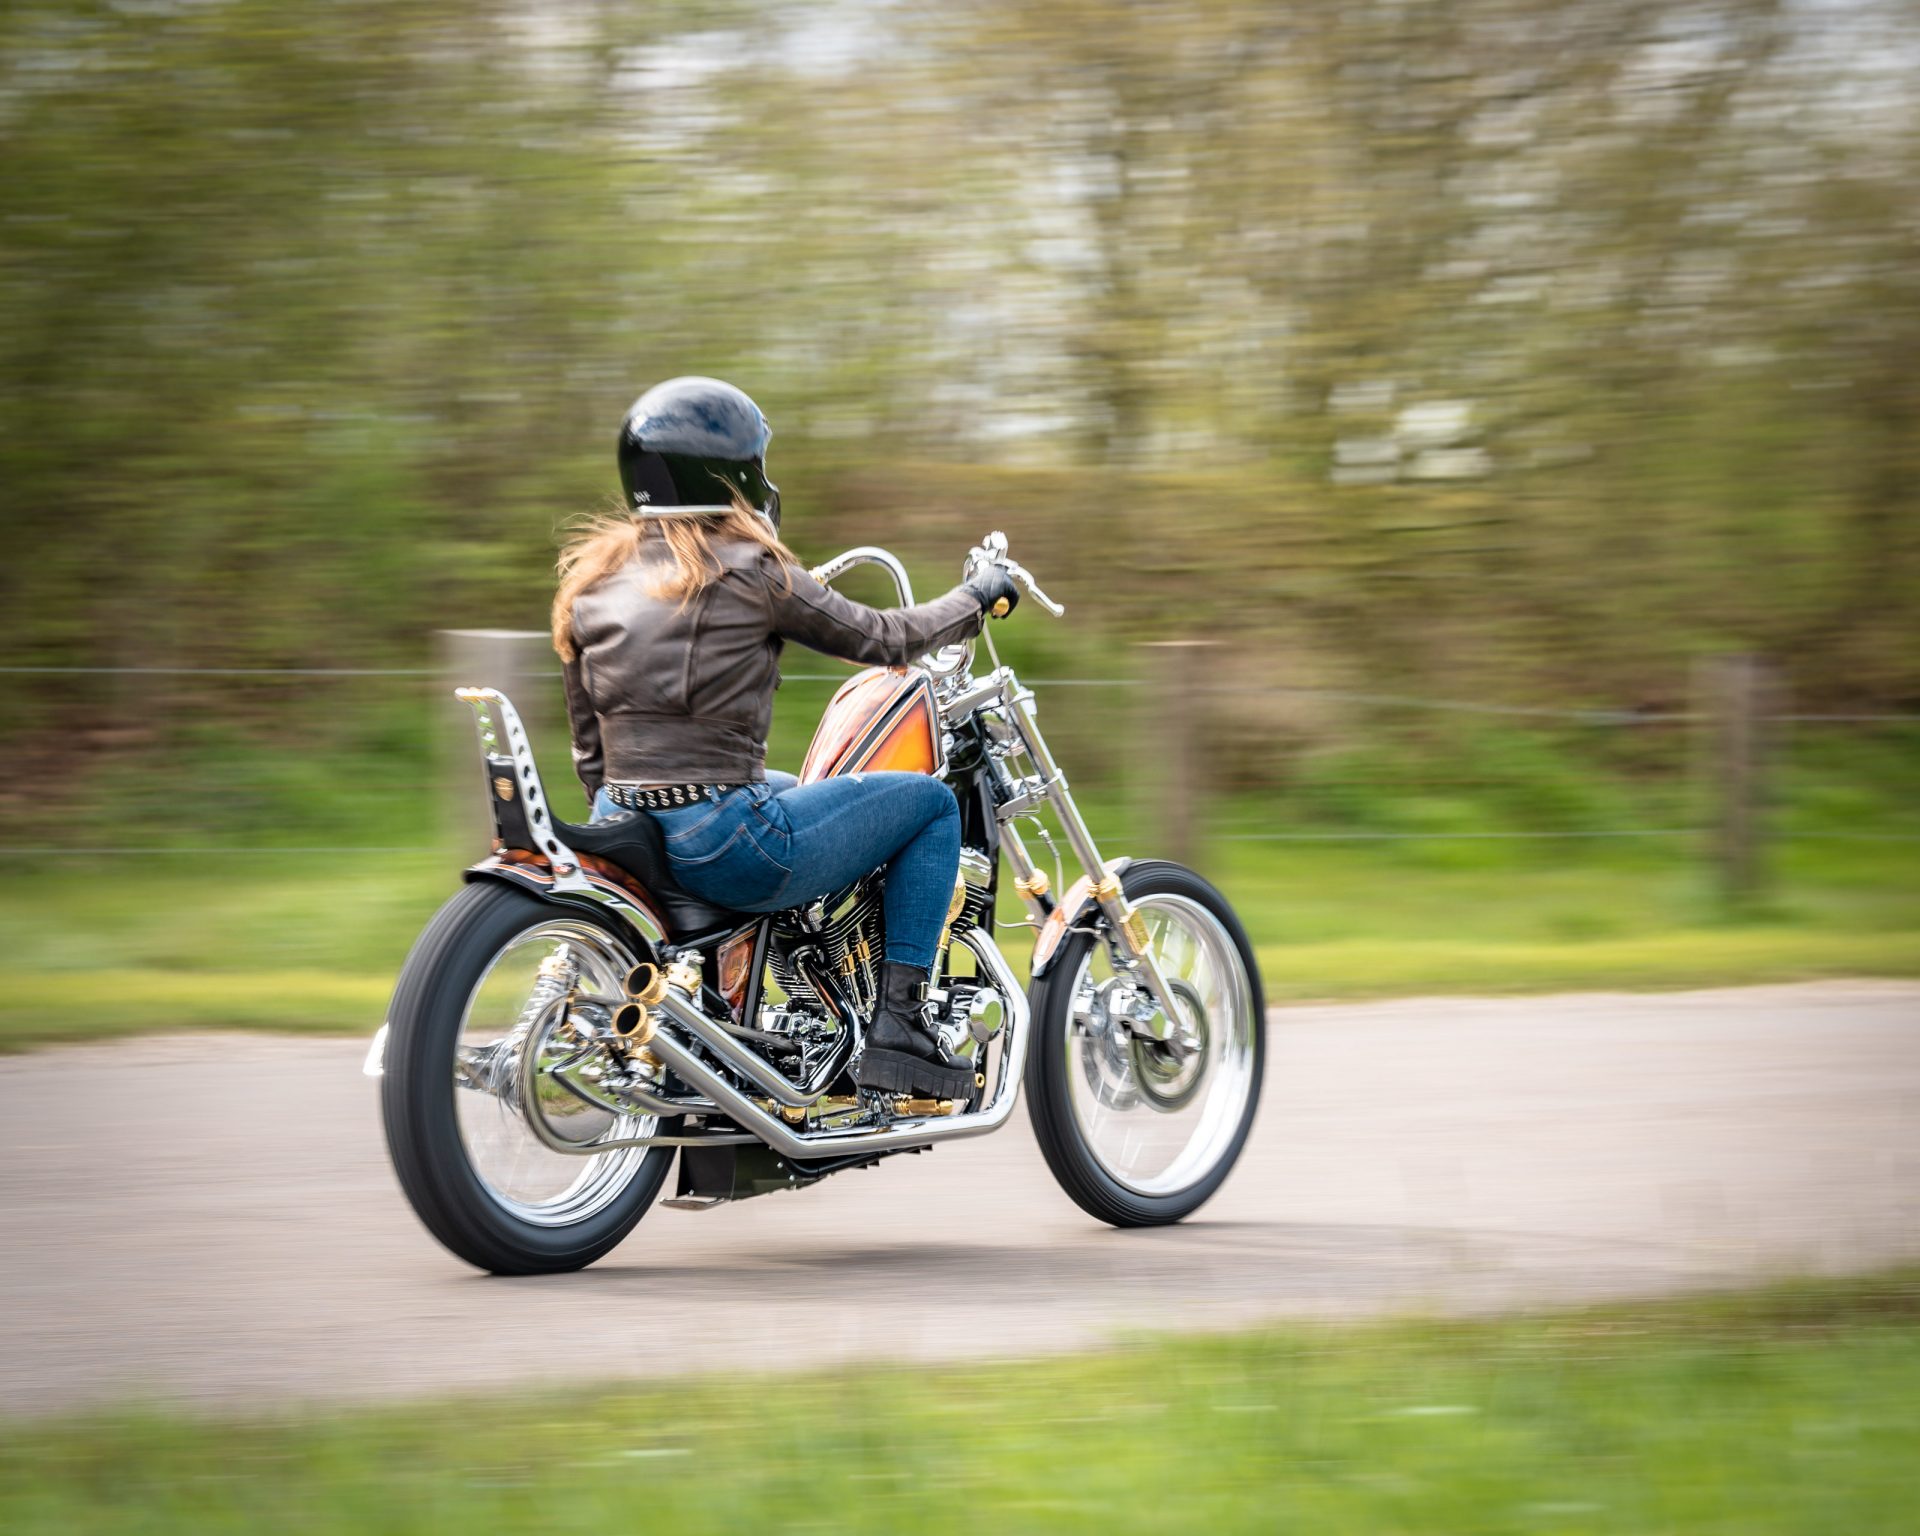
Fender, Struts & Sissybar
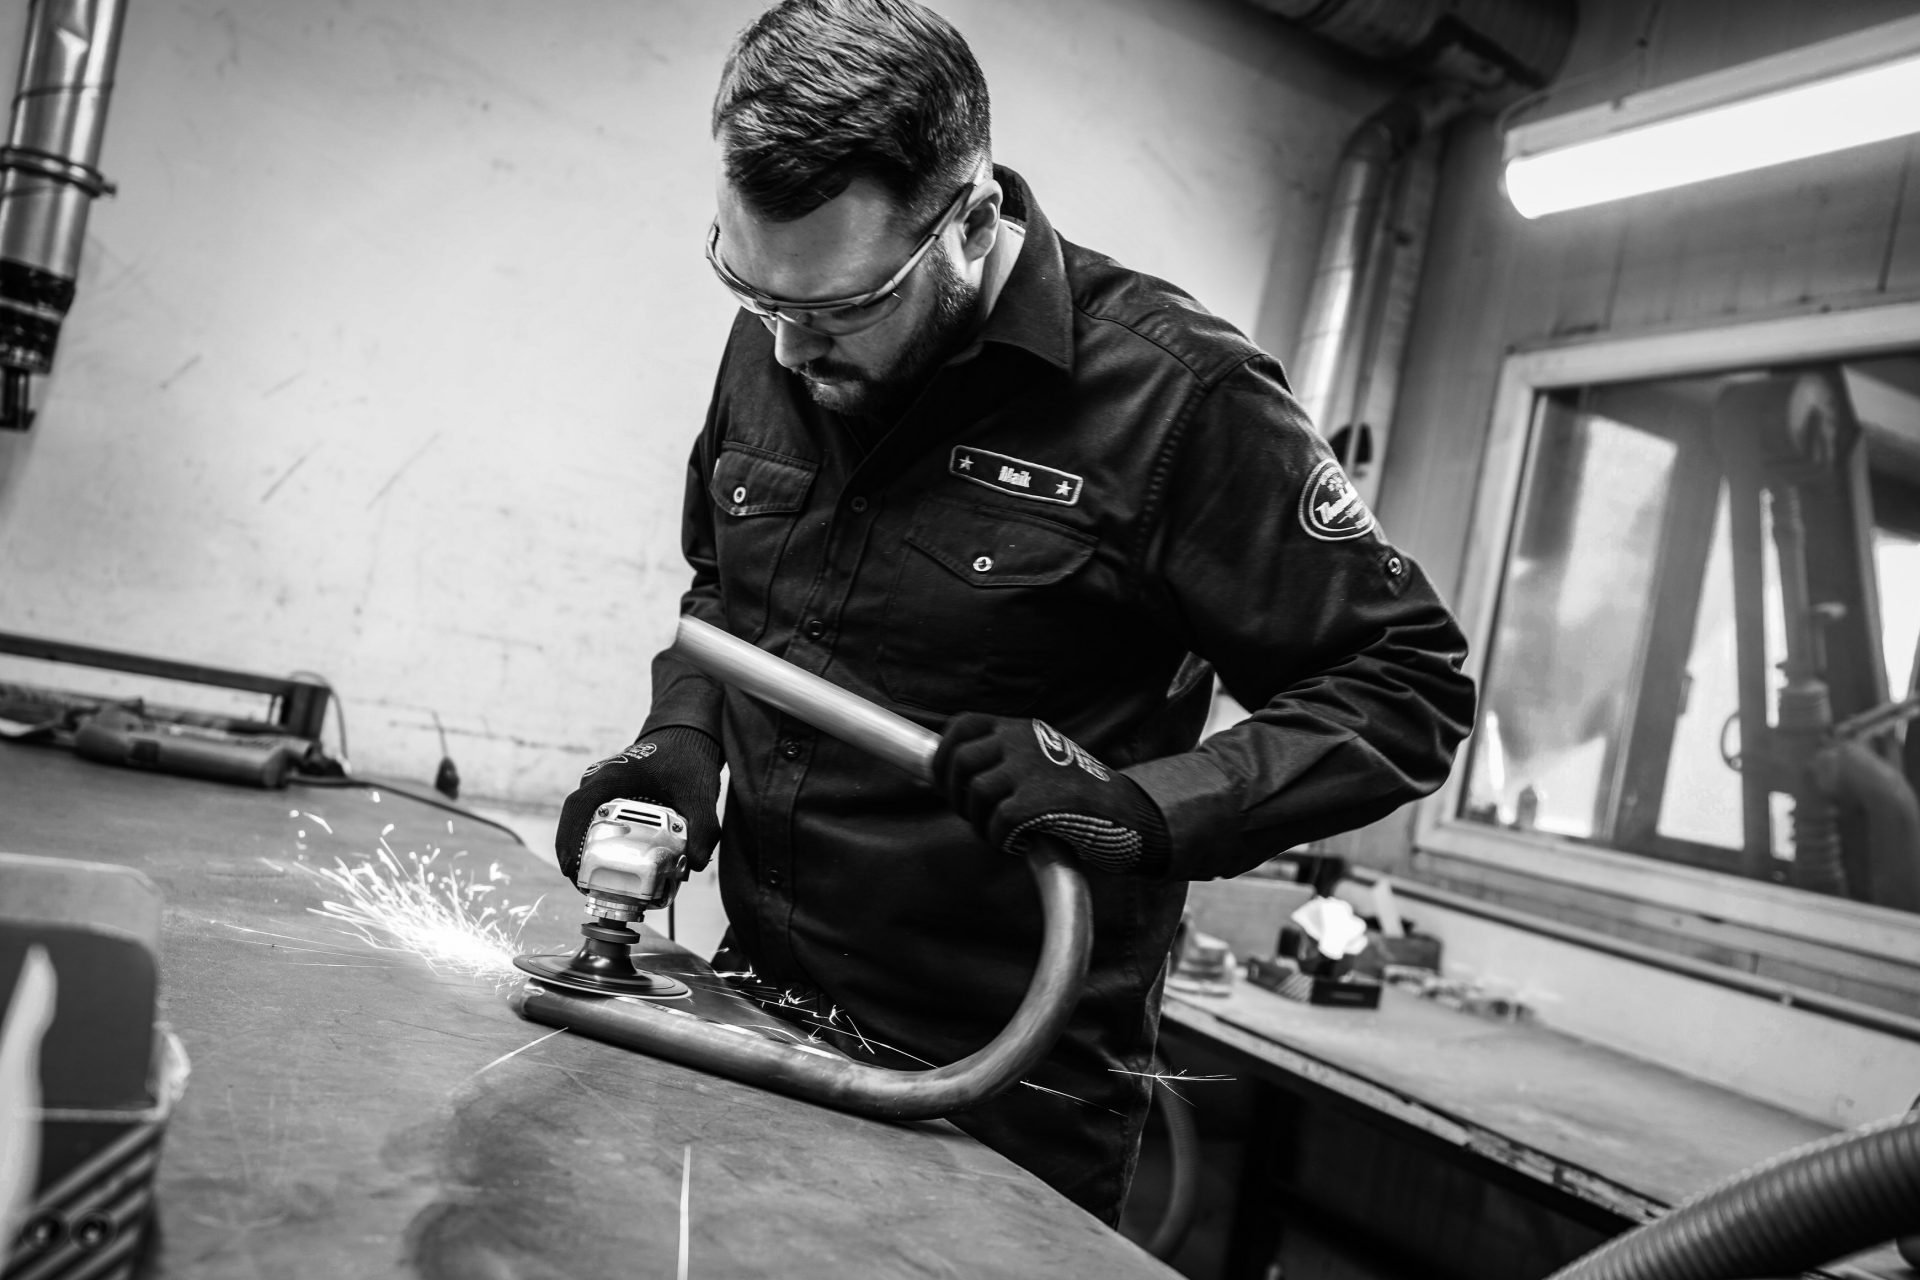
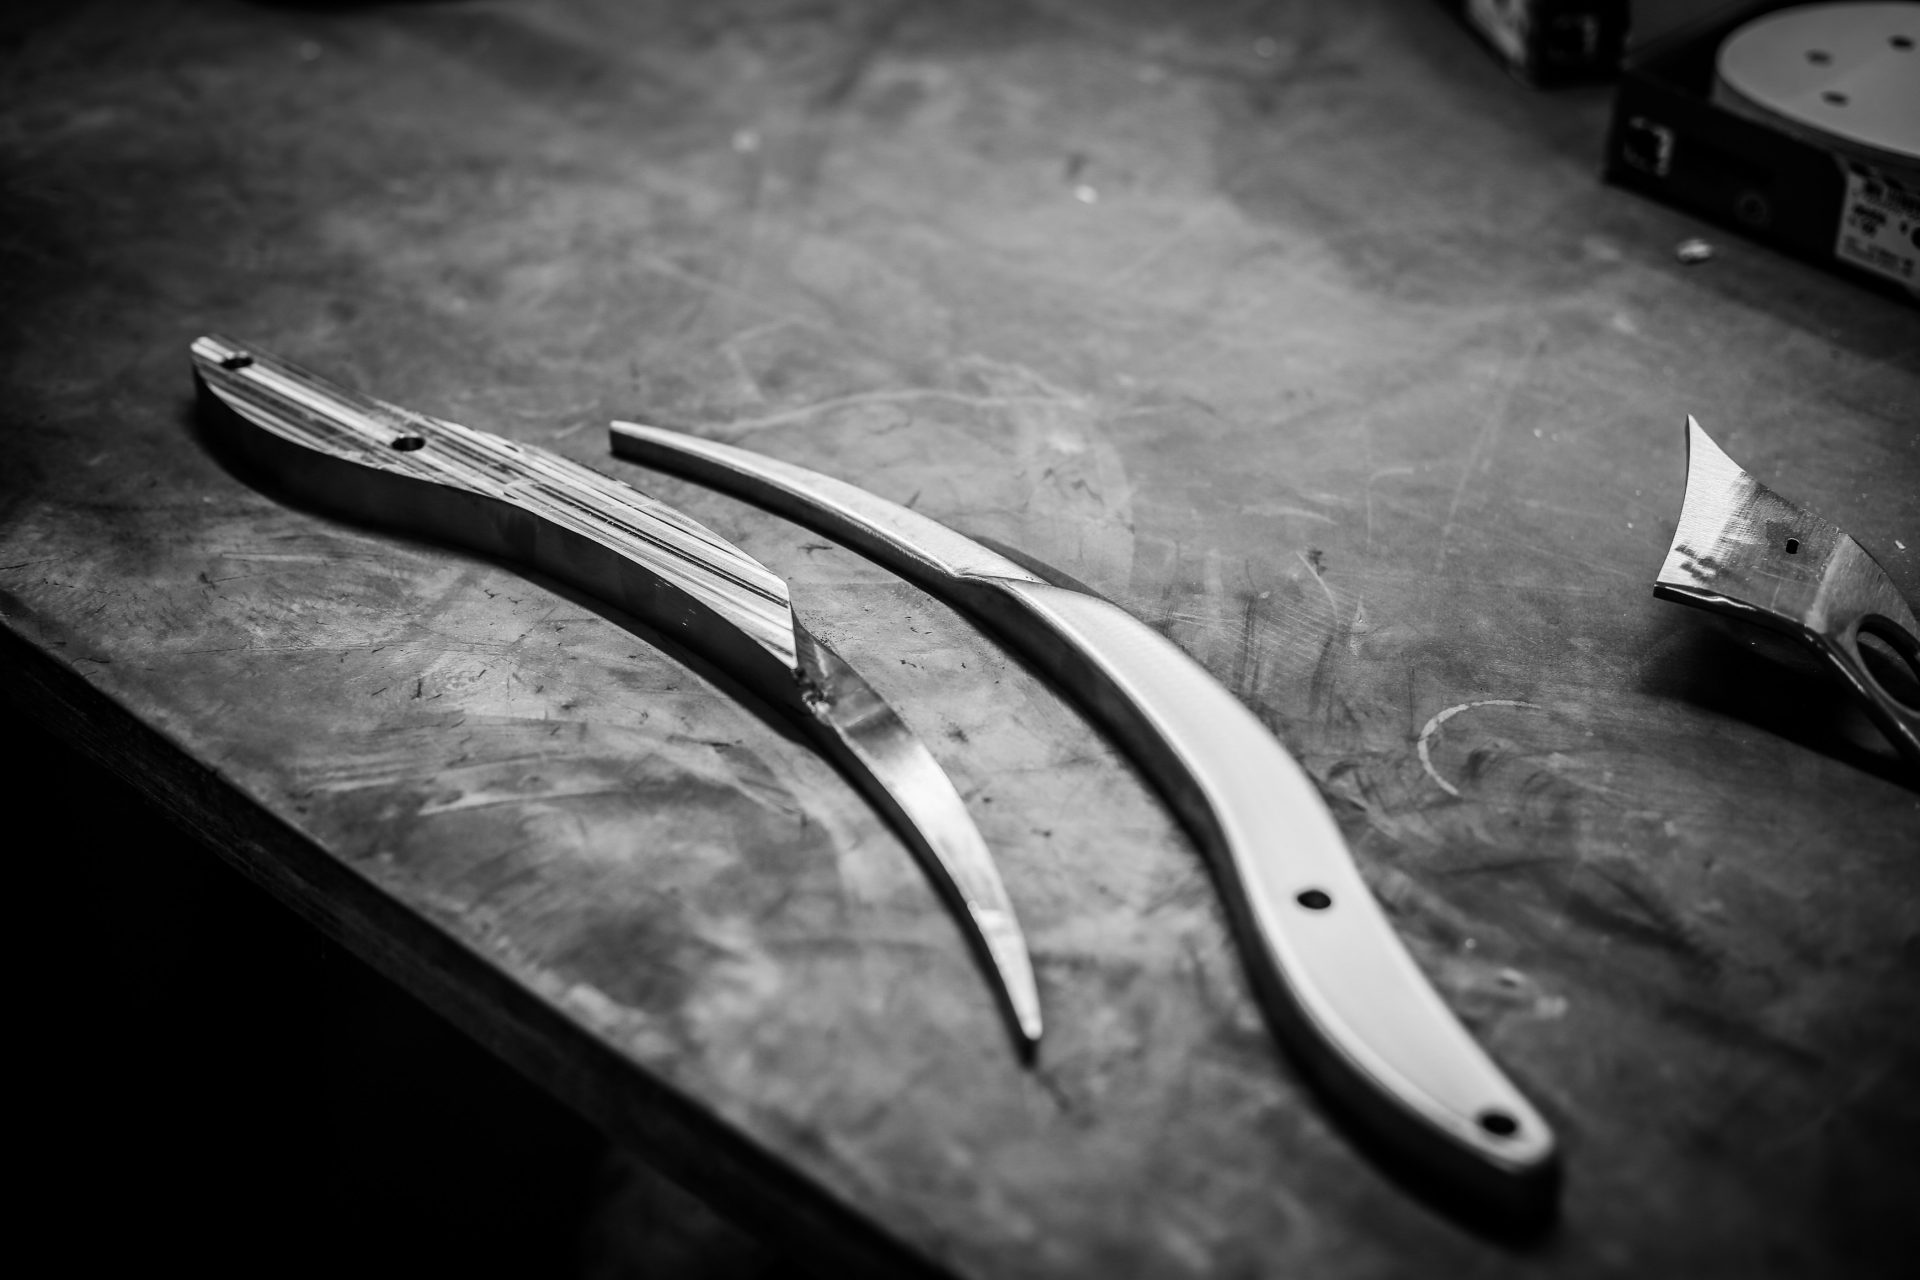
For the whole line of a bike the rear fender and the struts are certainly two of the most important components.
The rear fender of our King of Kings bike is, as with all the previously published parts, very complex and sophisticated. We decided to have a short but dominant sissybar, as well as a fender that accompanies the large rear wheel to just beyond the apex. We still had the struts on stock, but of course they are not recognisable! Until the steel struts had their curved shape, we tried out many different variations. Finally we halved the individual struts, welded them together in opposite directions and doubled the front part to achieve the perfect line. The whole process had to take into account the ascending and descending struts of the rear frame and the rear wheel radius.
By loading the video you accept the privacy policy of YouTube.
Mehr erfahren
The Sissybar fits seamlessly into the process. The basic material used was also an old strut that we designed some the ago for the Boss Hoss bike Hoss Power. But even here it was only a template for a new design! We also came up with a nice solution for the rear light and the indicators.


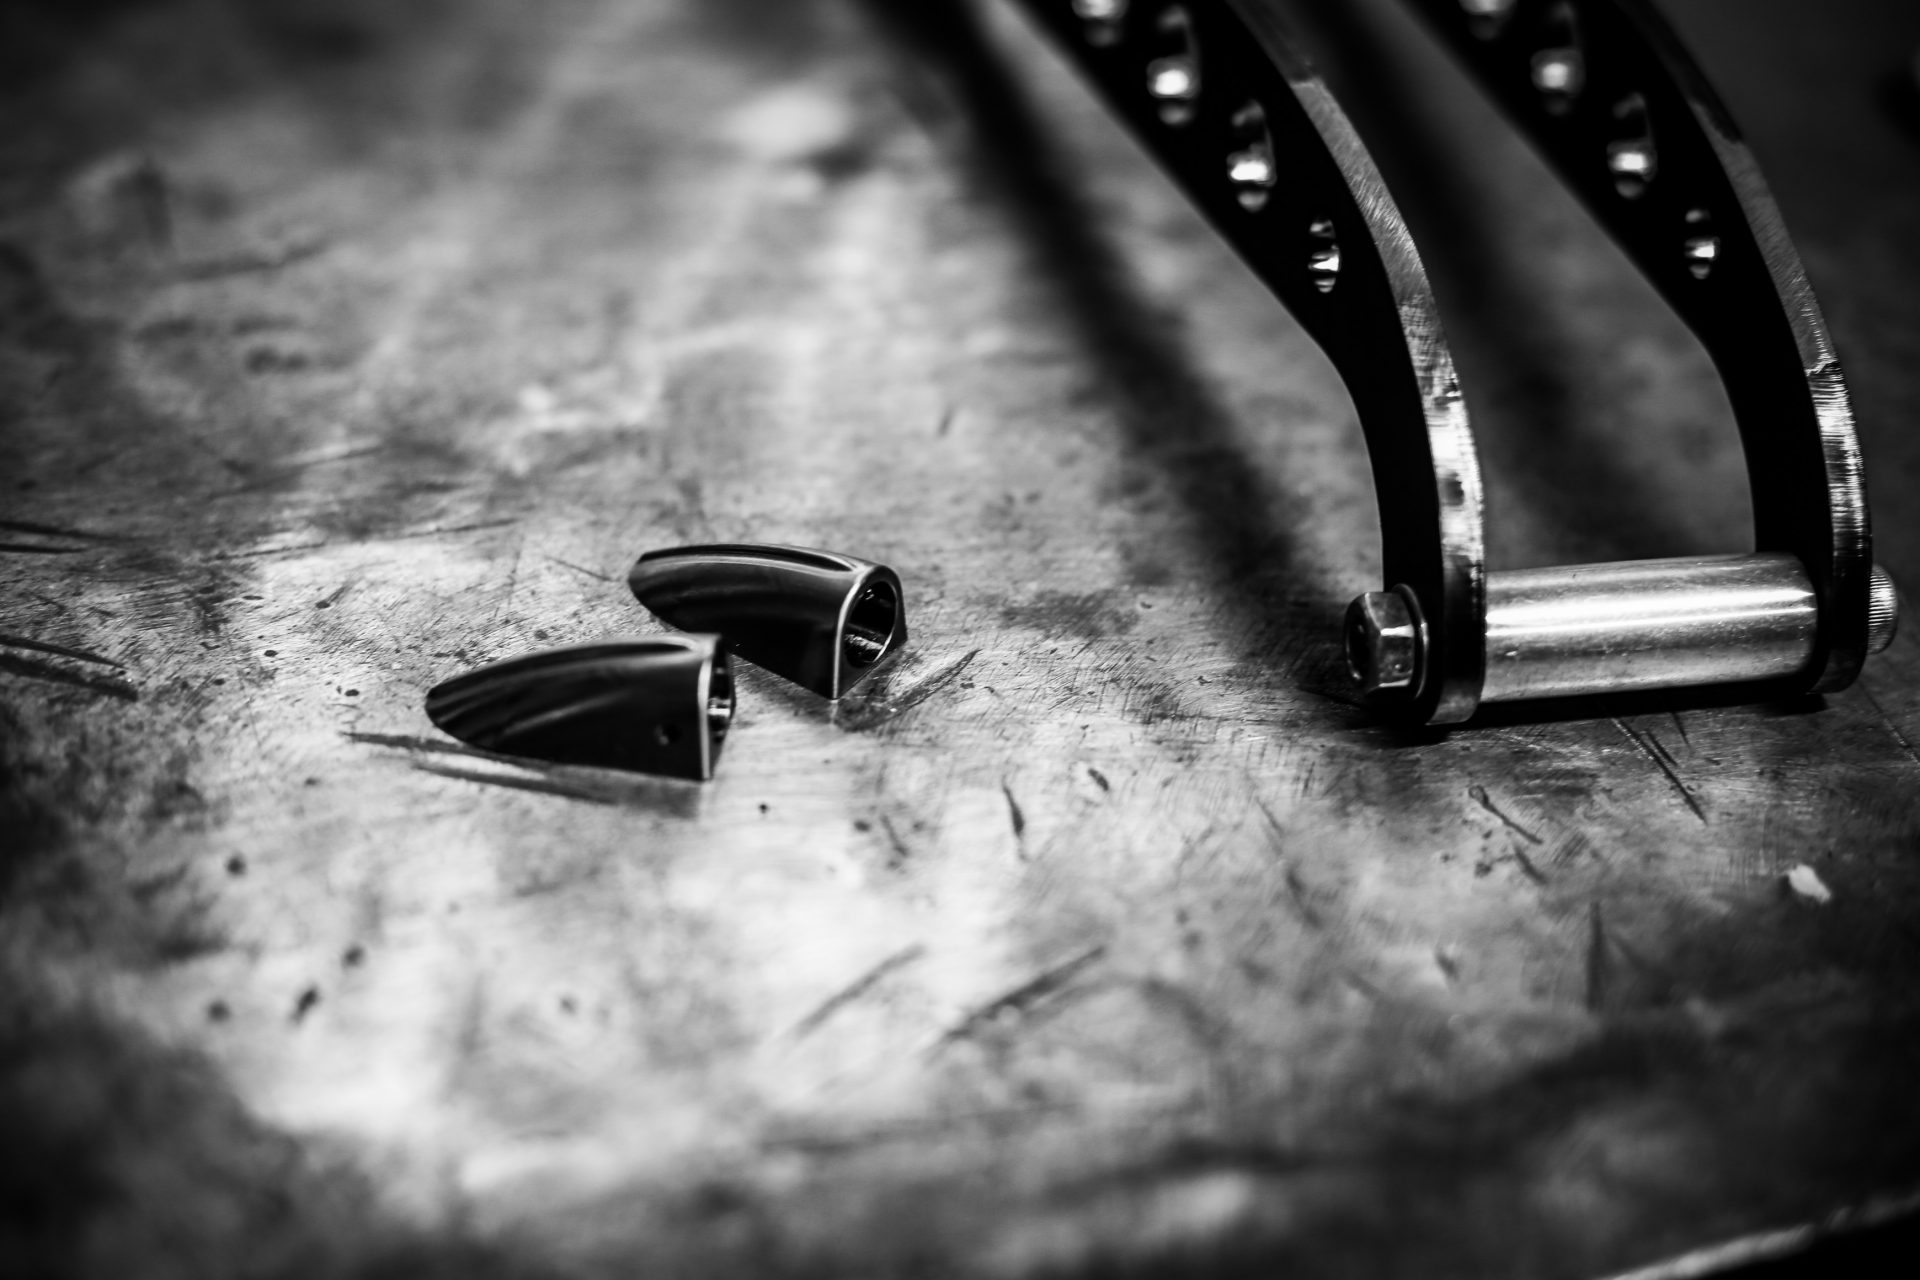
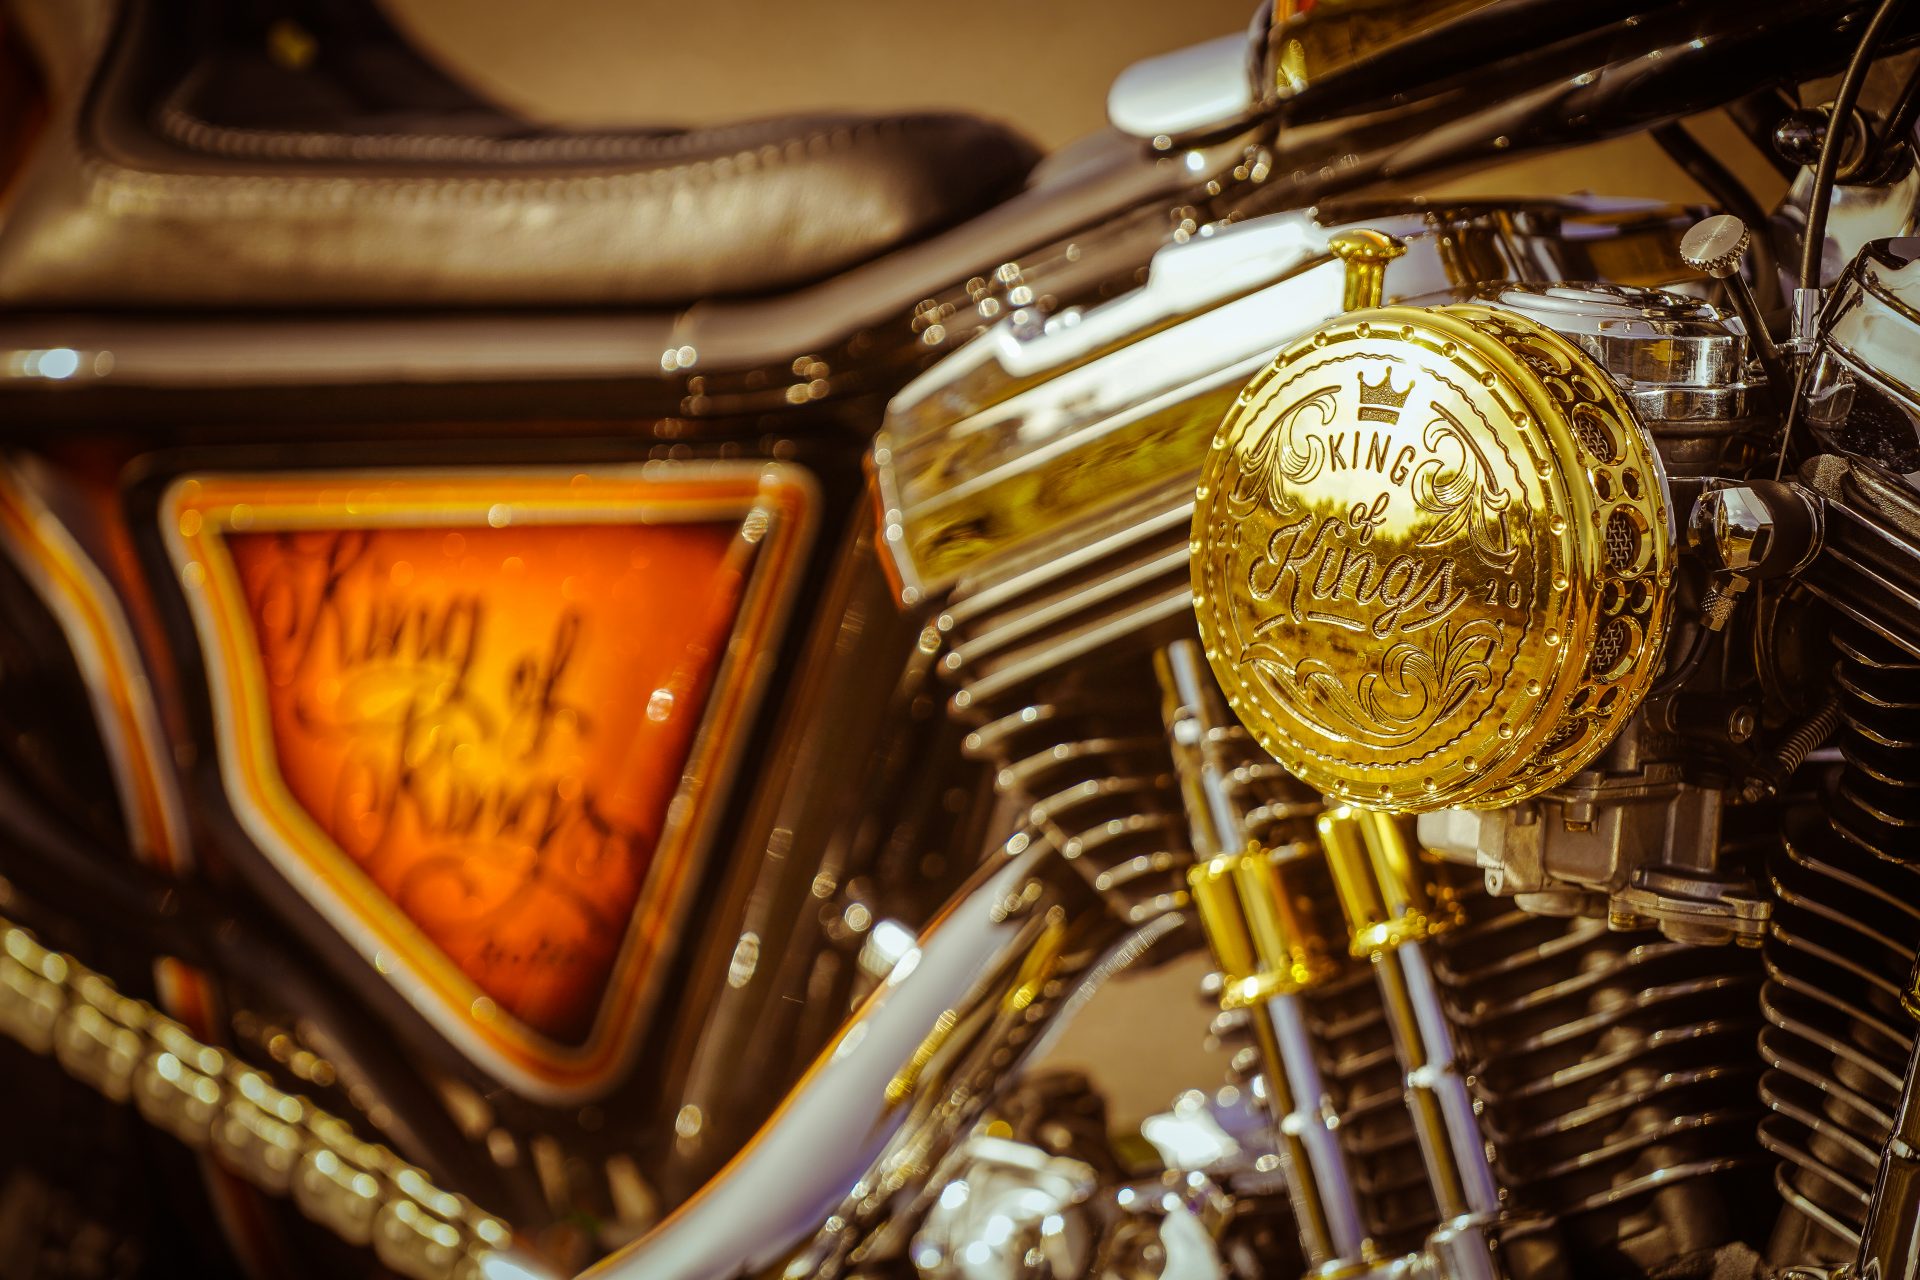
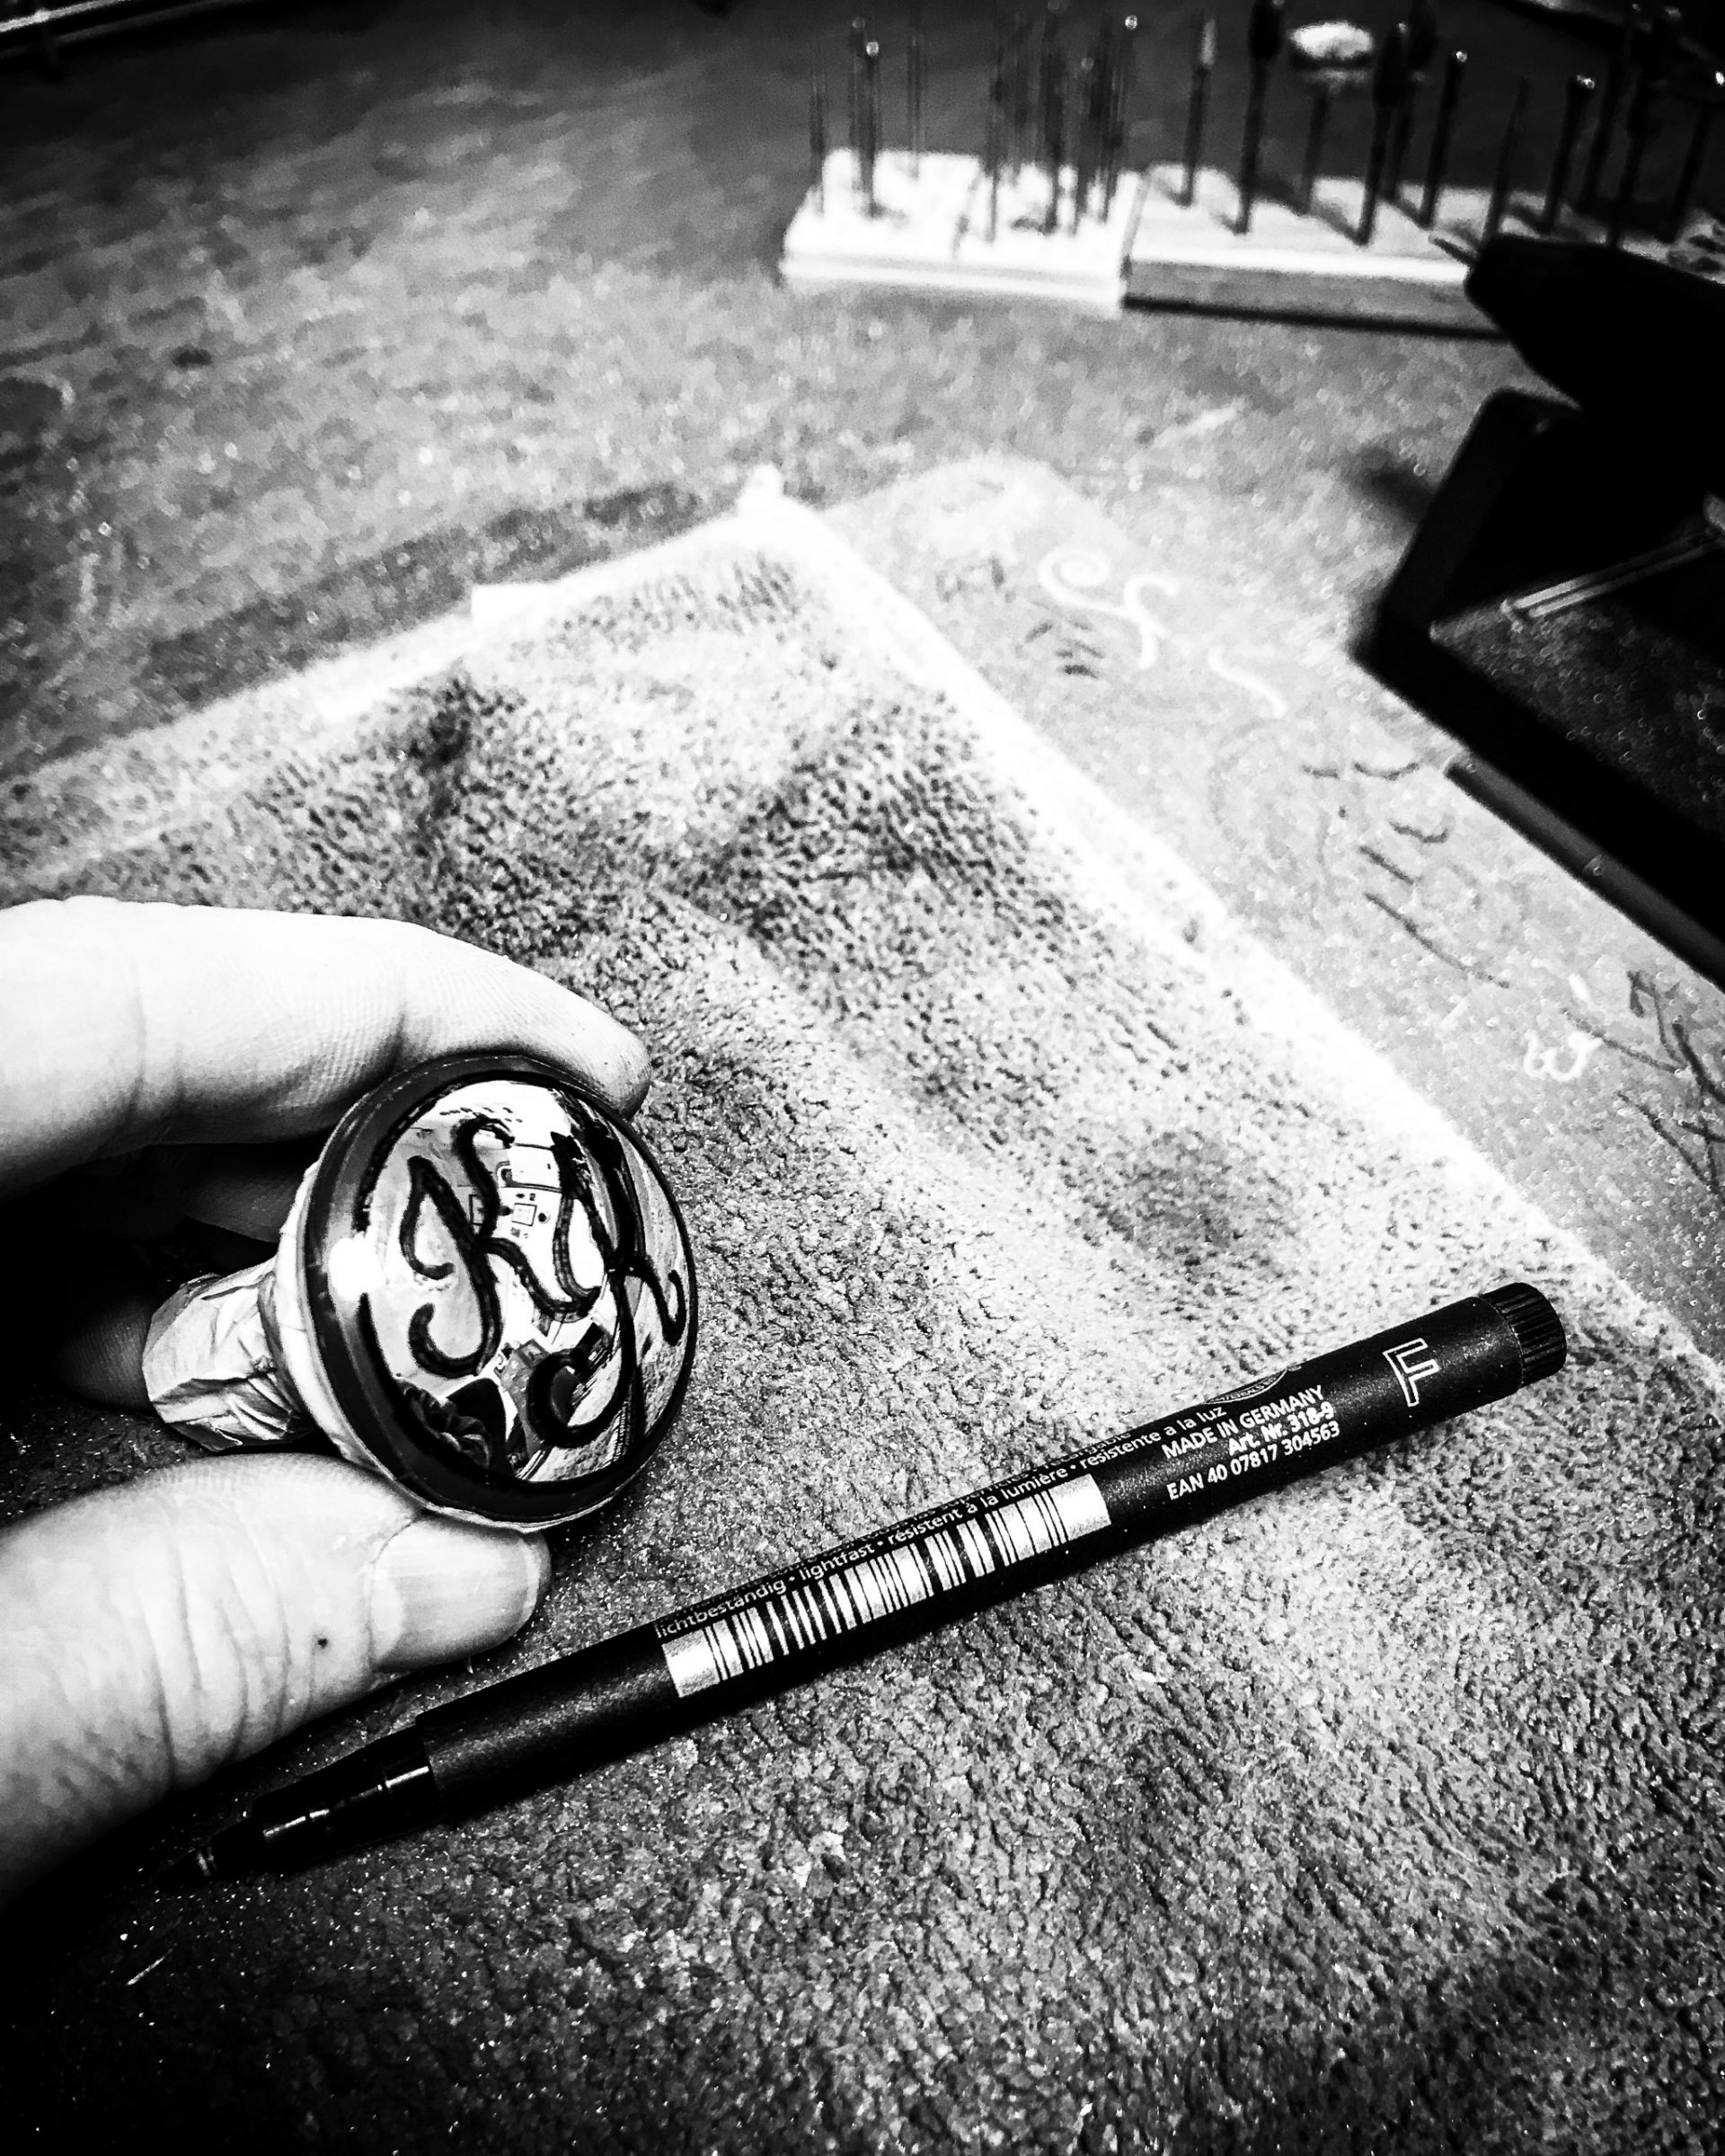
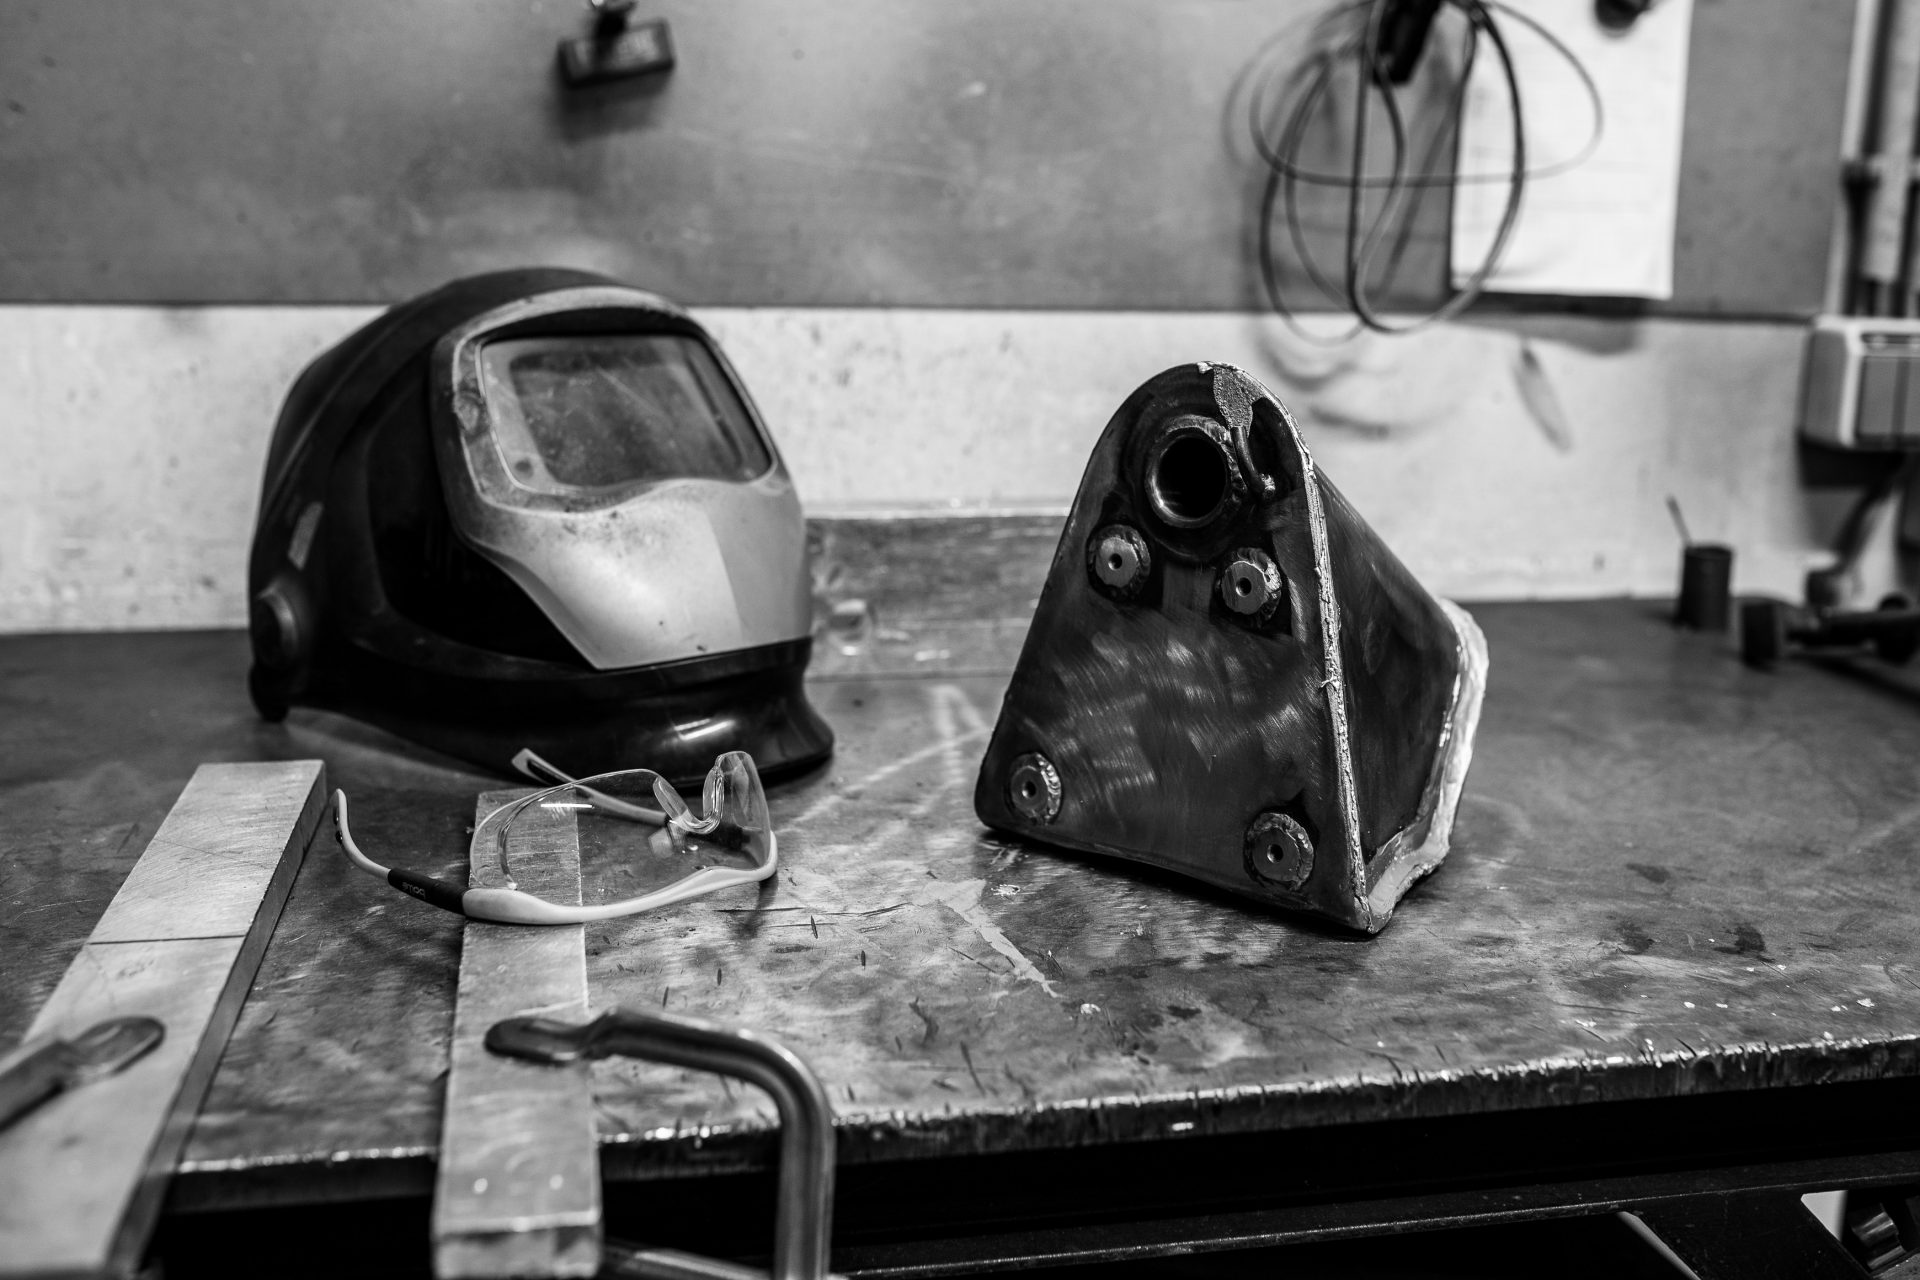
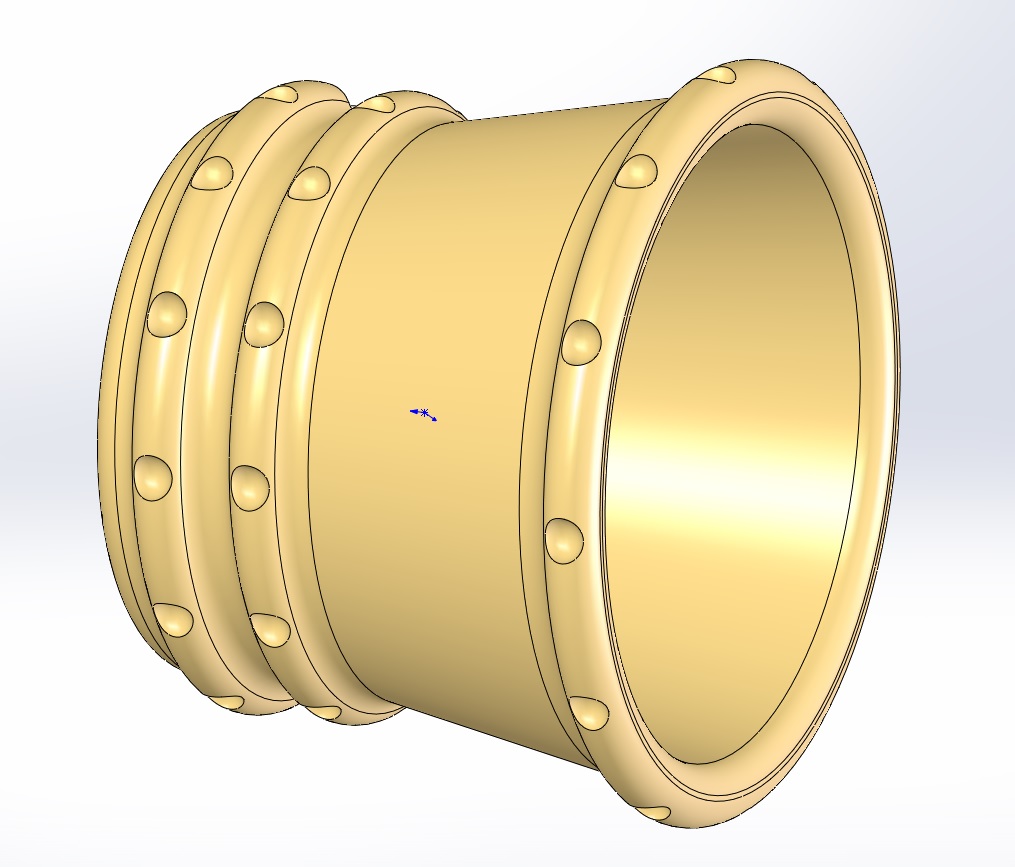
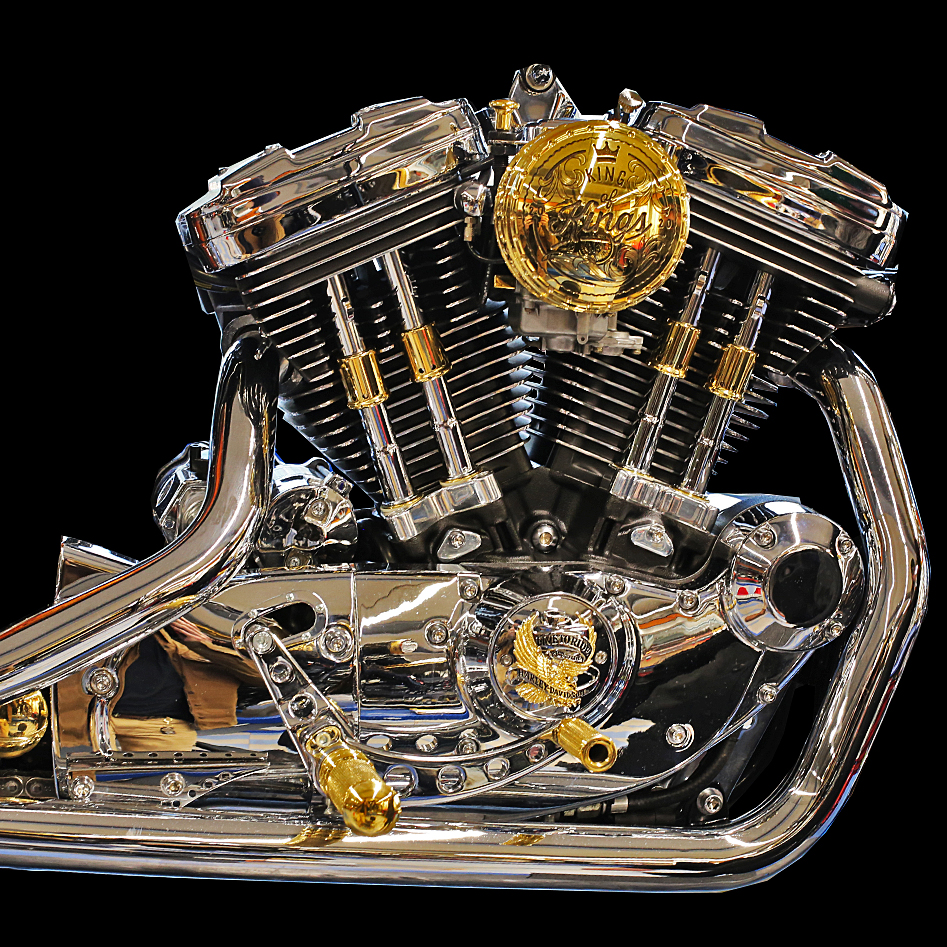
Air Cleaner and Engraving
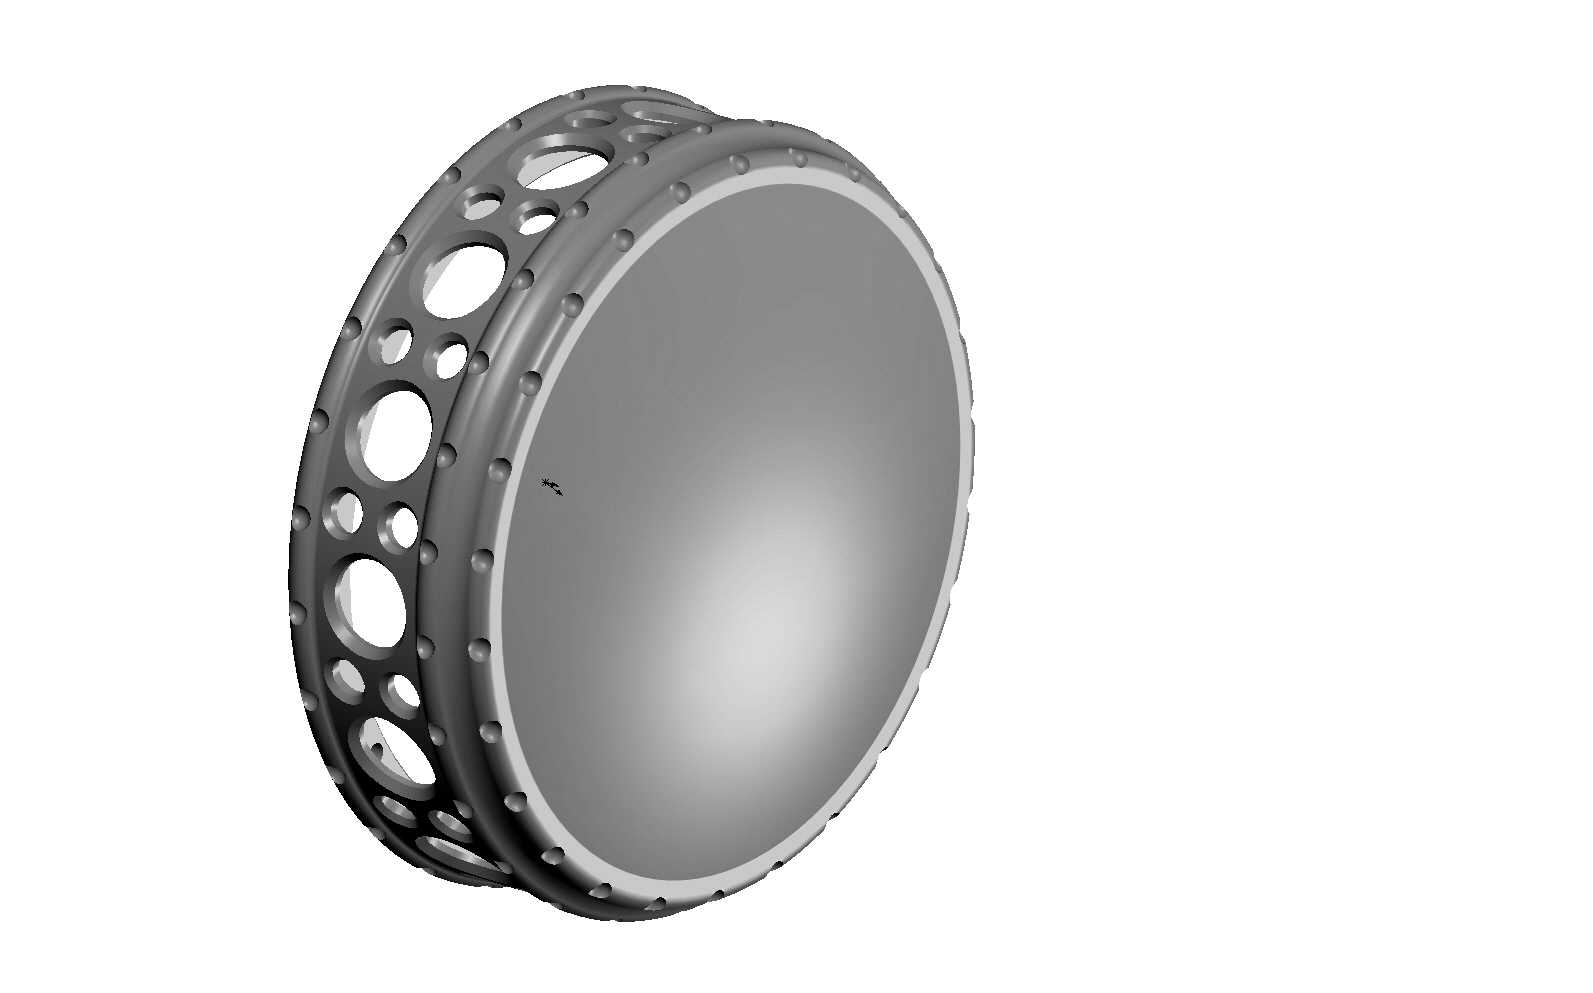

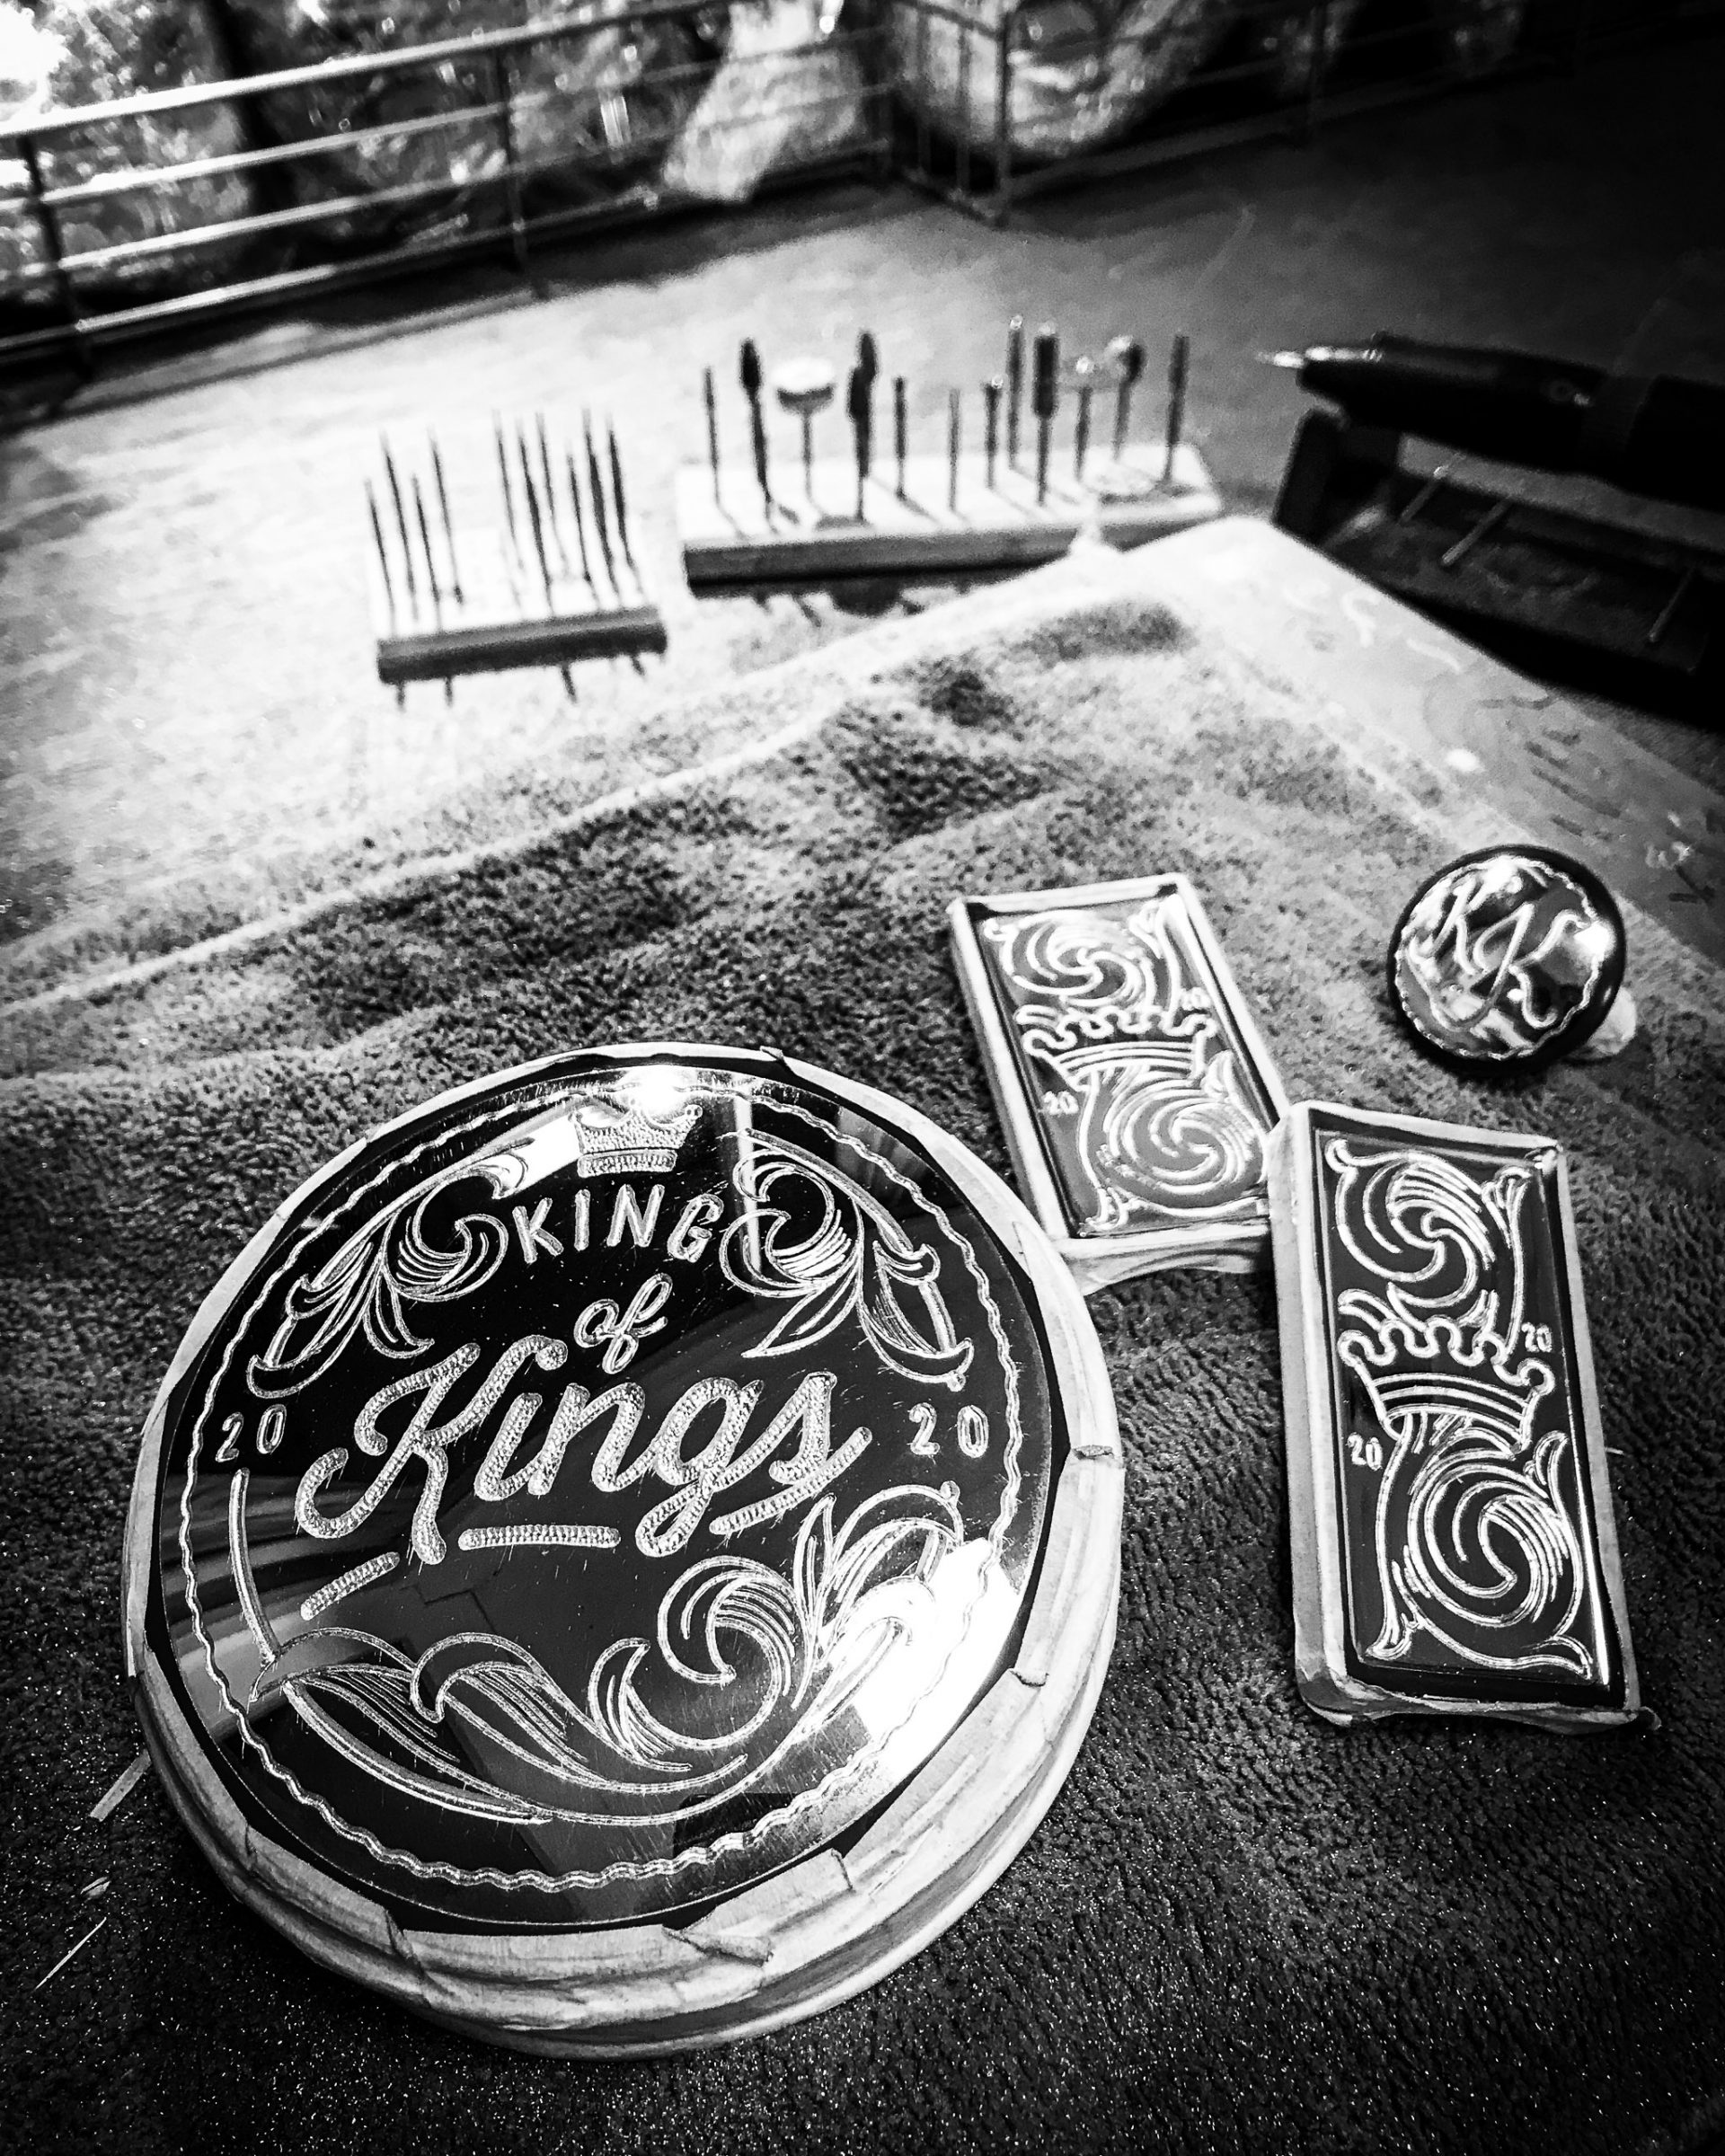
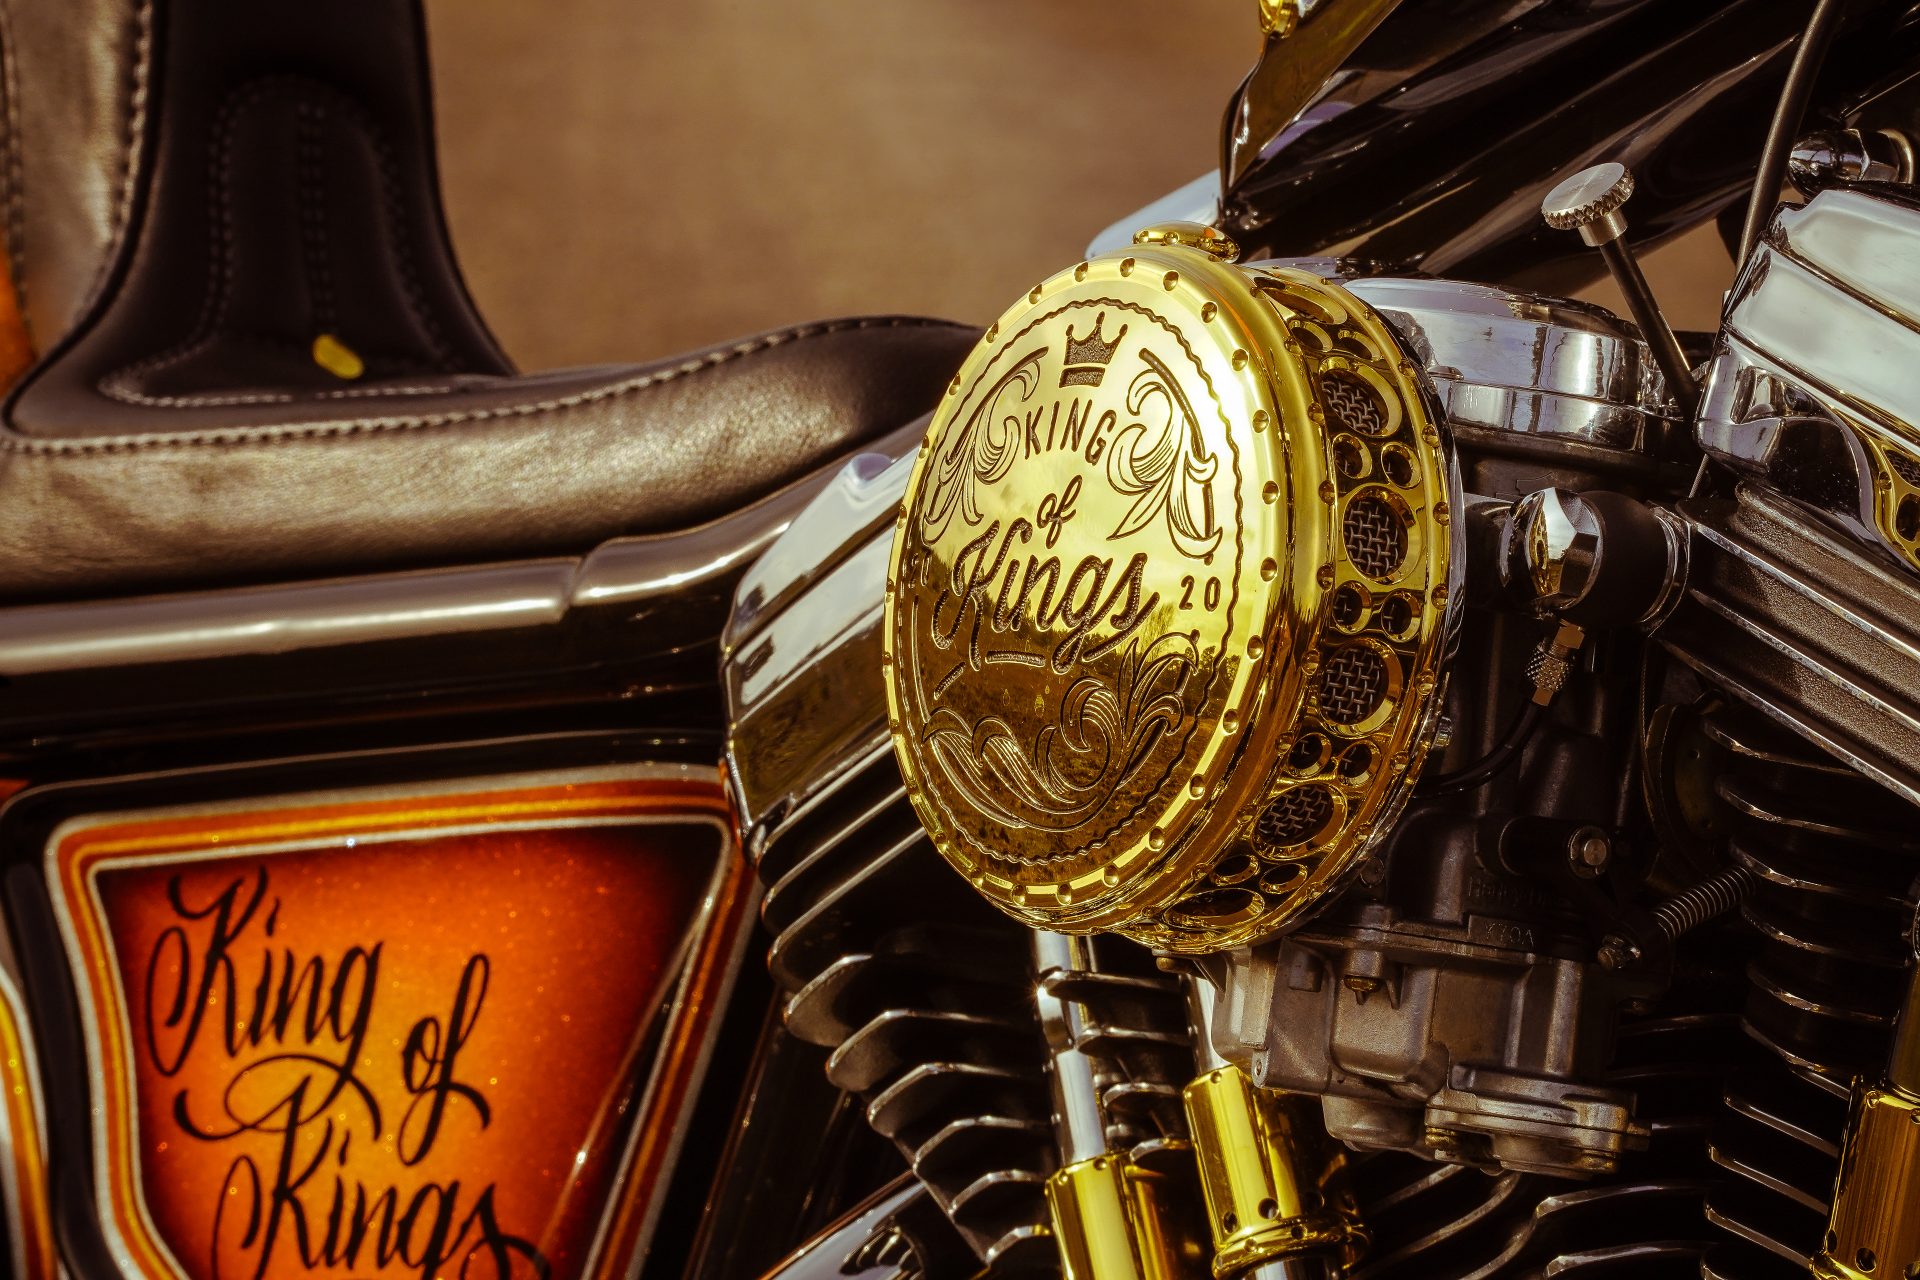
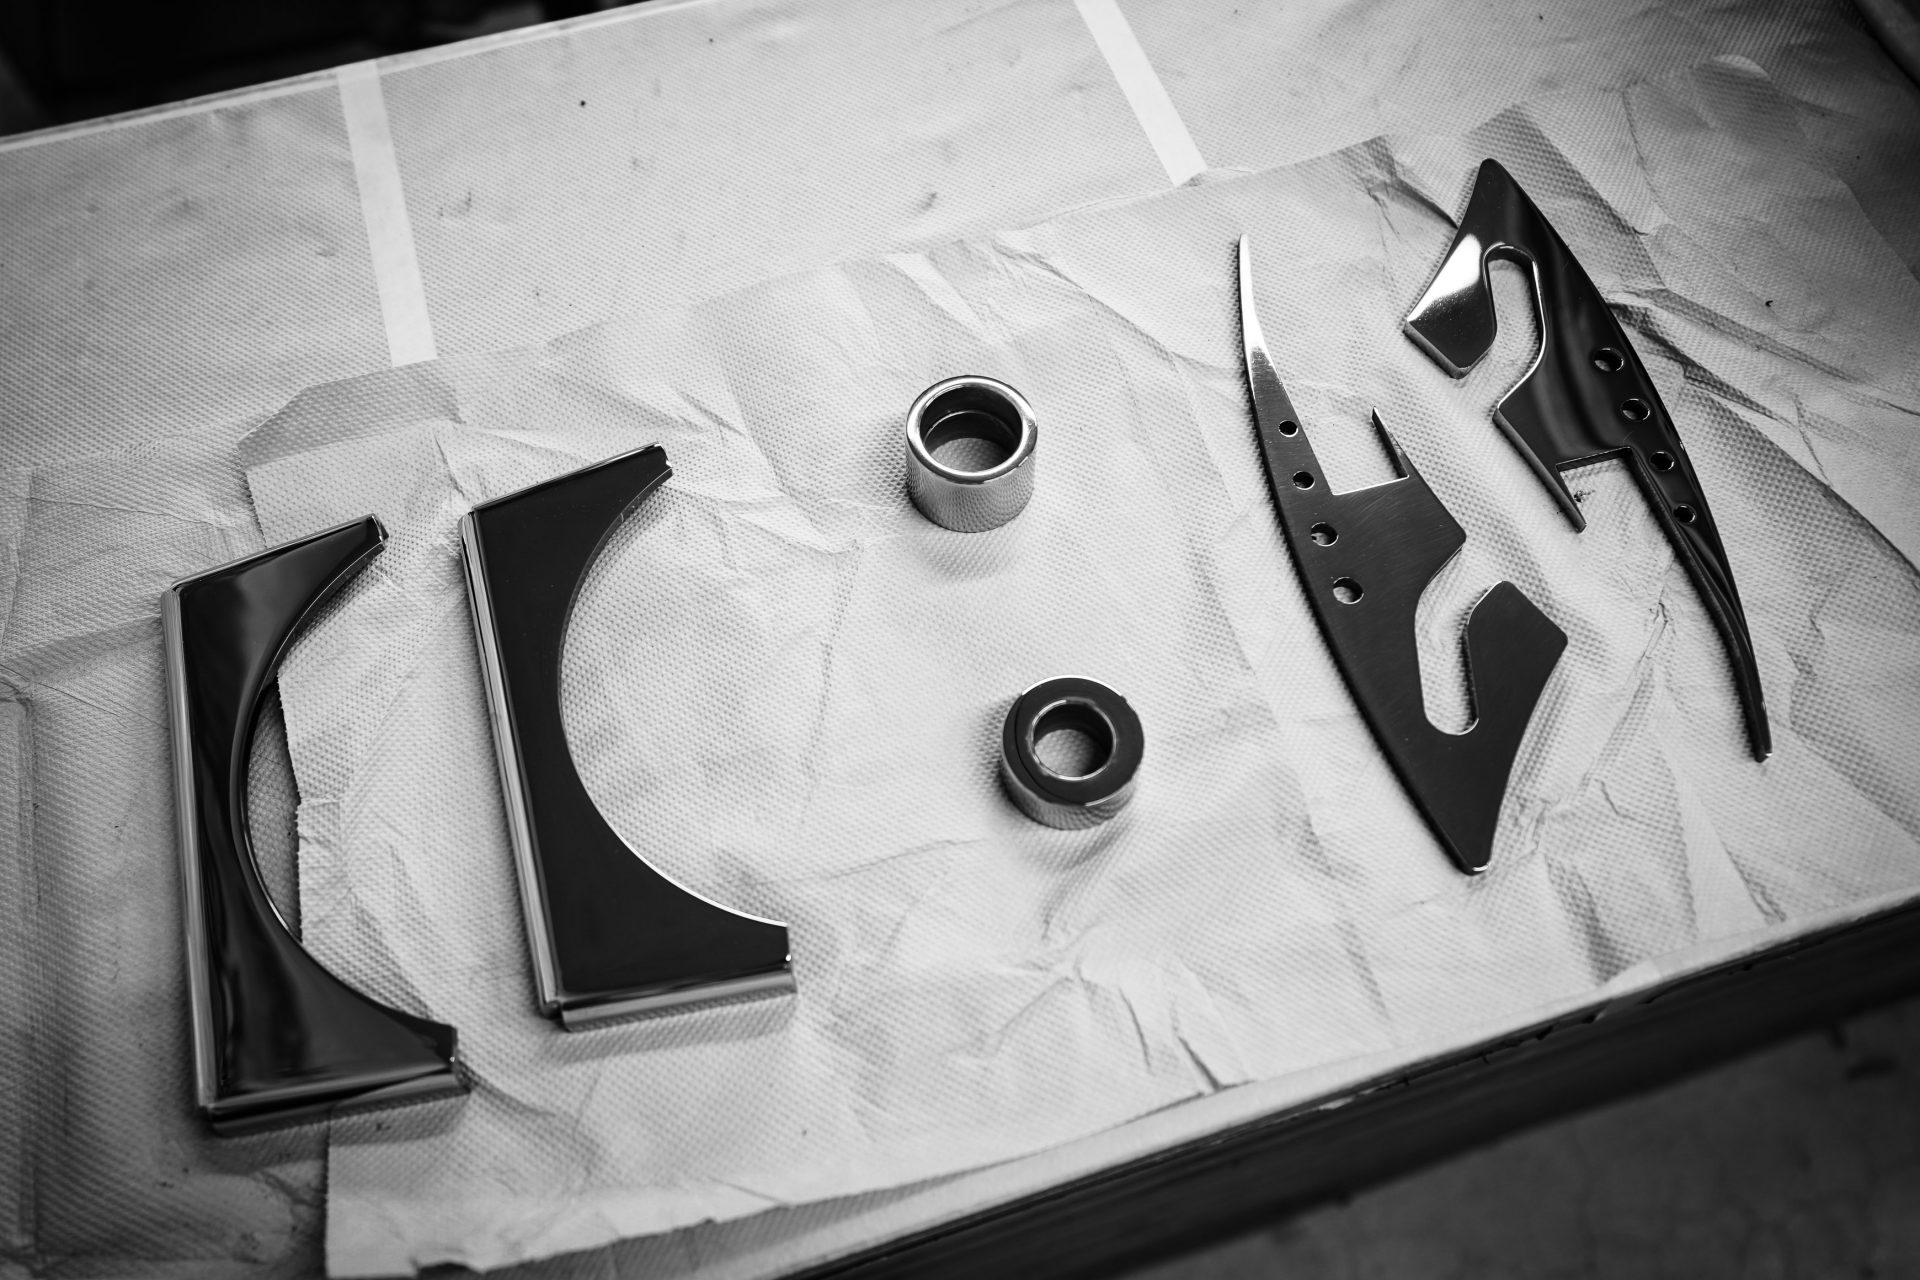
To turn our King of Kings competition bike into a show stepper, the bike needs, besides all technically complex suspension solutions, an immediately recognizable value!
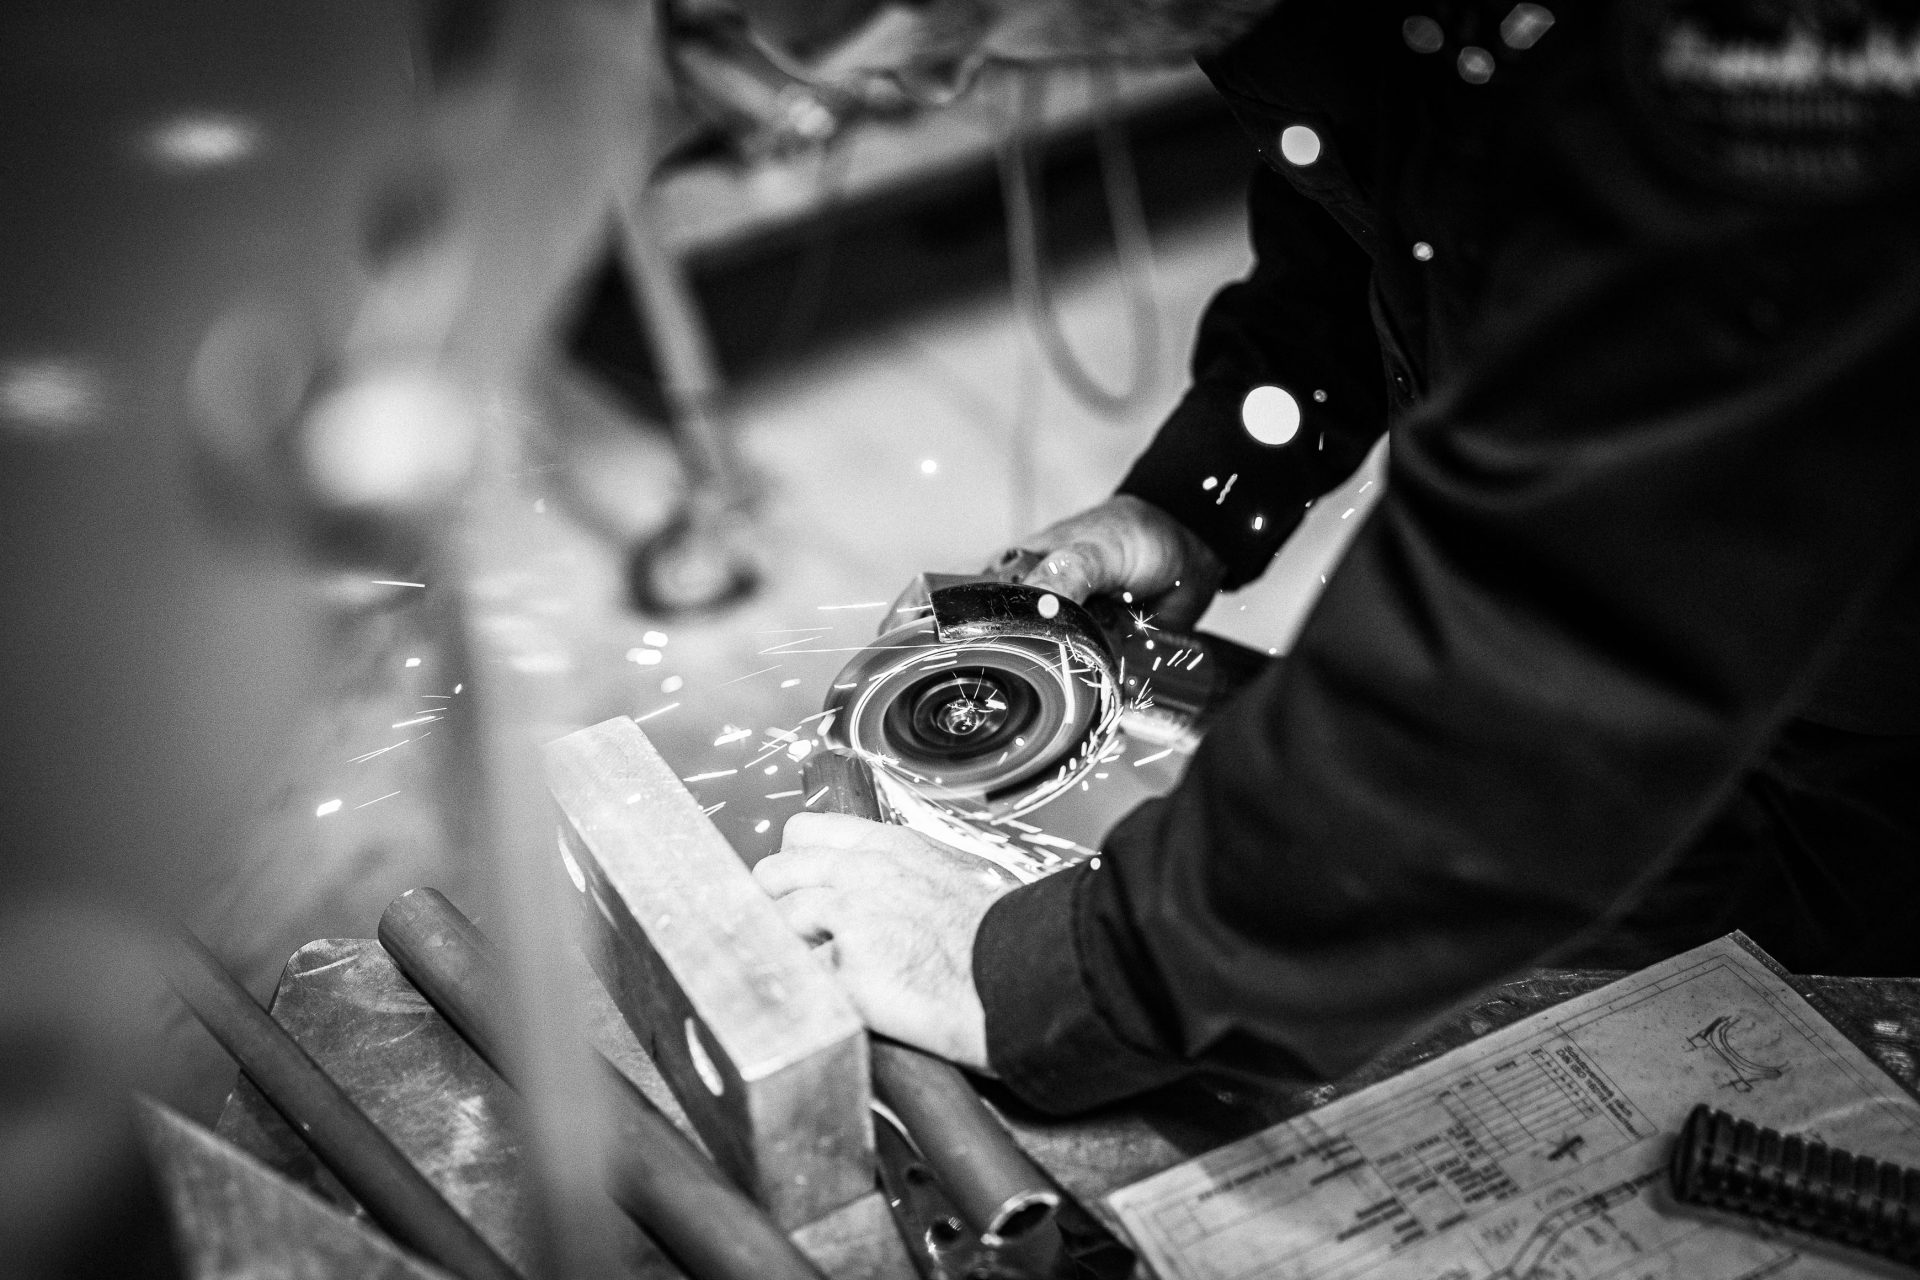
For this purpose, we have set some accents in golden brass. We milled all parts from the full material. We don’t want to give away all the parts we made, but we made some exclusive parts like air filter cover and exhaust end caps. But that was not enough for us! To get more details of the bike, we got the engraver Carsten Estermann on board. Carsten engraved some of the parts by hand with a dremel.
We were impressed not only by his creativity in choosing the motifs, but also by the extremely consistent depth of the engravings that he removed from the metal.
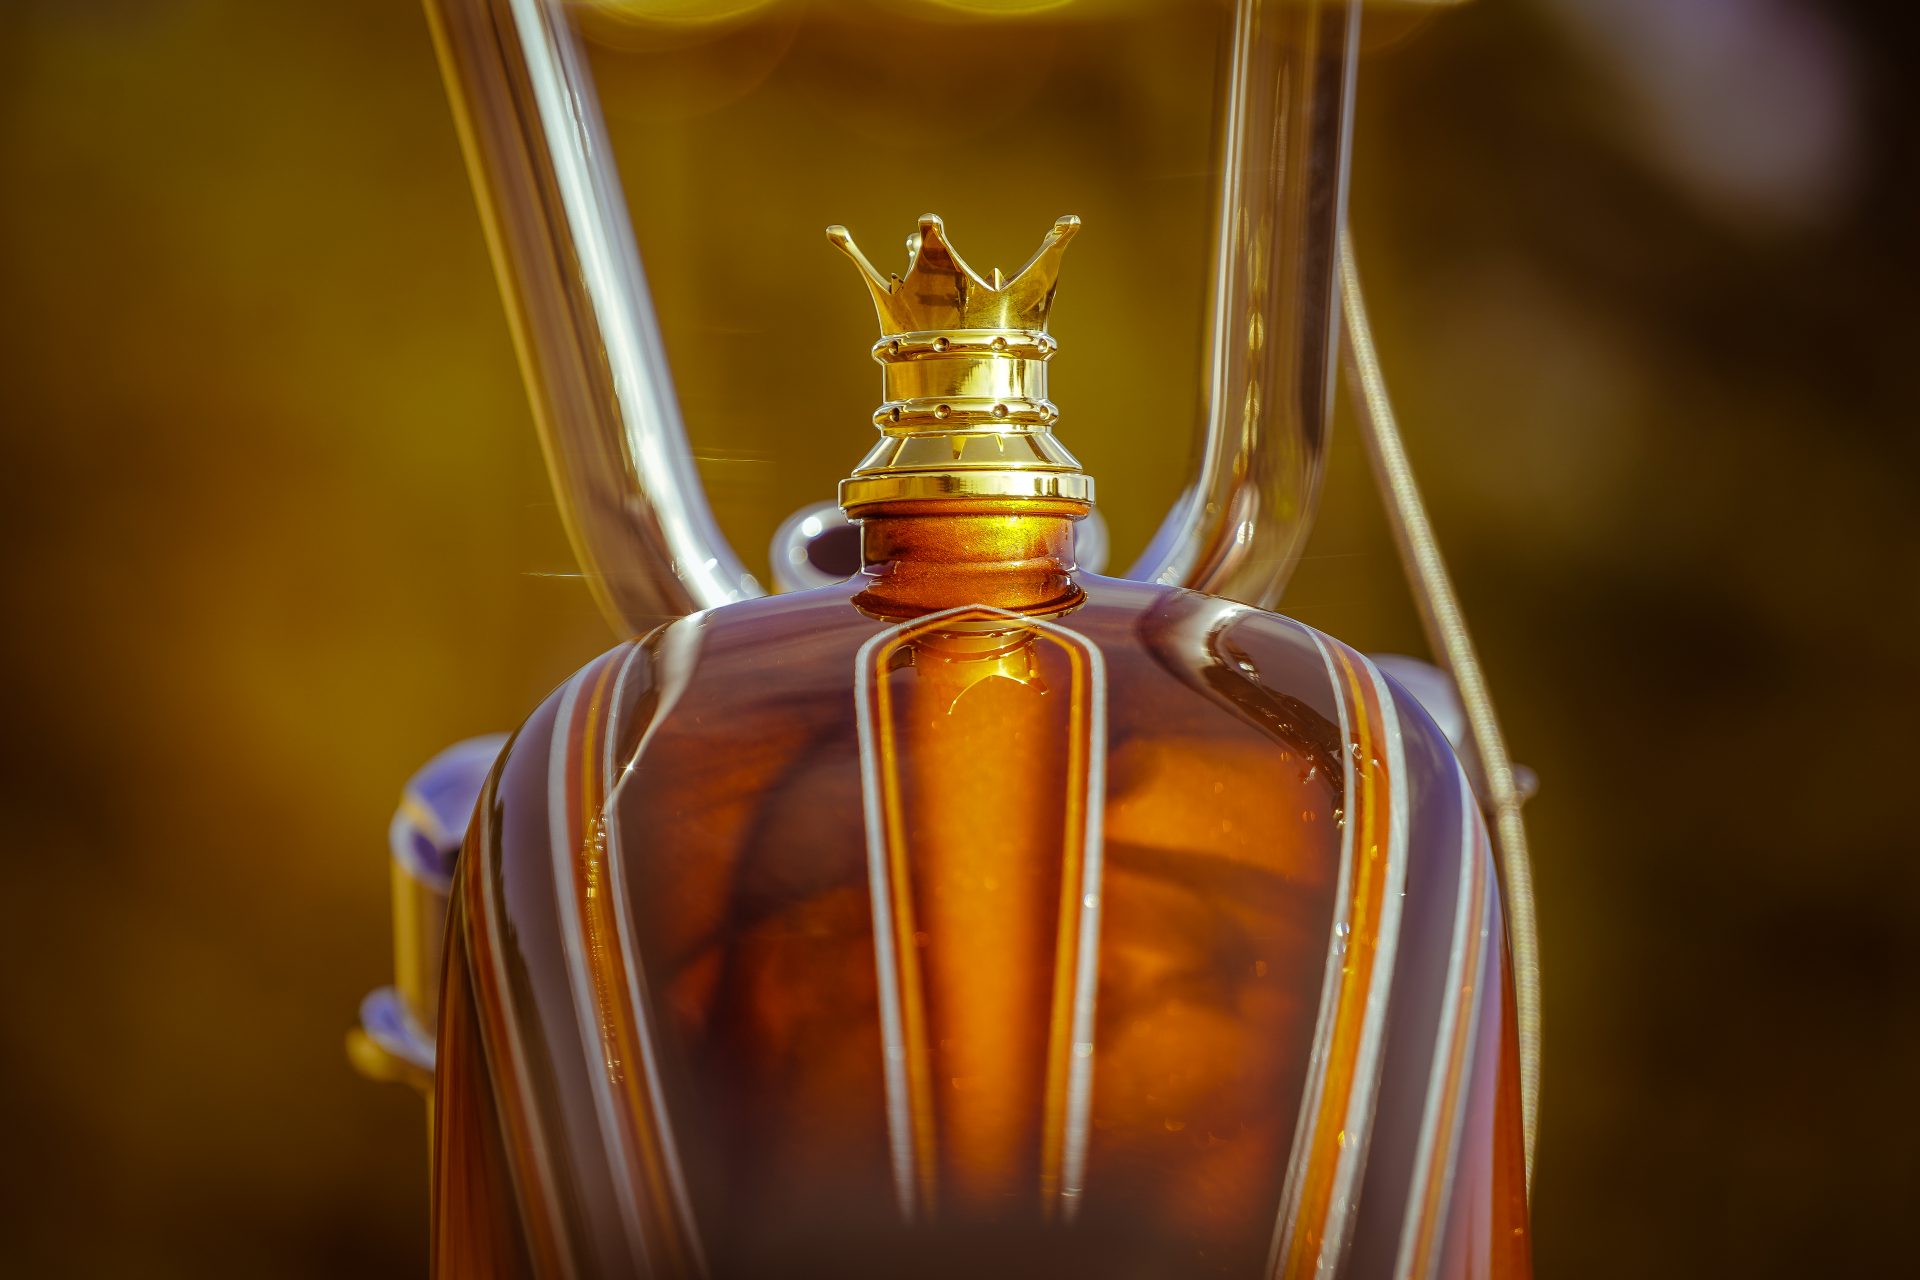
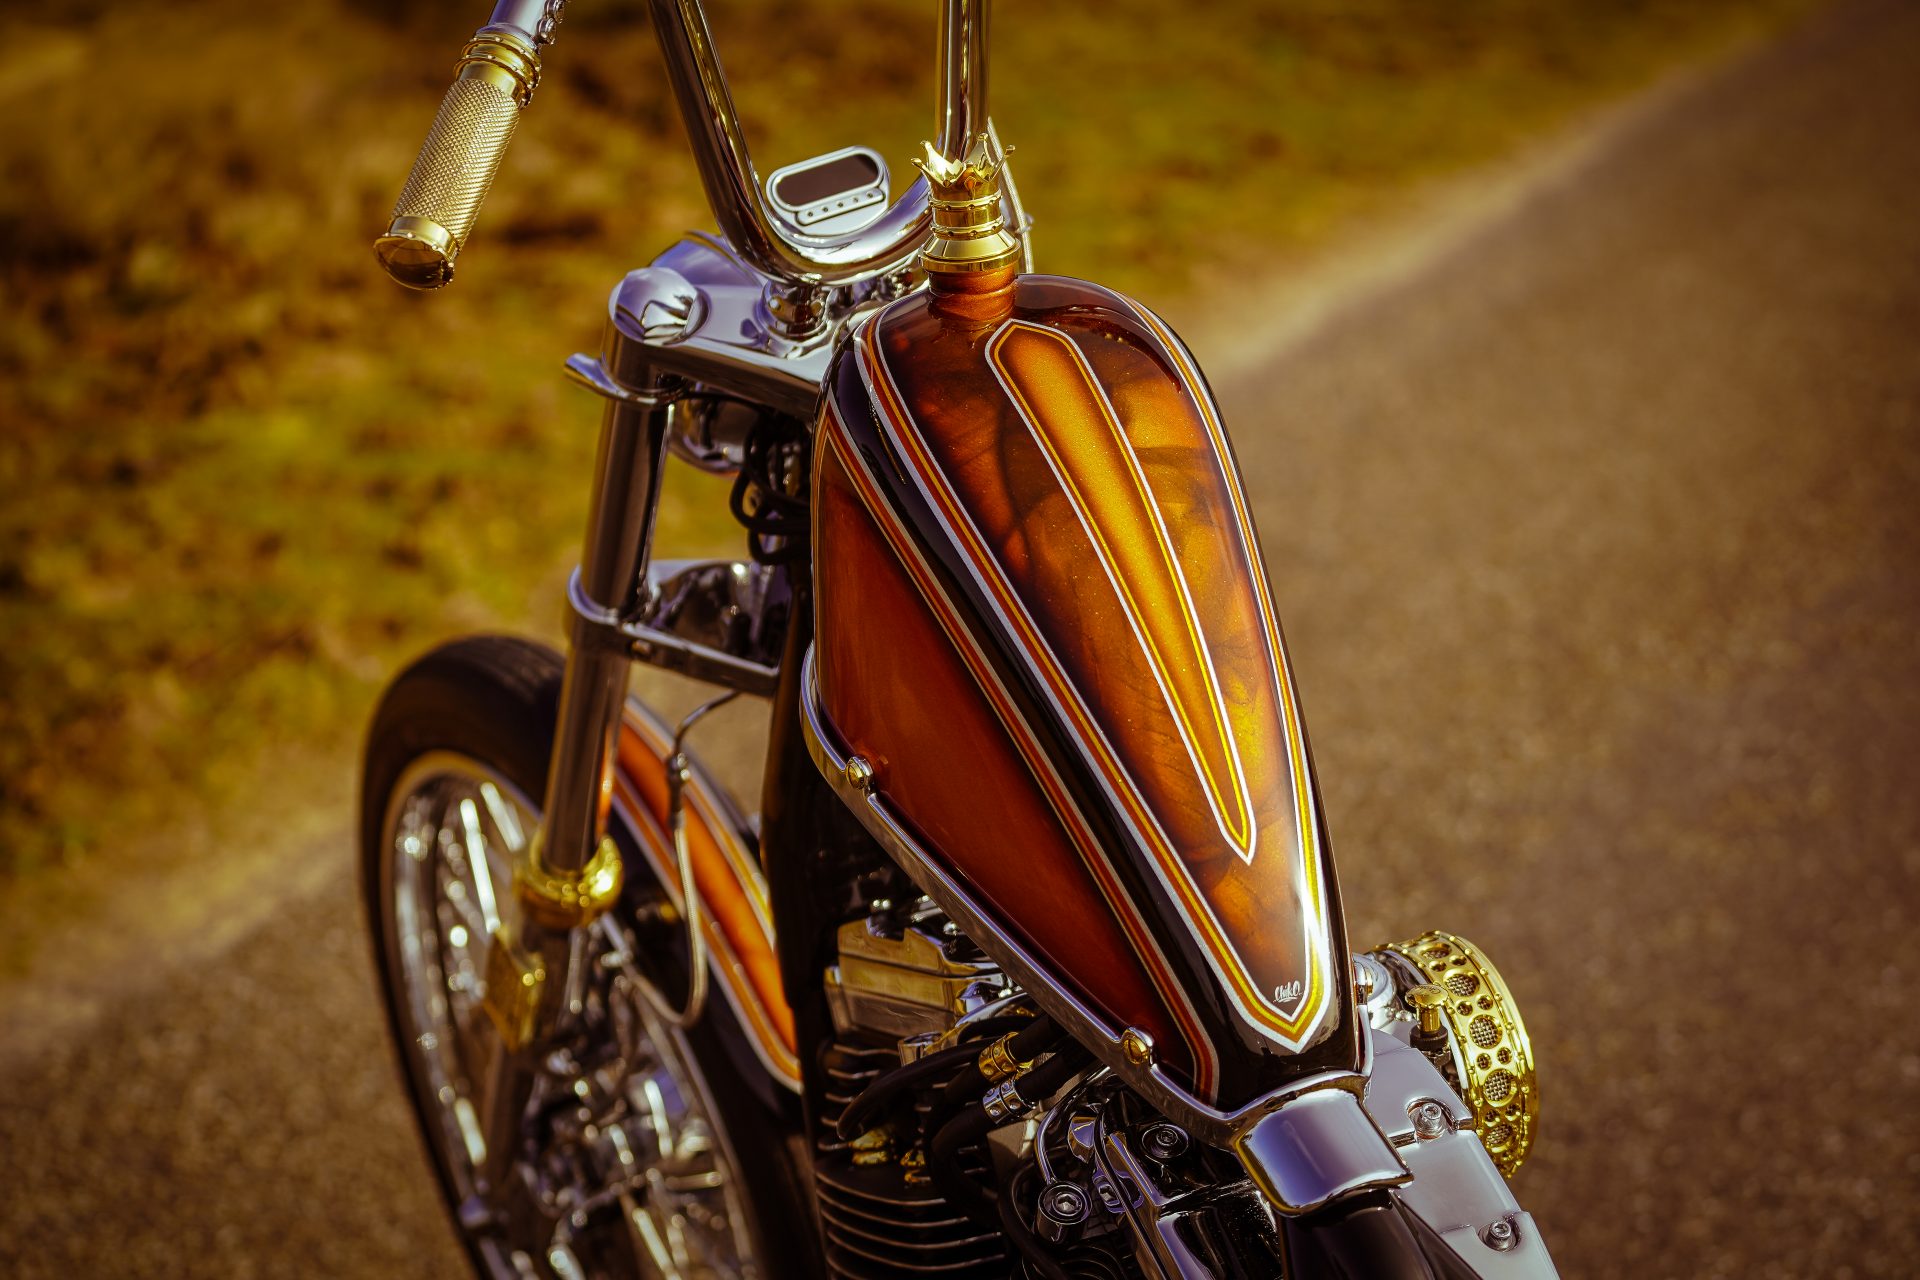
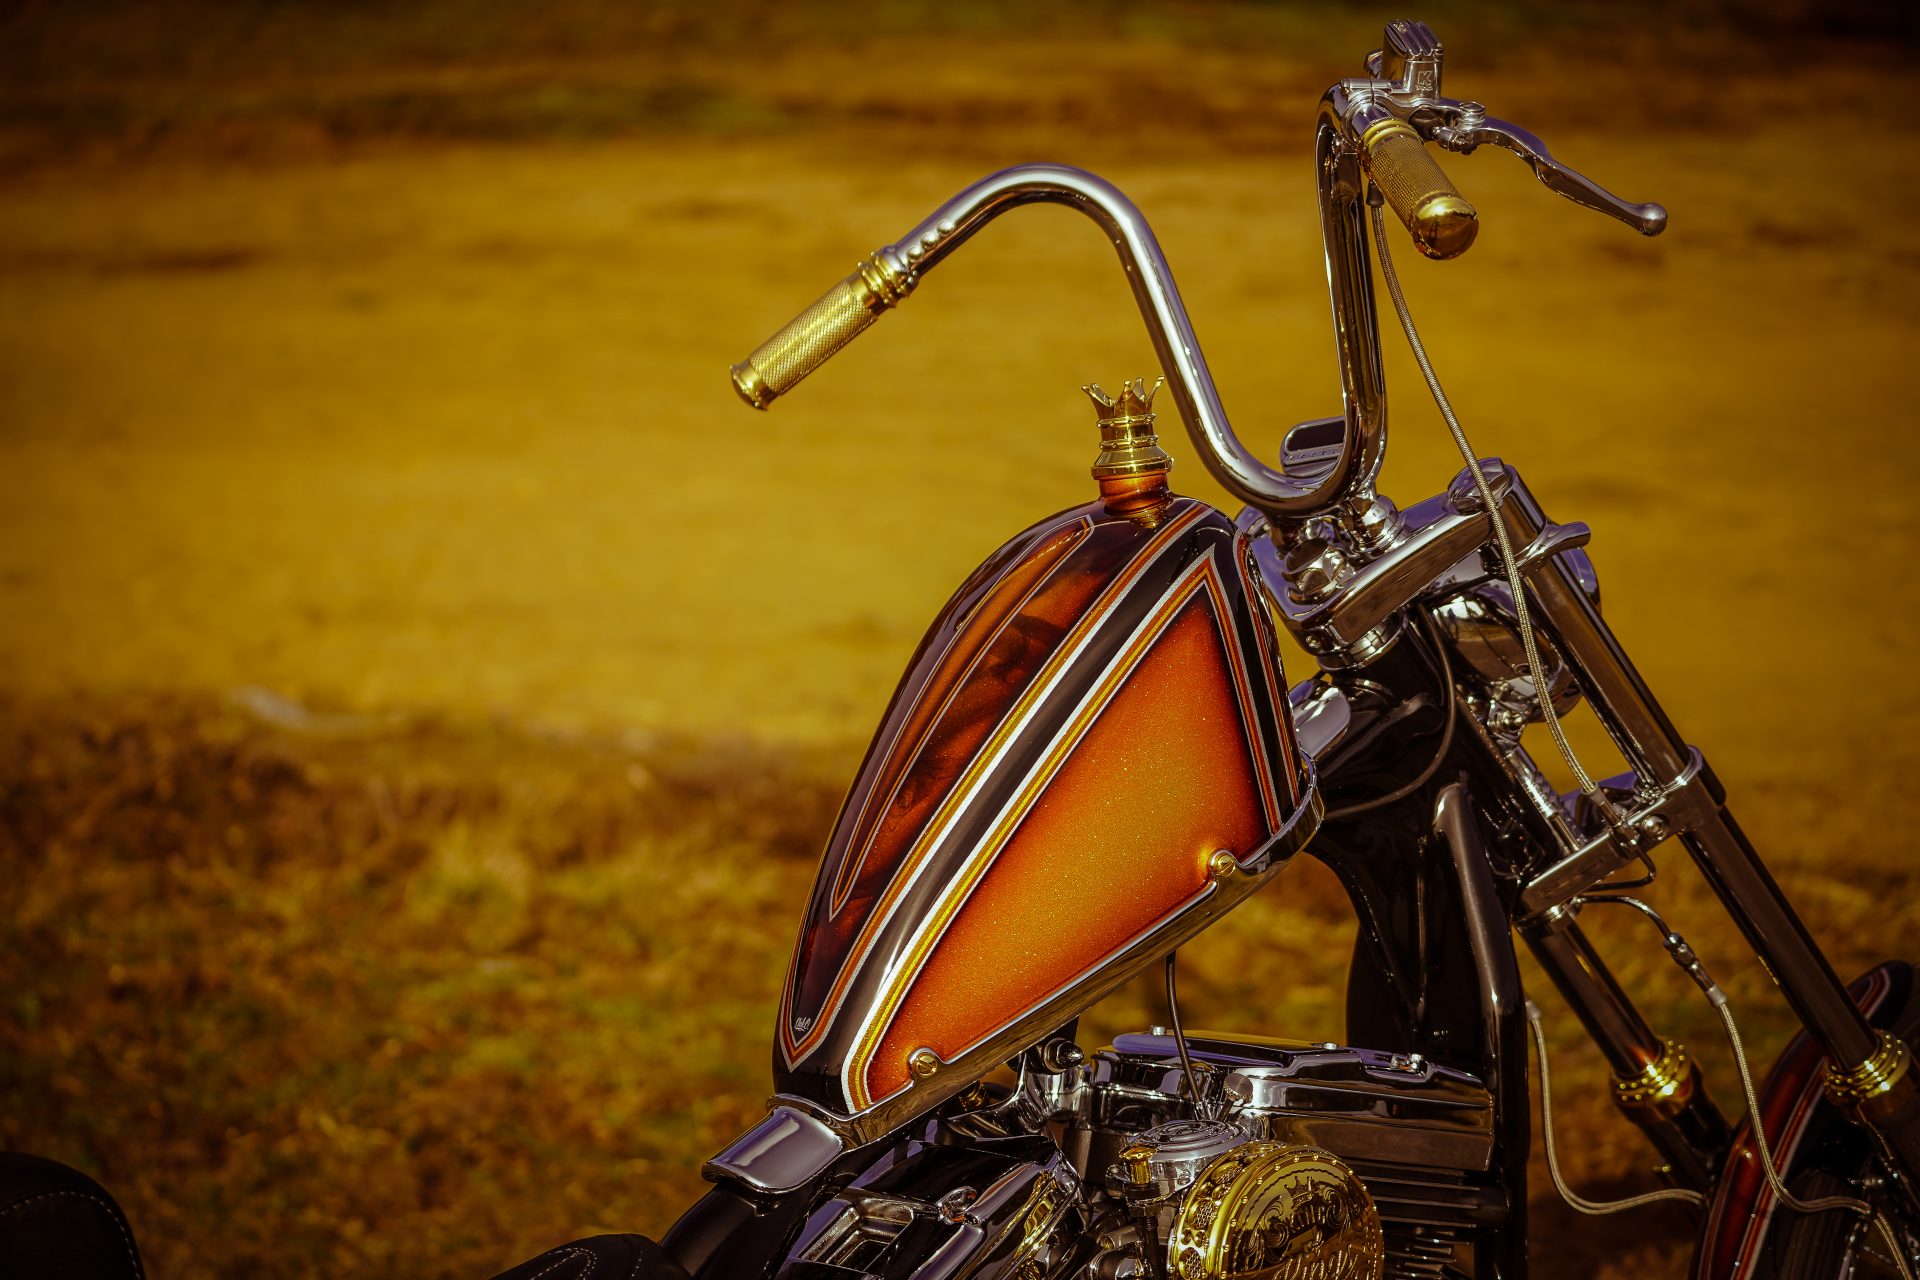
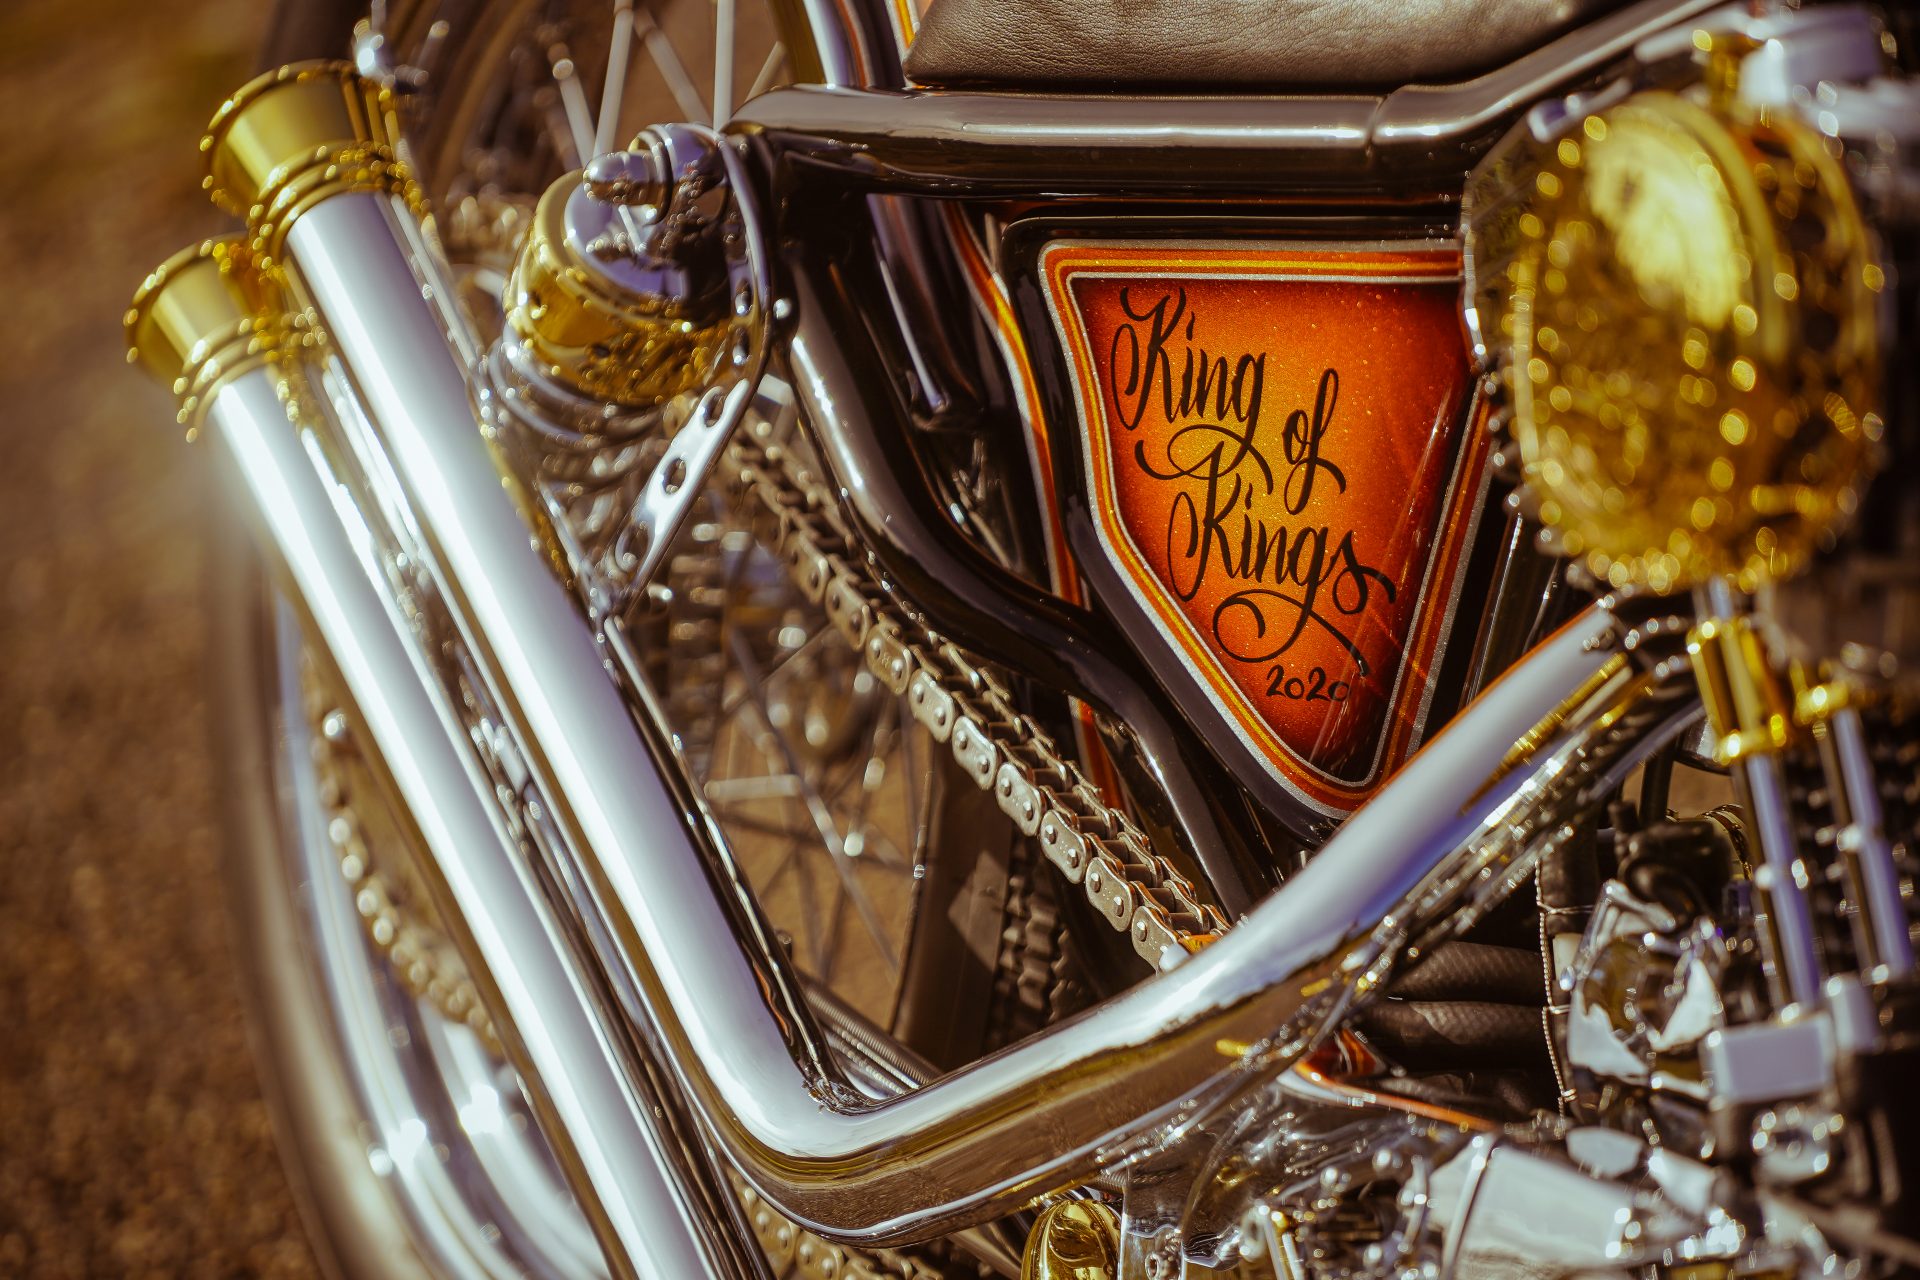
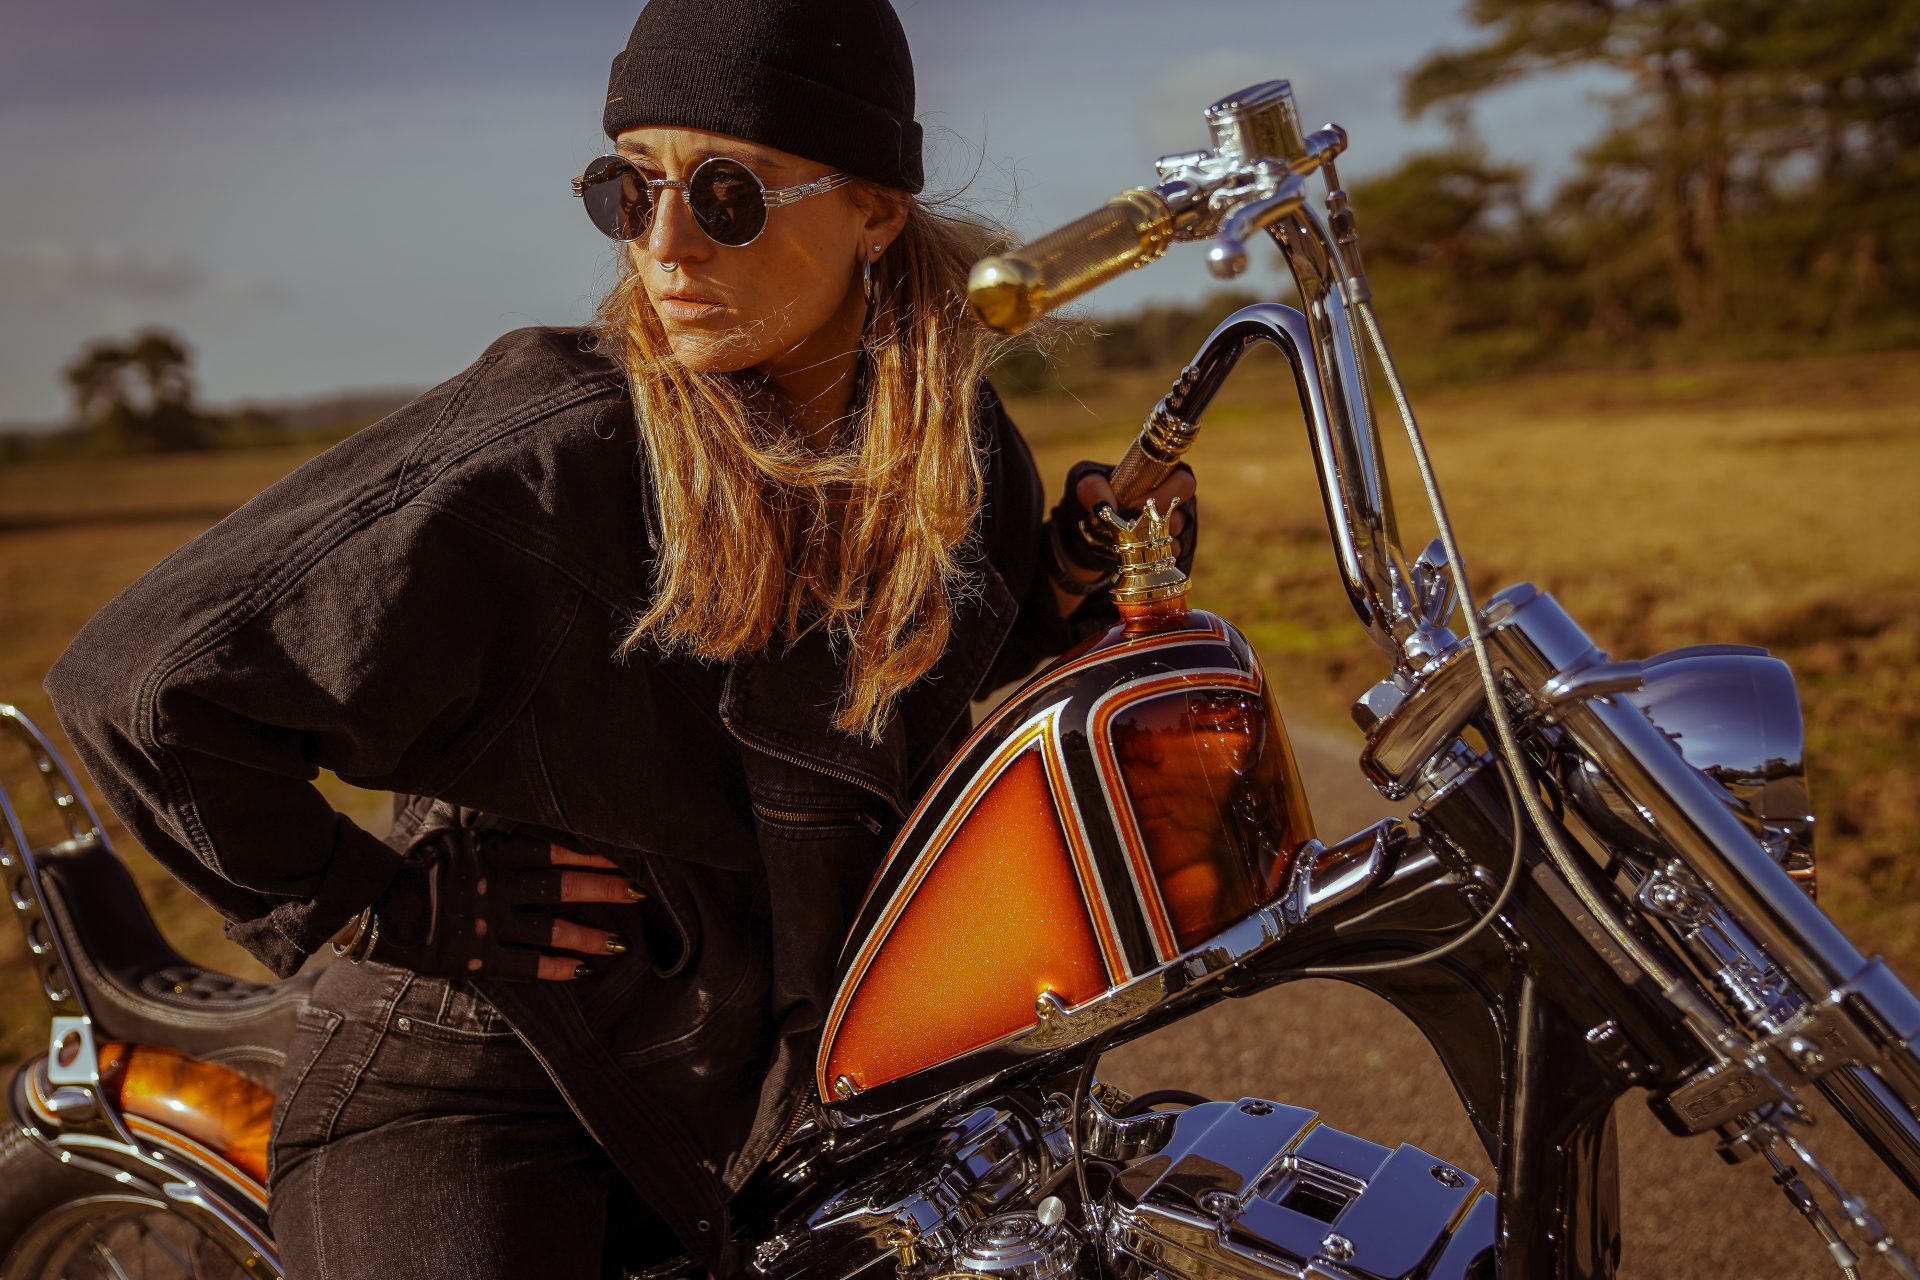
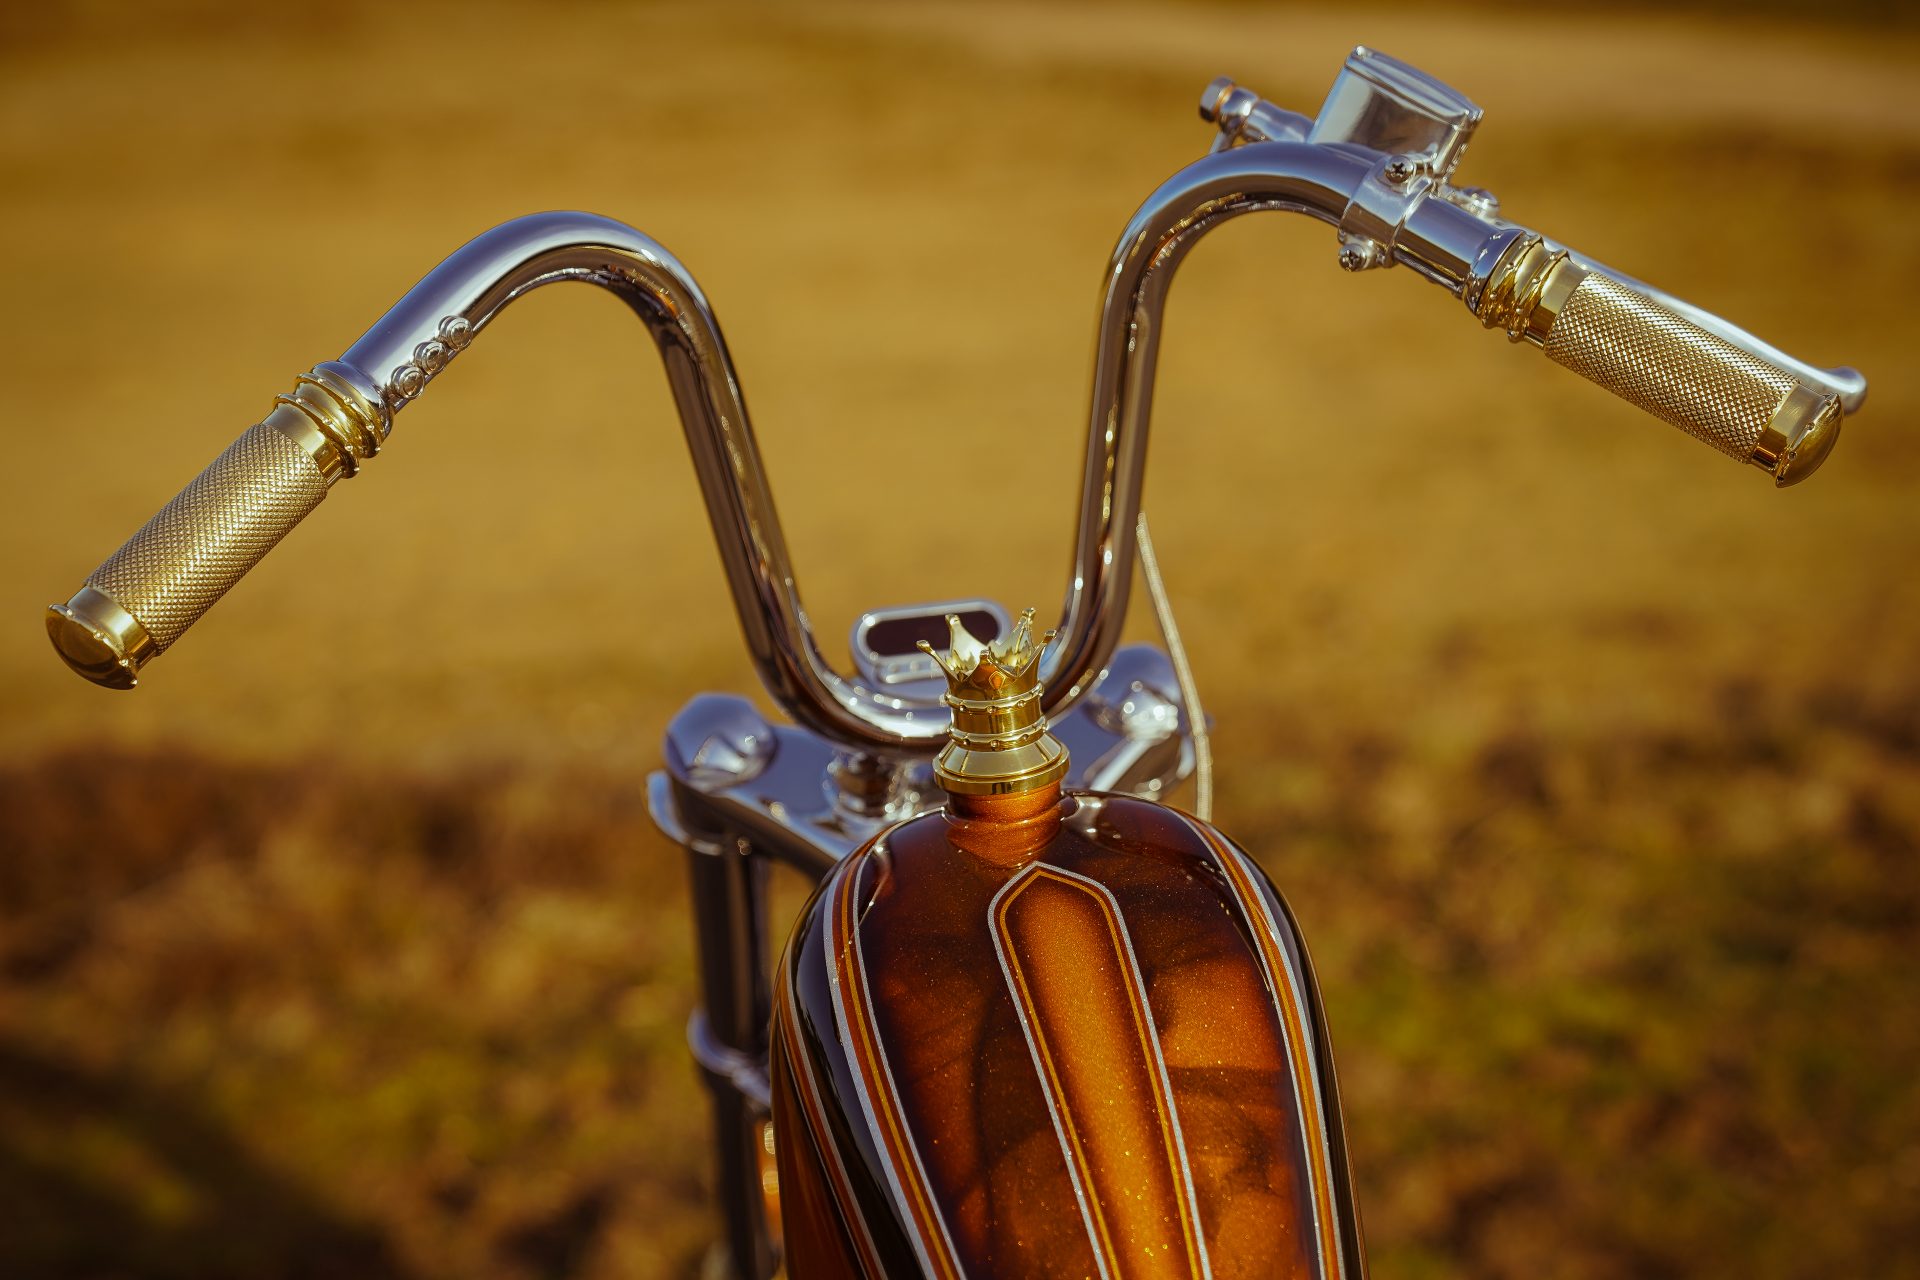
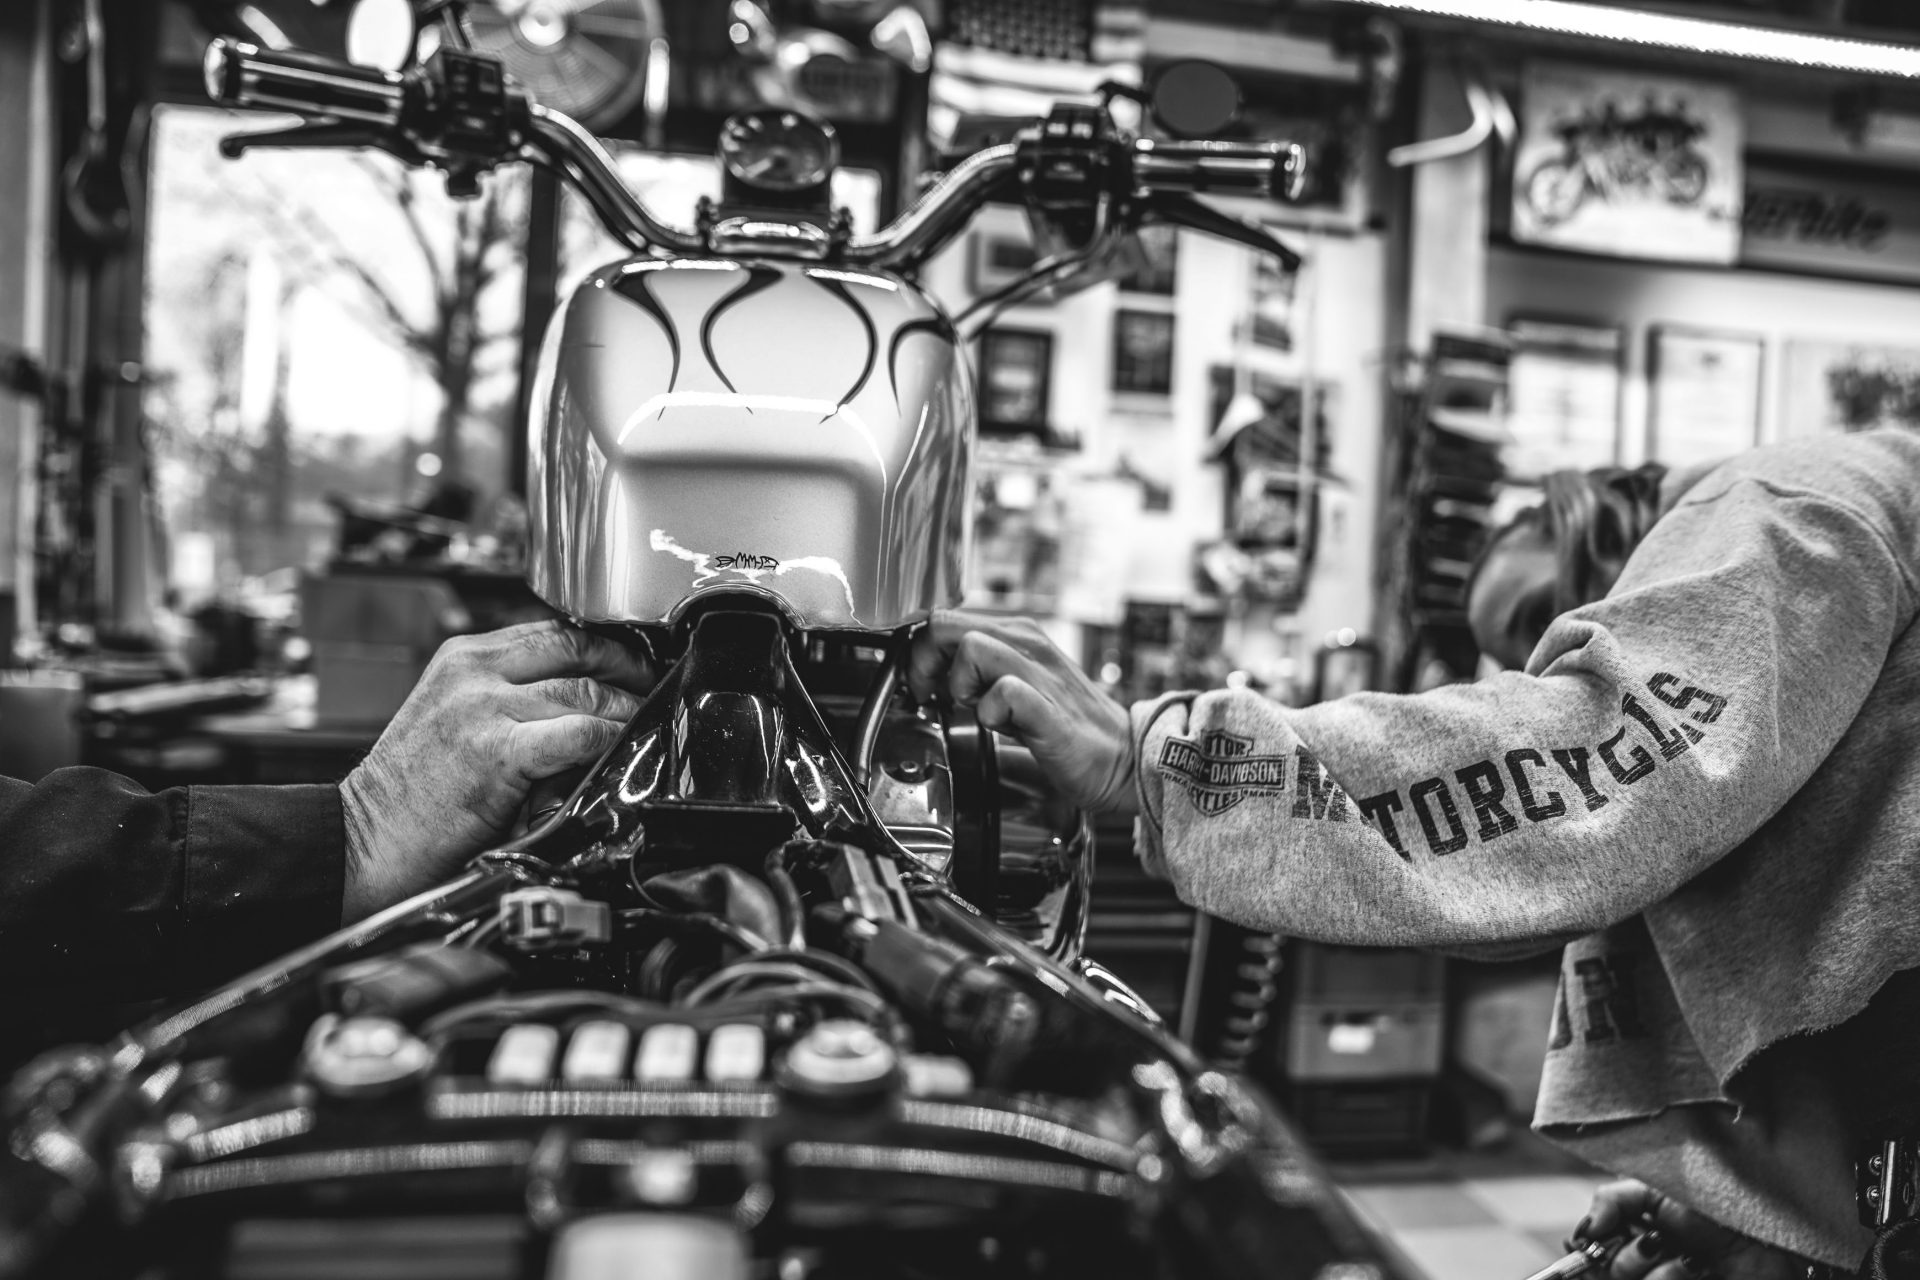
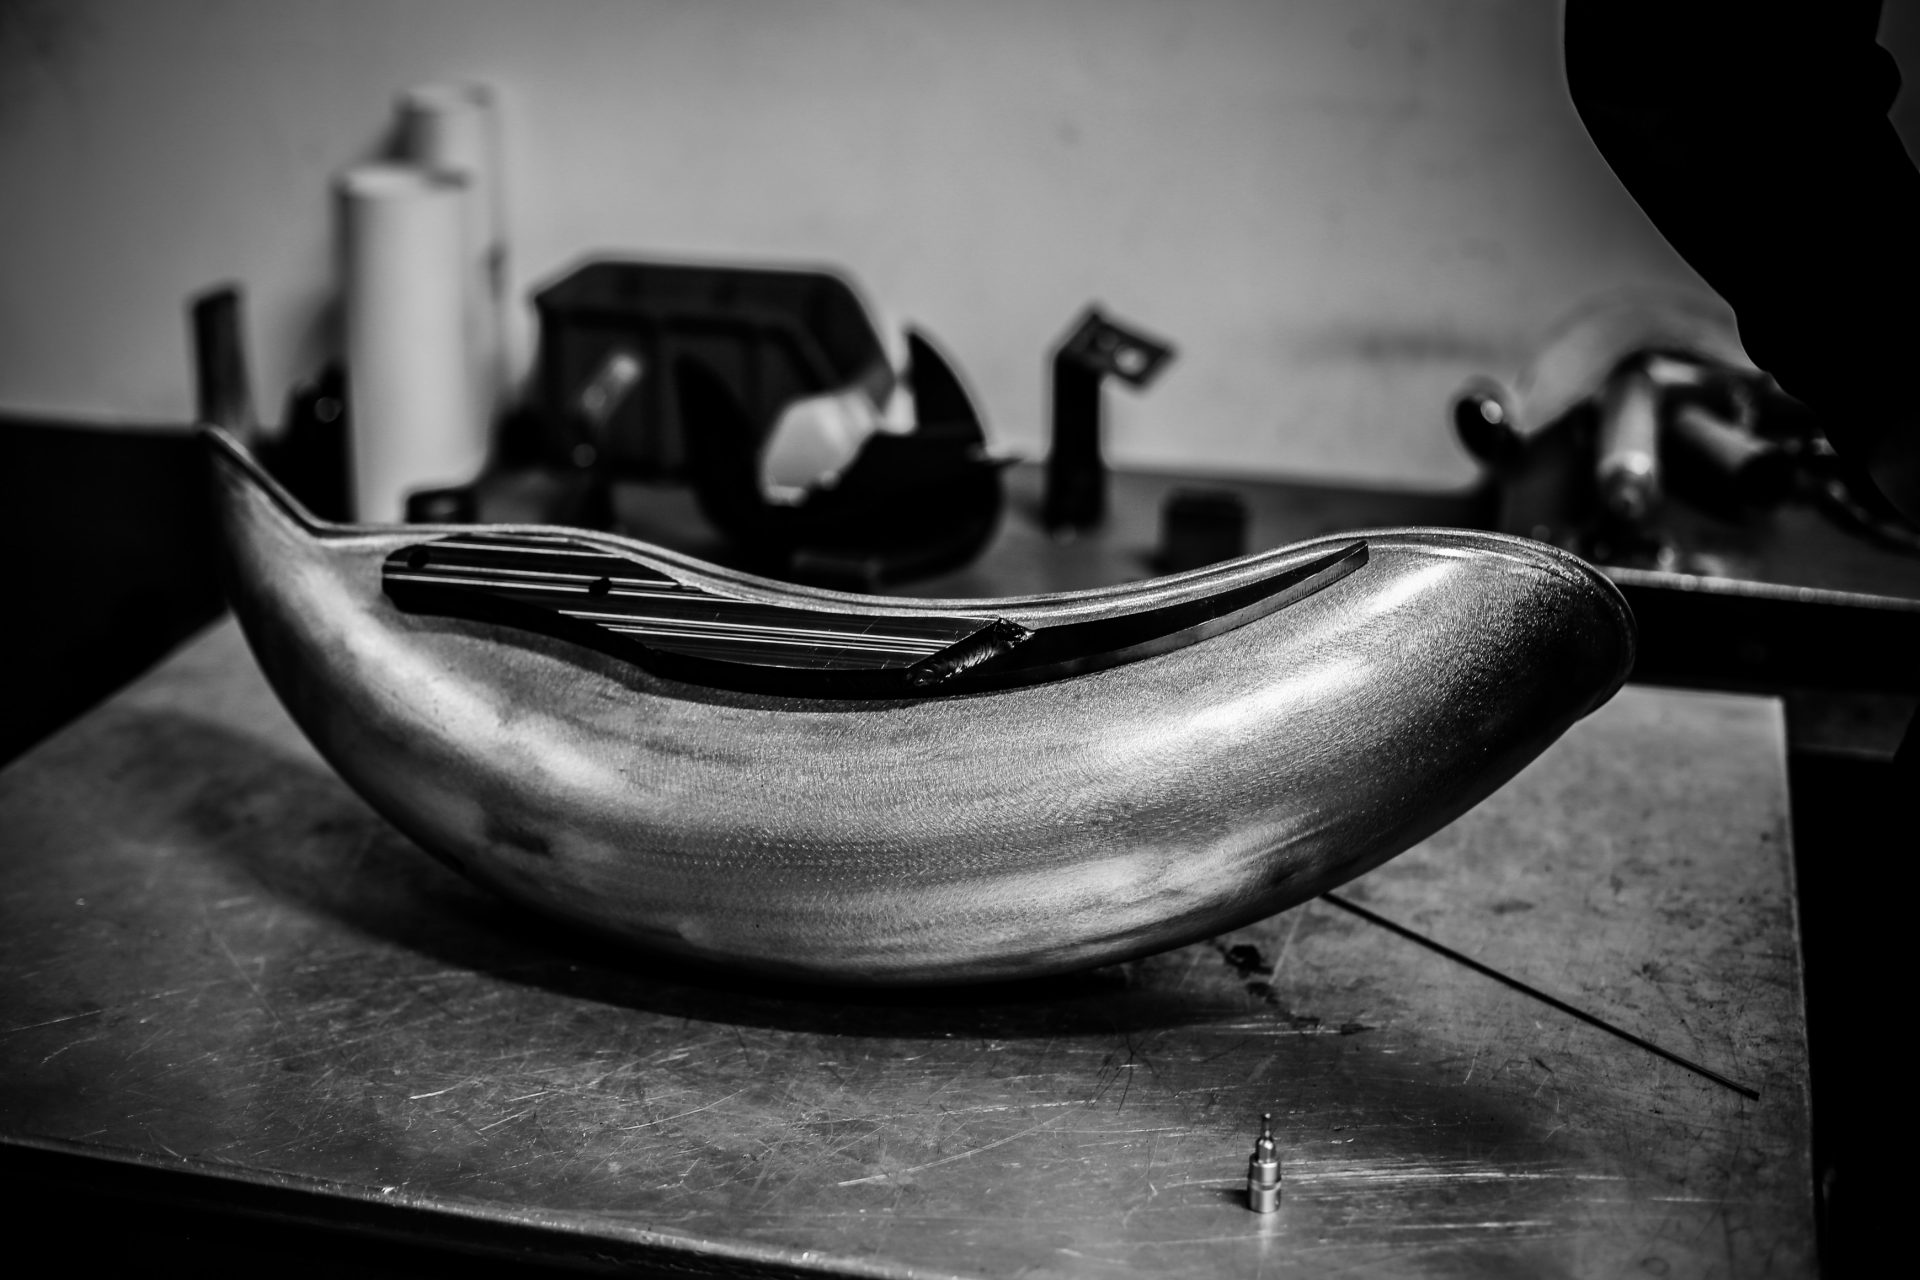
Fuel Tank
That’s the best part of it!
The irony speaks for itself. It’s about the already announced fuel tank of our KotK competition bike, which is in no way inferior to the swingarm. The tank consists of two parts. On the one hand the base plate, on which the tank will be fixed later, on the other hand the tank itself.
Most people will ask themselves now, why have we decided this solution? In short: It is very complex, there are hardly any tolerances and it is actually totally unnecessary. But it is challenging and looks damn cool!
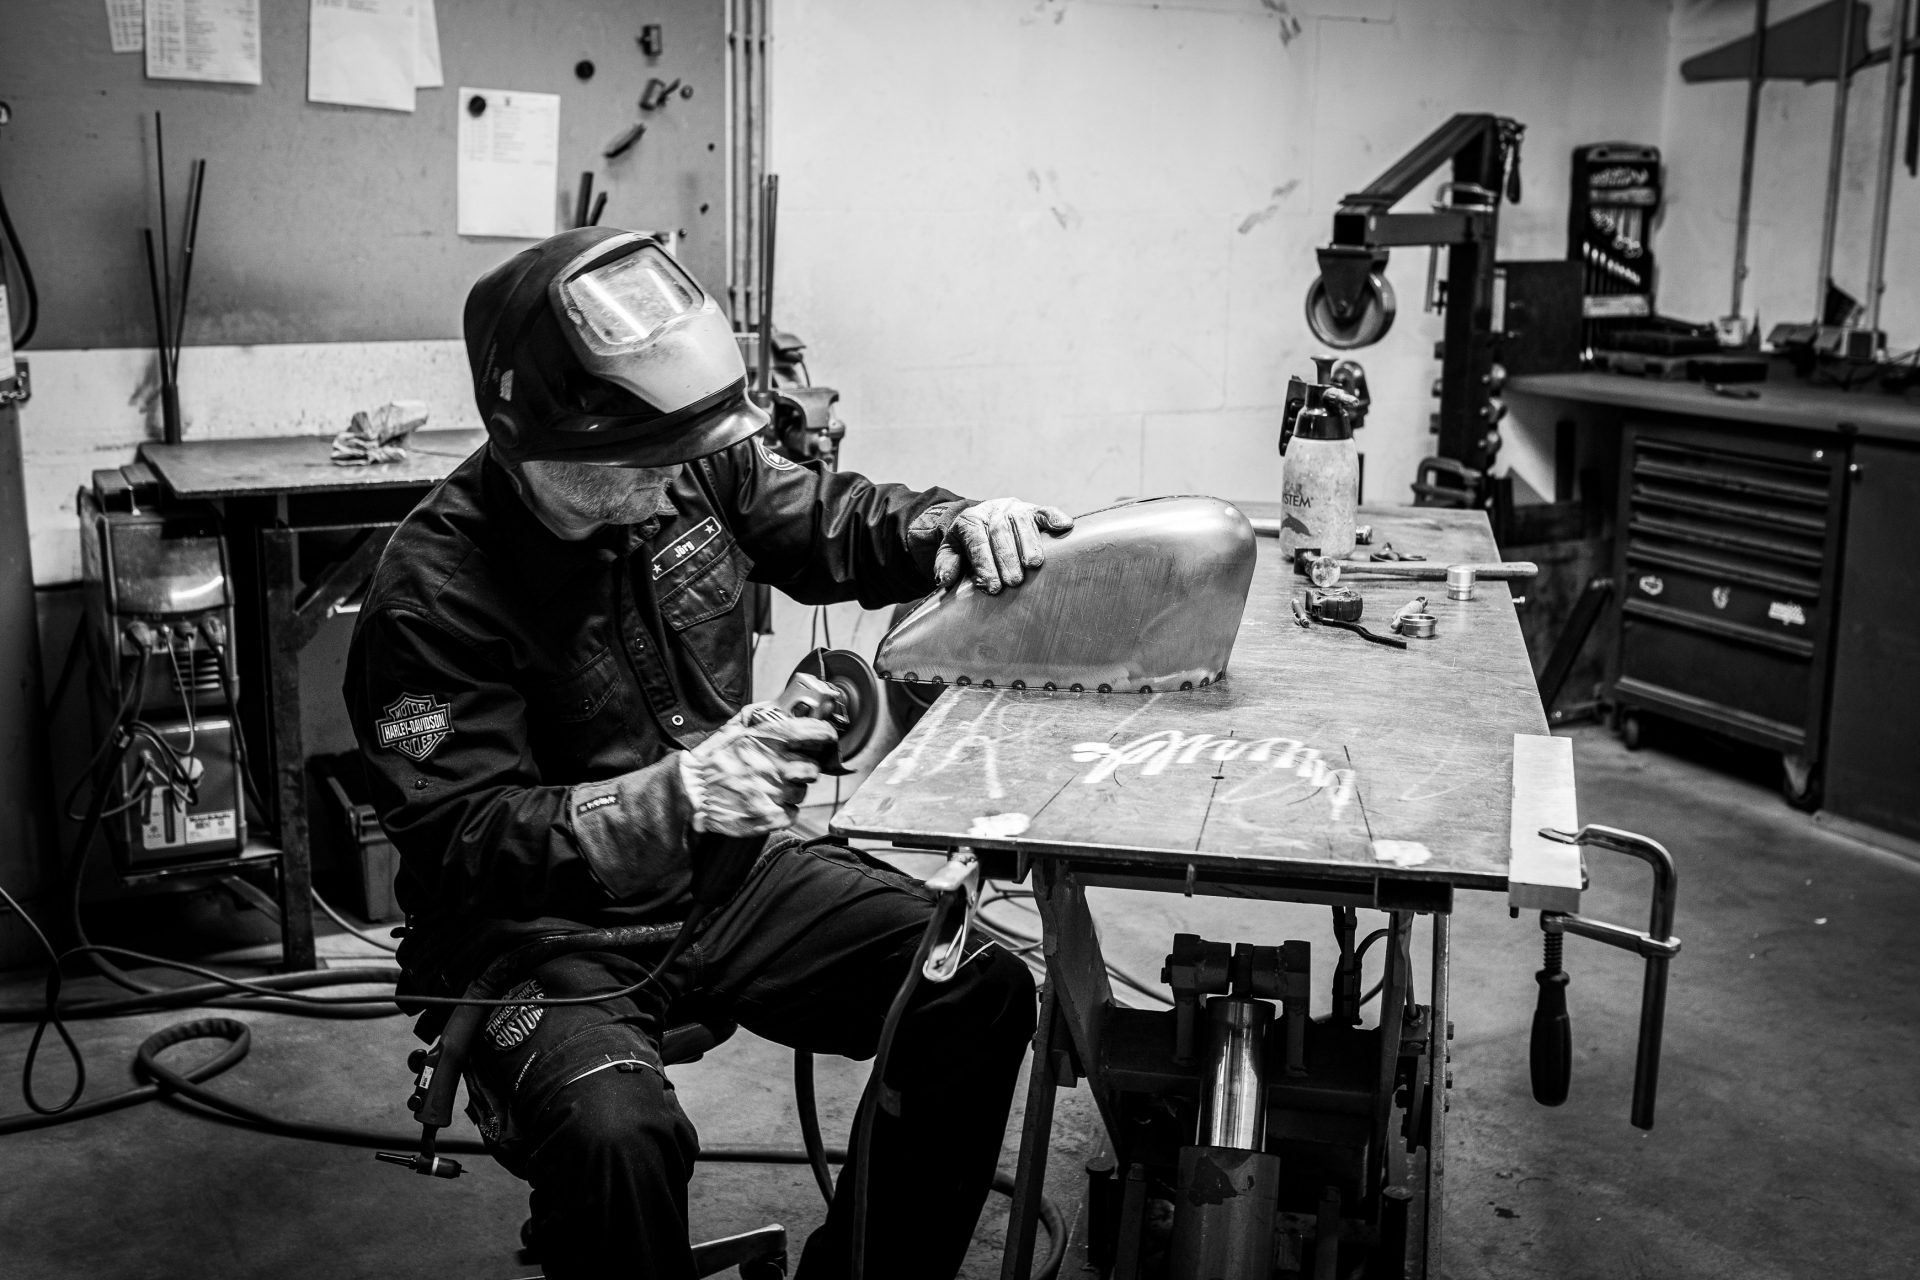
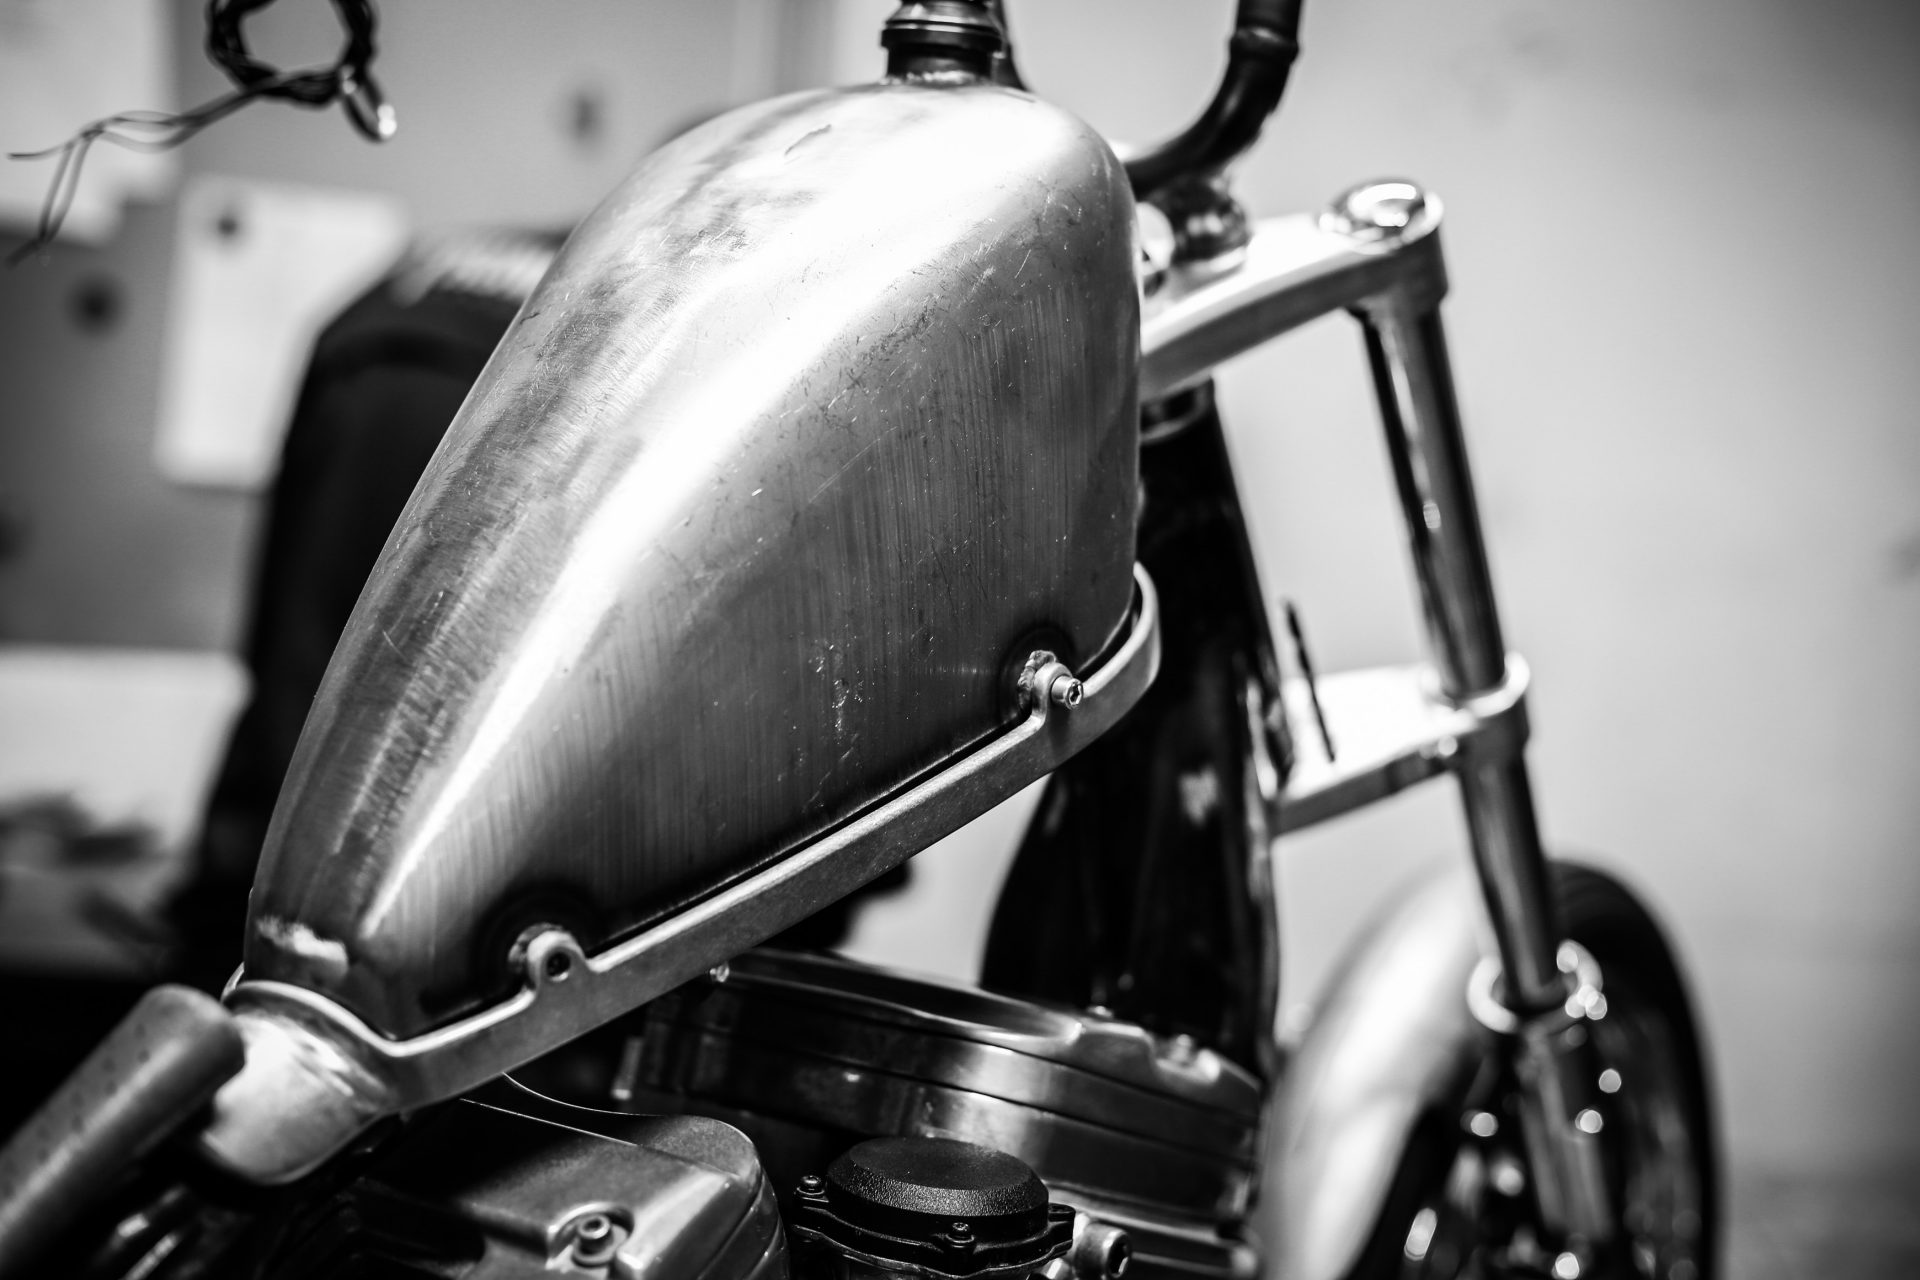
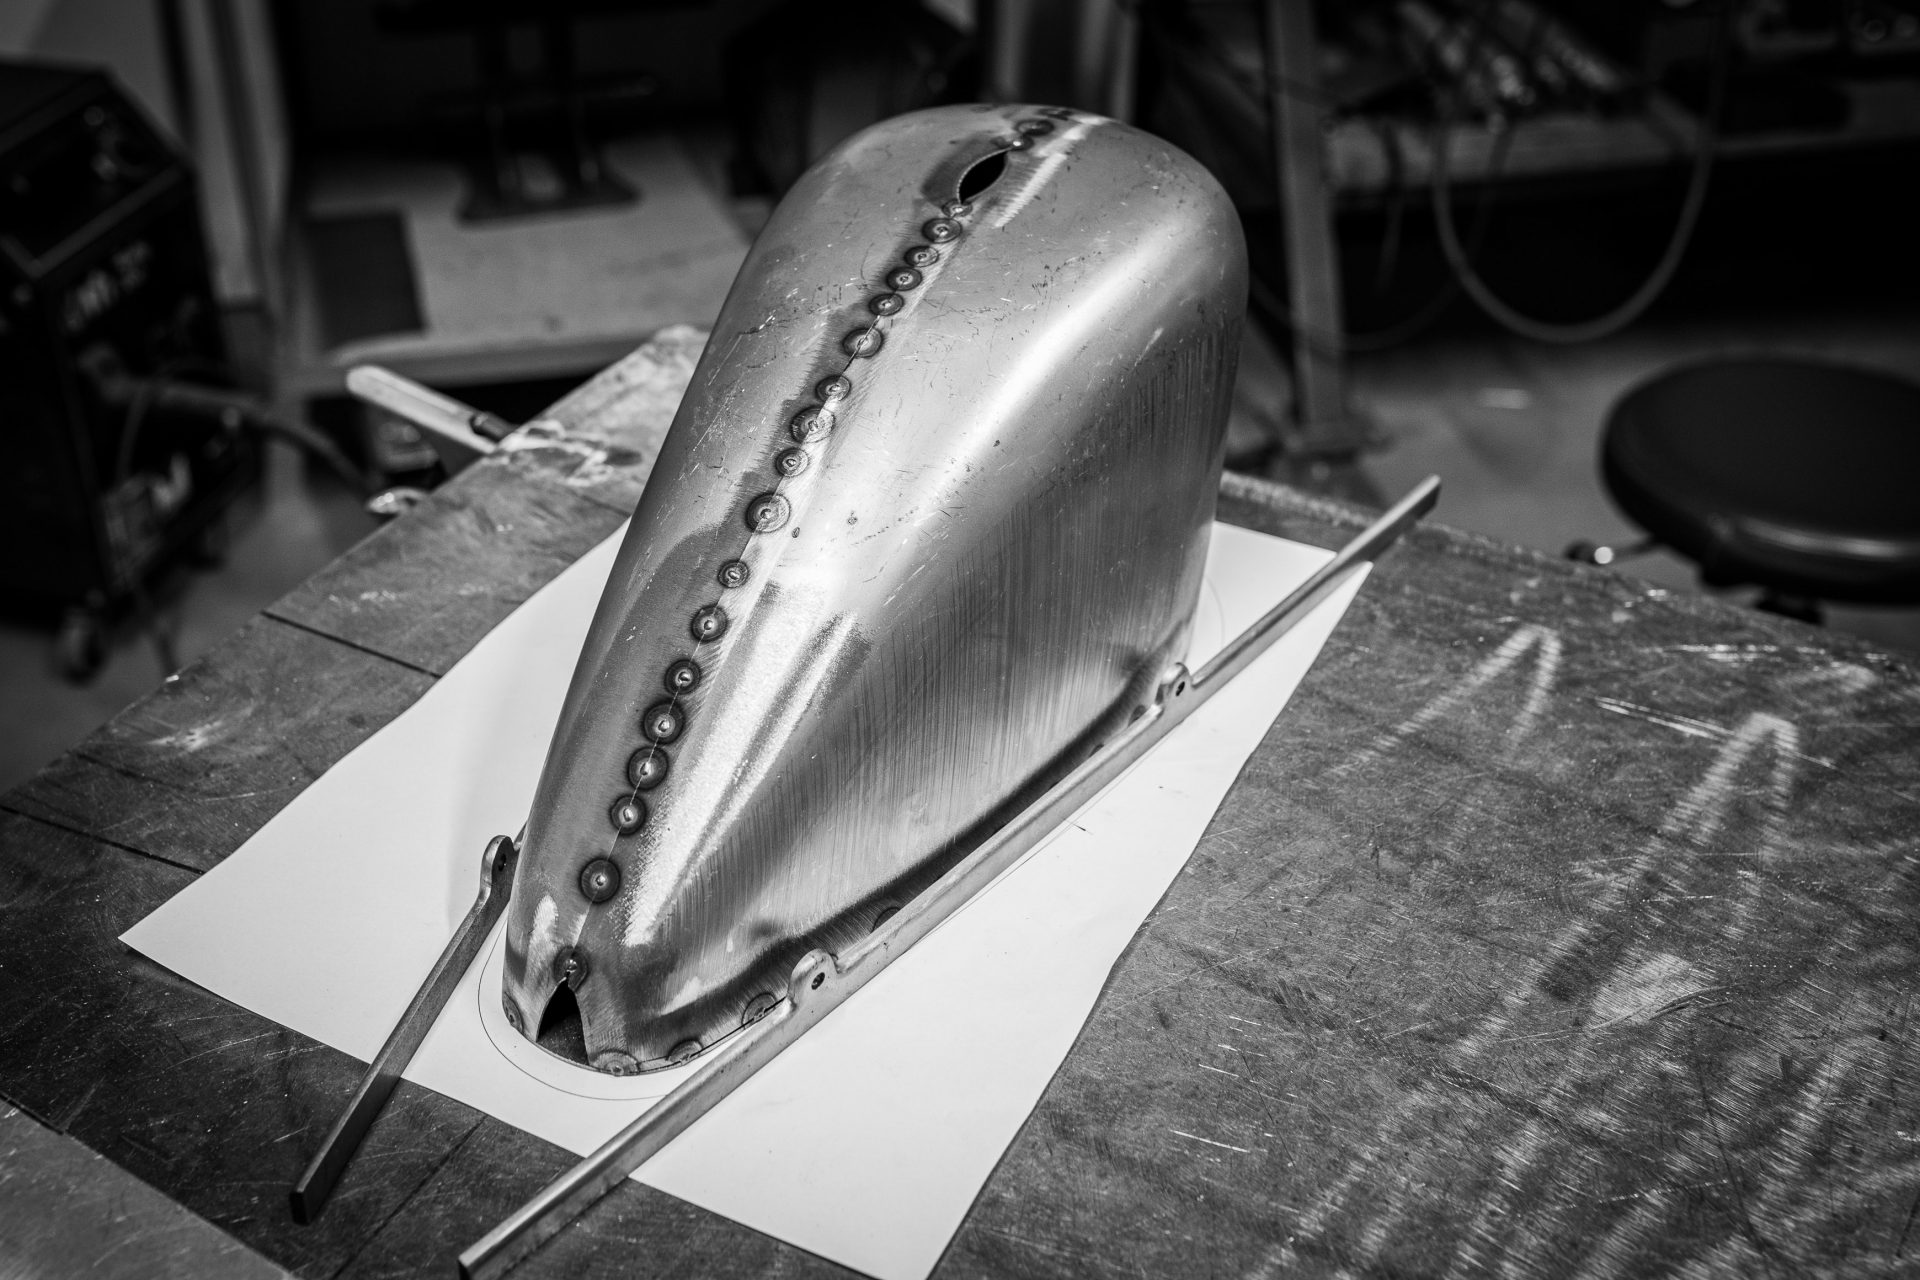
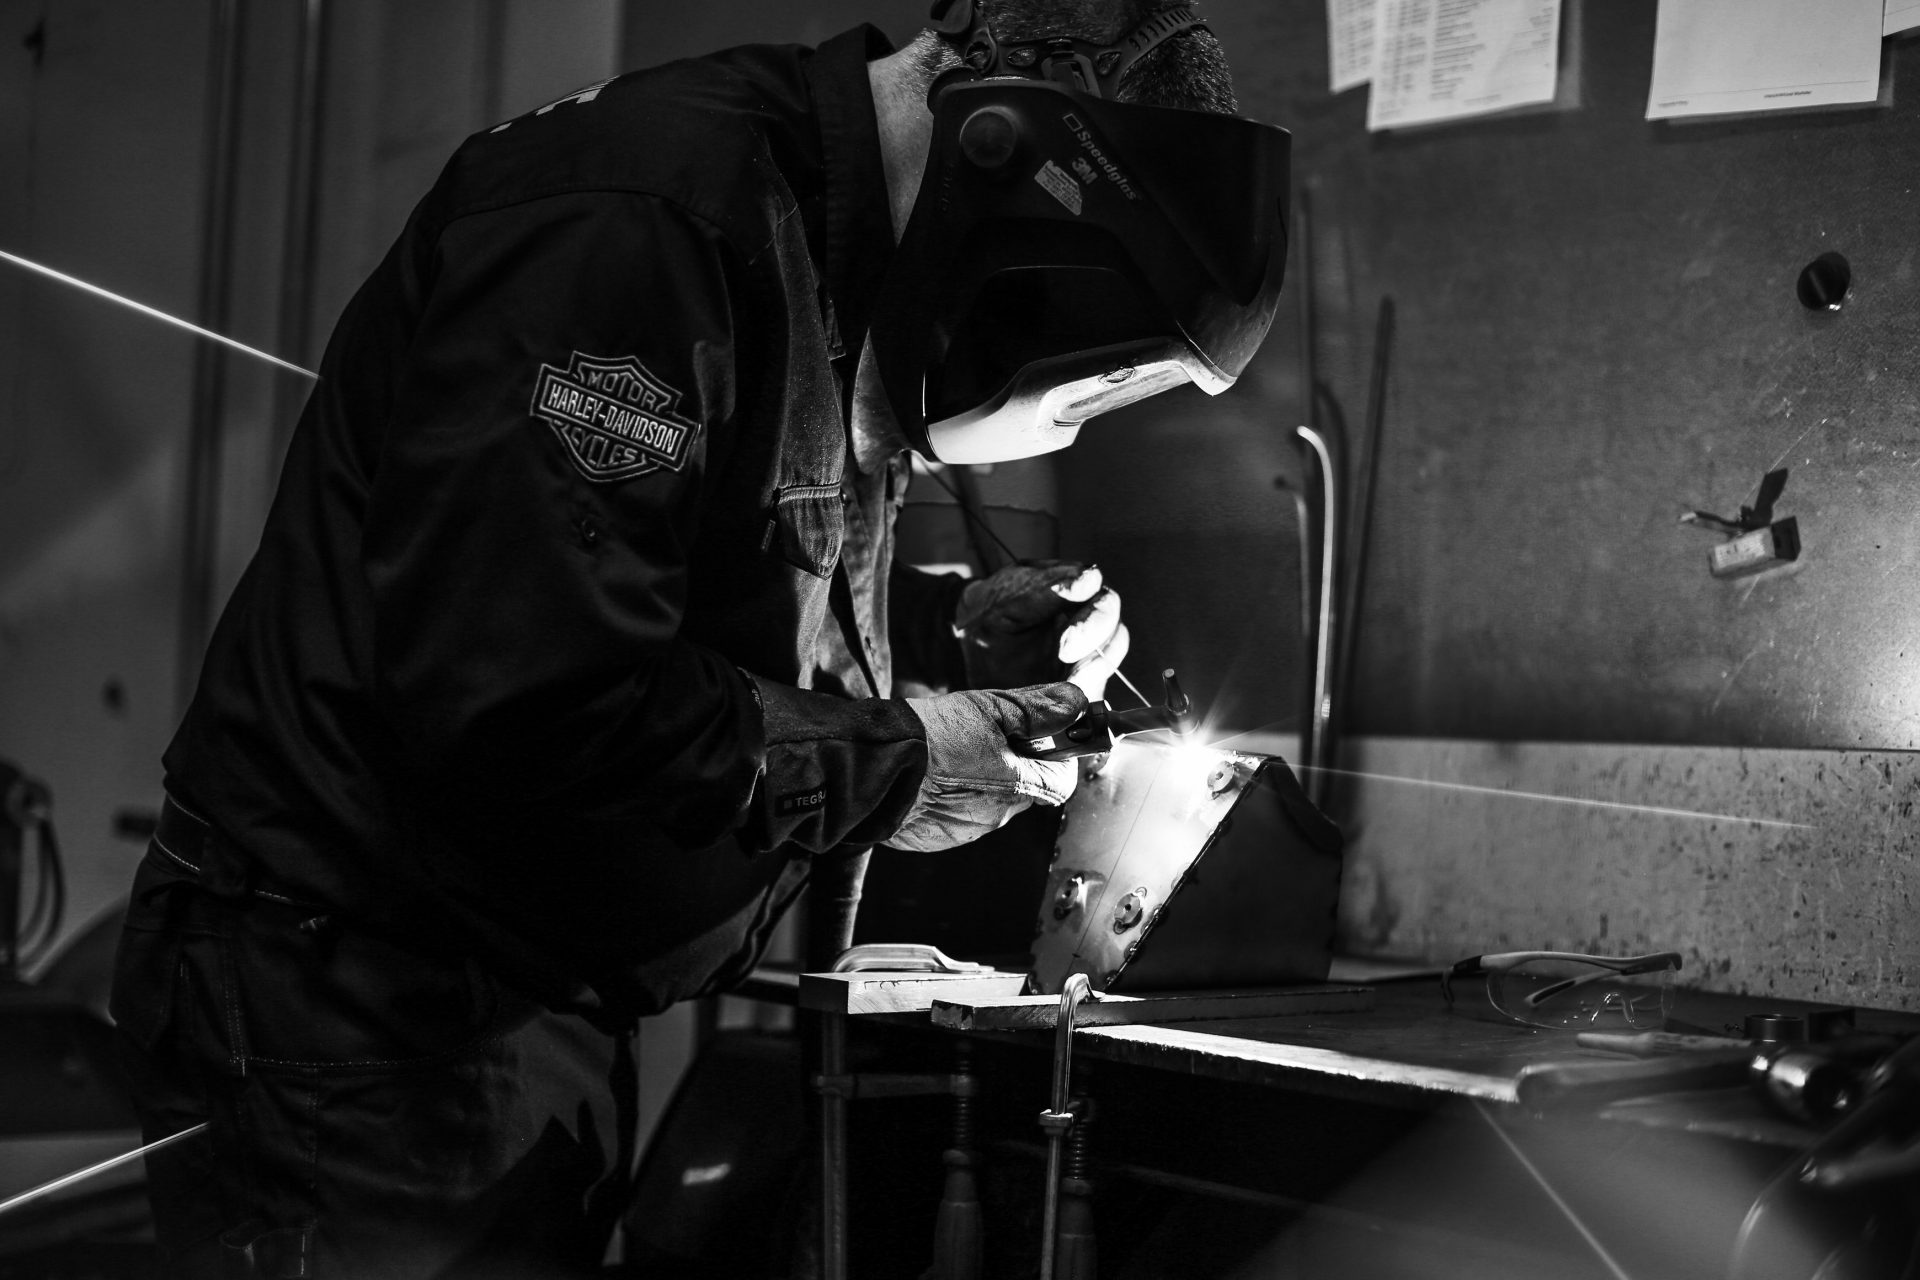
Starting with the fuel tank, it is first freed from its base and narrowed down to the desired width. In addition, the tank is provisionally stapled together in some places and then a new smooth bottom plate is added. For the steel base plate, the tank bottom is first drawn as an outline on cardboard and then scanned and extended by 7mm on all sides using a CAD program. Our master welder Jörg has welded two milled flat bars with integrated fixing points in complex manual work on this 7mm enlarged base plate. This creates a beautiful mount for the tank. The construction process of the tank is an interesting example of how well traditional craftsmanship and modern technology can work together. The surfaces are subsequently time-consuming sanded, polished and finished by Chiko’s Pinstriping with a fantastic lacquer.


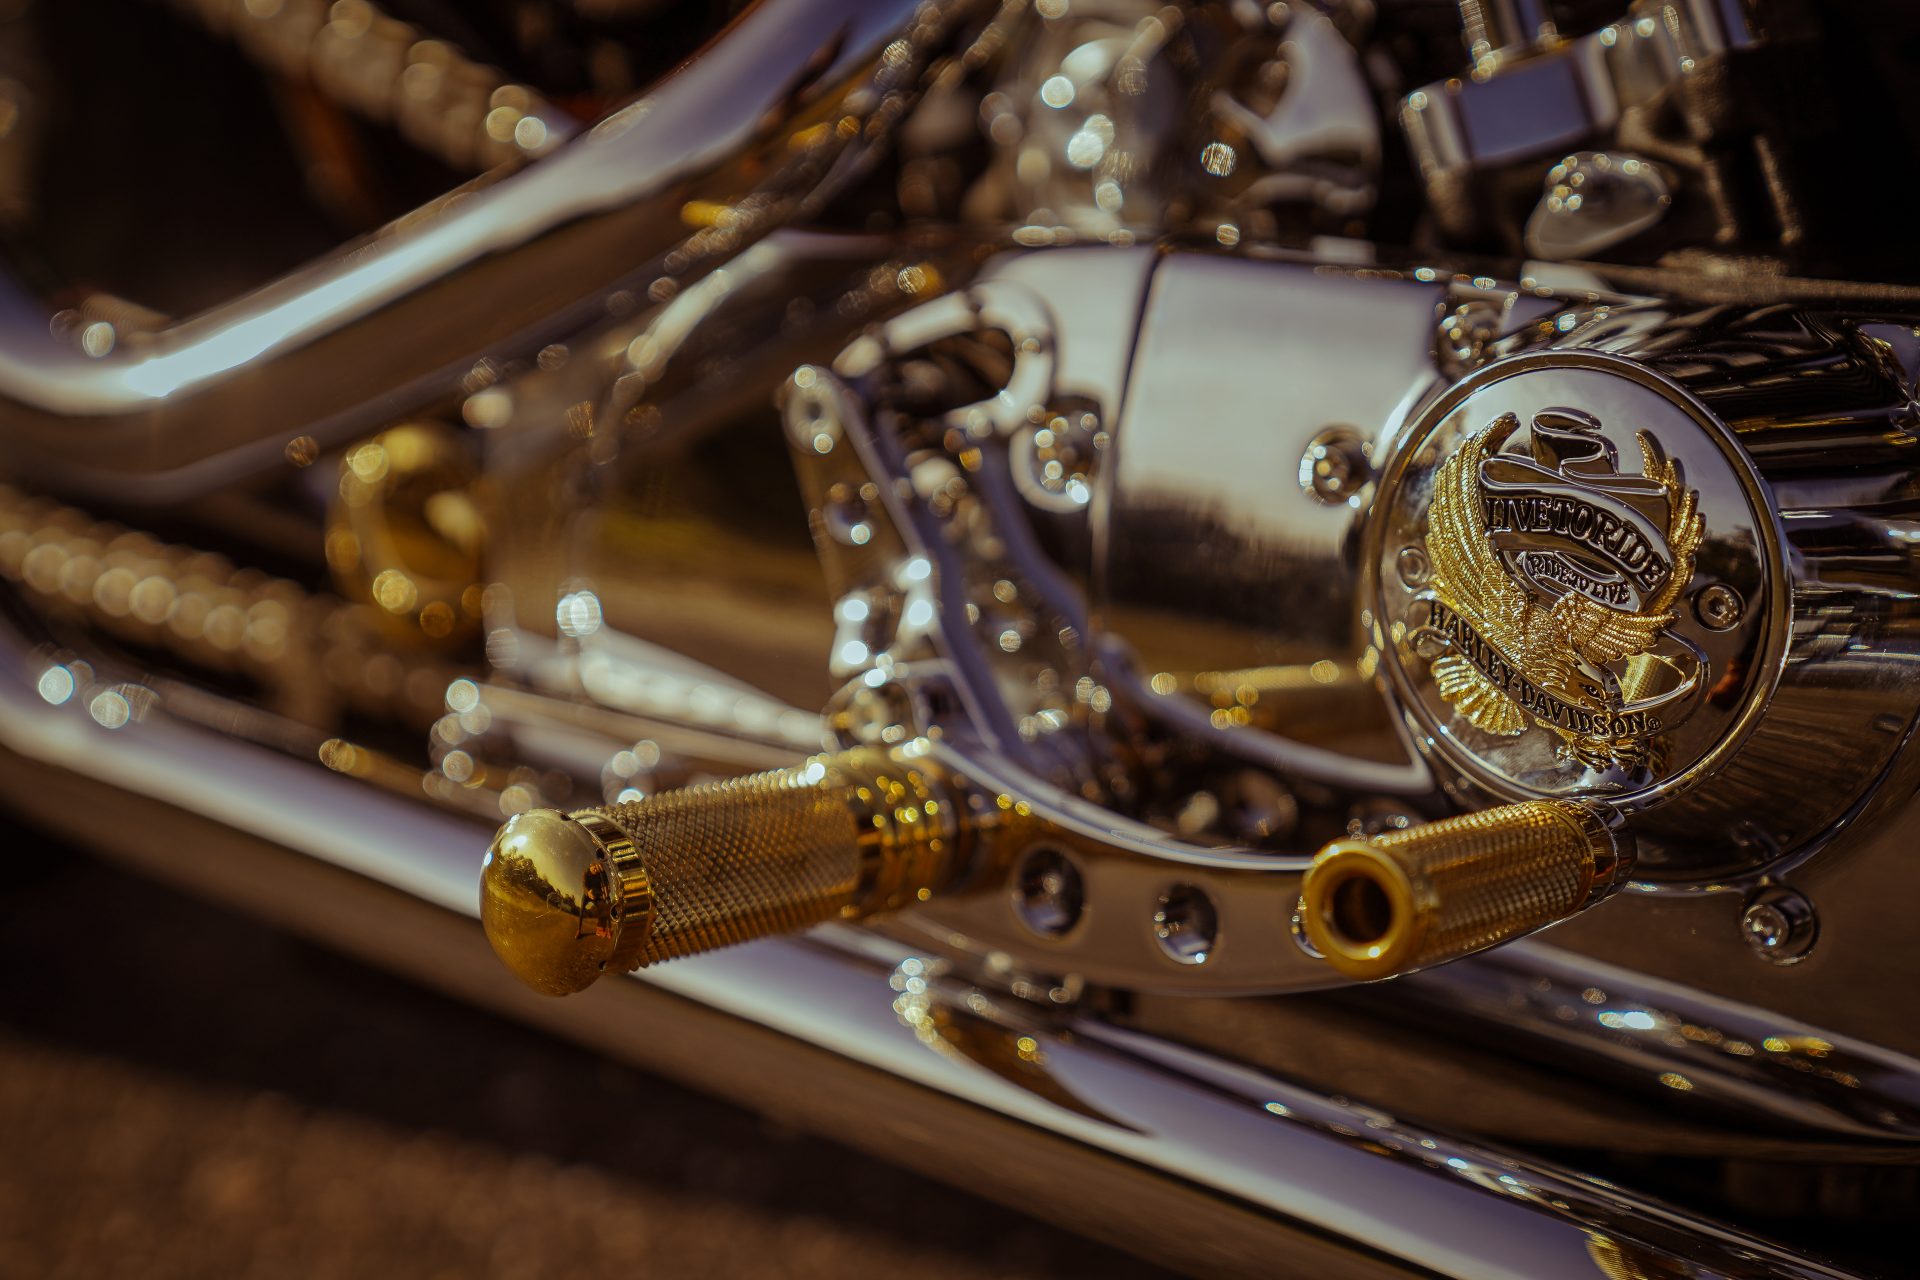
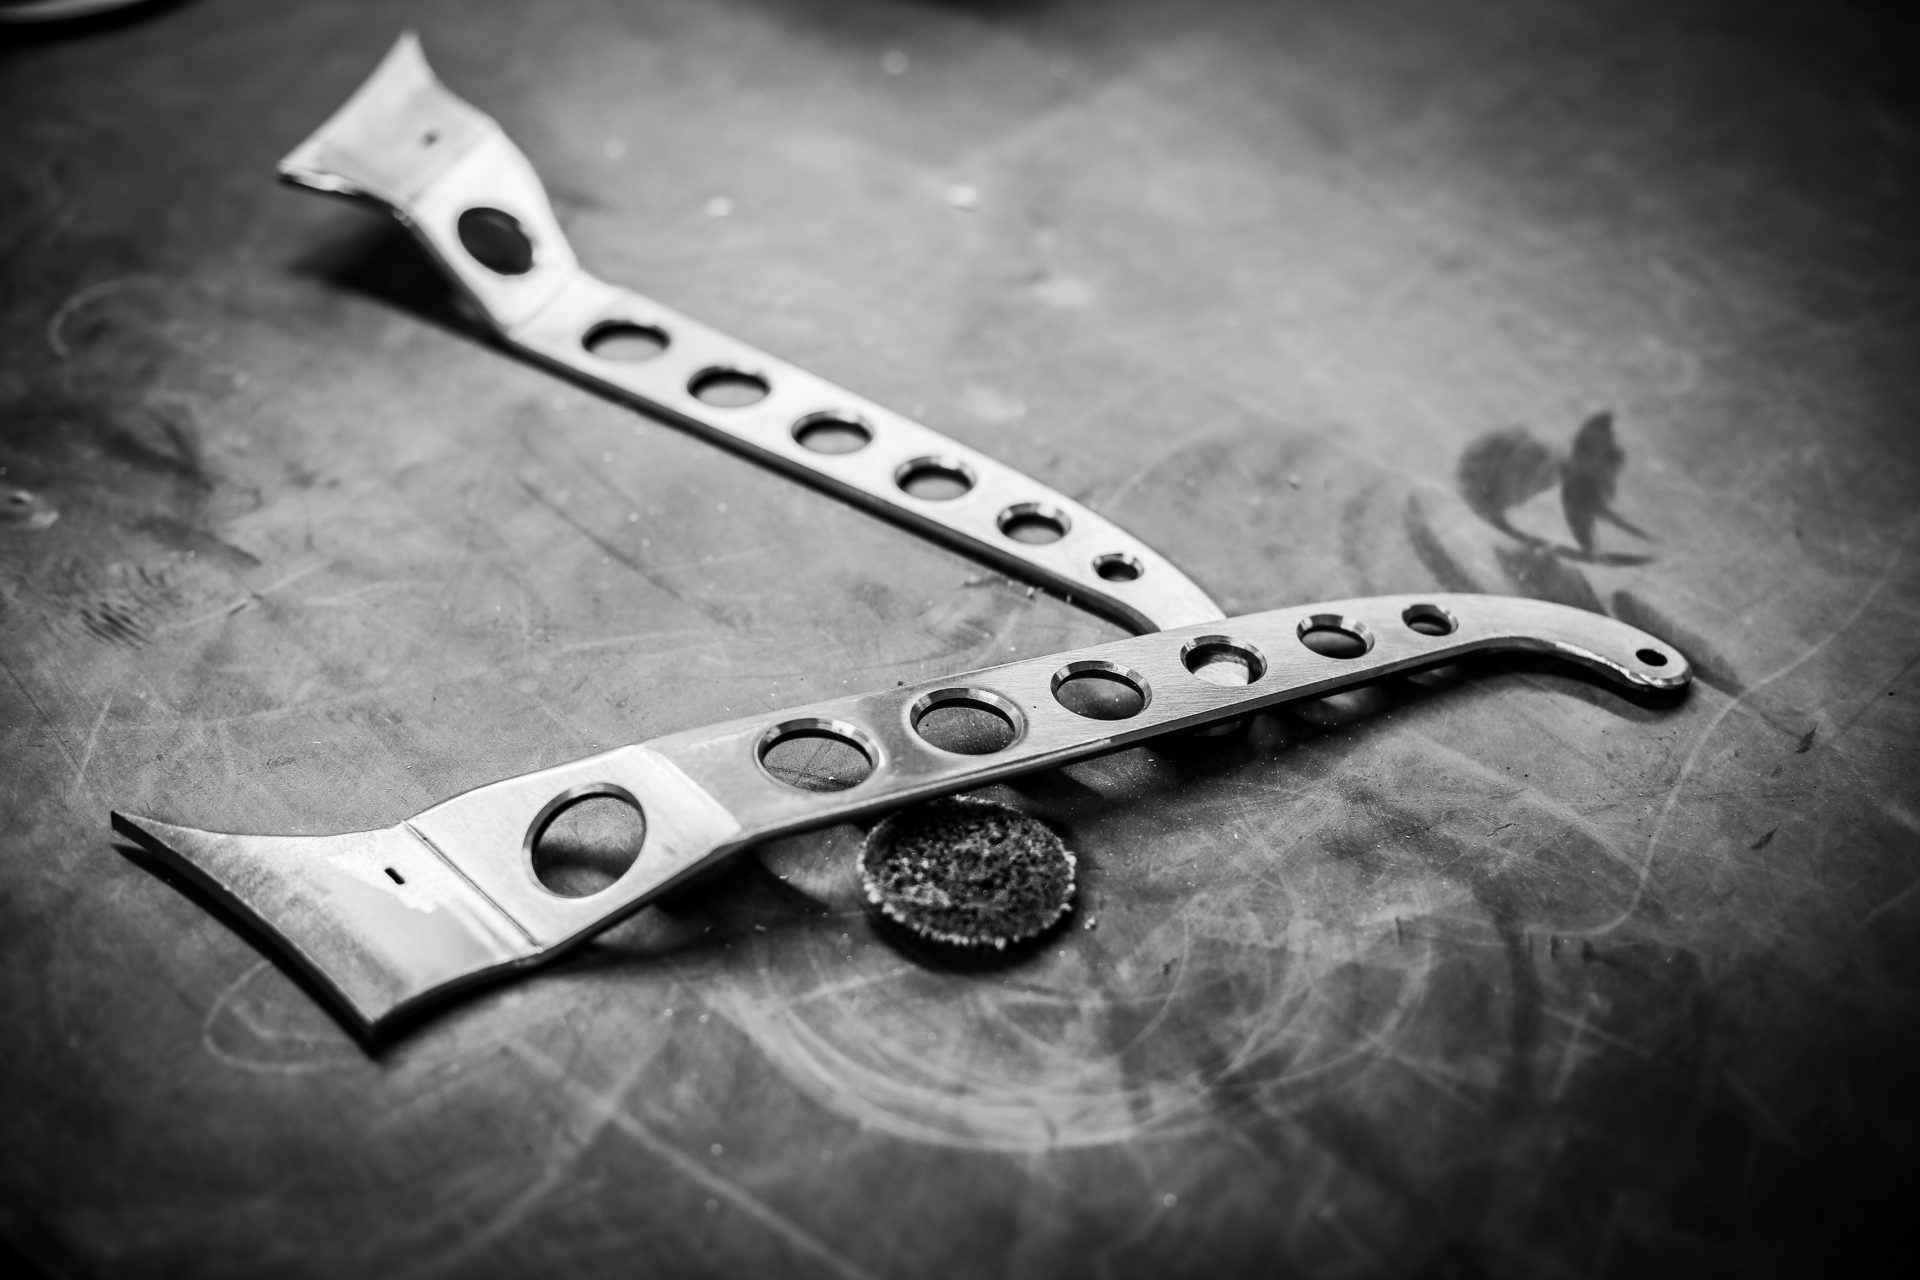
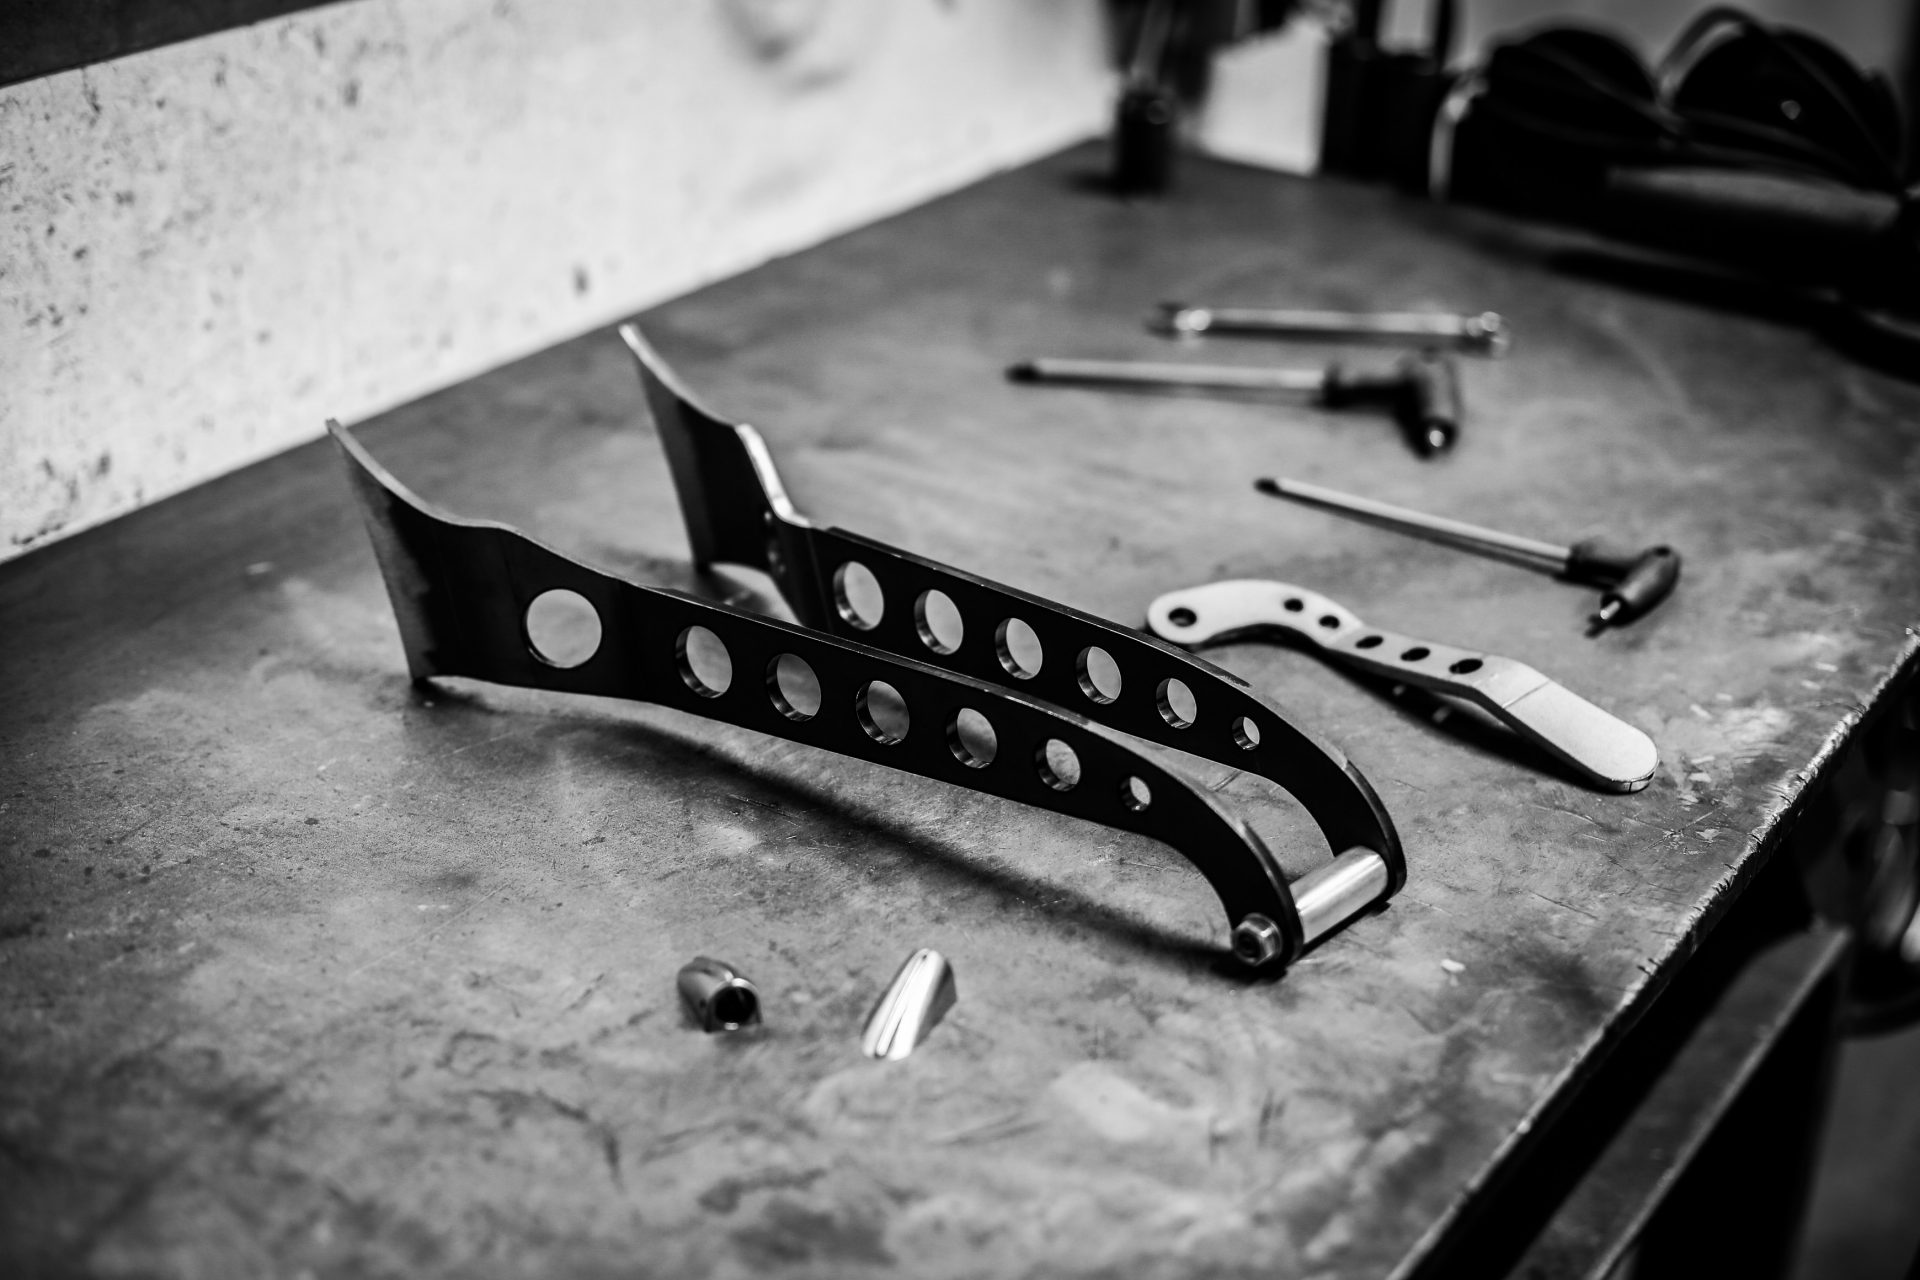
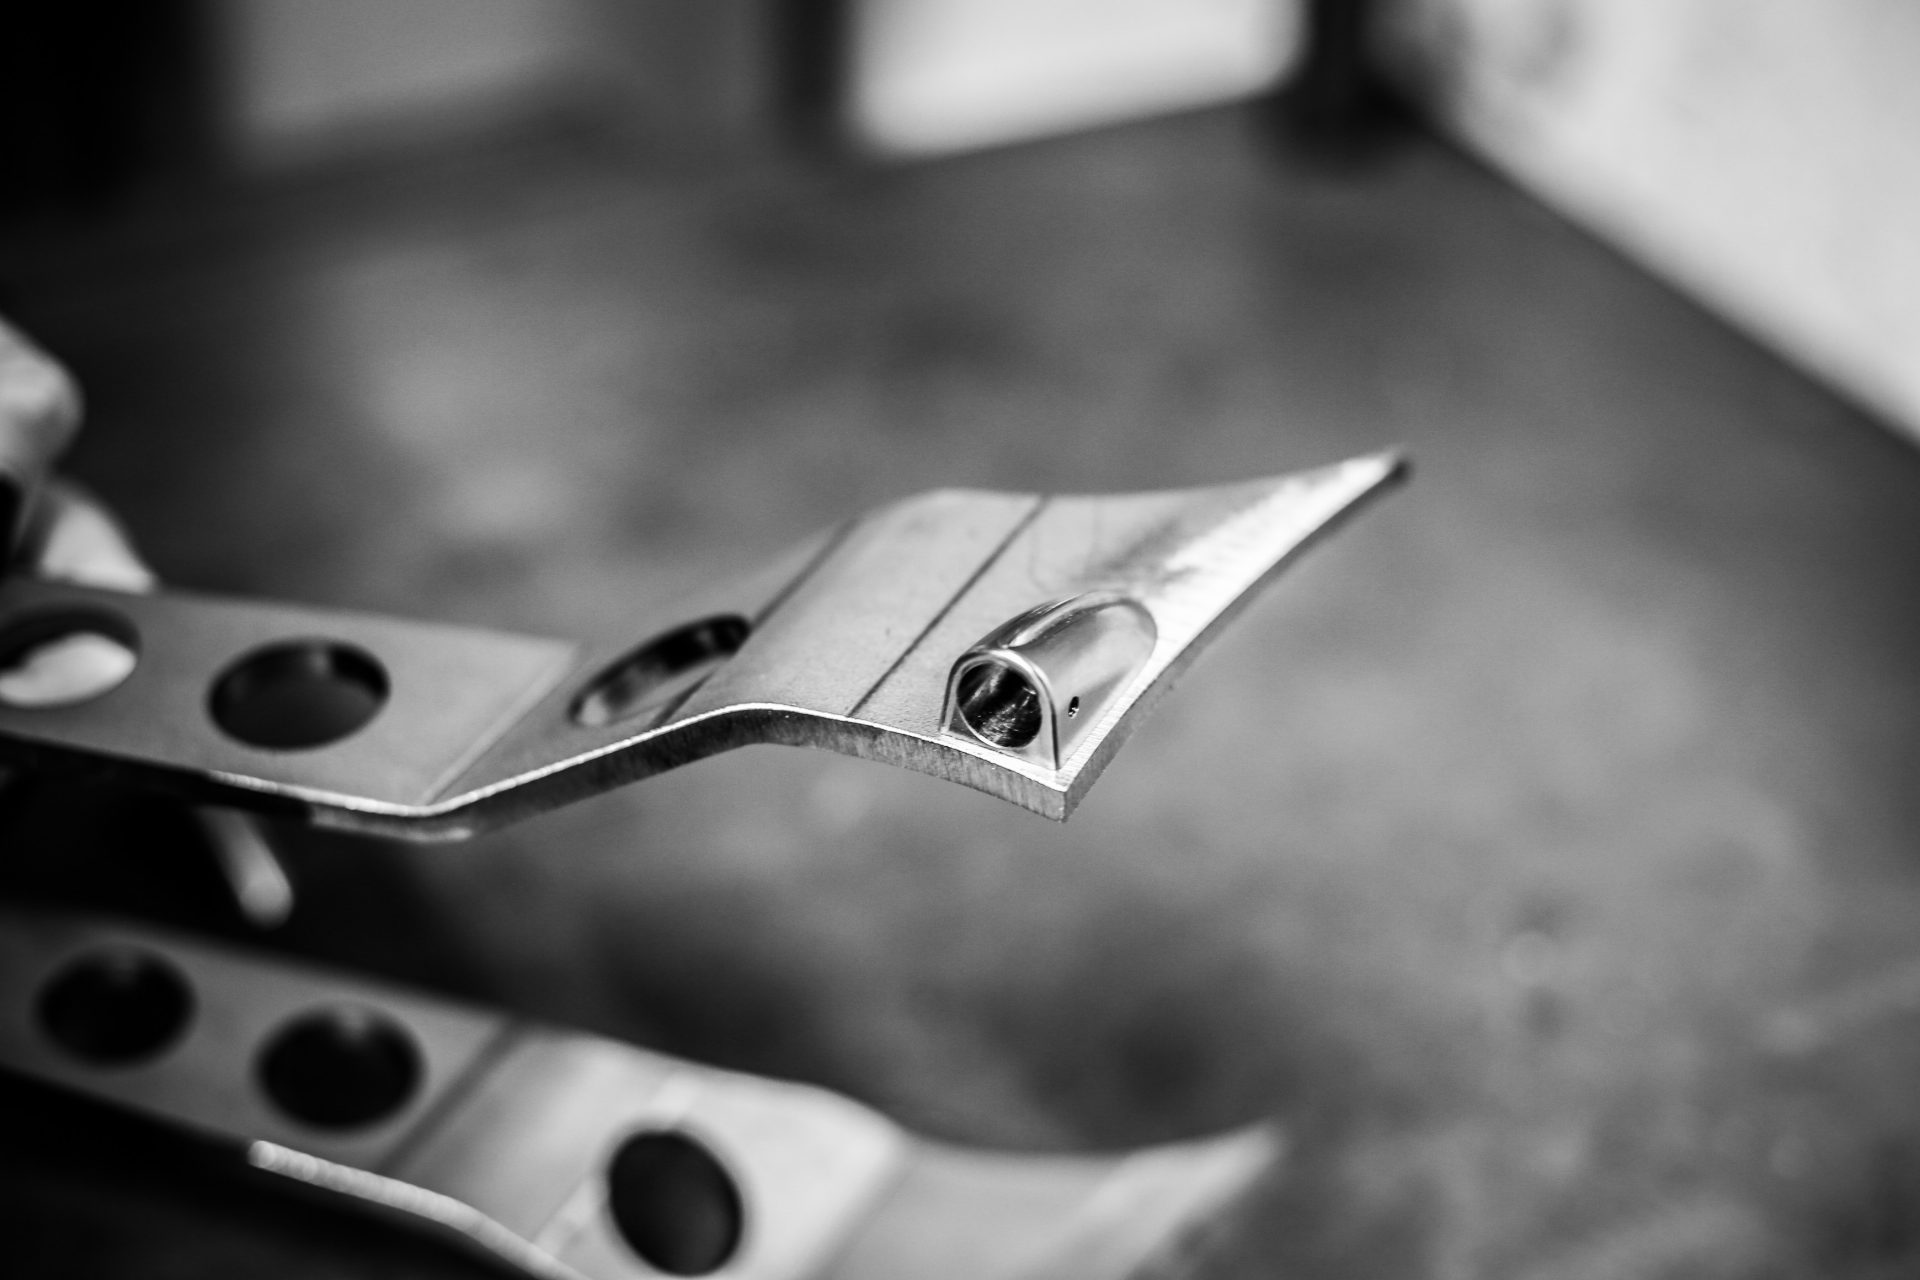
Gearshifter
By loading the video you accept the privacy policy of YouTube.
Mehr erfahren
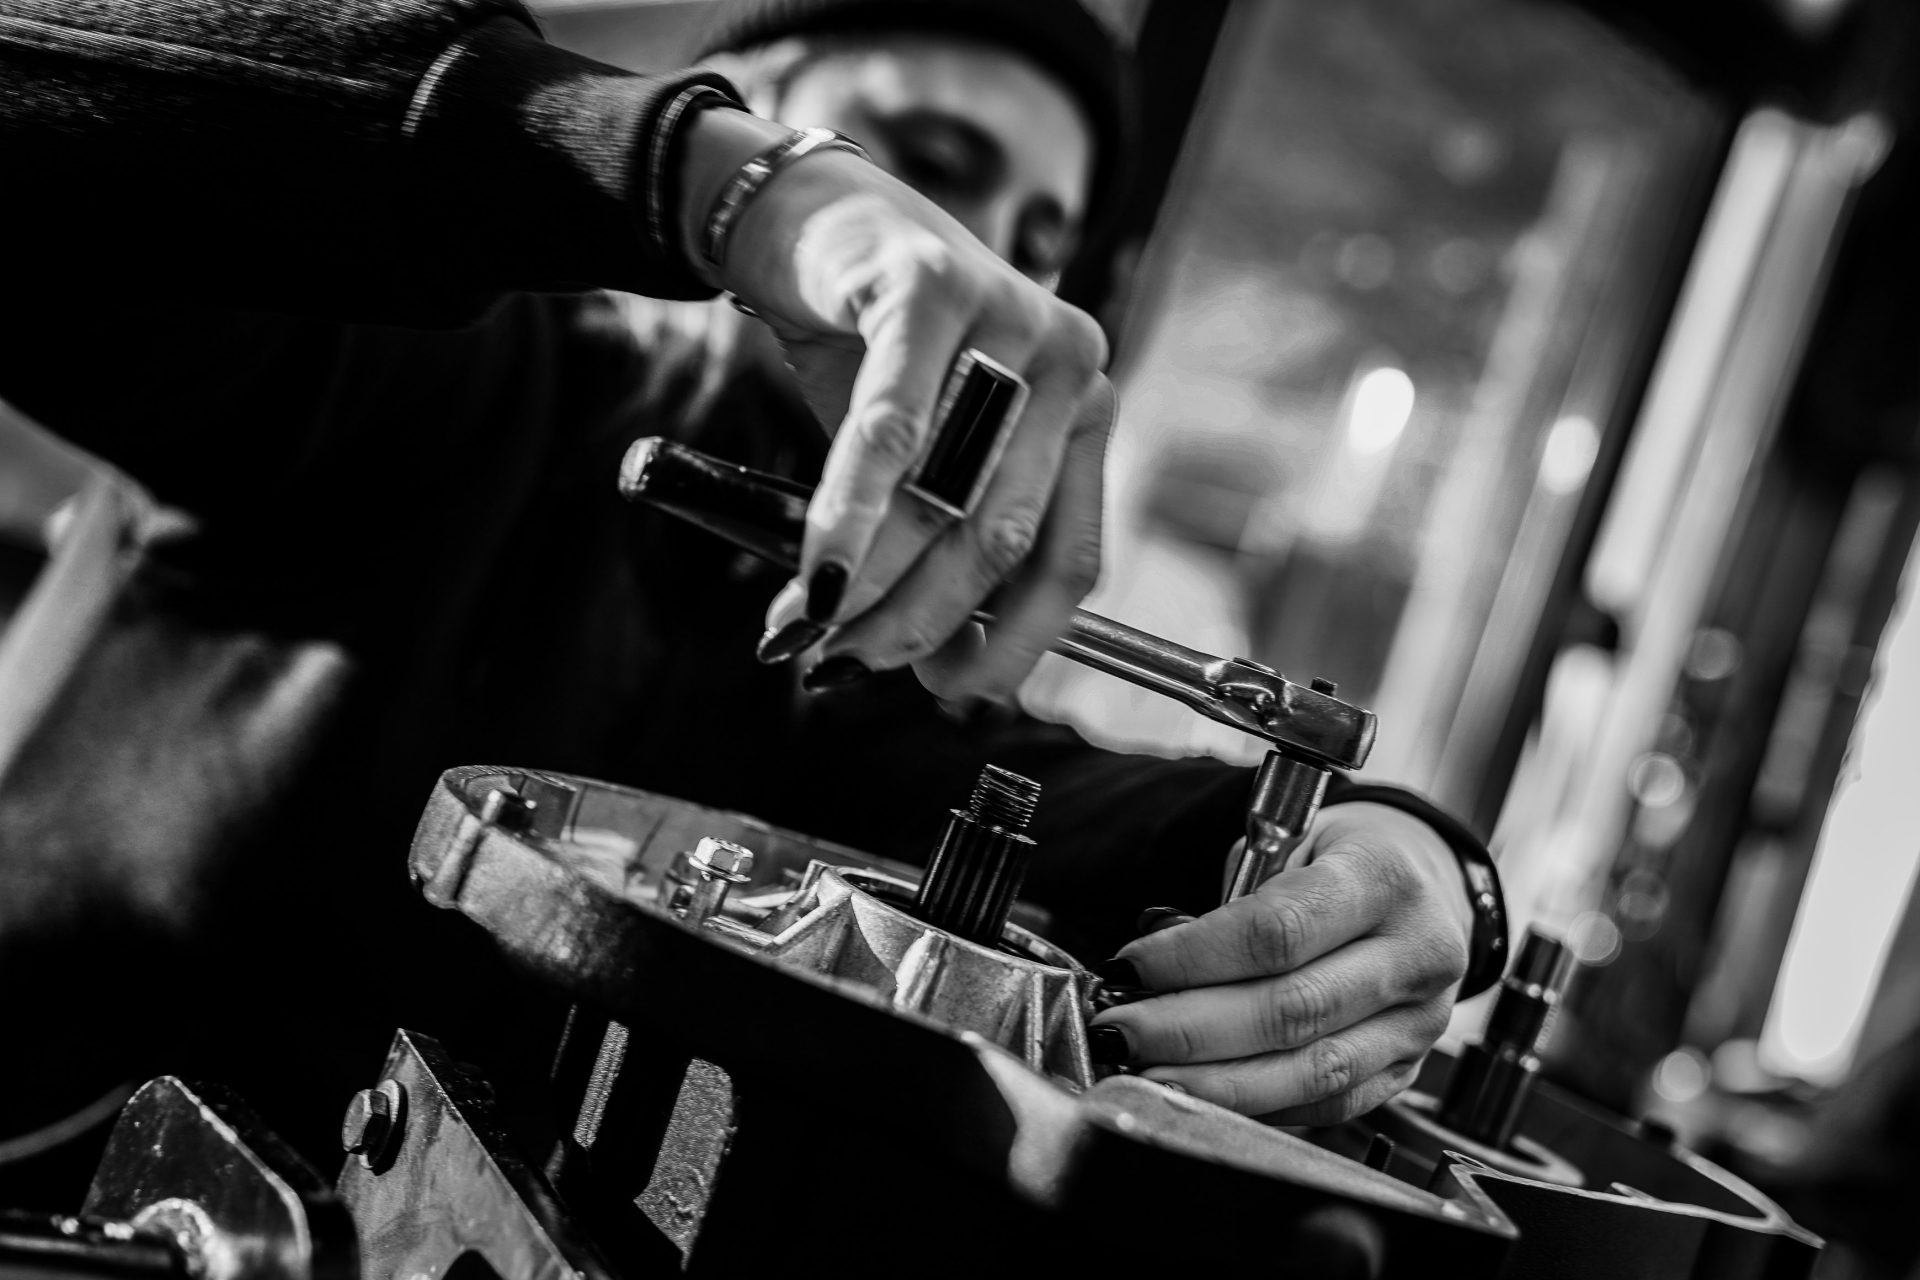
The manual gear lever is a very special unique piece and is also a technical high-end solution.
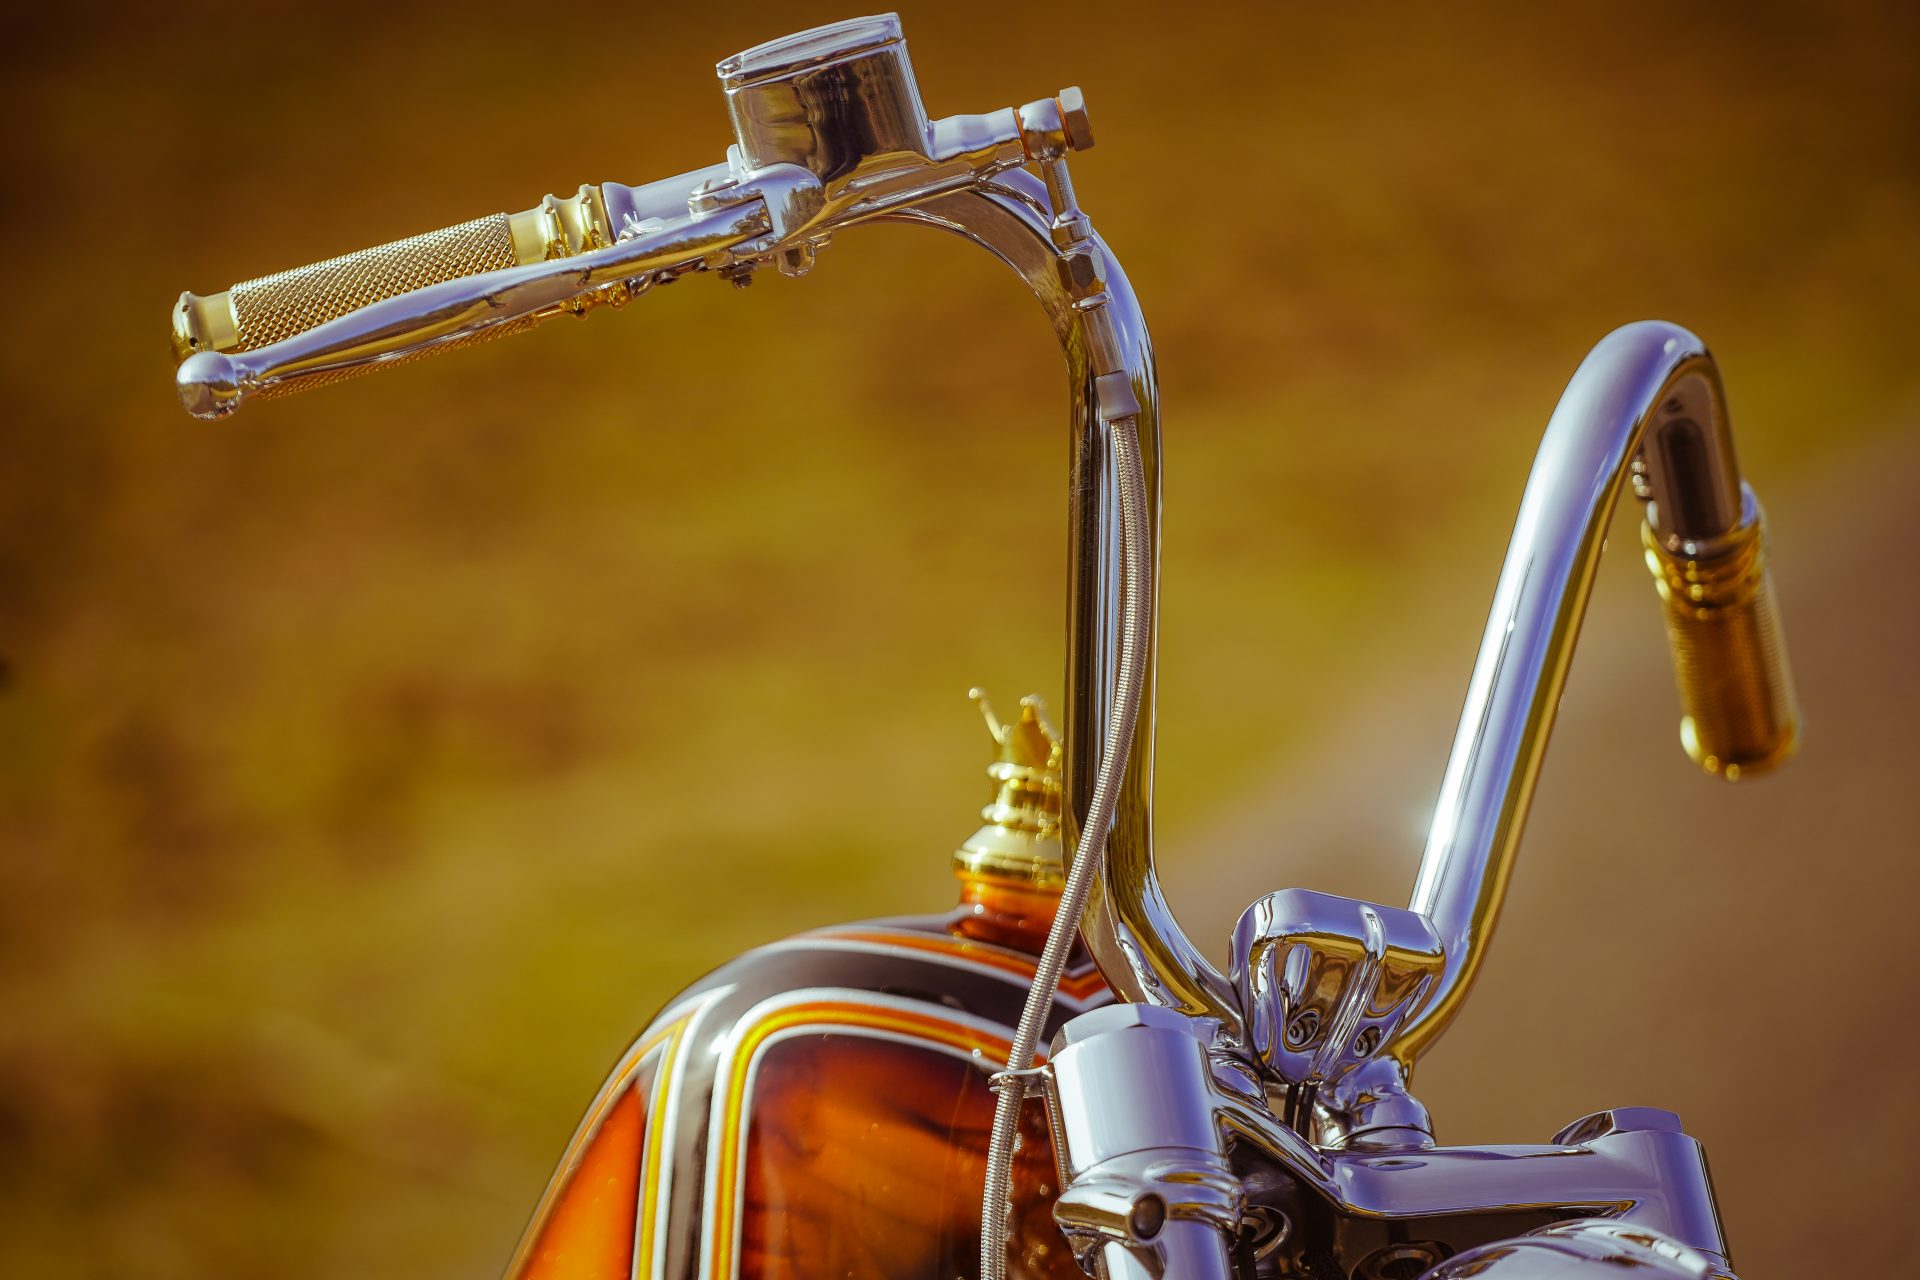
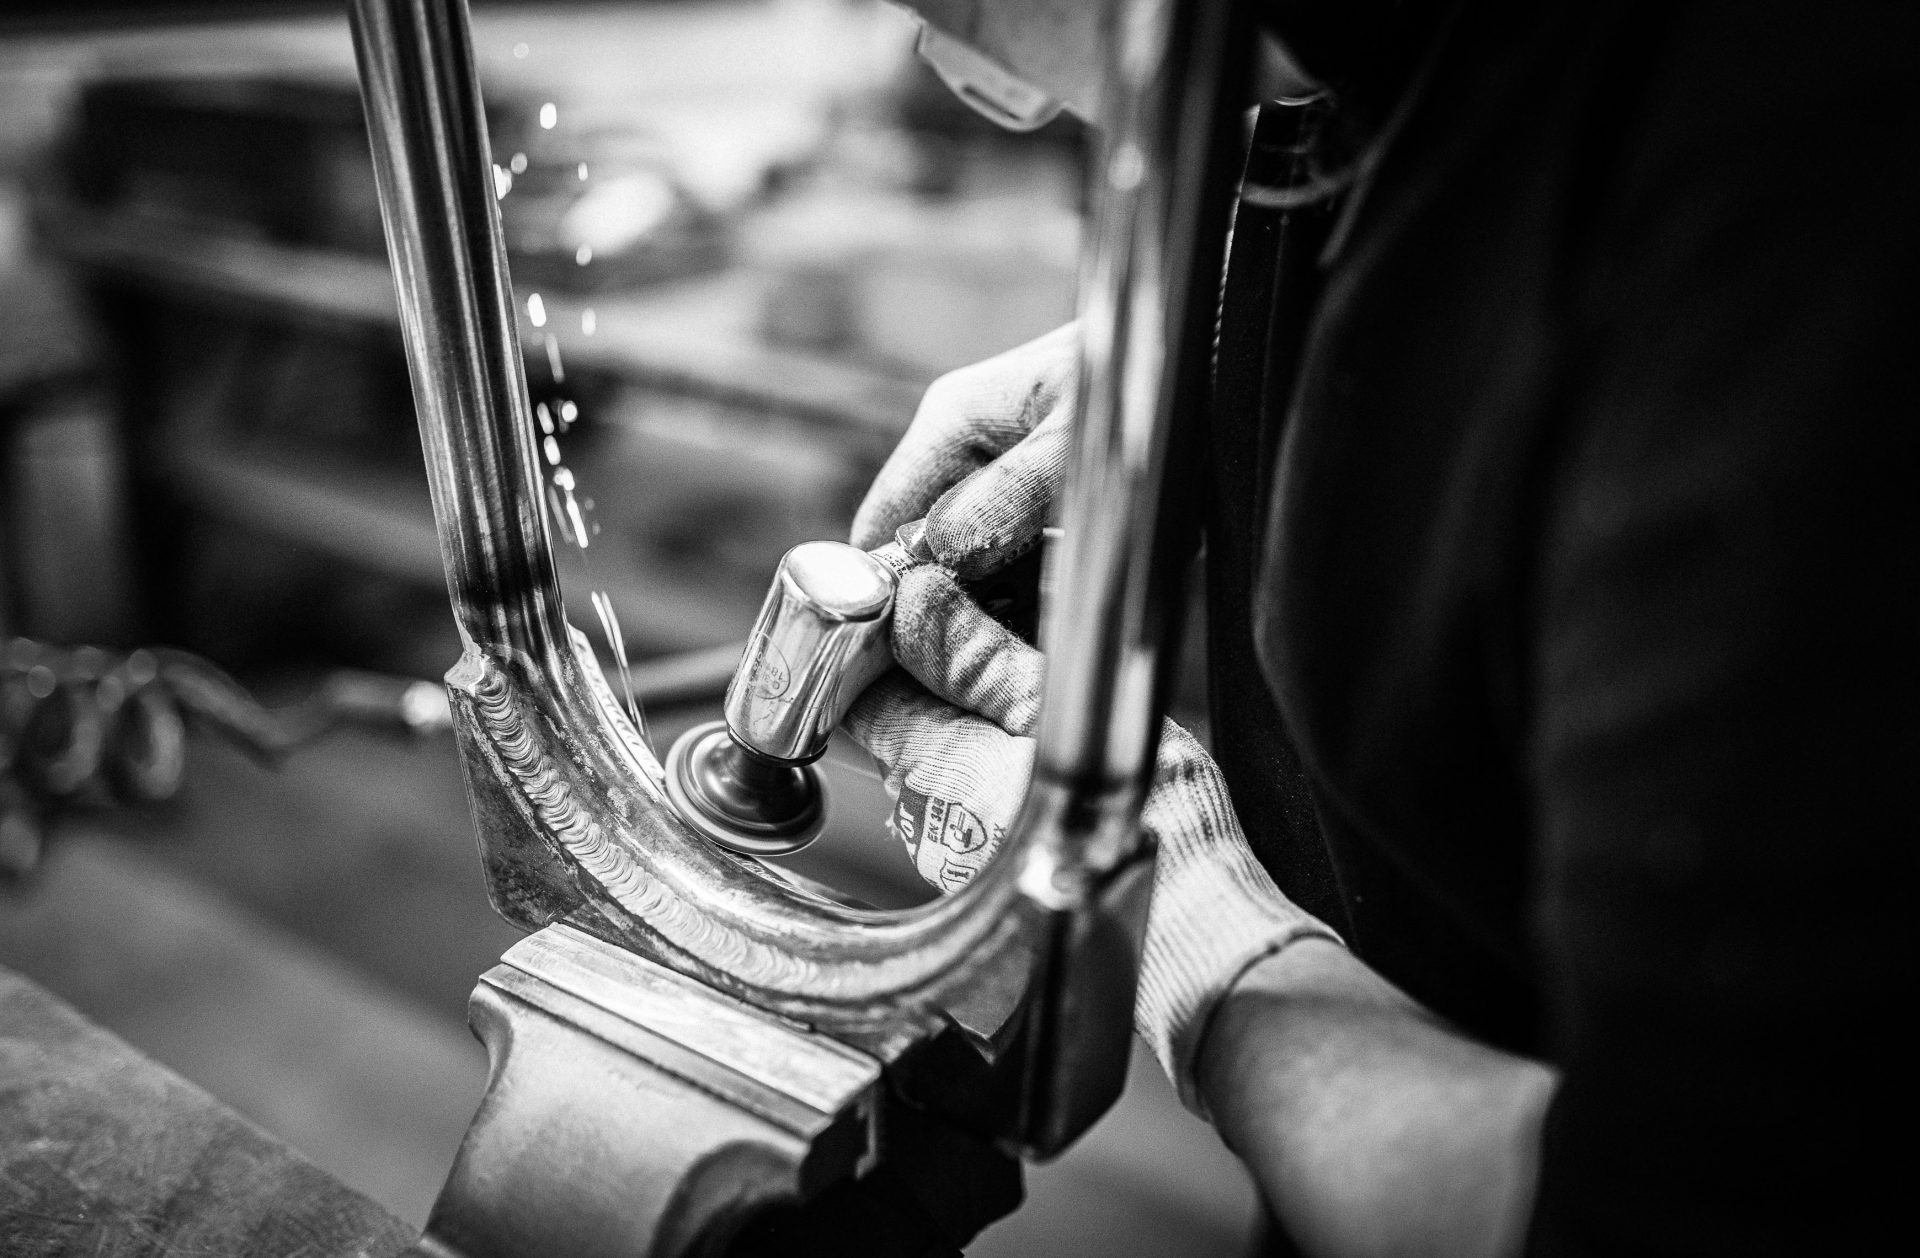
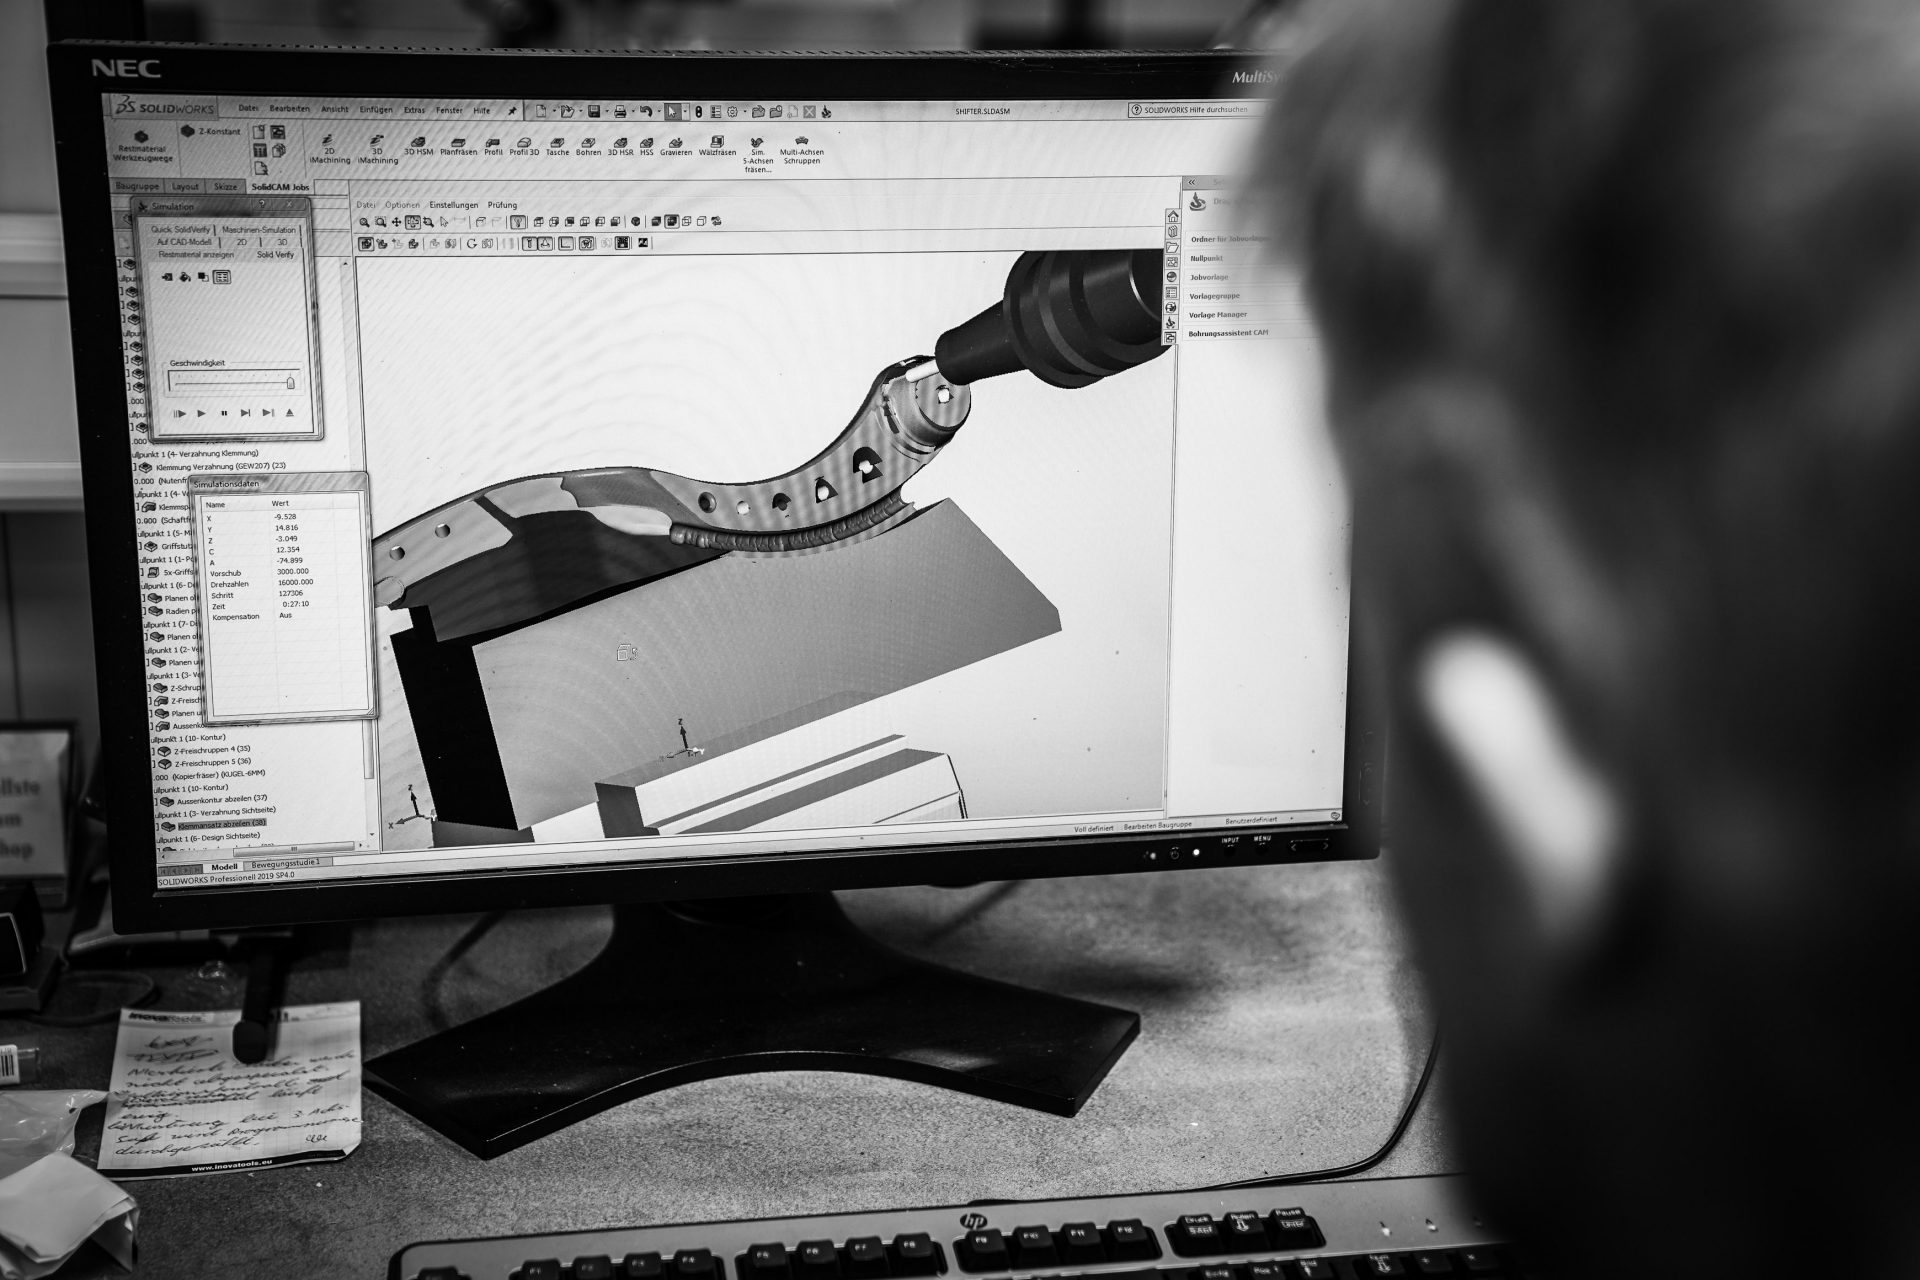
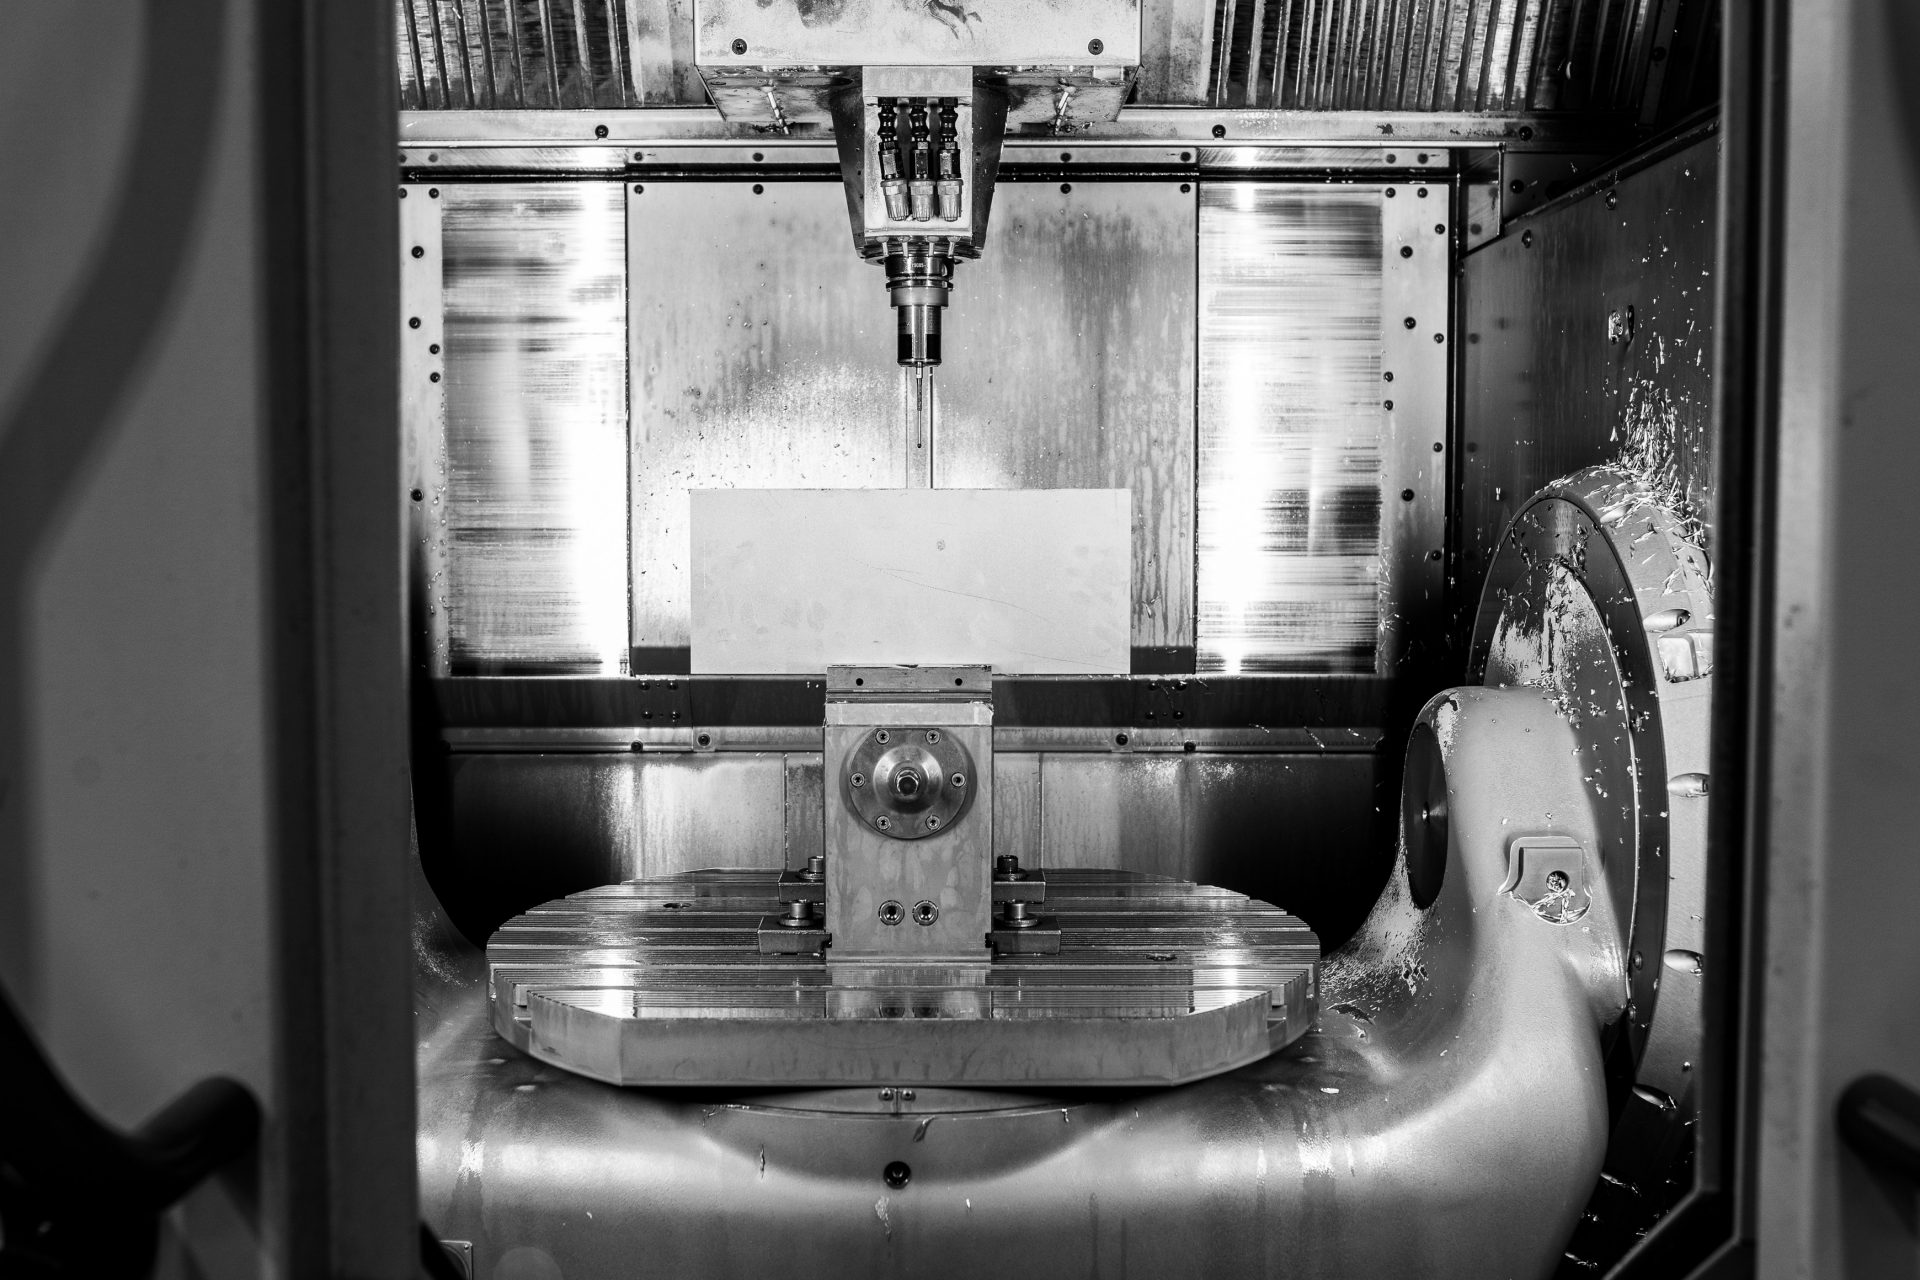
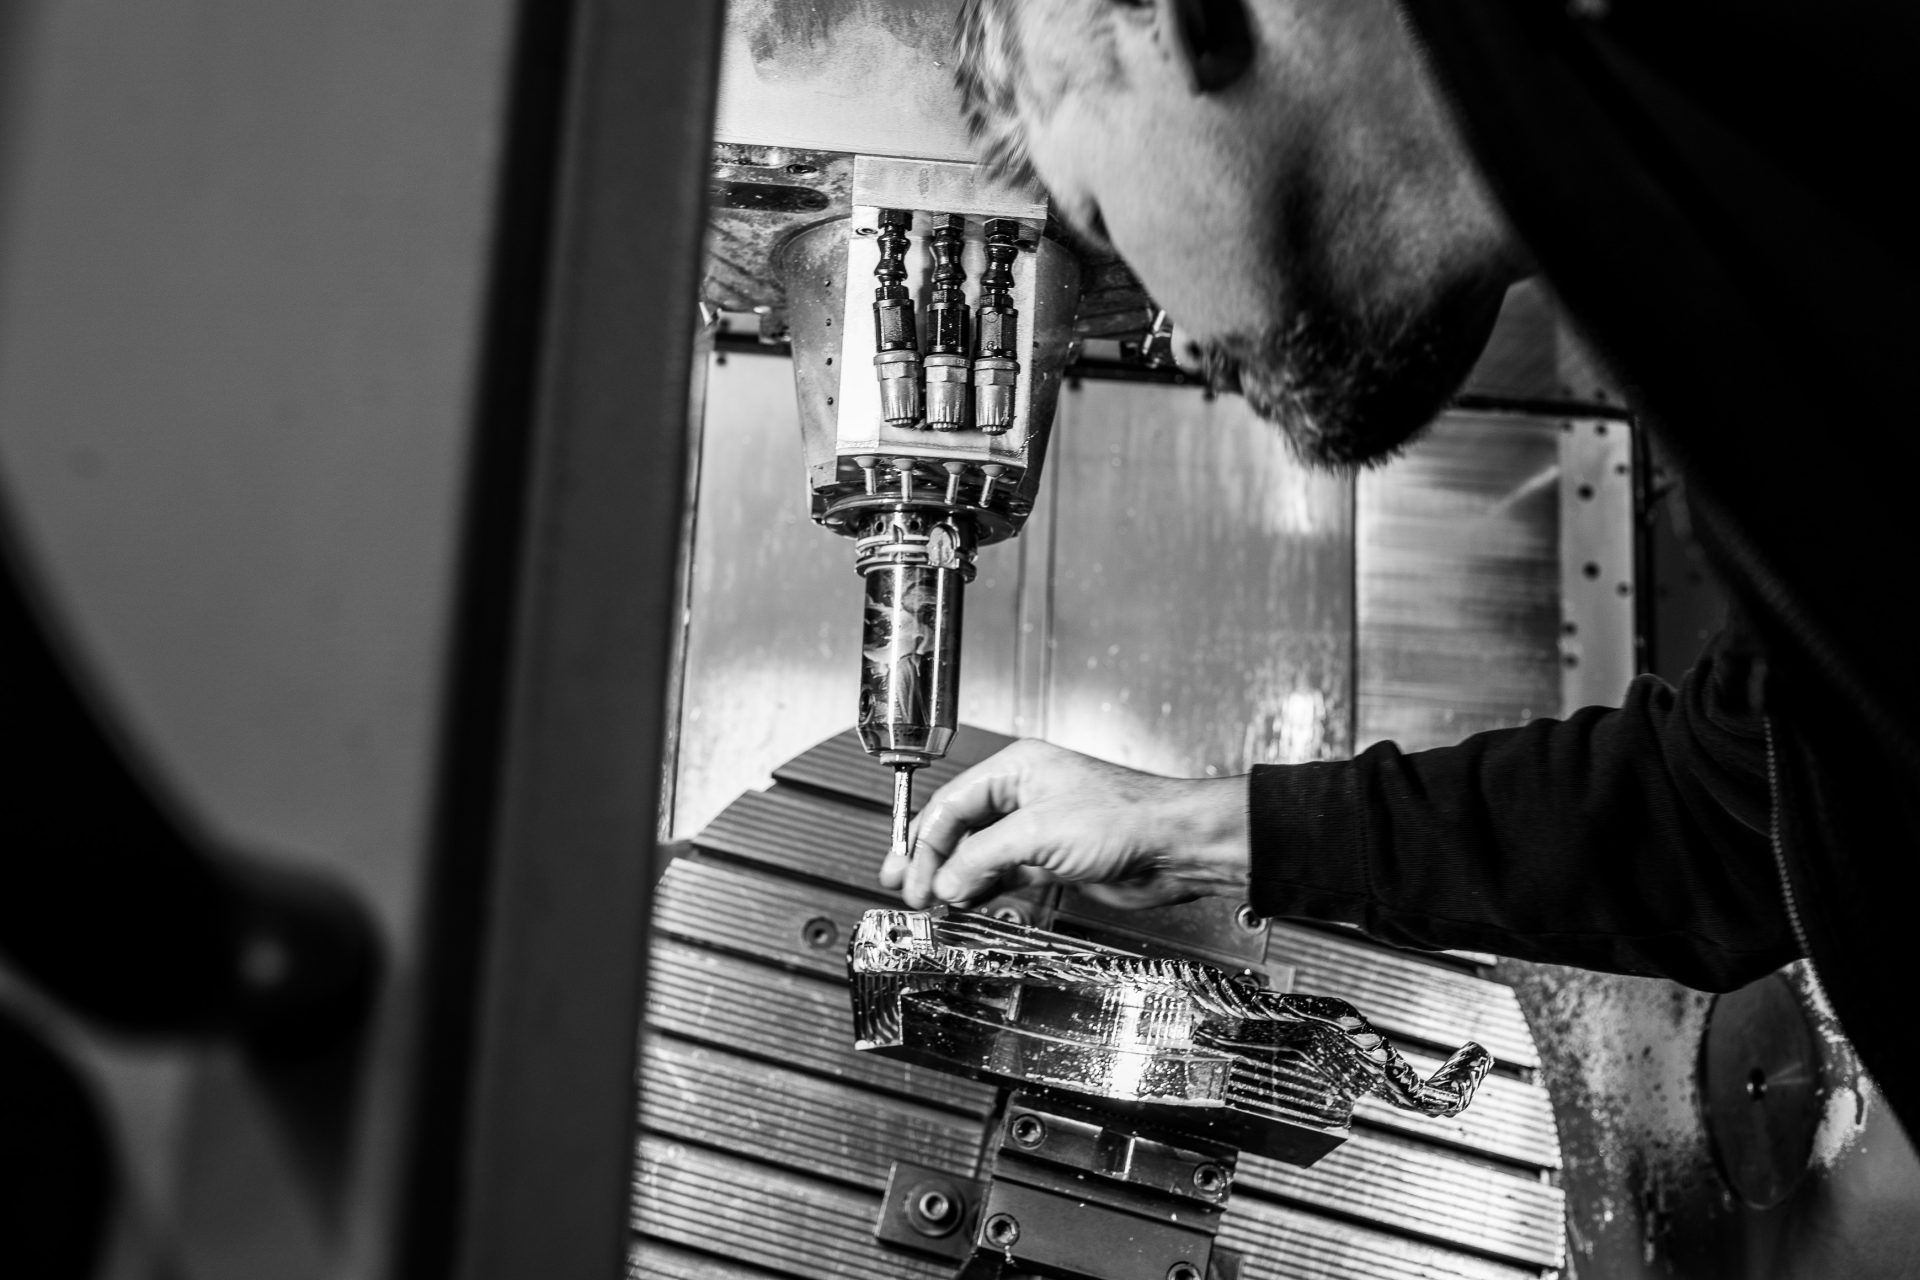
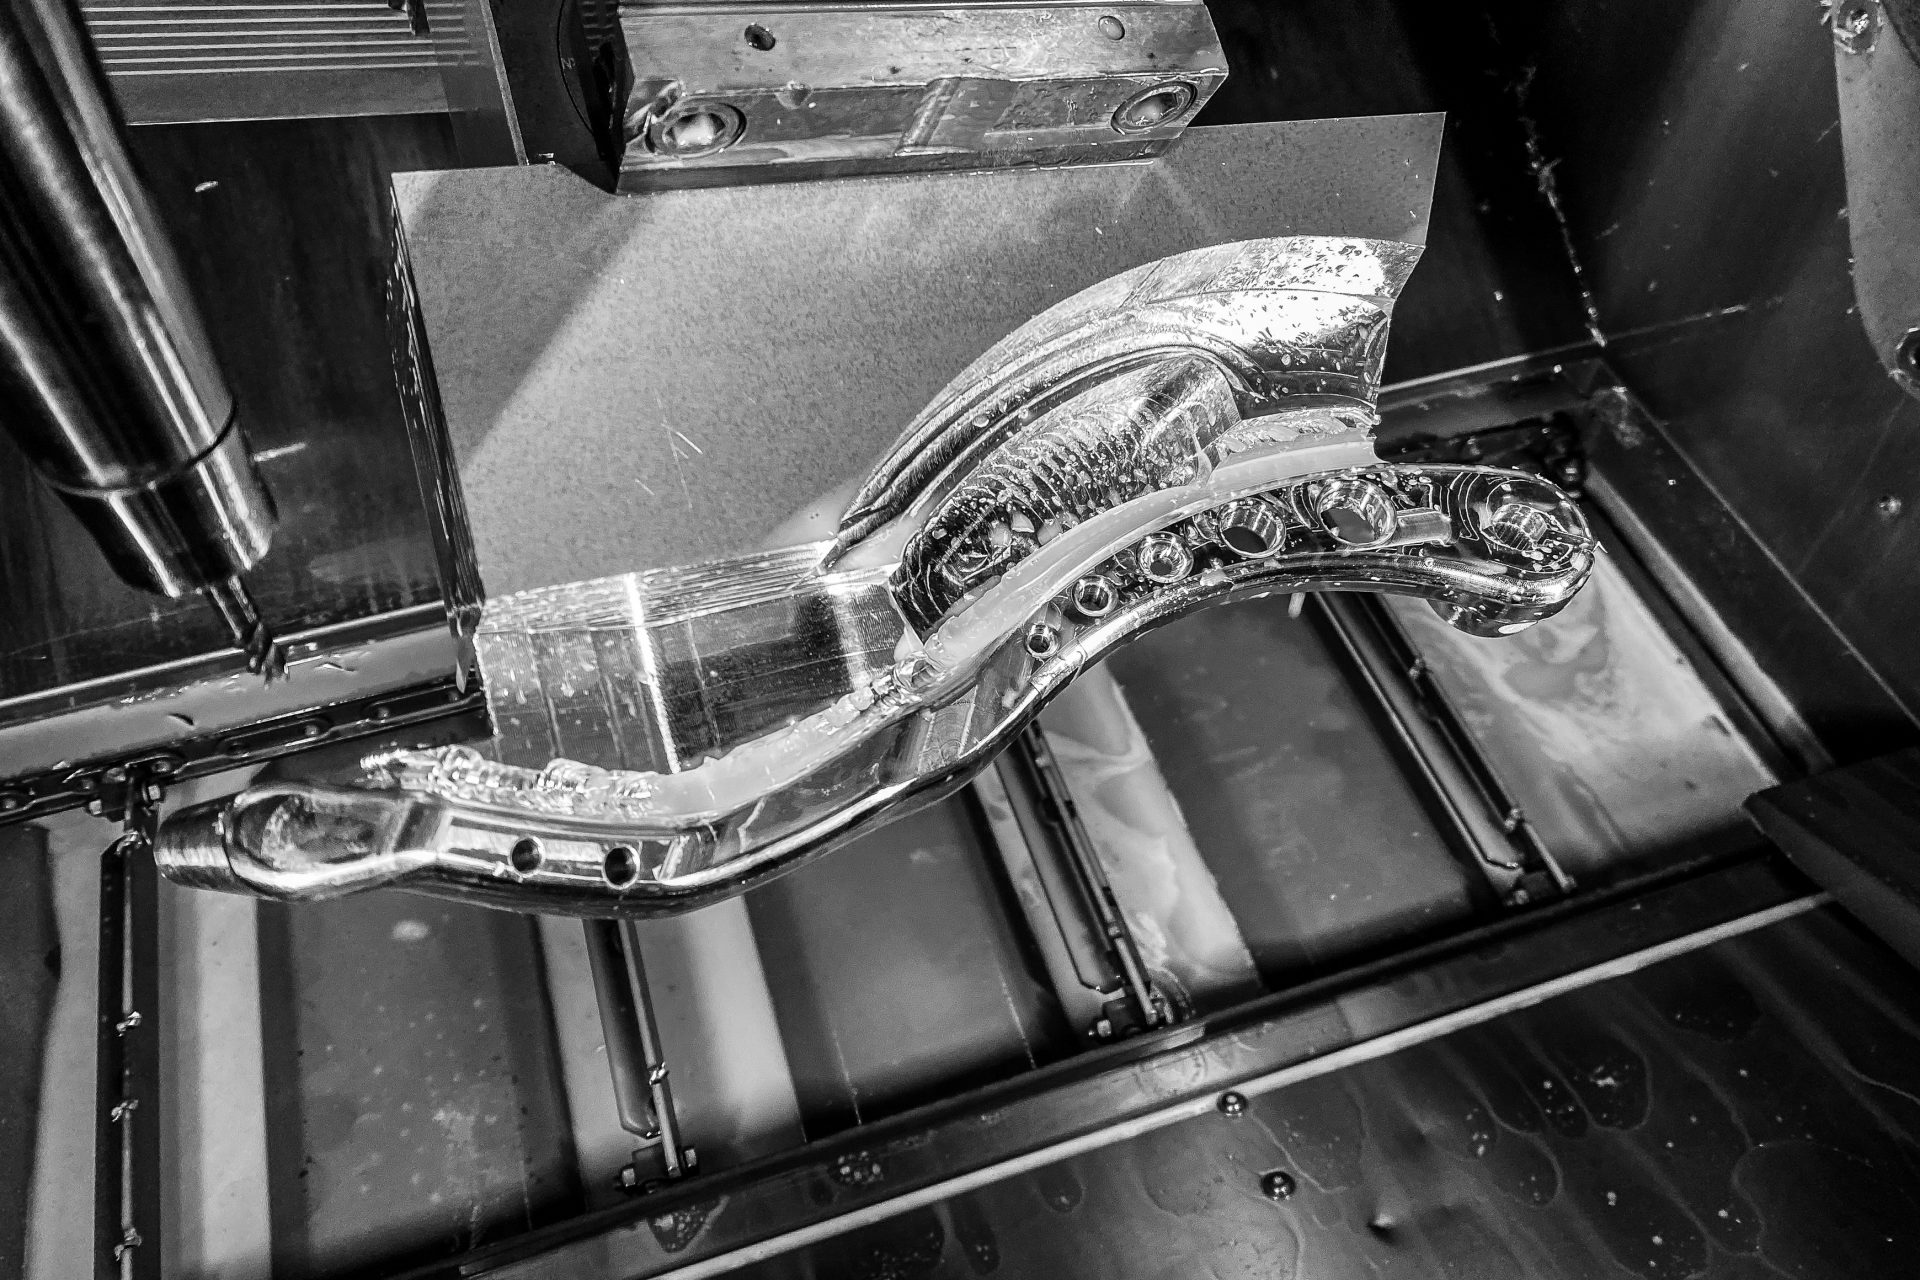
The development begins with a seating test, because the lever should be easy to reach during the ride! Afterwards a rough sketch is made on cardboard, which is then provided with lengths and widths in further steps. It is important that the two steps of the primary are taken into account, so that the lever can later be moved close to the bike. With this information we went to our CAD designer Andre. From his sketches and in close cooperation with the guys in our custom workshop he makes a three-dimensional drawing. By the way, the lever was designed in exactly the same design as the lever of the foot brake. Once the drawing is finished it’s translated into a program. This process alone takes 8 working hours! This work step is so complex because the milling machine does an incredible job with 5 axles and therefore all swivel ranges and interfering contours of the machine have to be calculated. The lever is machined out of a solid block of billet aluminium and later polished to a high gloss finish in our in-house polishing department. For complete refinement a brass knob is turned, which is also refined by engraver Carsten Estermann.
We are proud of this splendid piece!

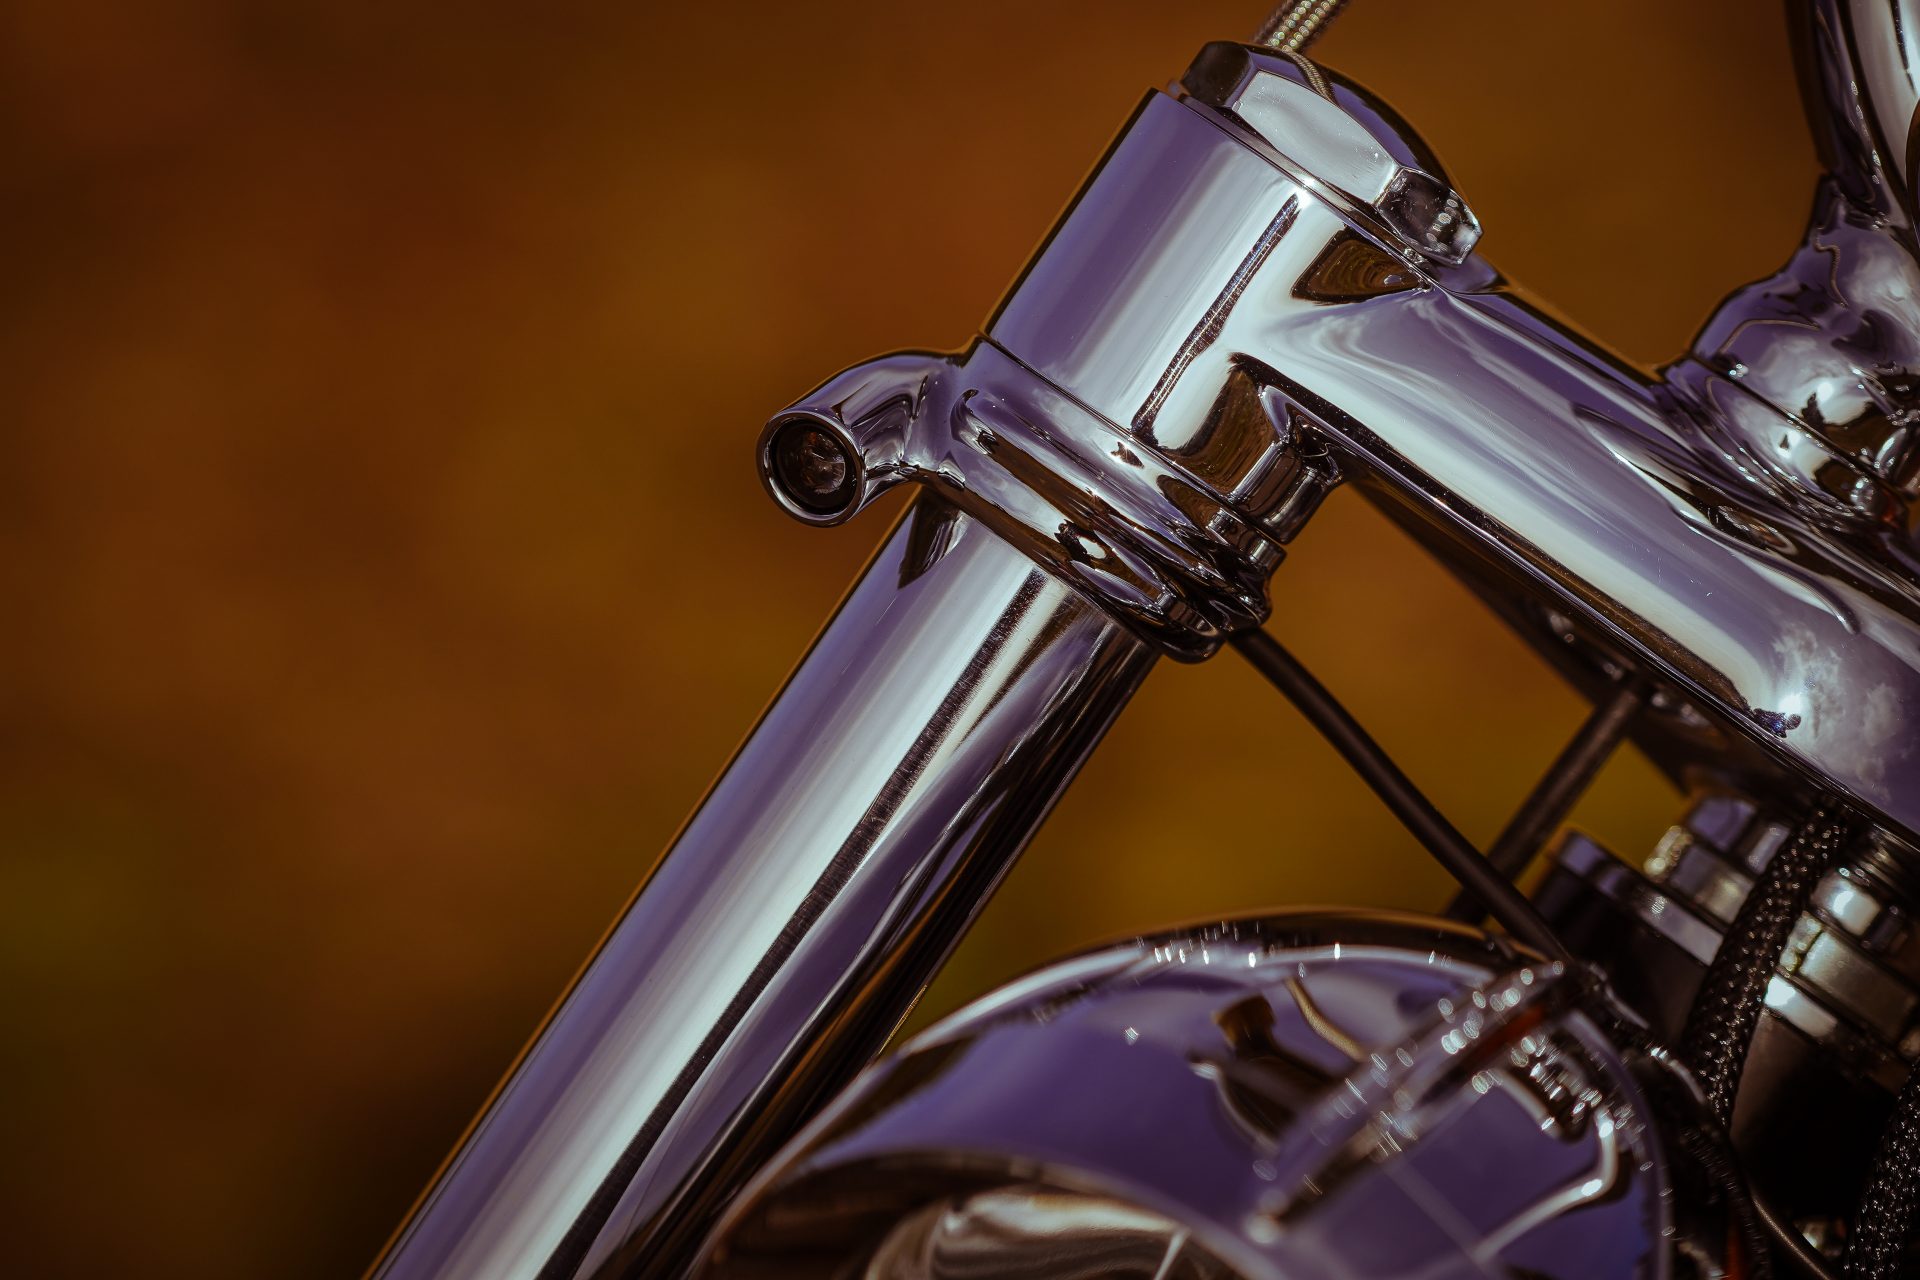
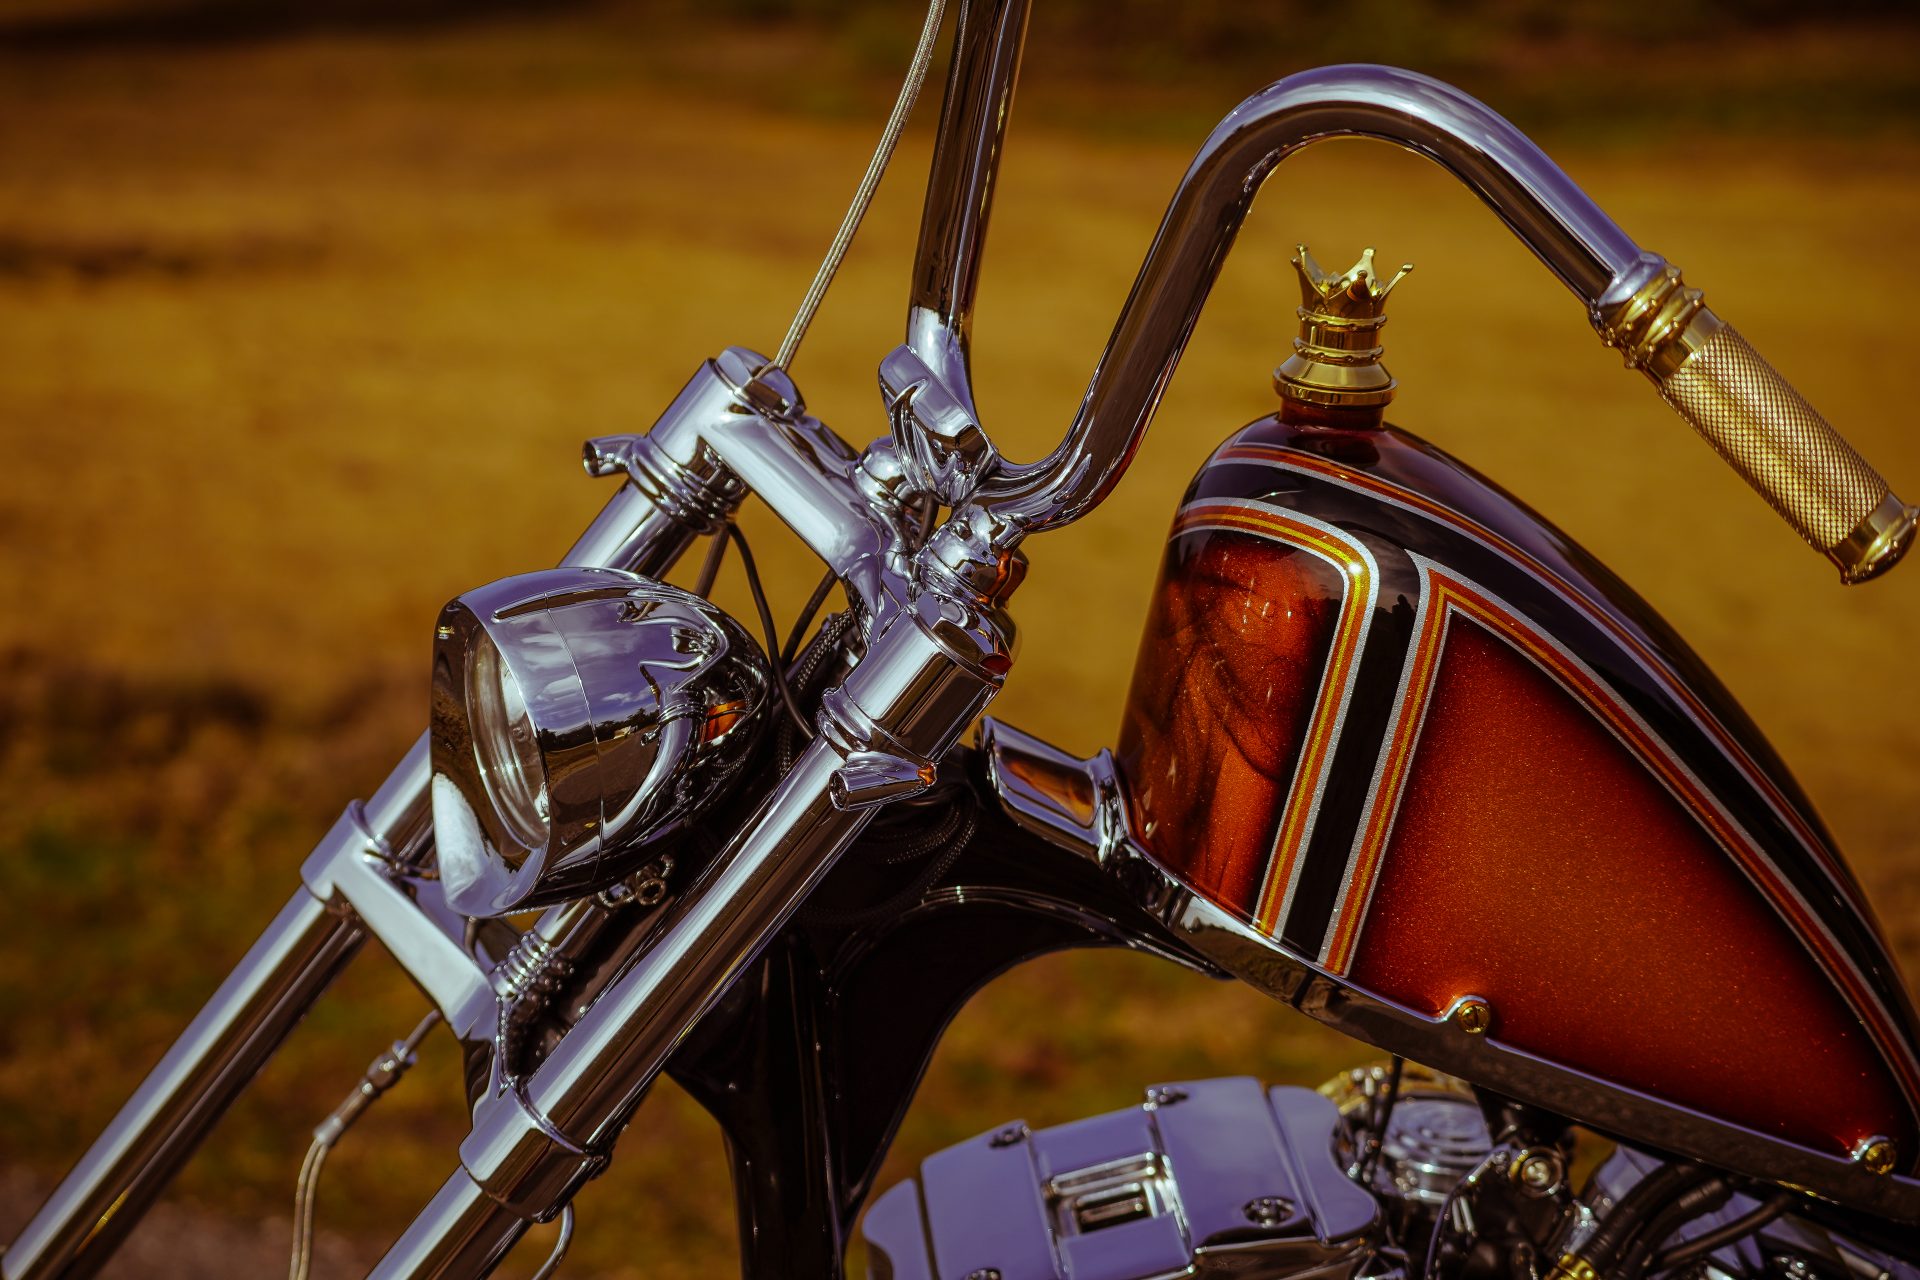
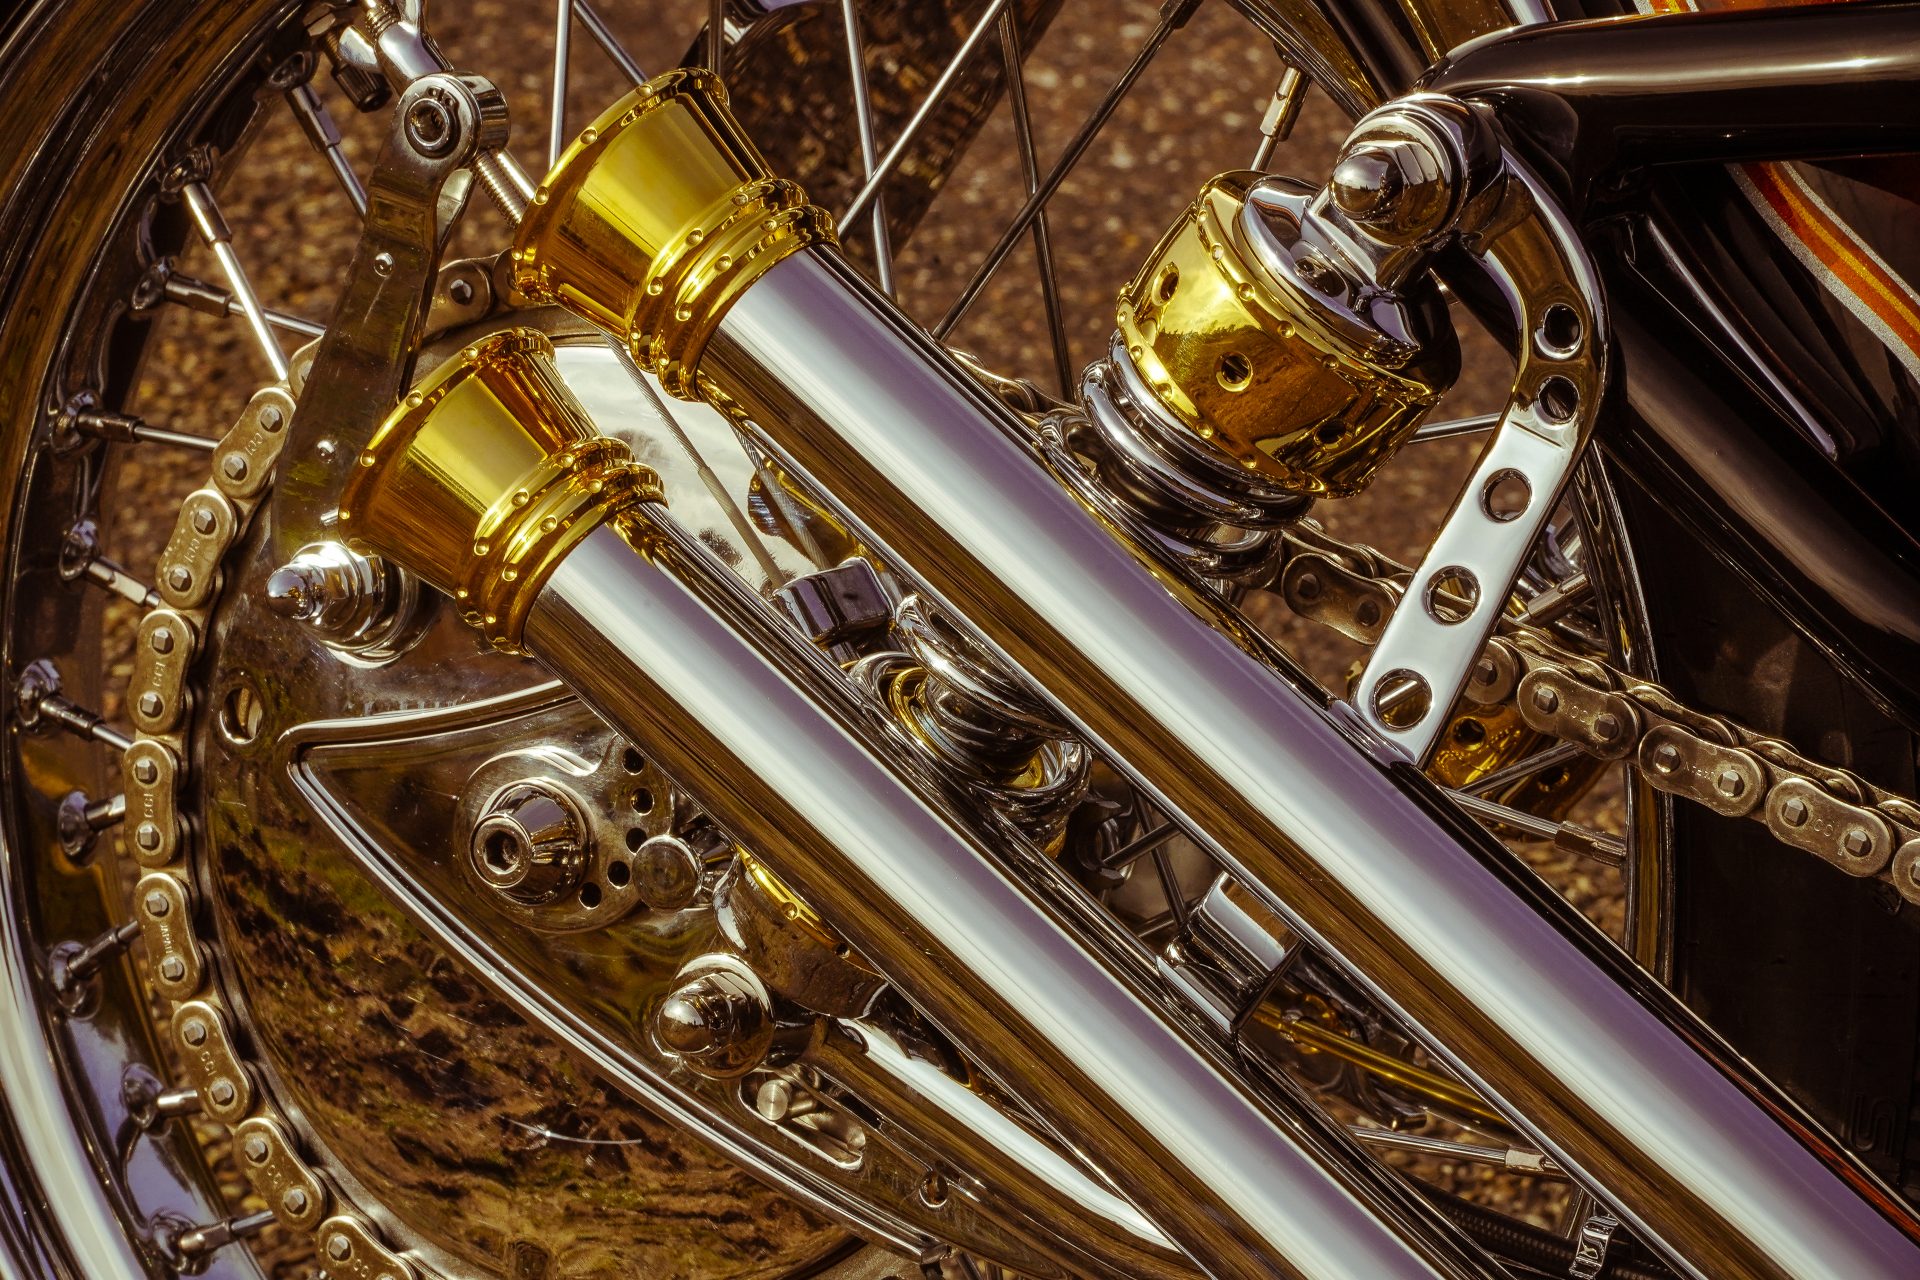
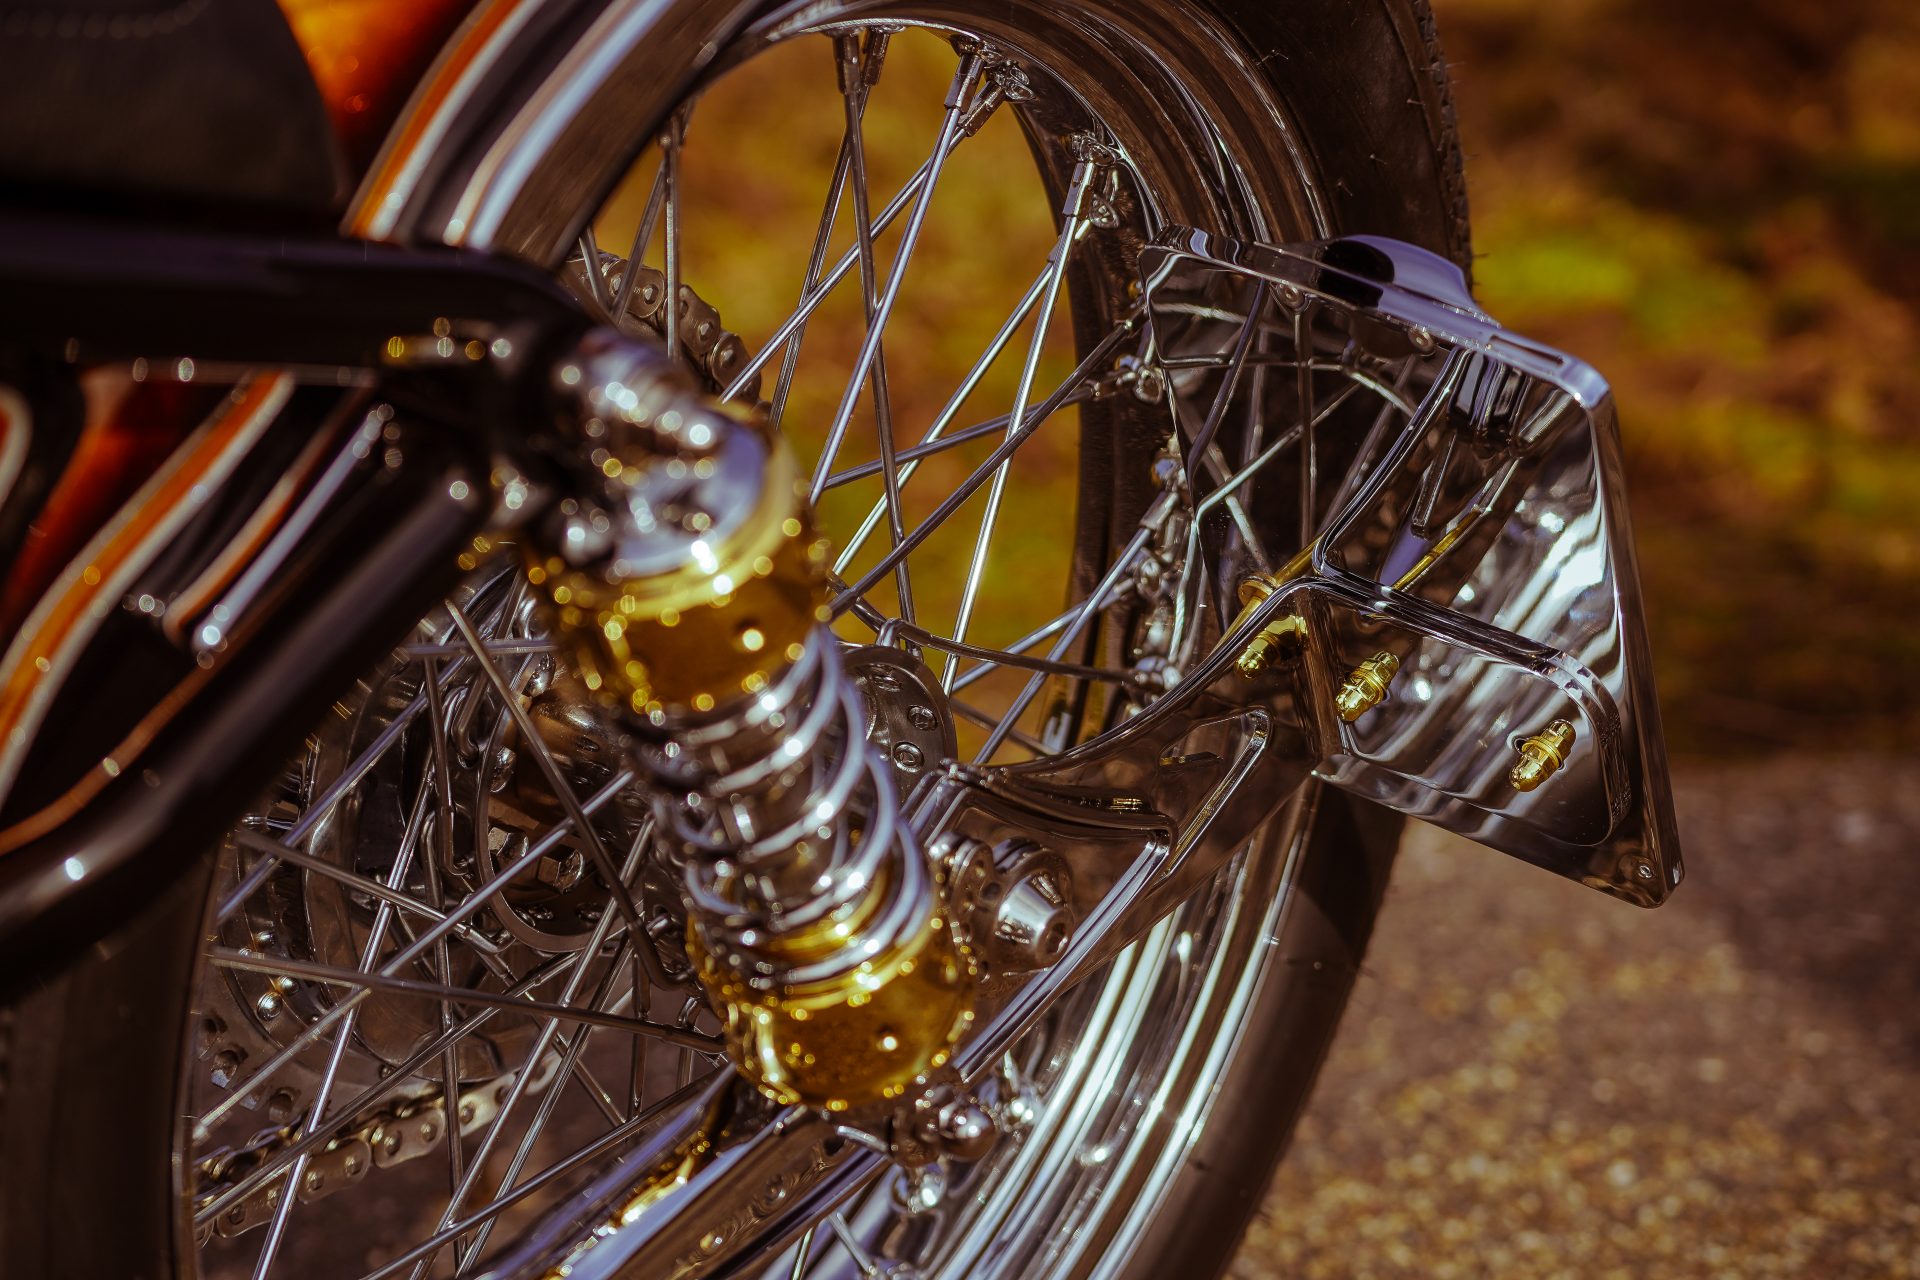
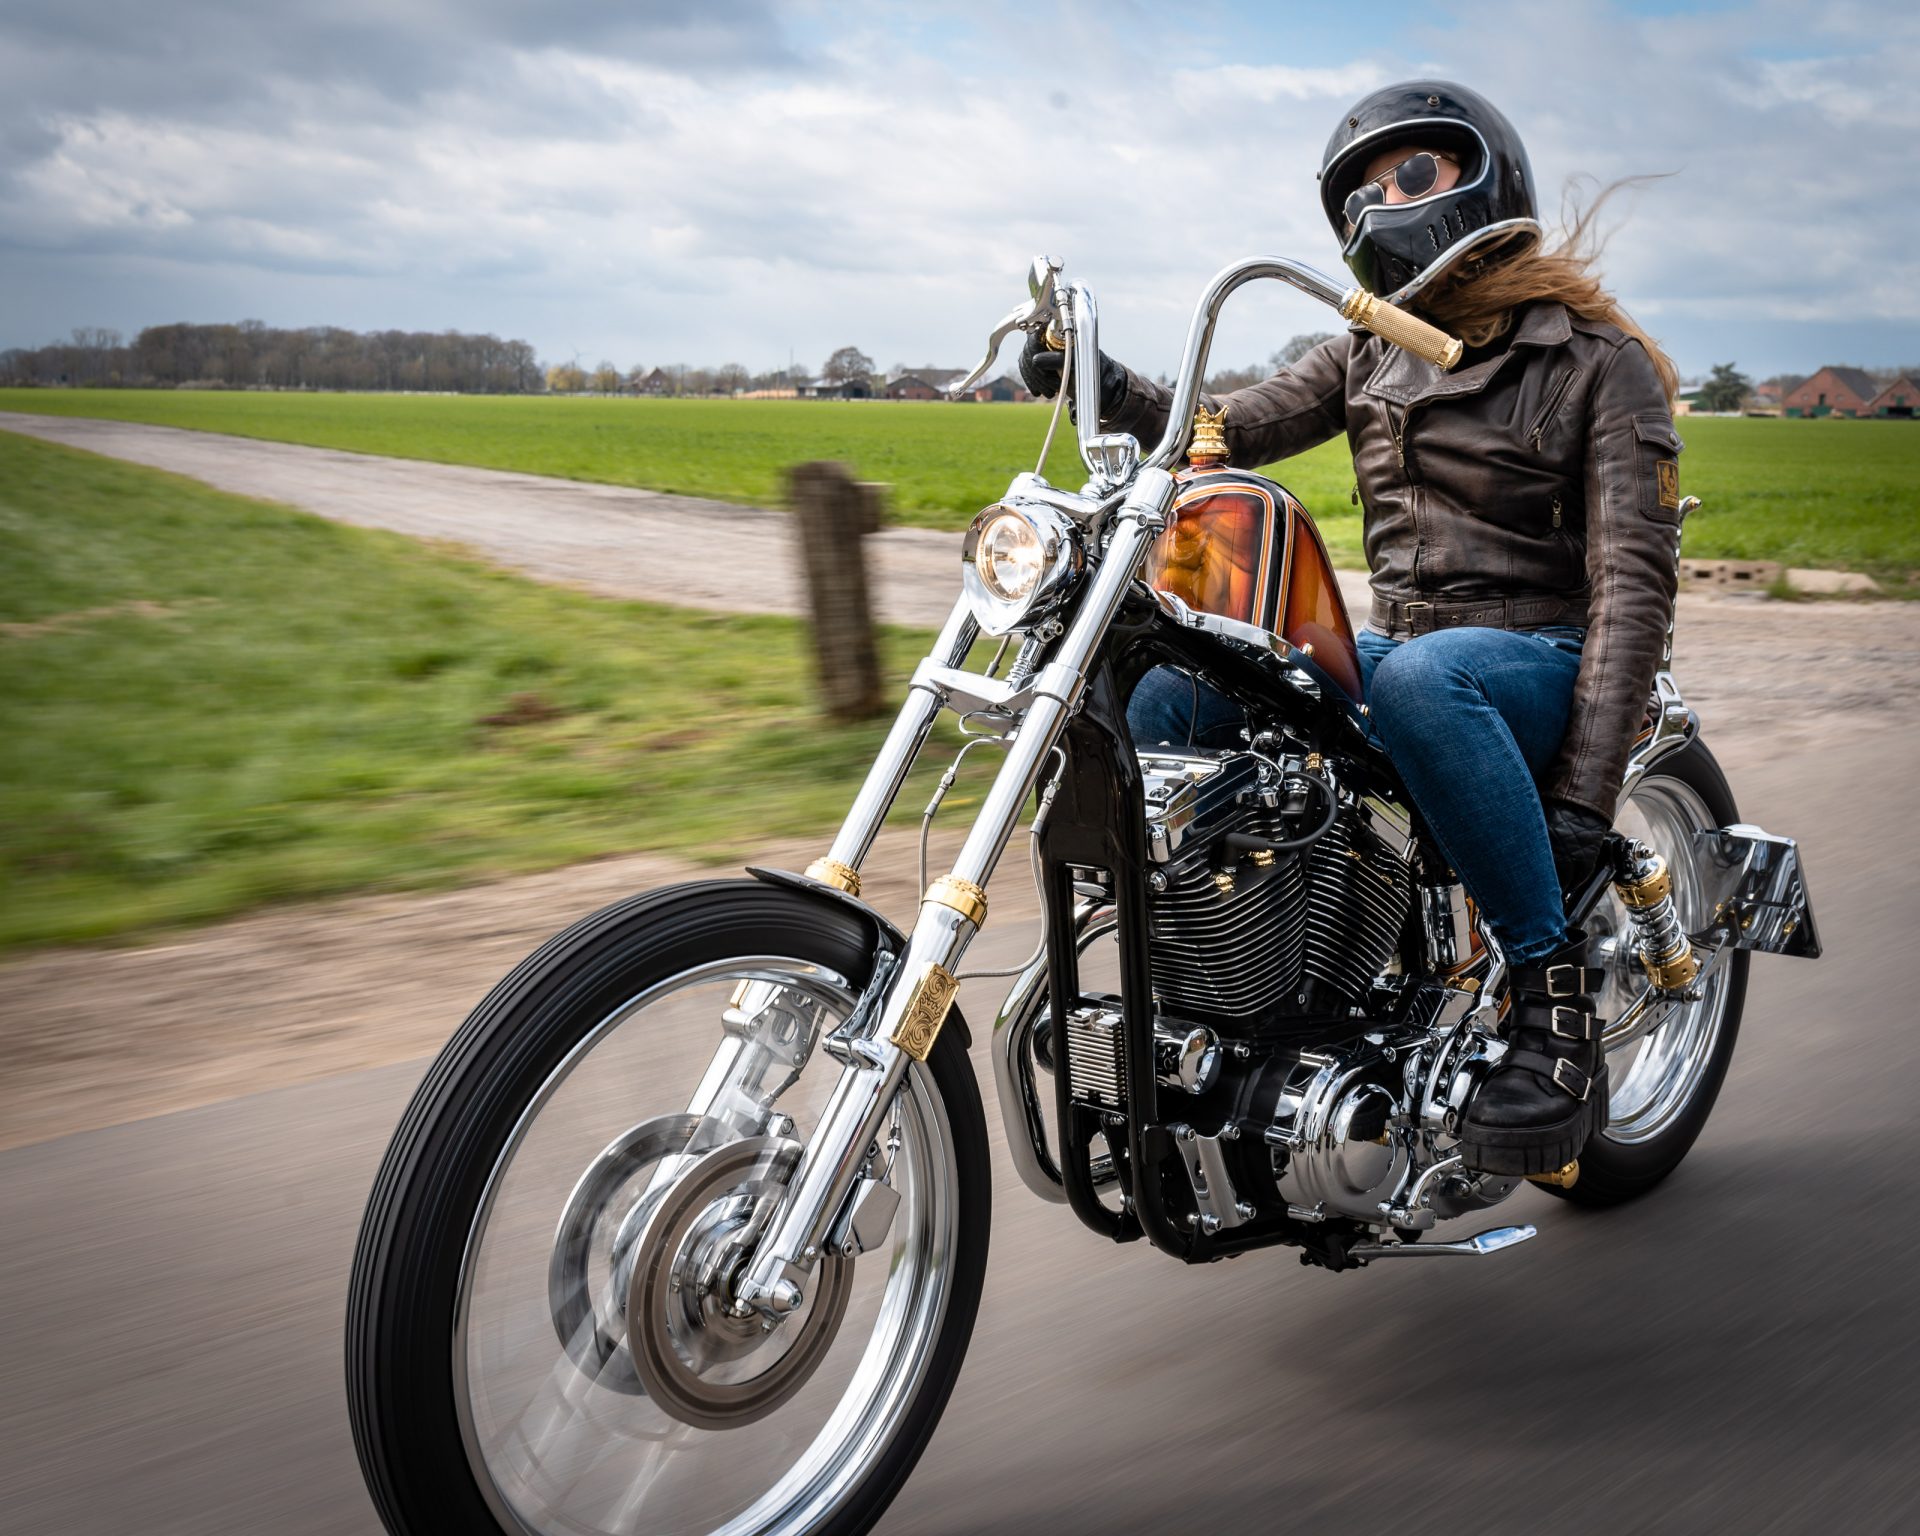
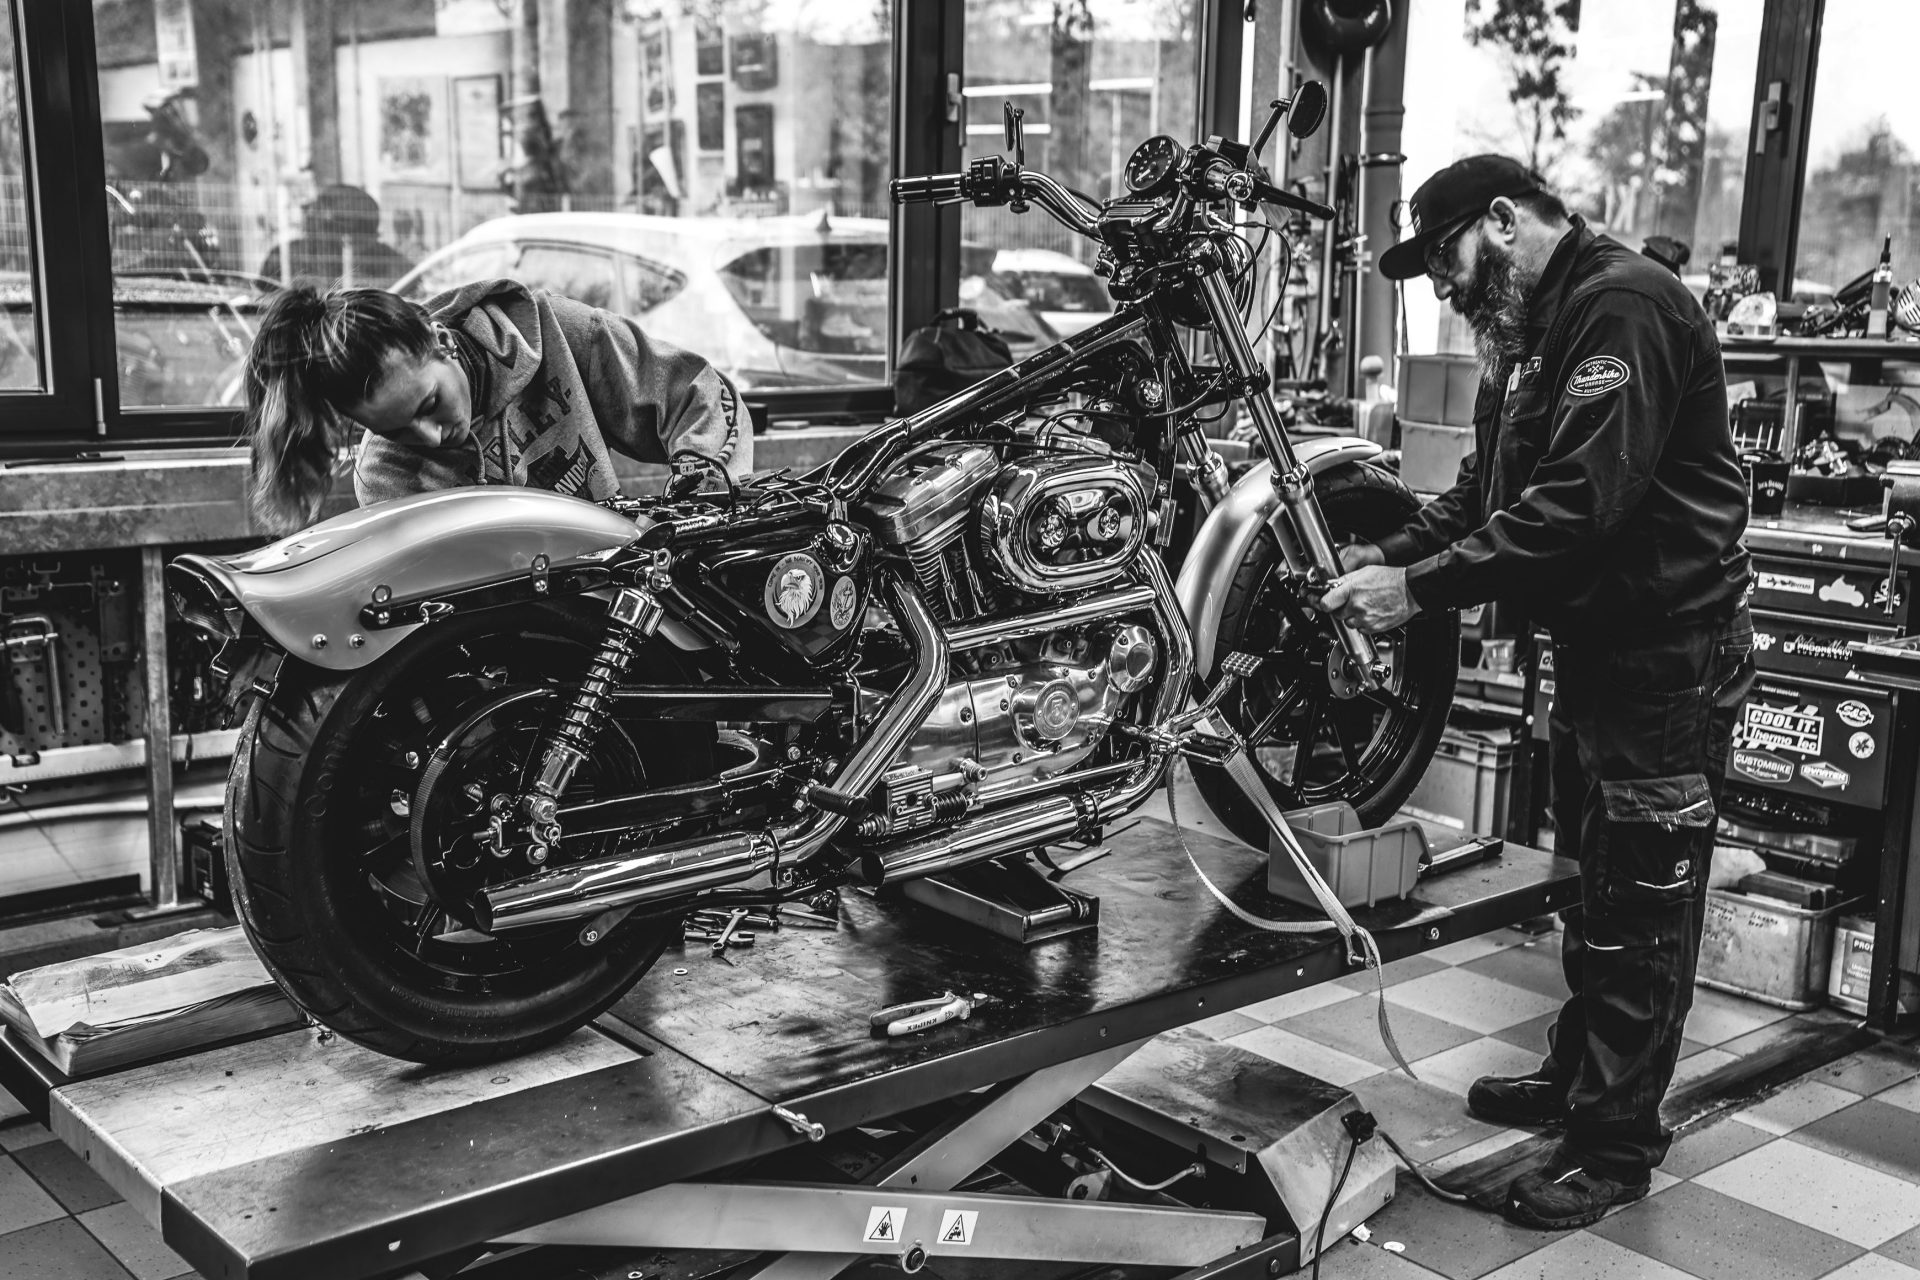
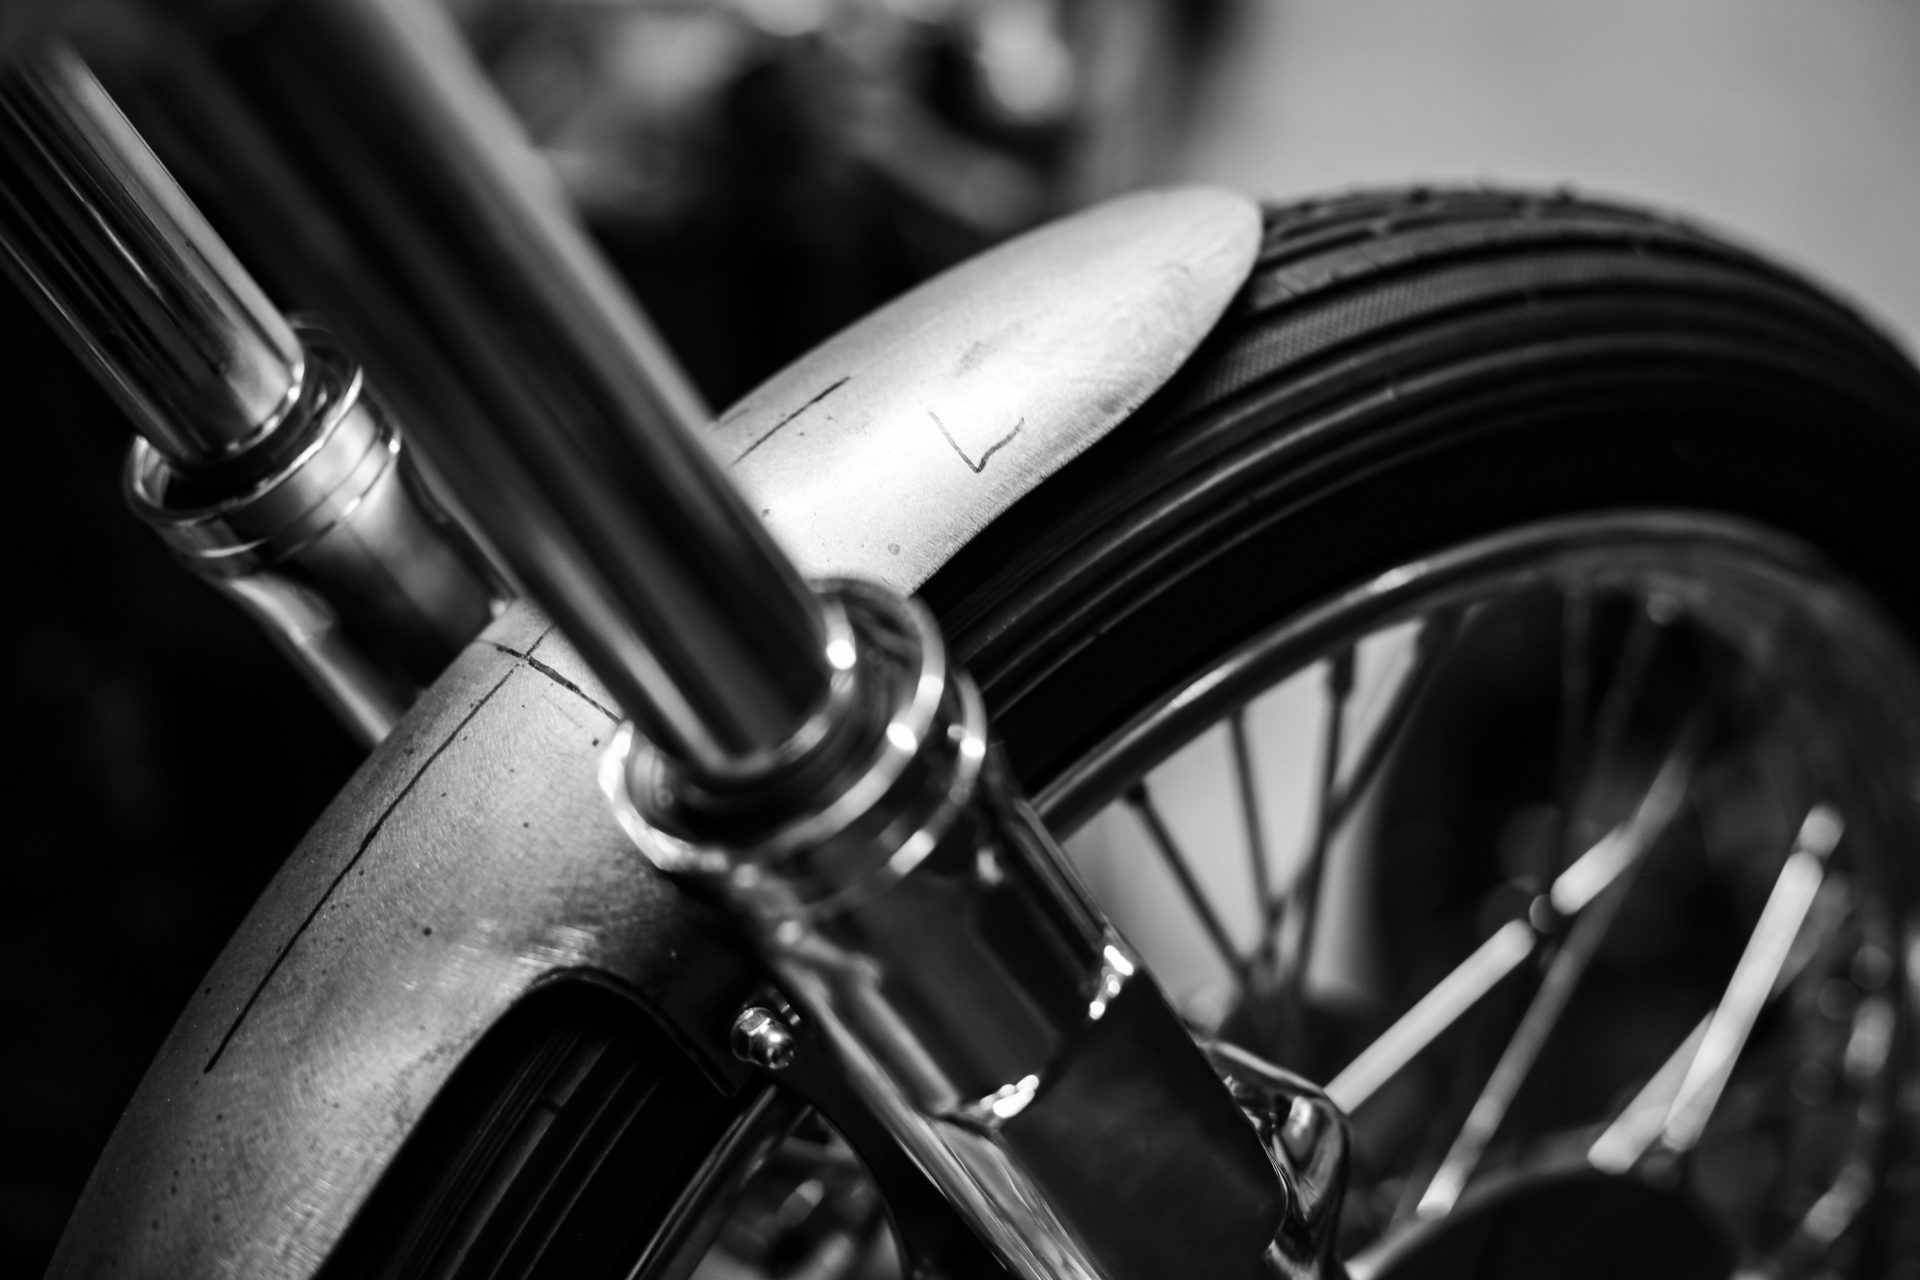
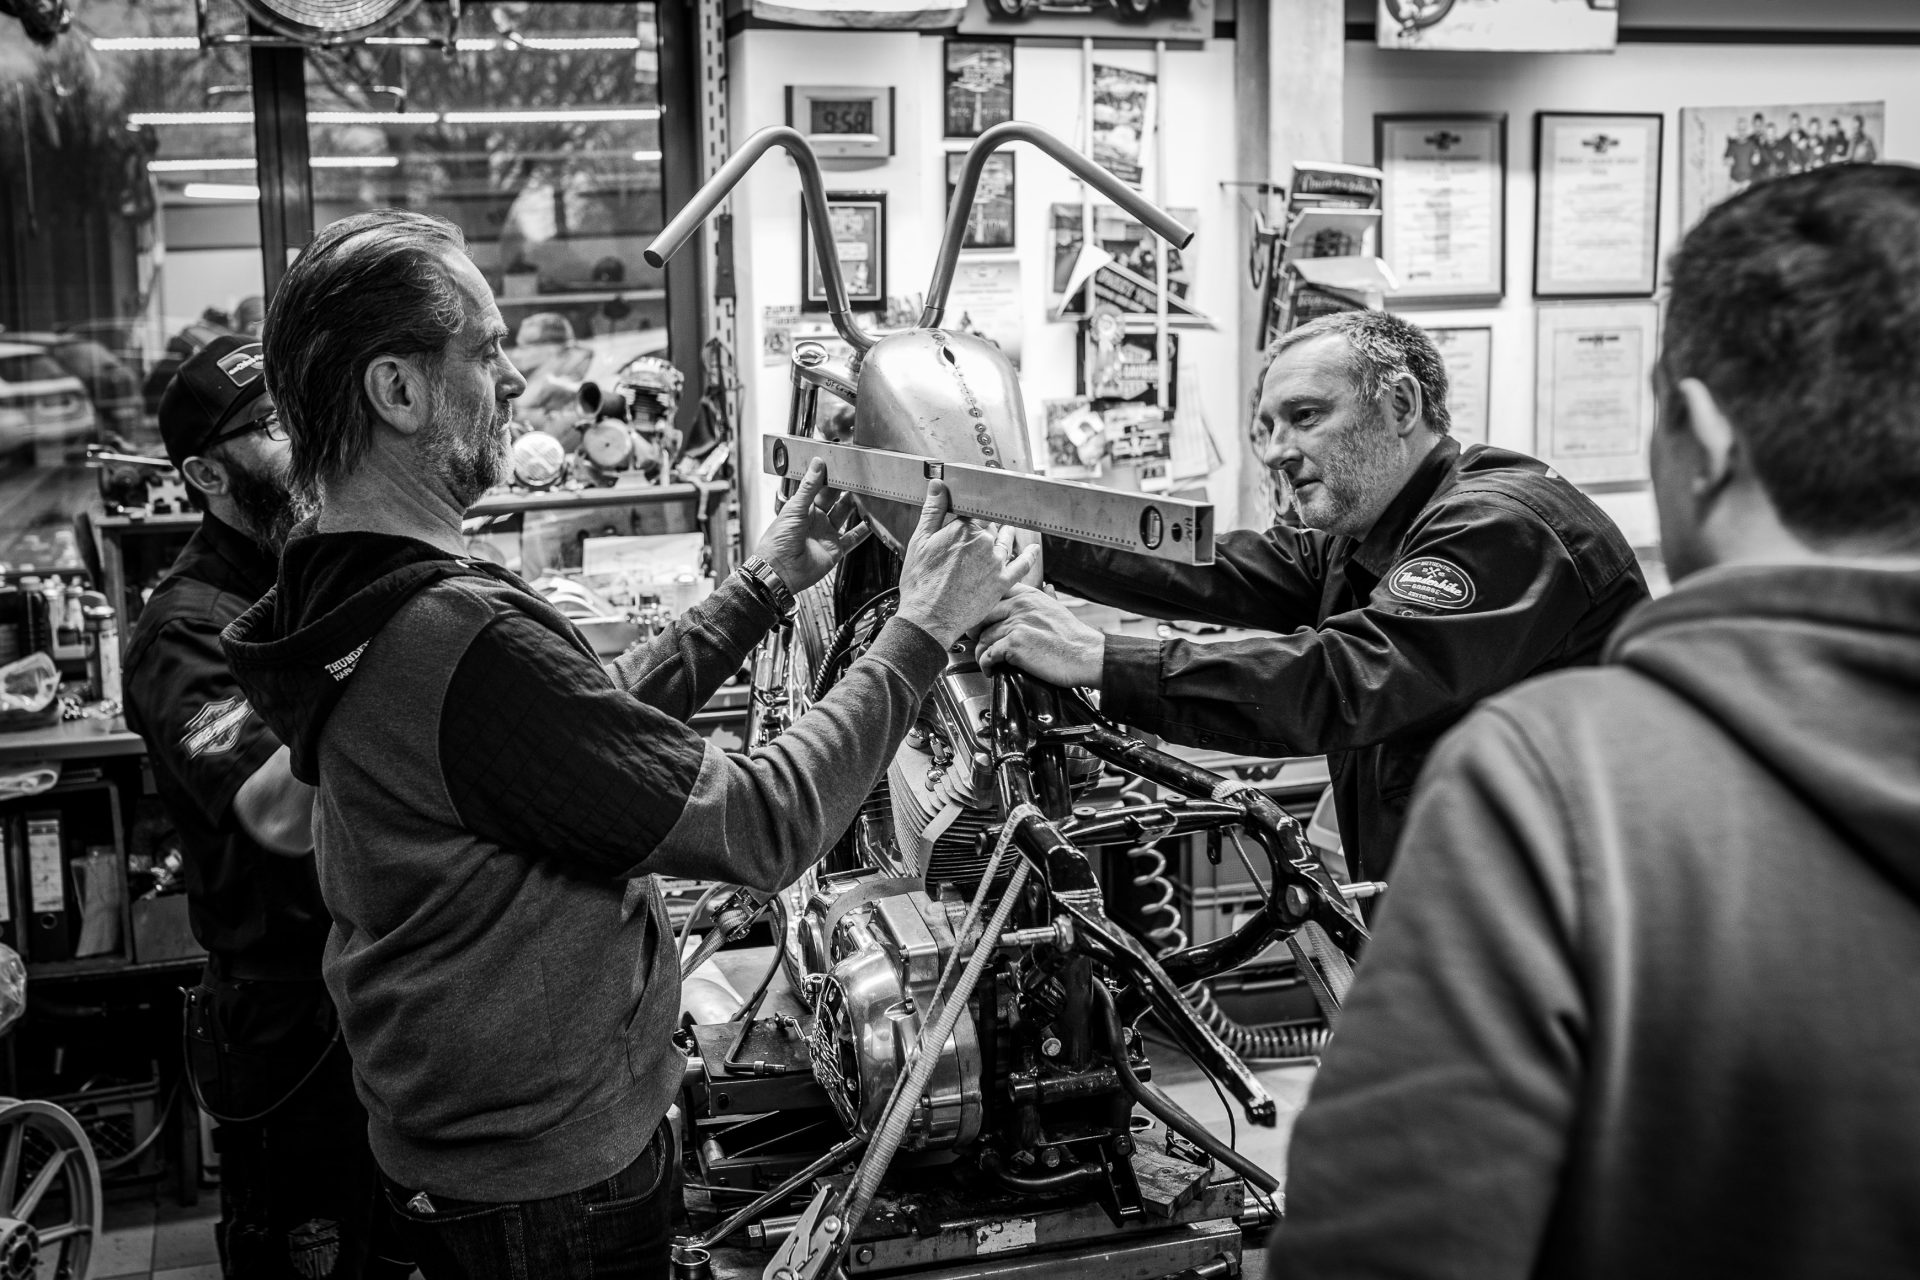
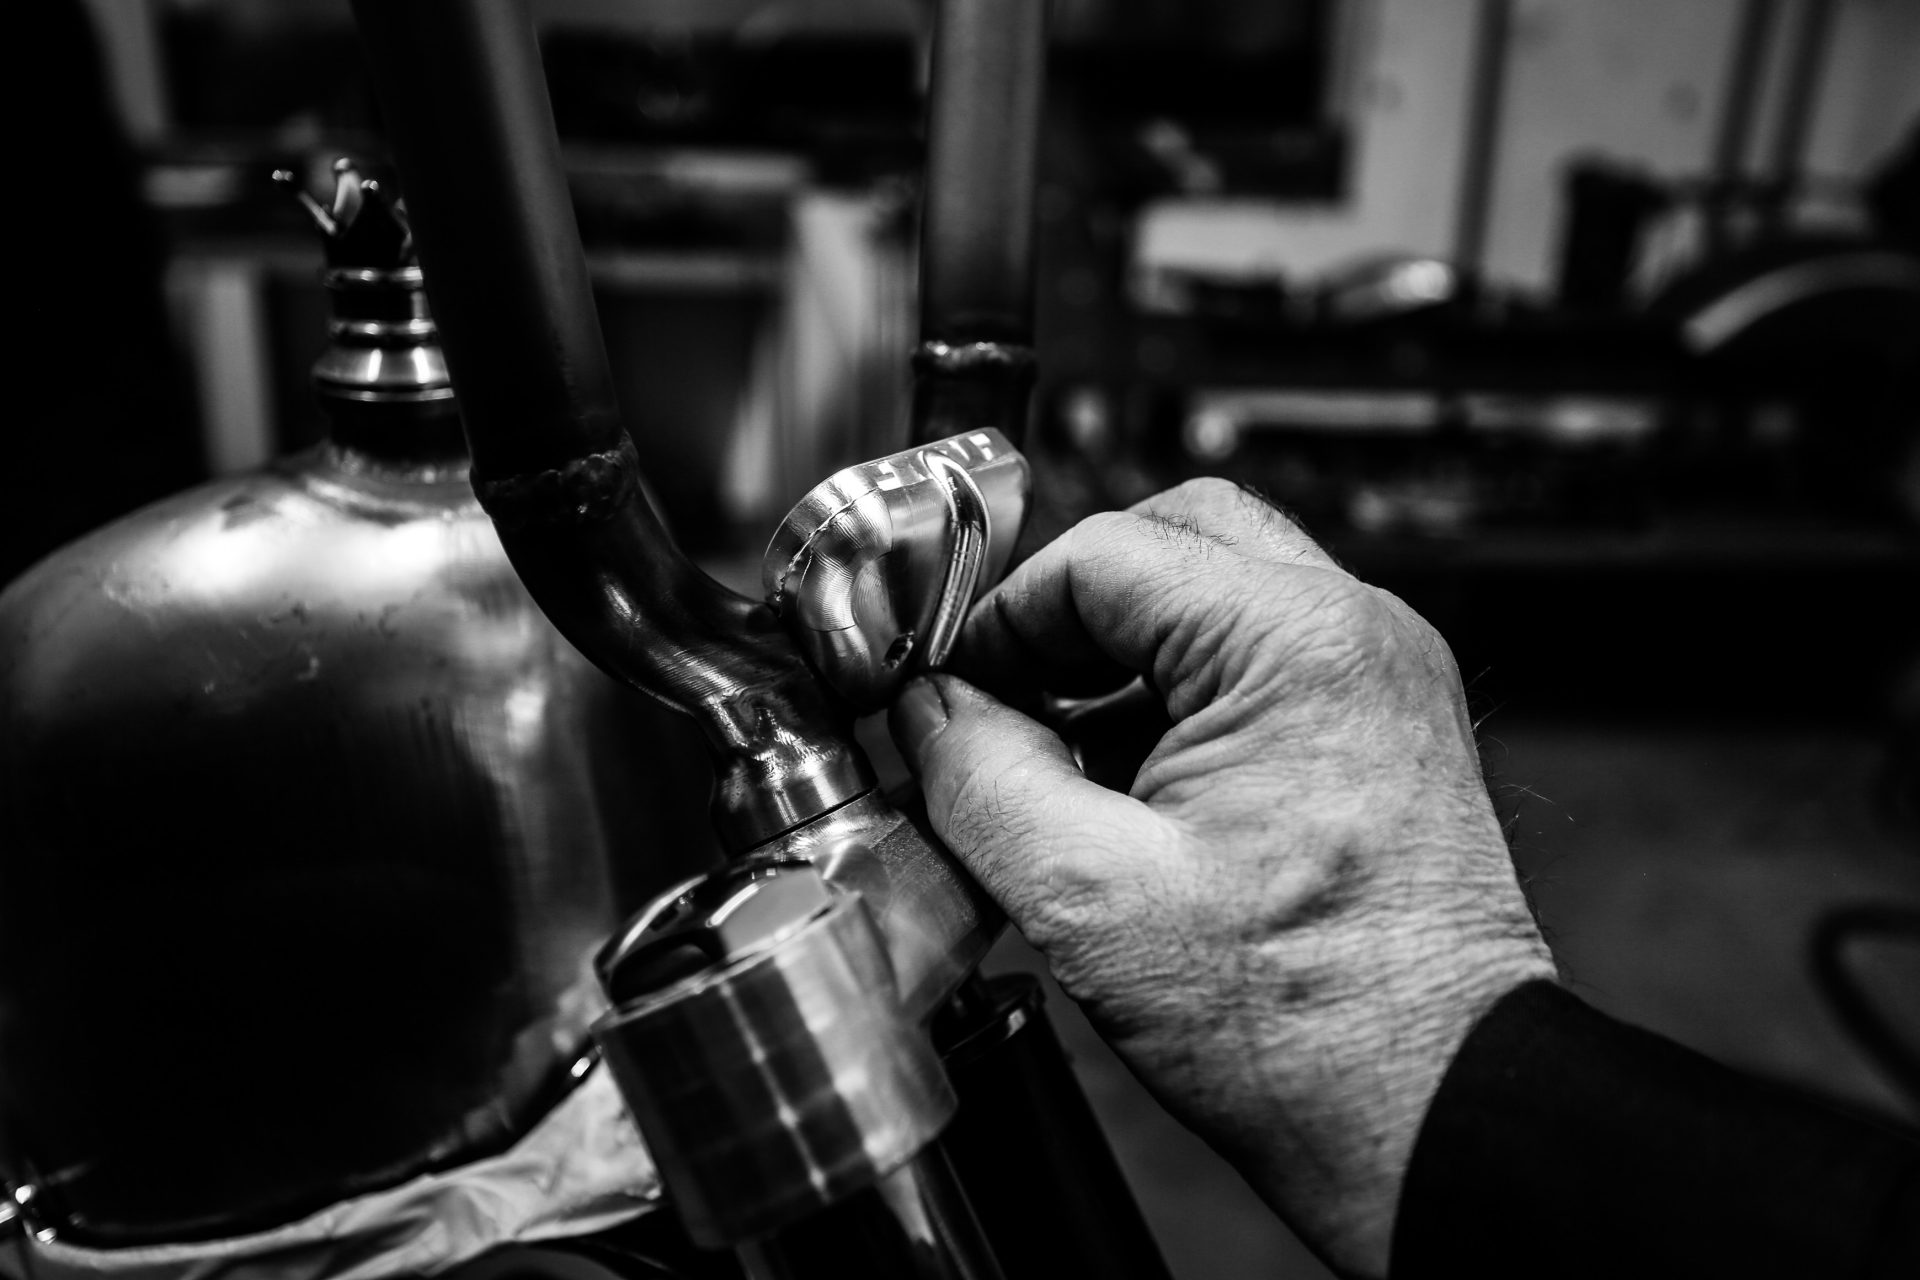
Frontend
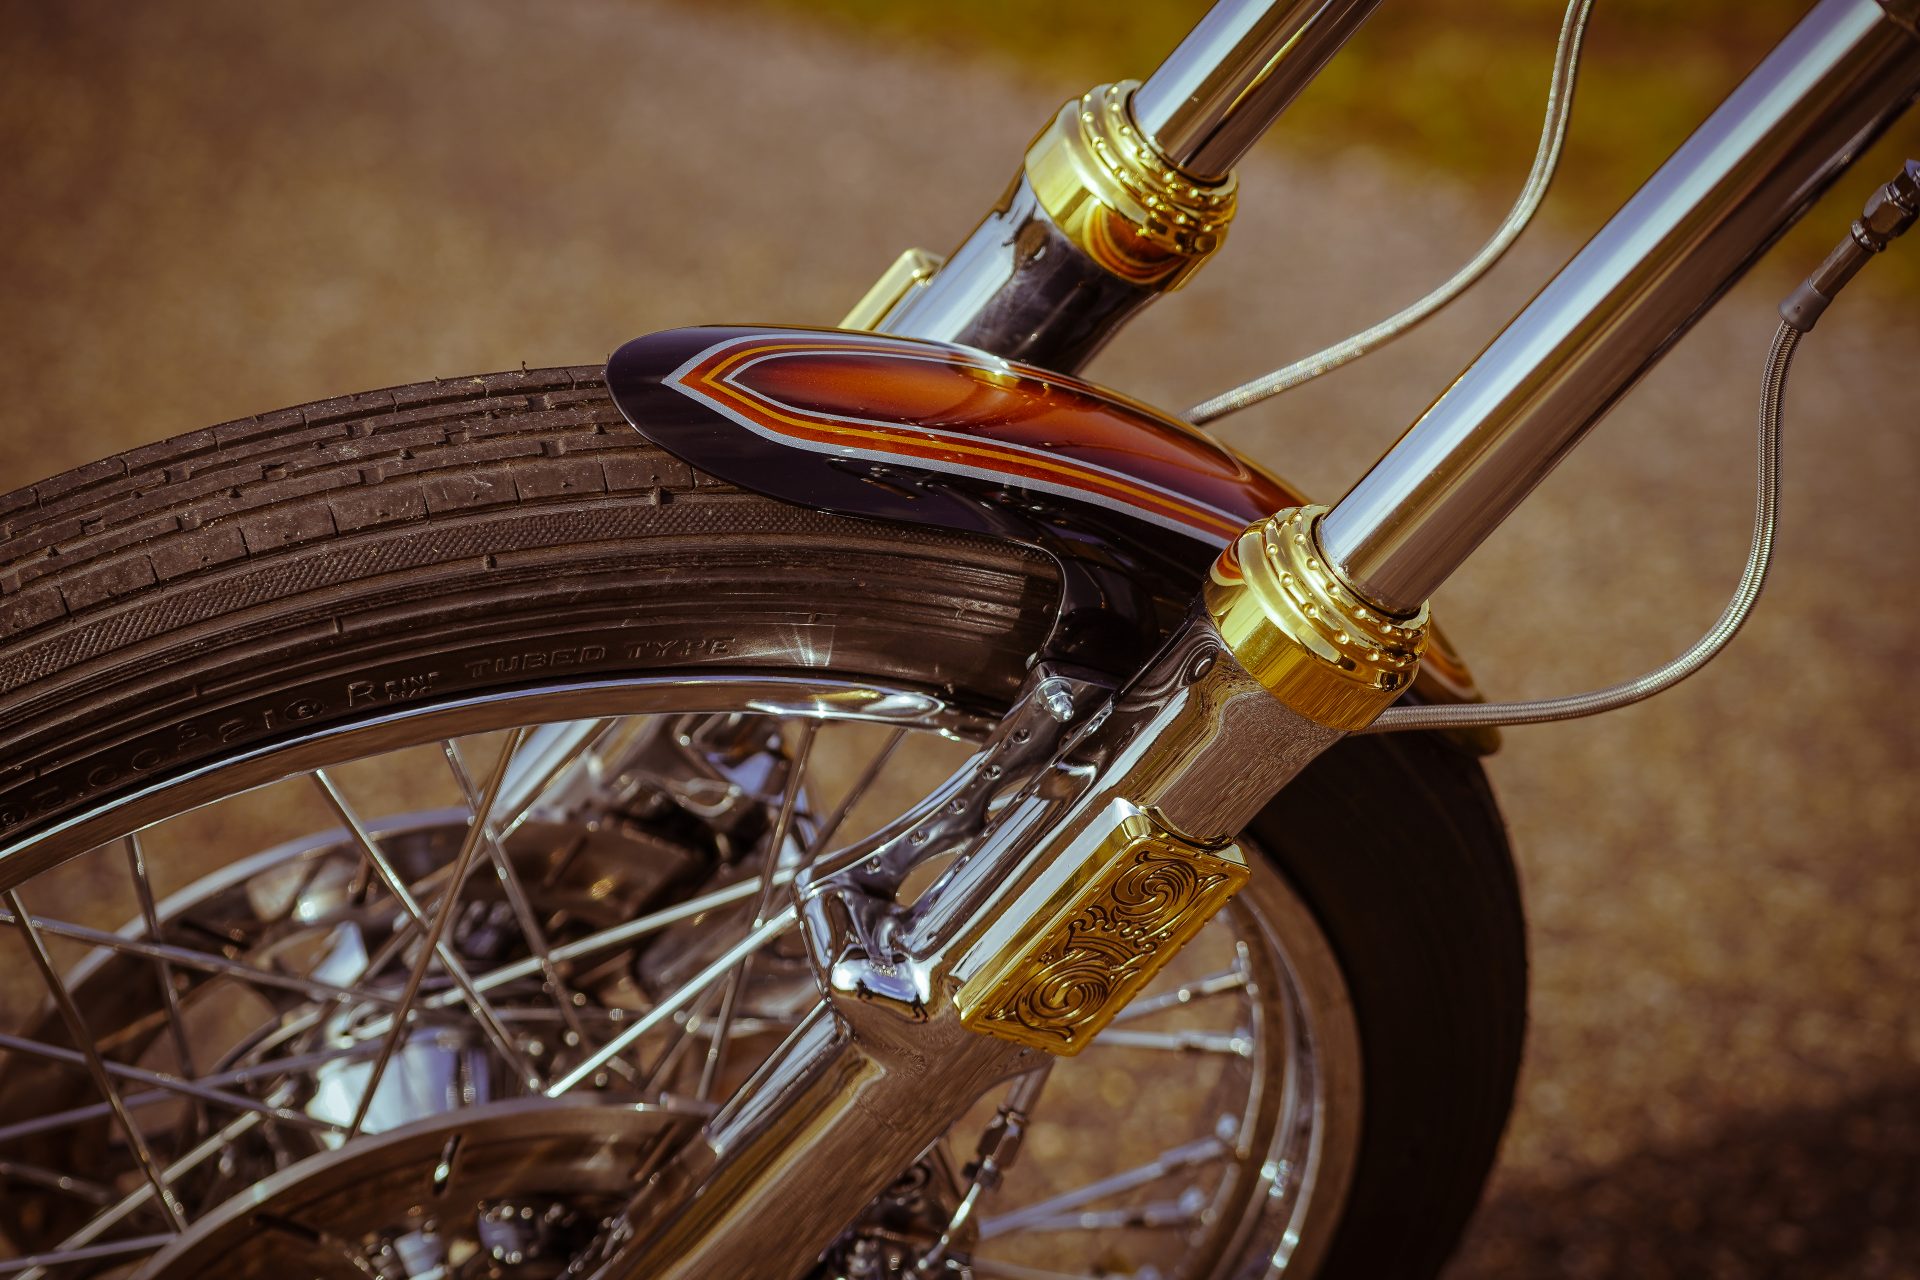
We do not make any compromises with the frontend as well!
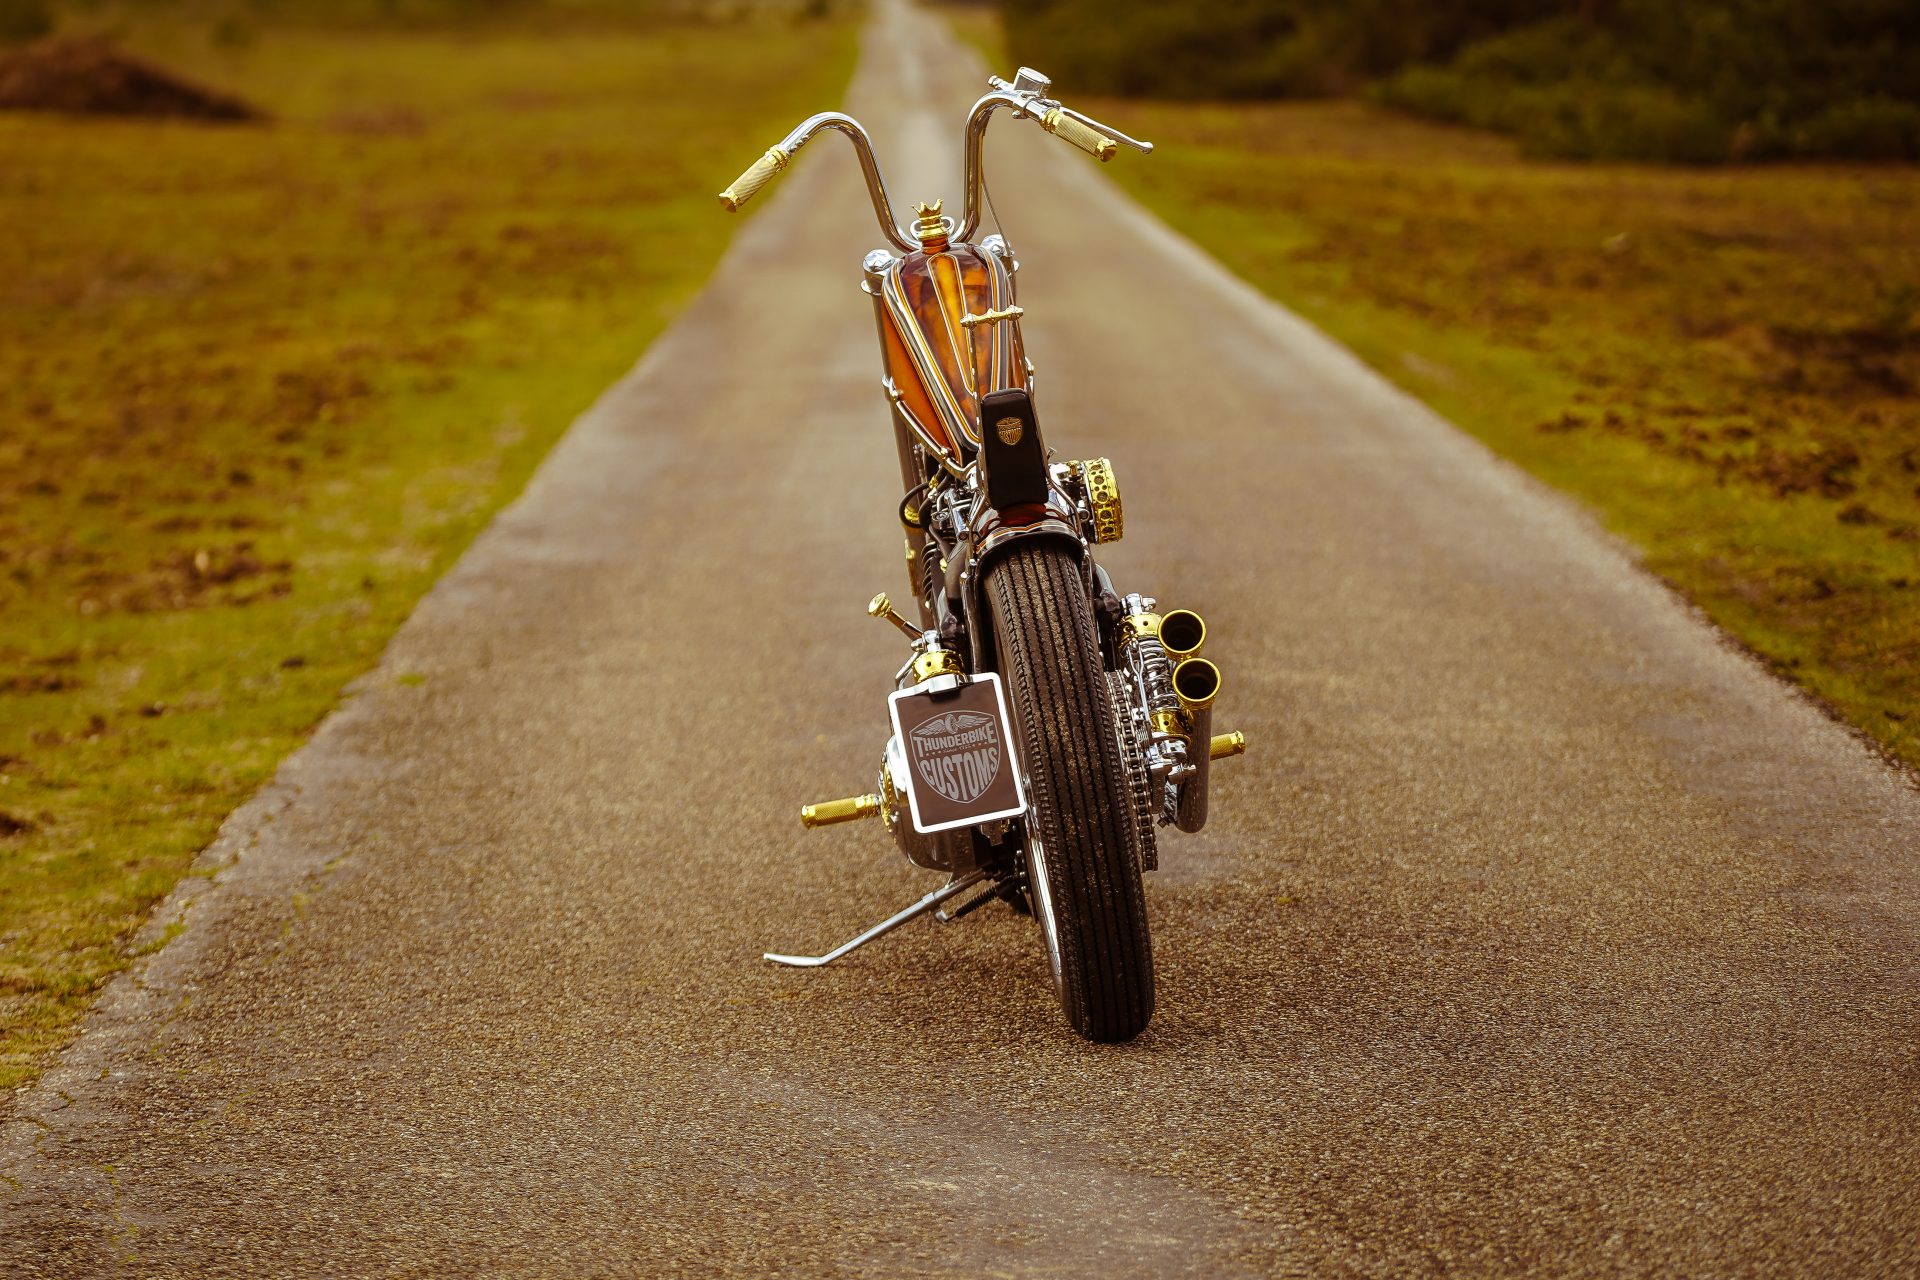
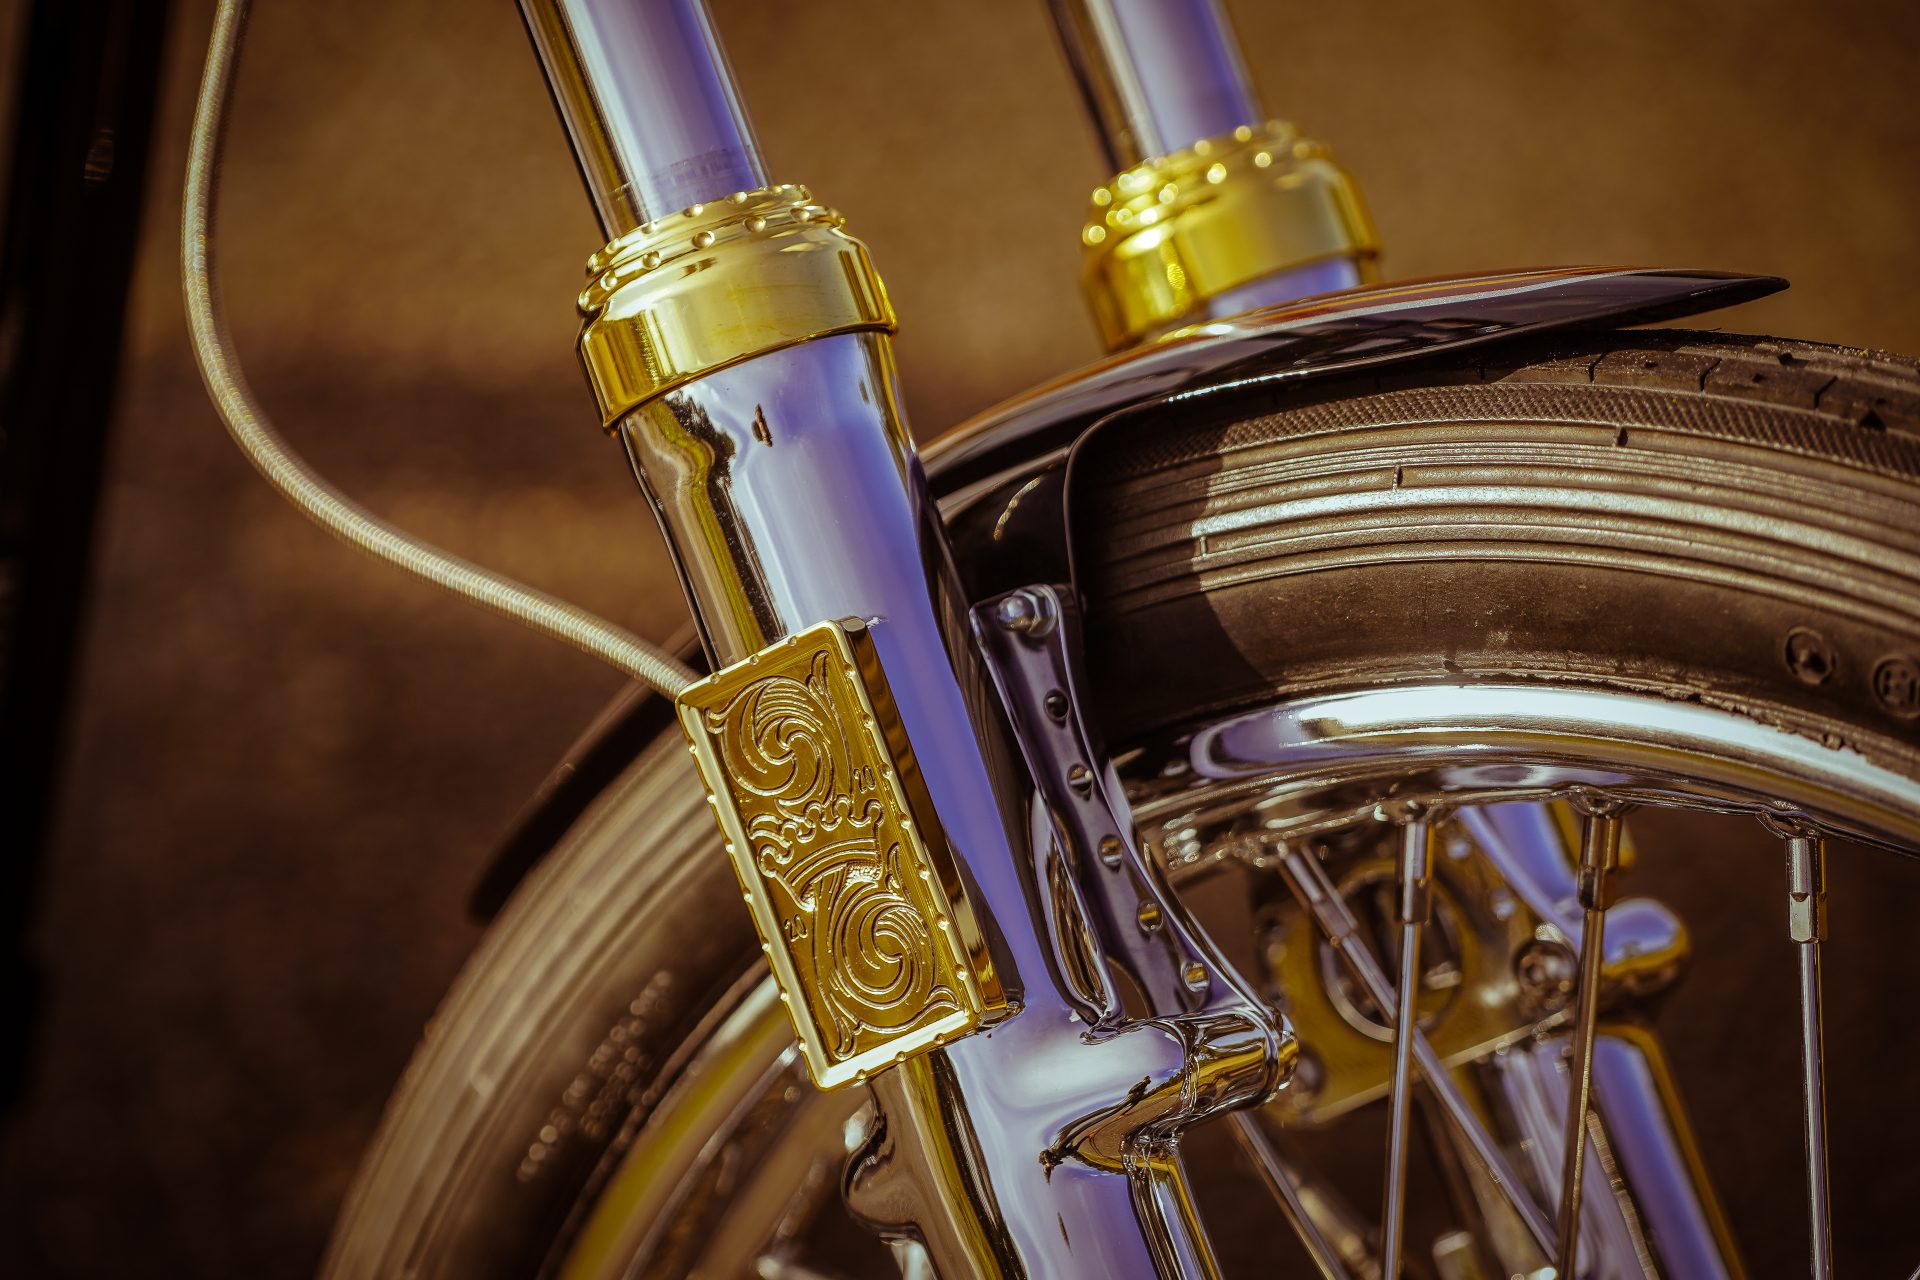
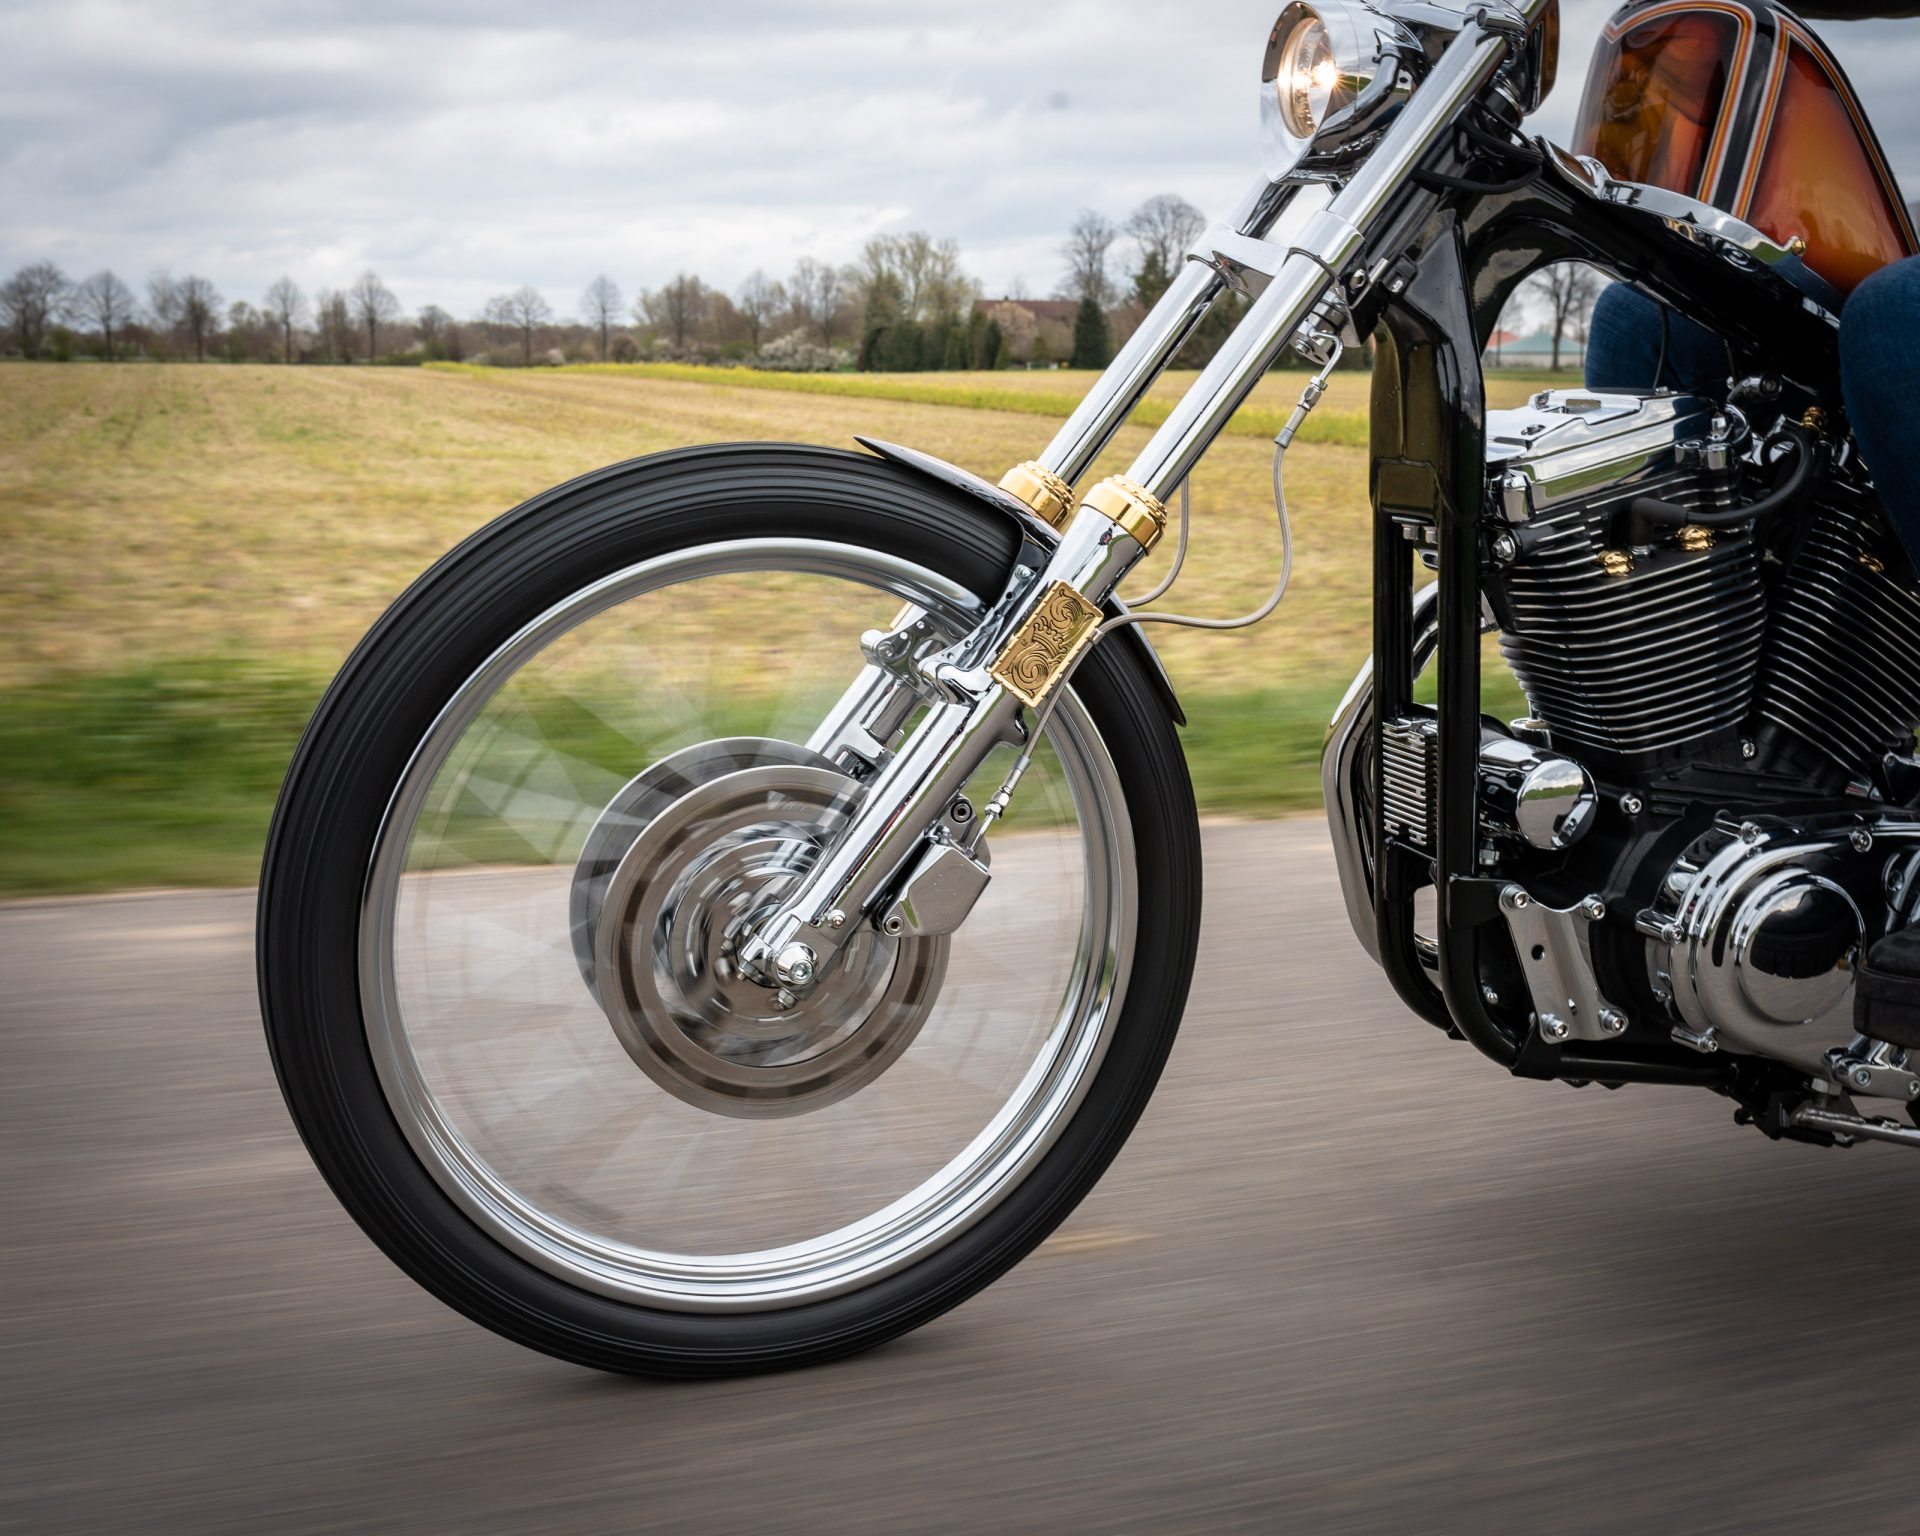
The basis for this like: Fork, wheel hub and brake calipers are from the legendary Ironhead. The rest is made by Thunderbike! This Narrowglide fork is of course first choice for the right chopper look! Triple tree, headlights, speedo brackets and turn signals were milled from the full block of aluminium!
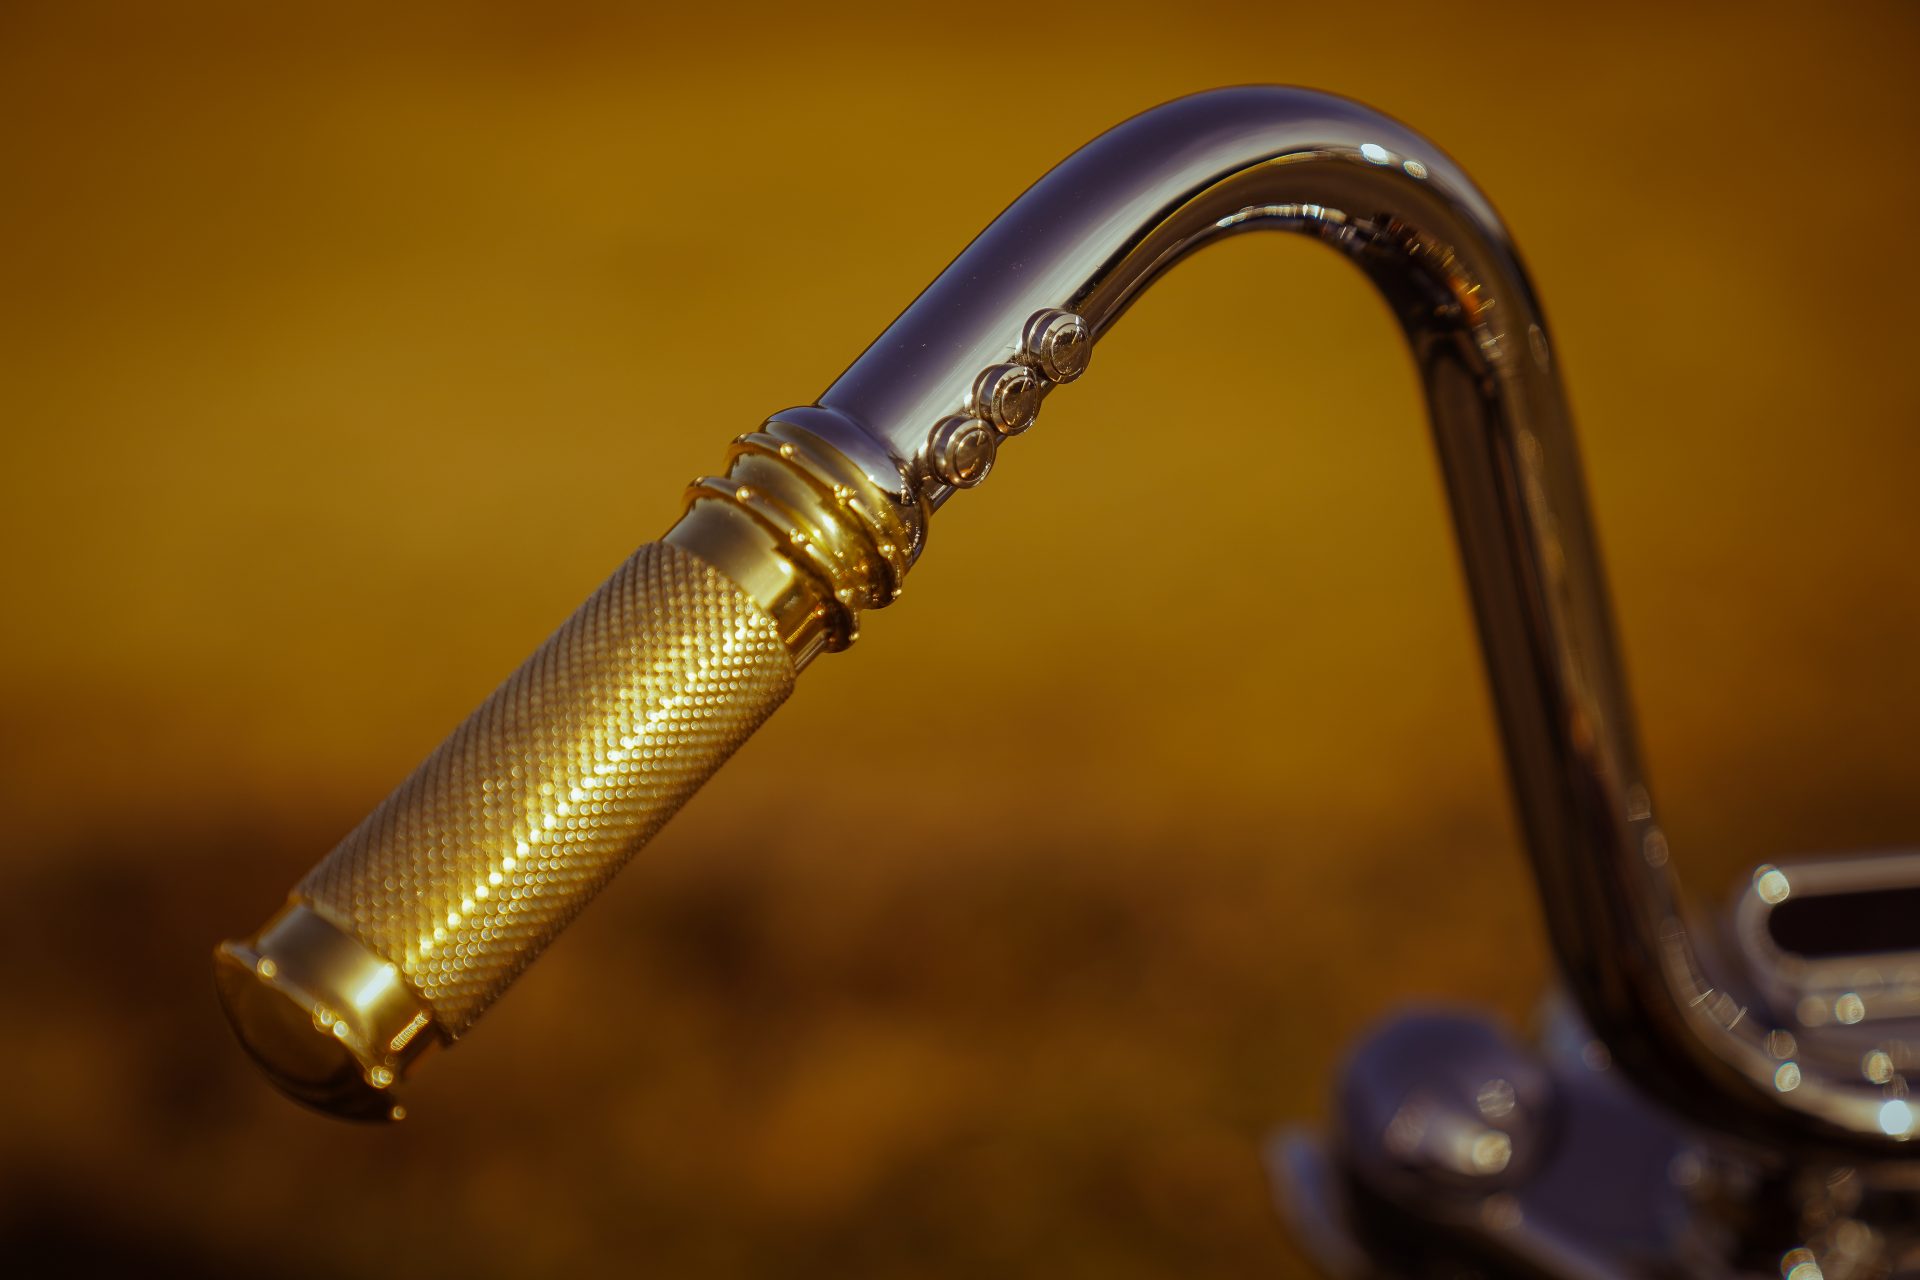
Also the handlebars fit the Easyriders style perfectly! For the bike we put the handlebars together from 3 parts. Part one is a connecting piece milled of aluminium, which is screwed to the triple tree and forms the lower curve at the same time. Part two and three are taken from an old handlebar that was sacrificed for it. The arches of the old handlebars were simply cut off to fit and after the seat test they were tacked to part one and then welded.

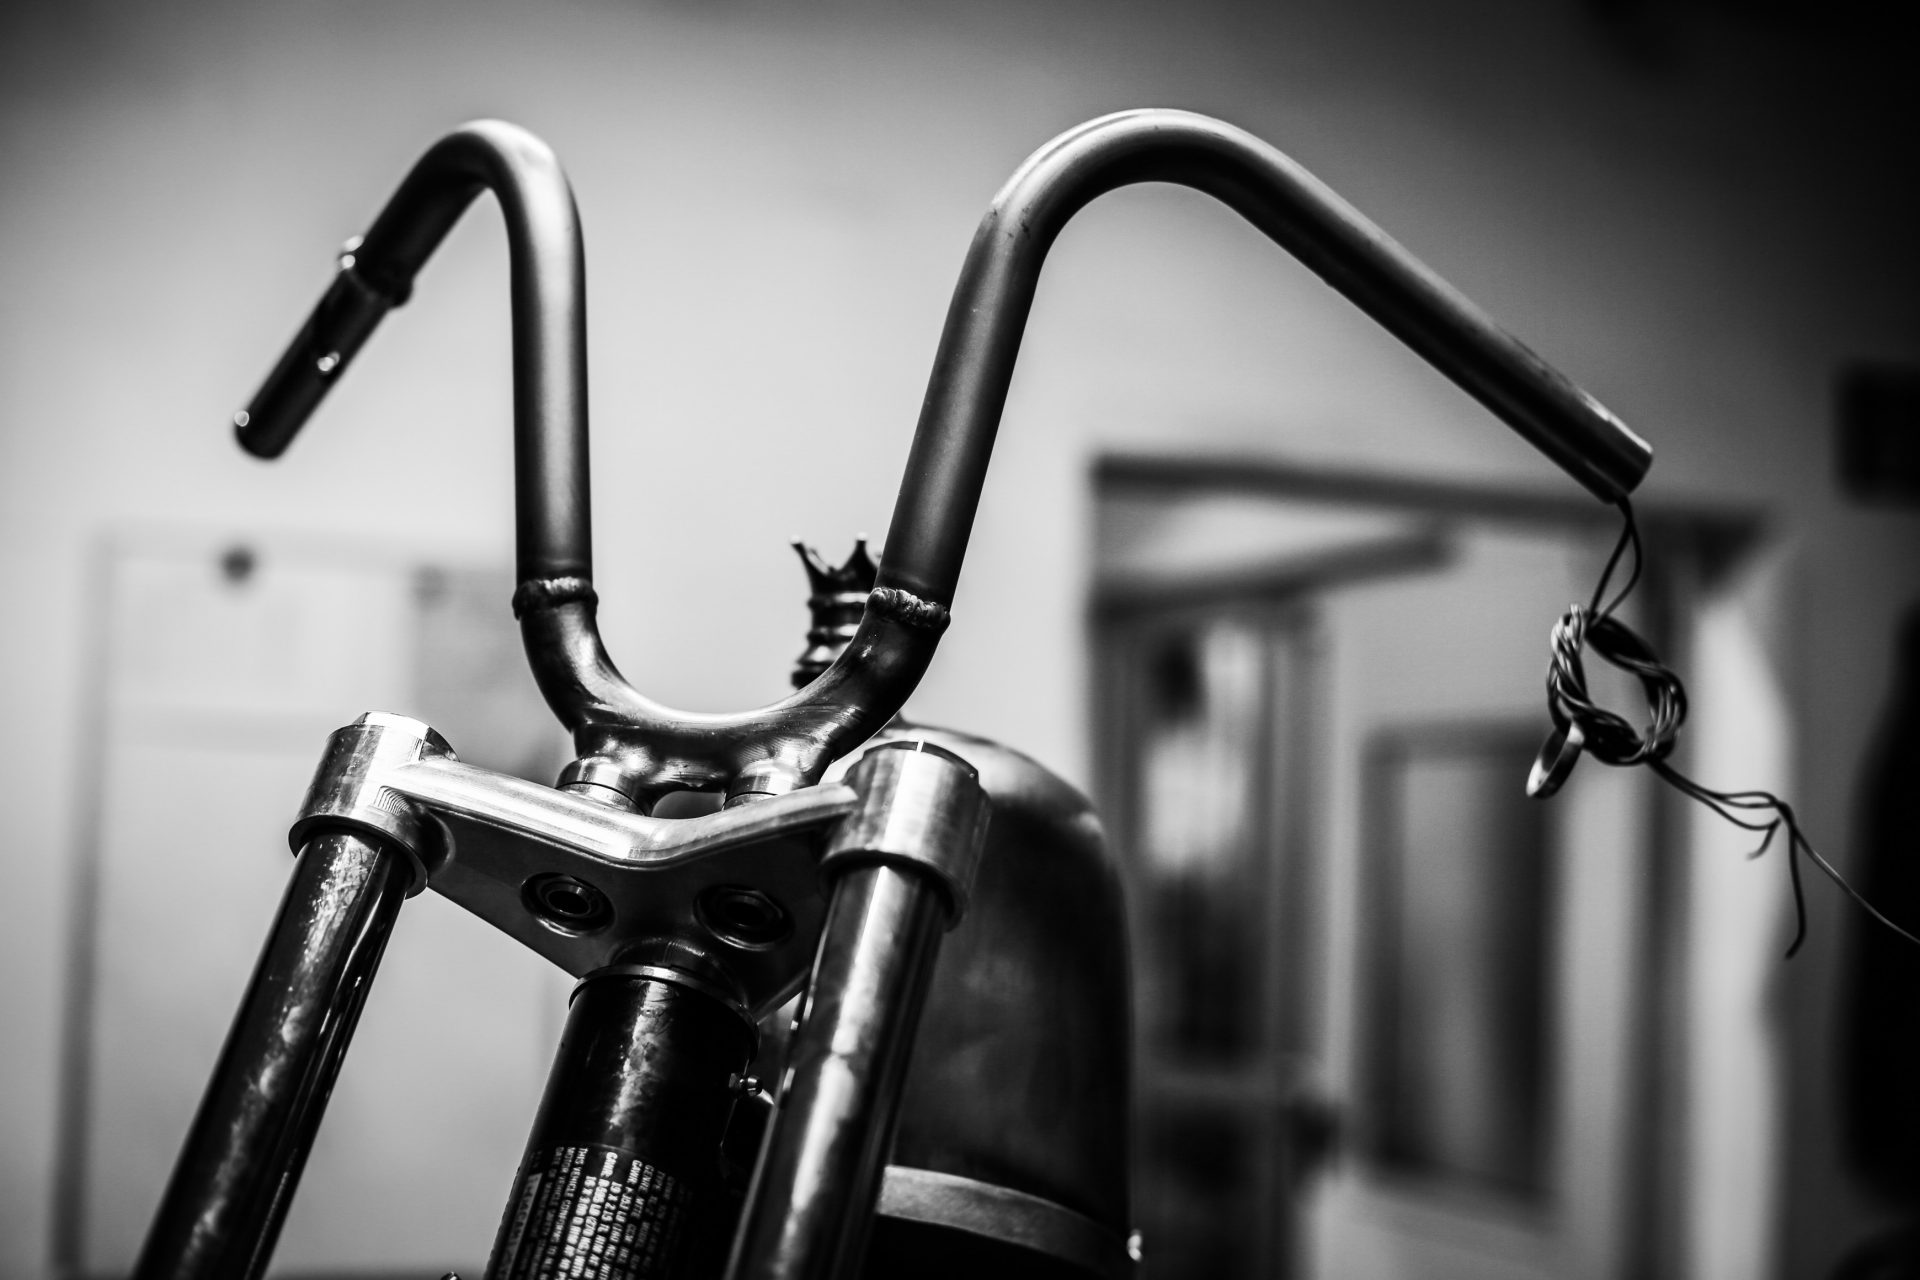

Because the roadworthiness is a necessary condition for the King of King competition, we couldn’t do without speedometer and indicators. After a long time of testing we found a suitable place for the necessary components. For speedometer and indicator lights Andre designed us a nice bracket – of course matching the headlight design! Have you already discovered the turn signals? Like two little snakes they wrap around the fork pipes! It is one of the smallest but still one of the most brilliant specials.
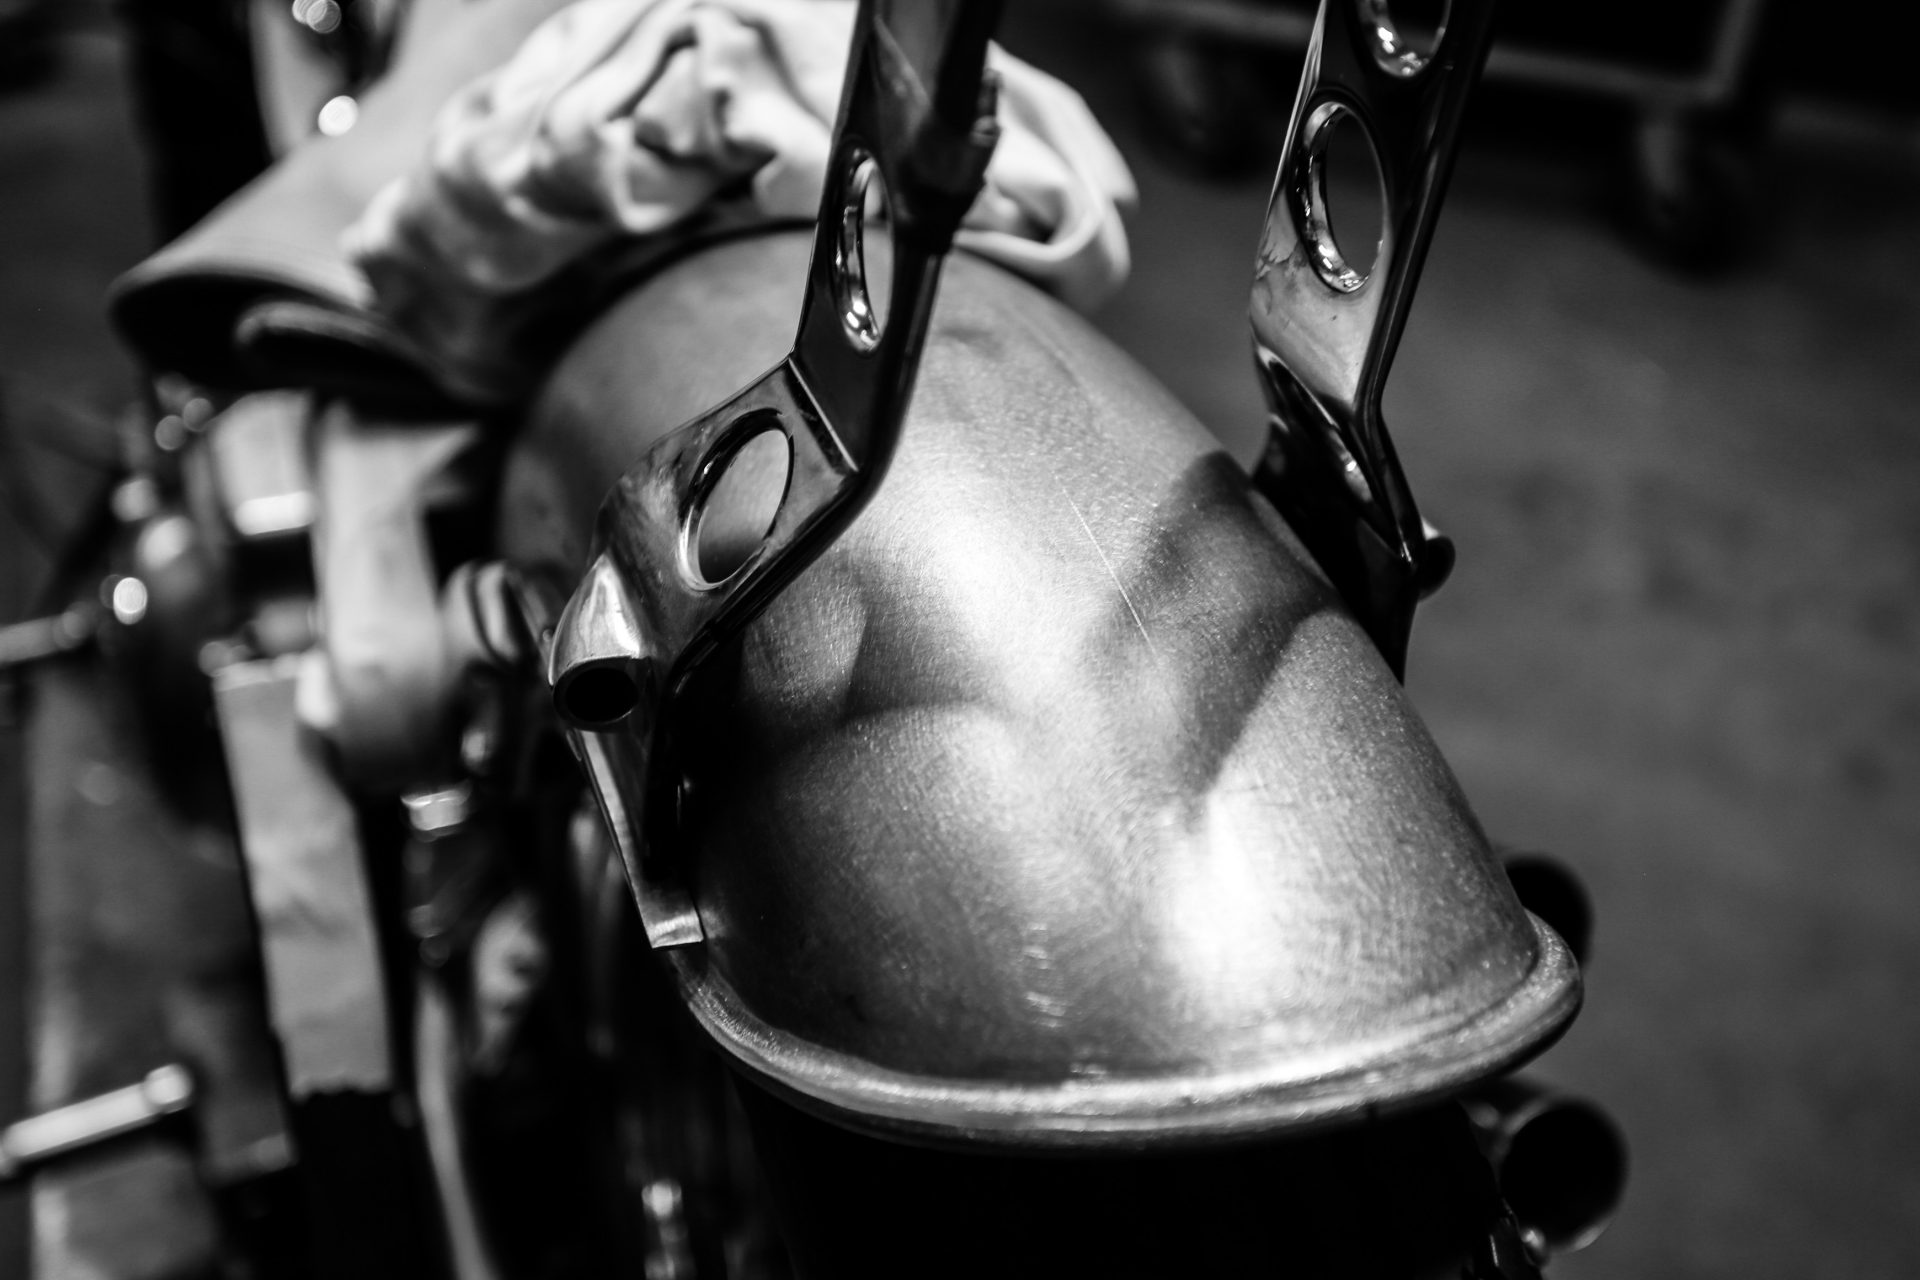
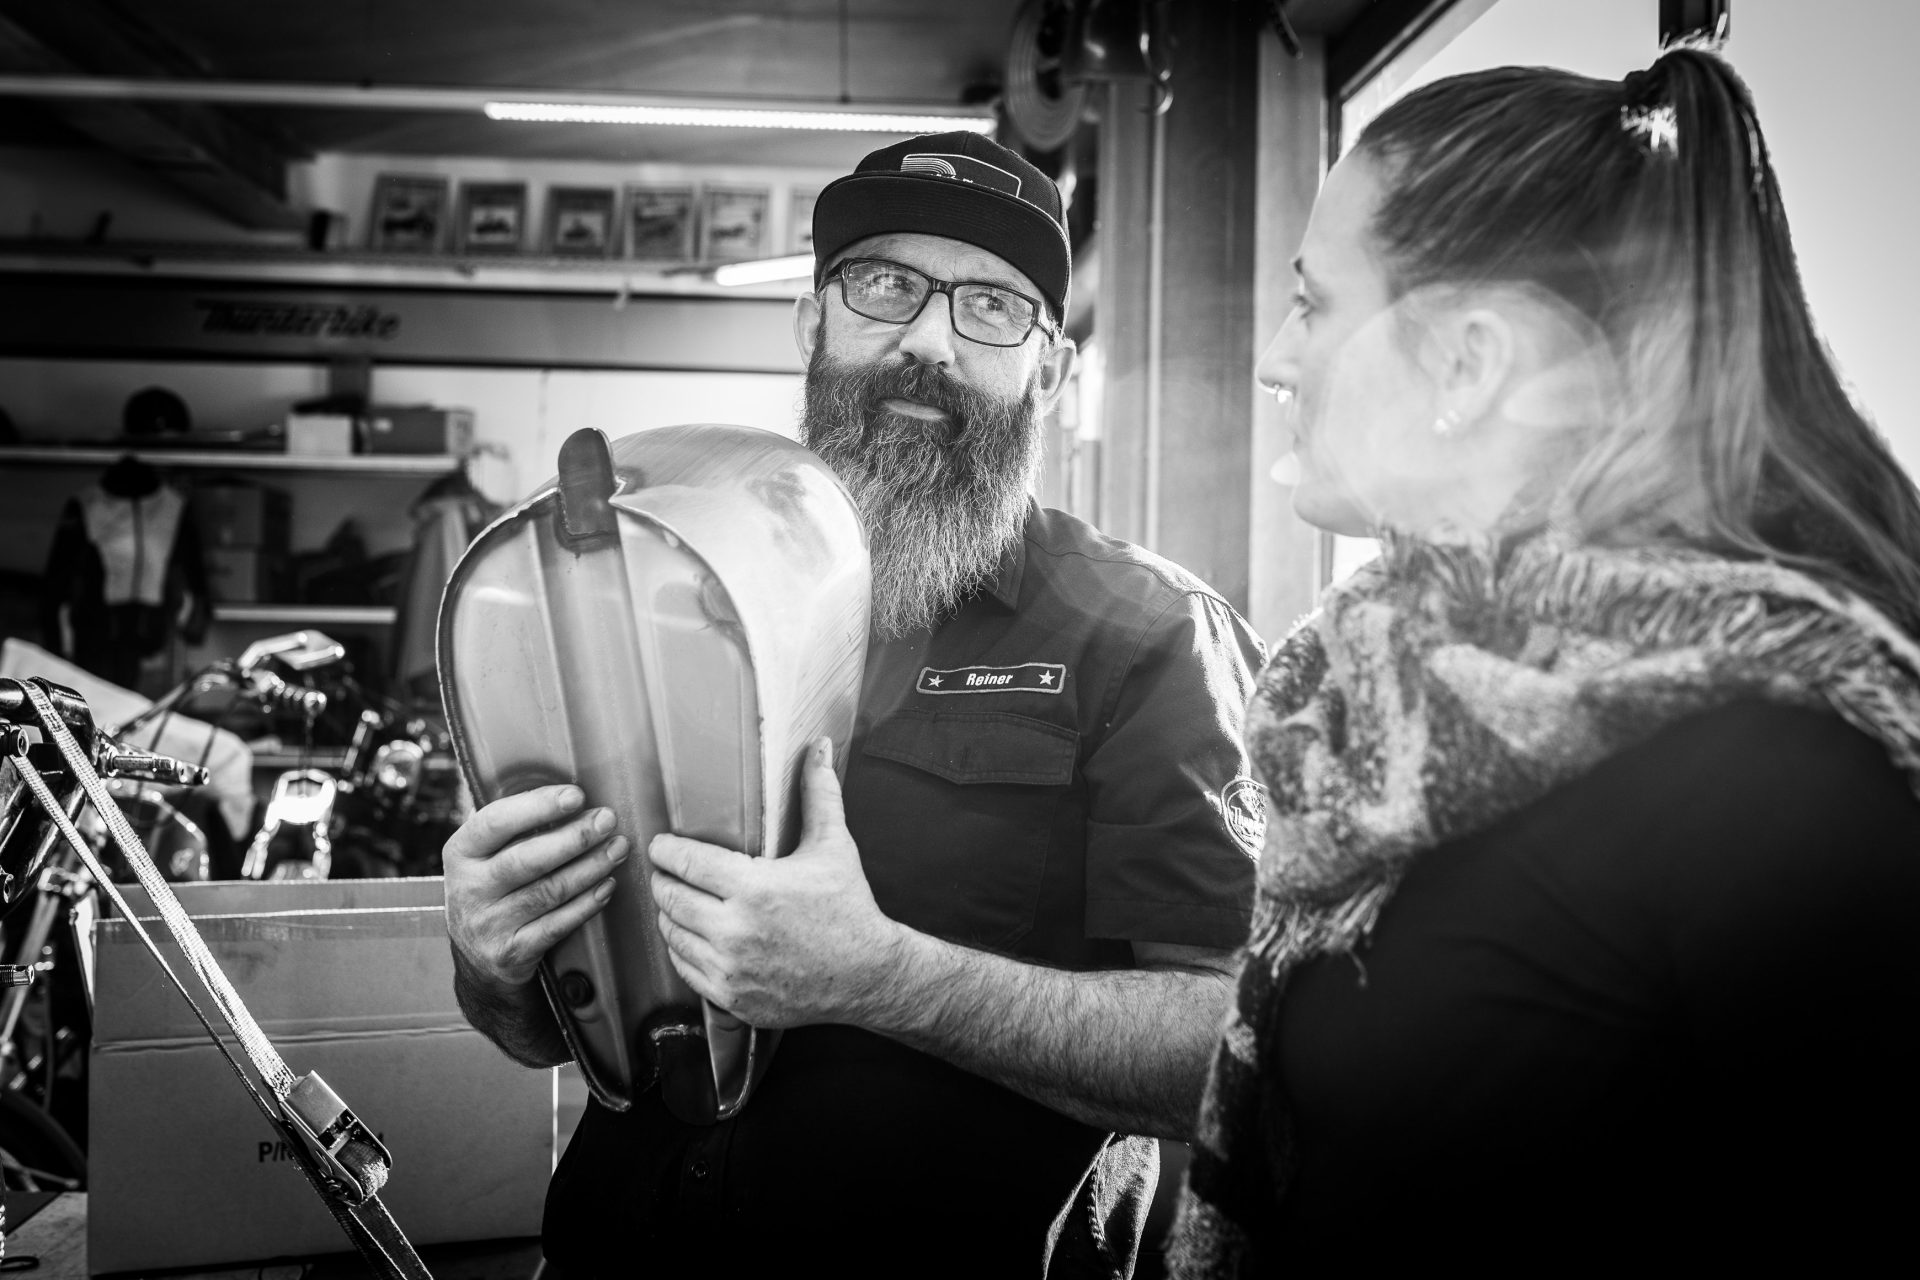
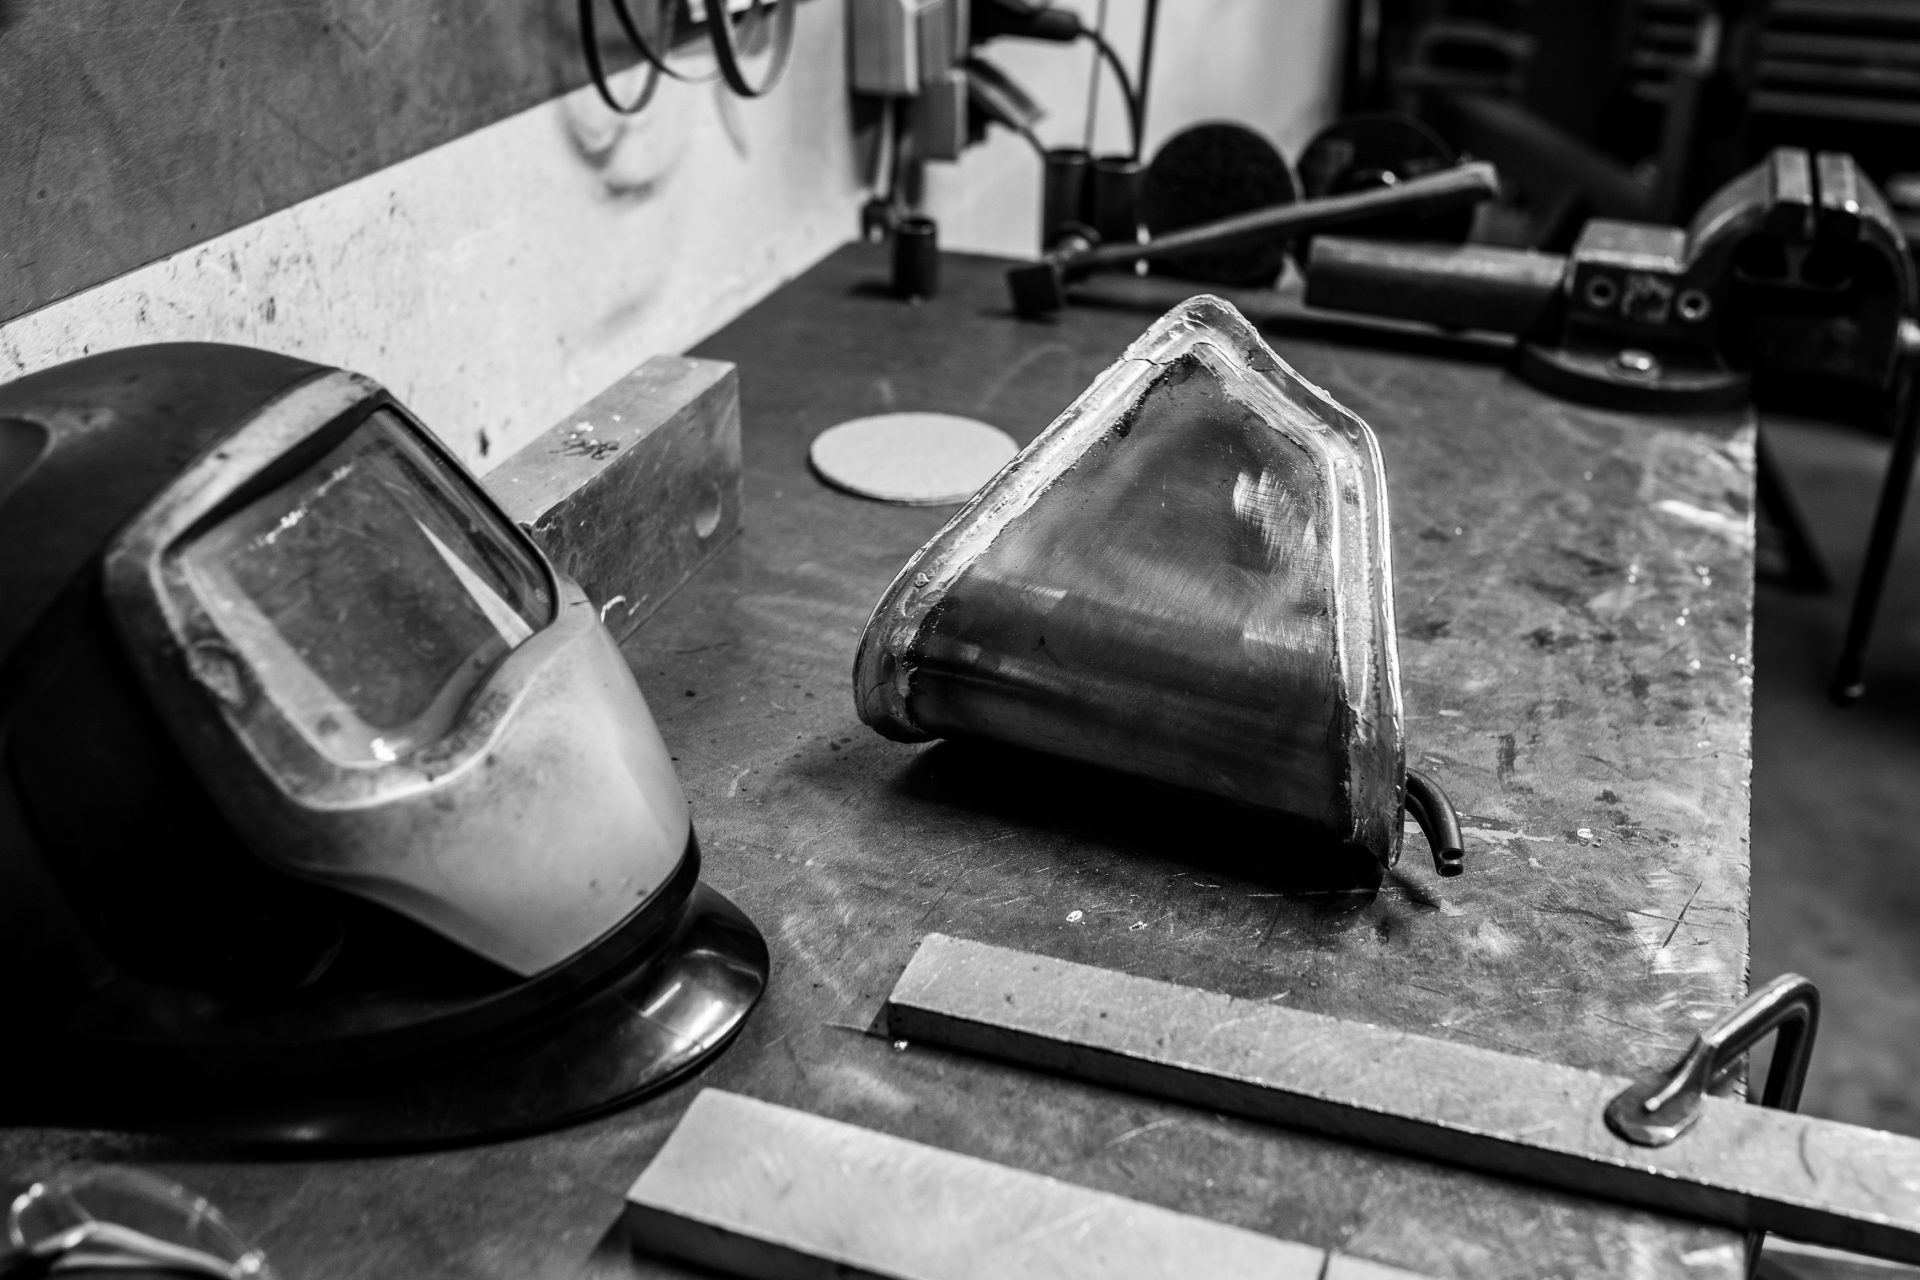
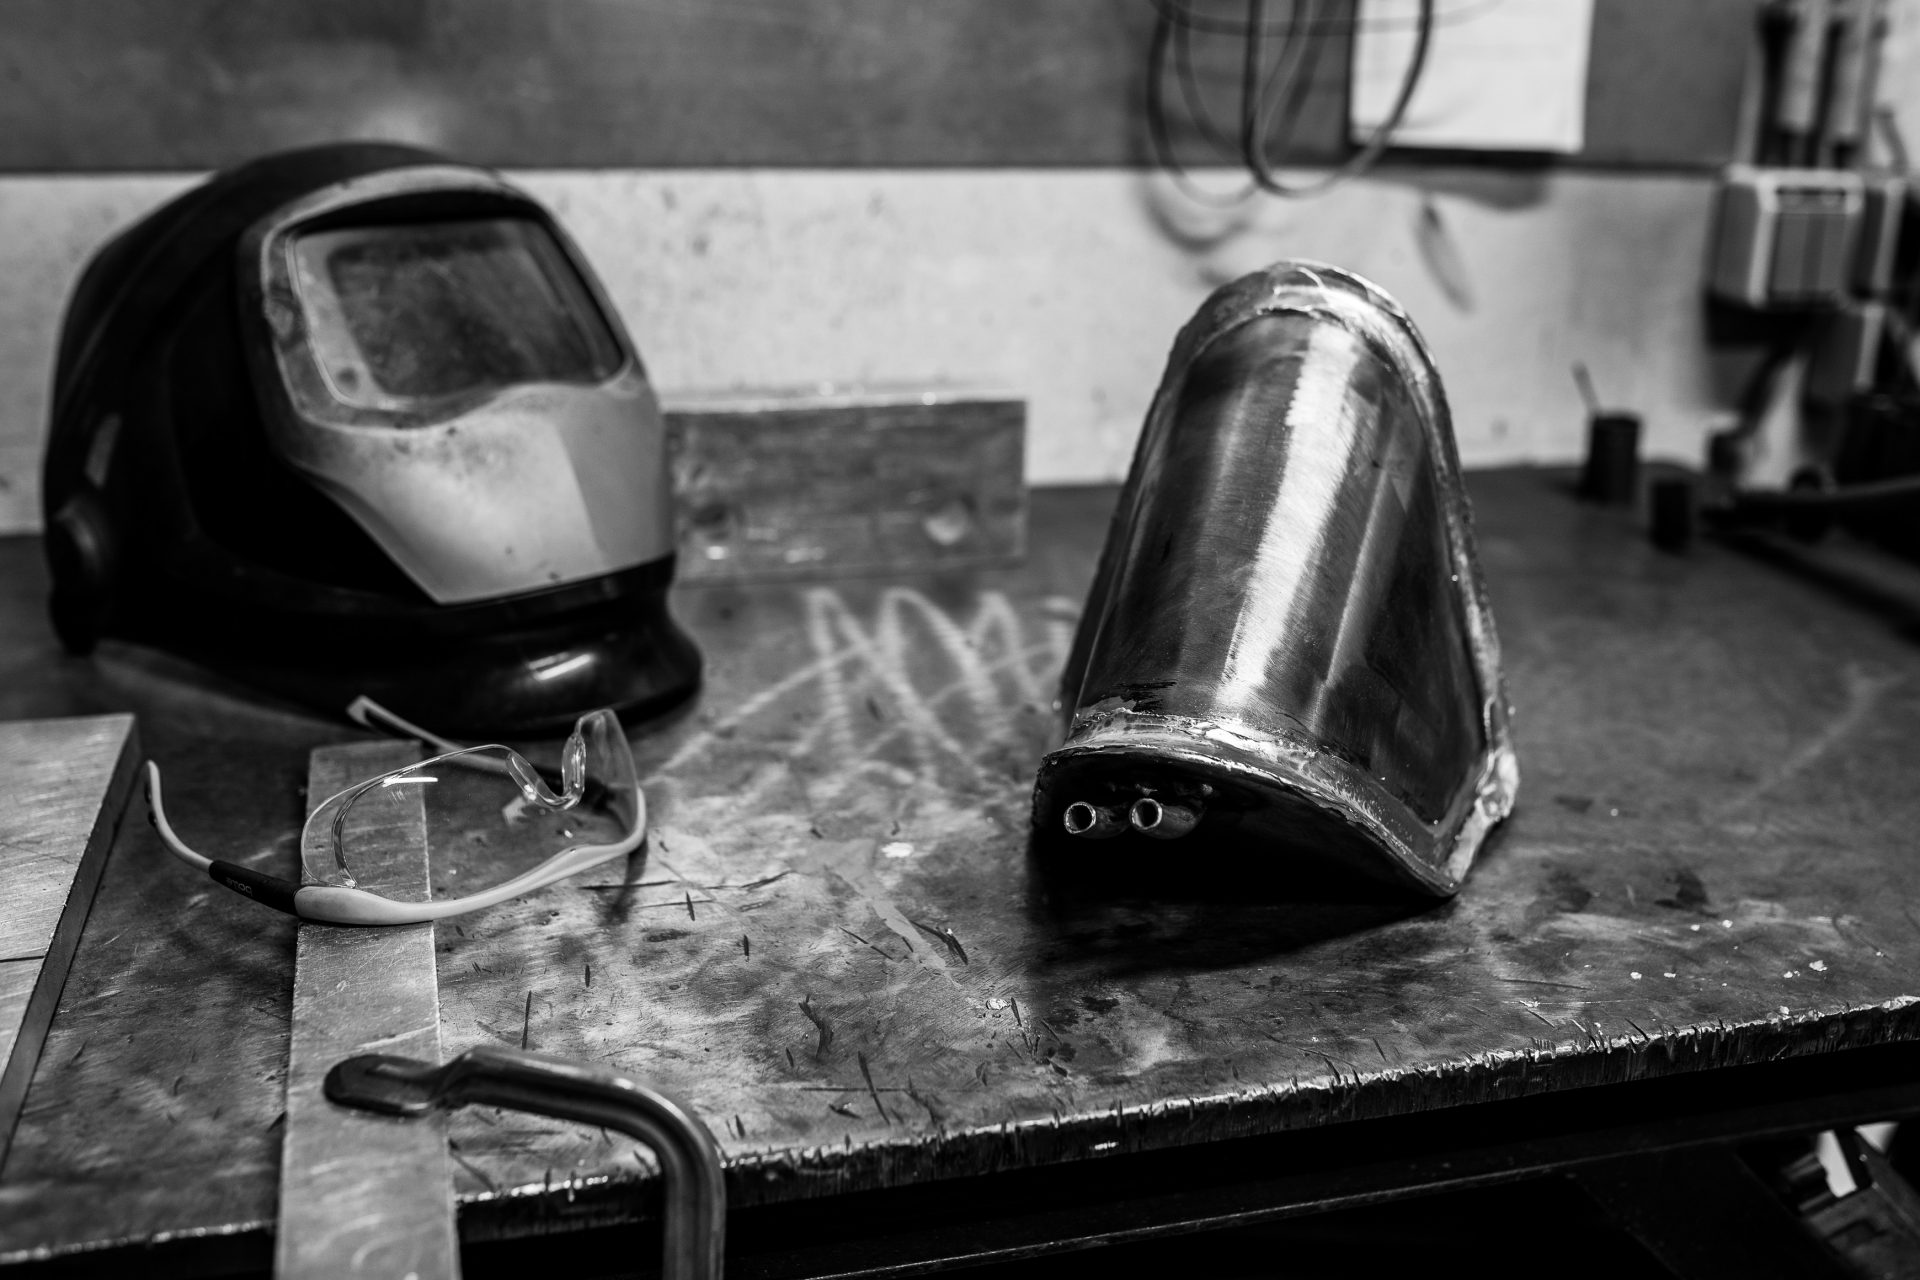
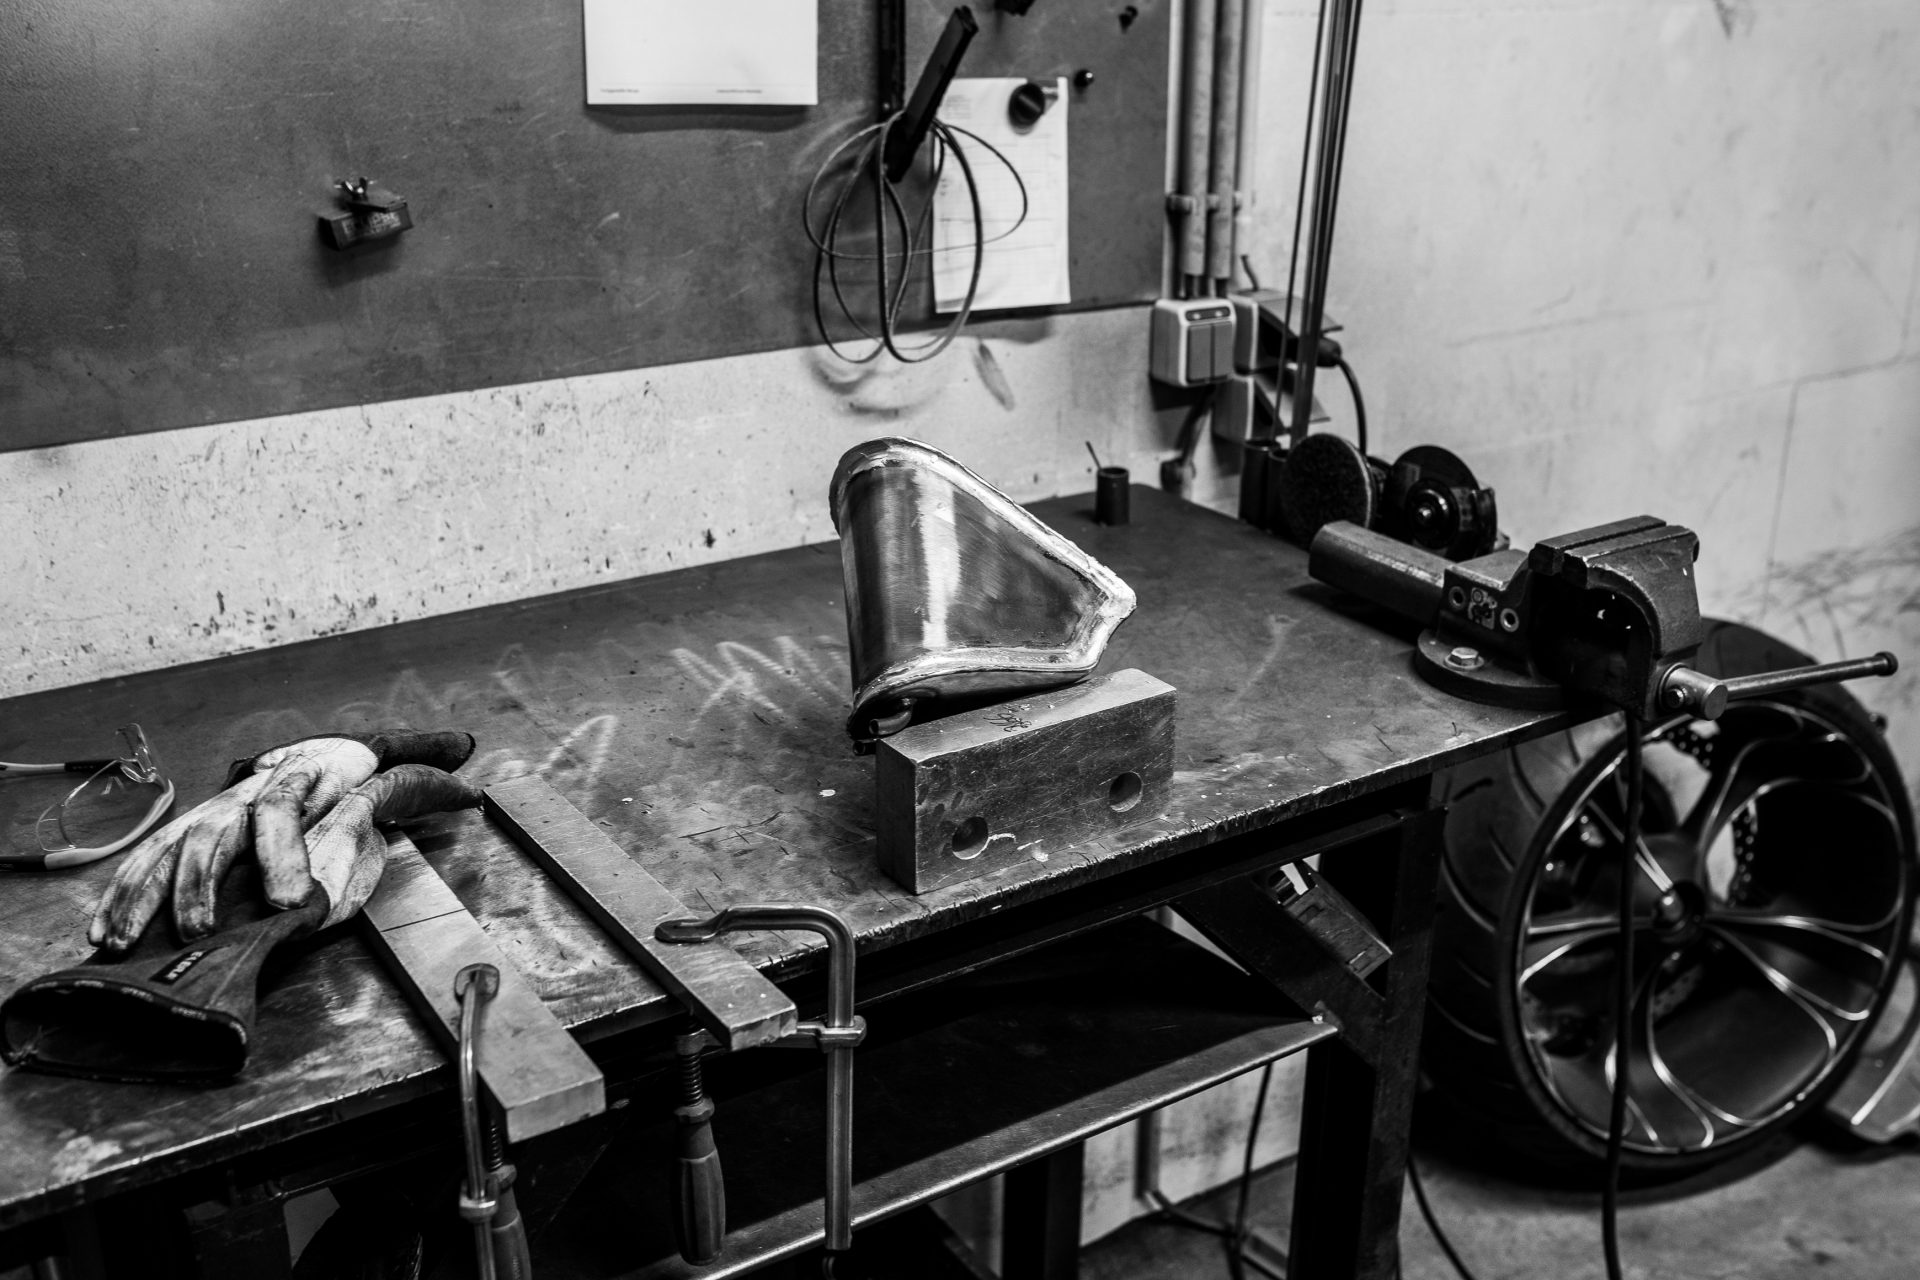
Oil Tank
Another highlight of our King of Kings bike is certainly the oil tank. This is completely handmade and has not yet been built by us!
By loading the video you accept the privacy policy of YouTube.
Mehr erfahren
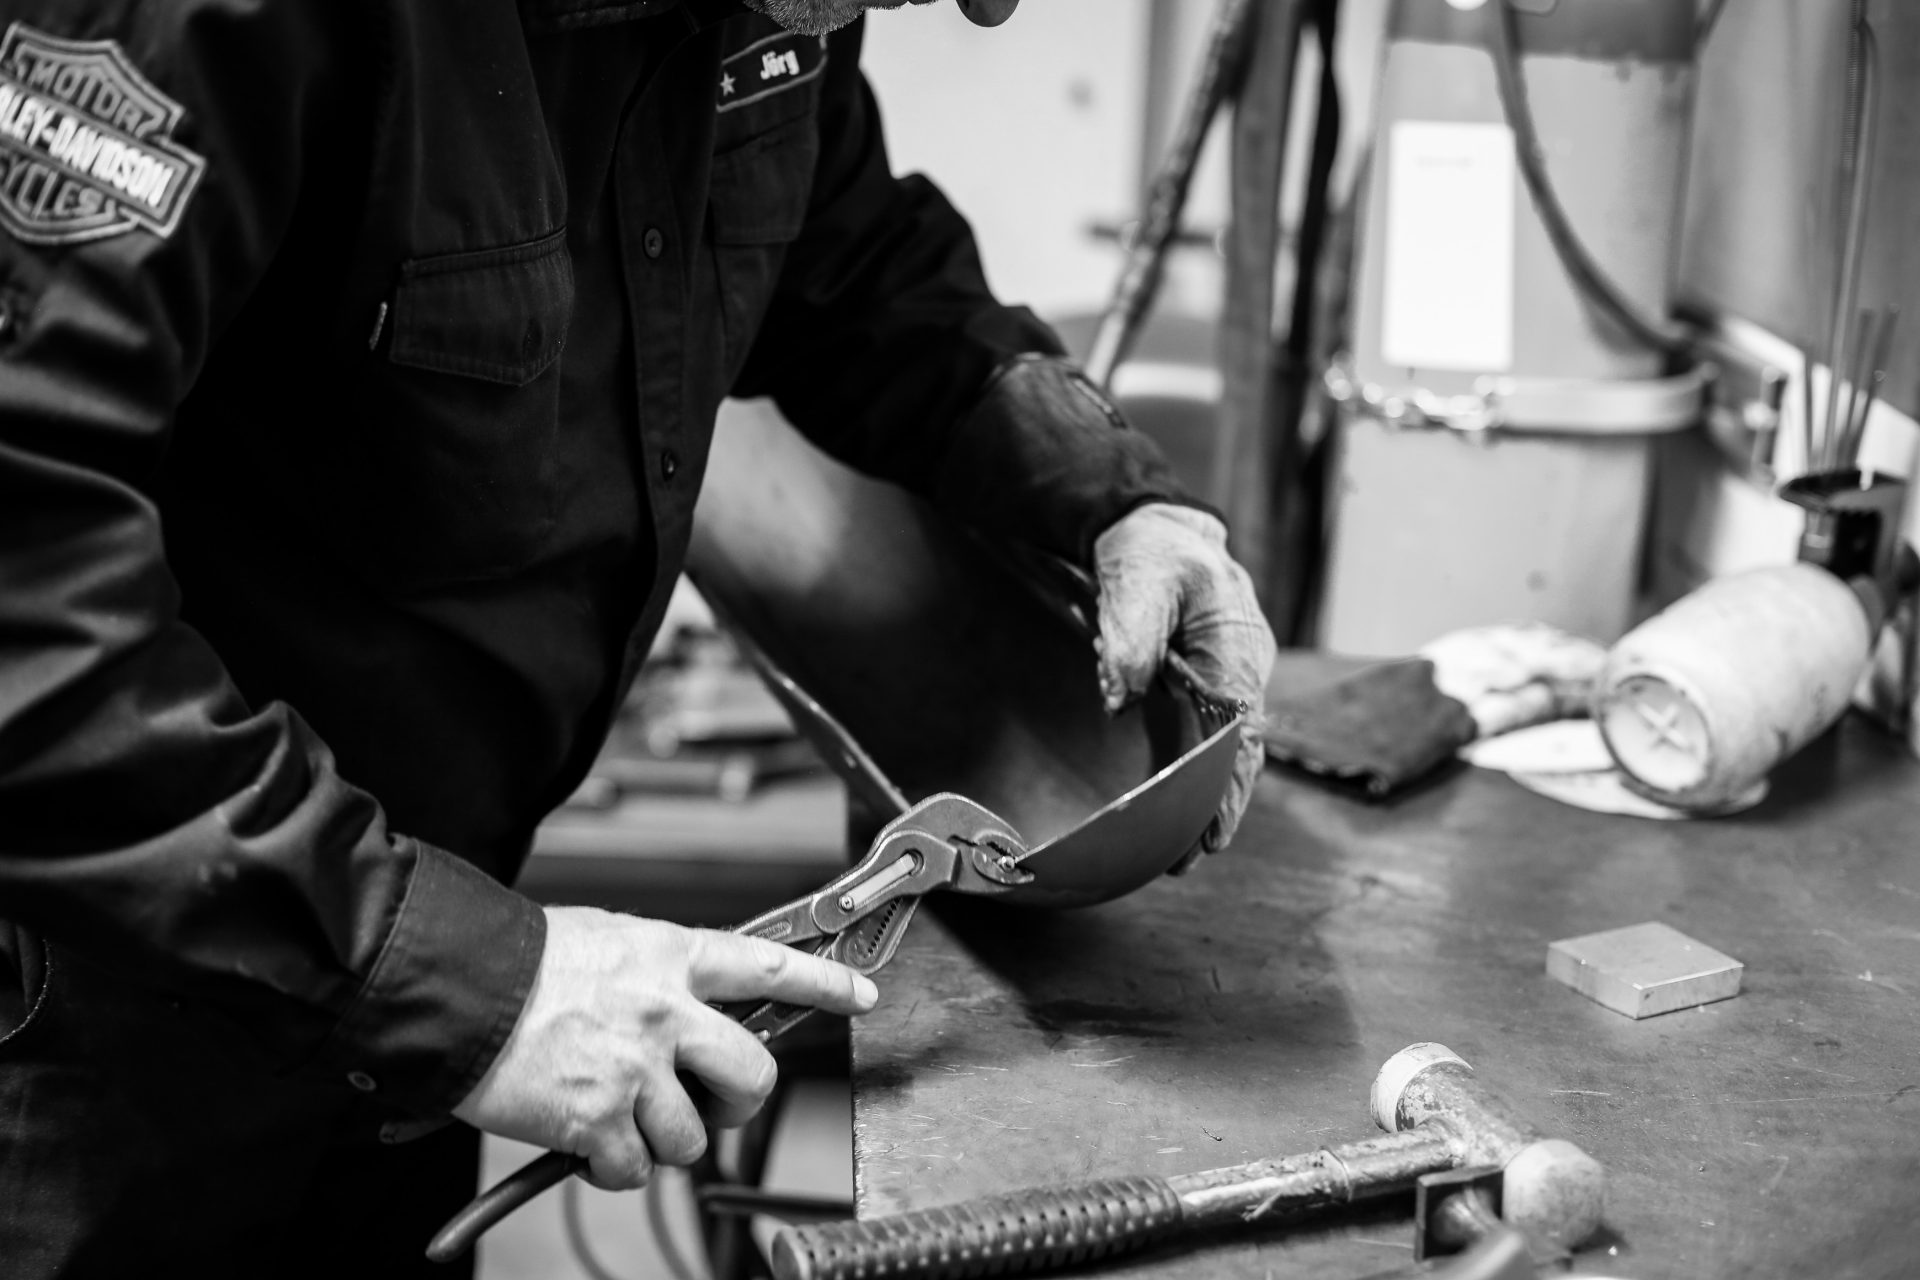
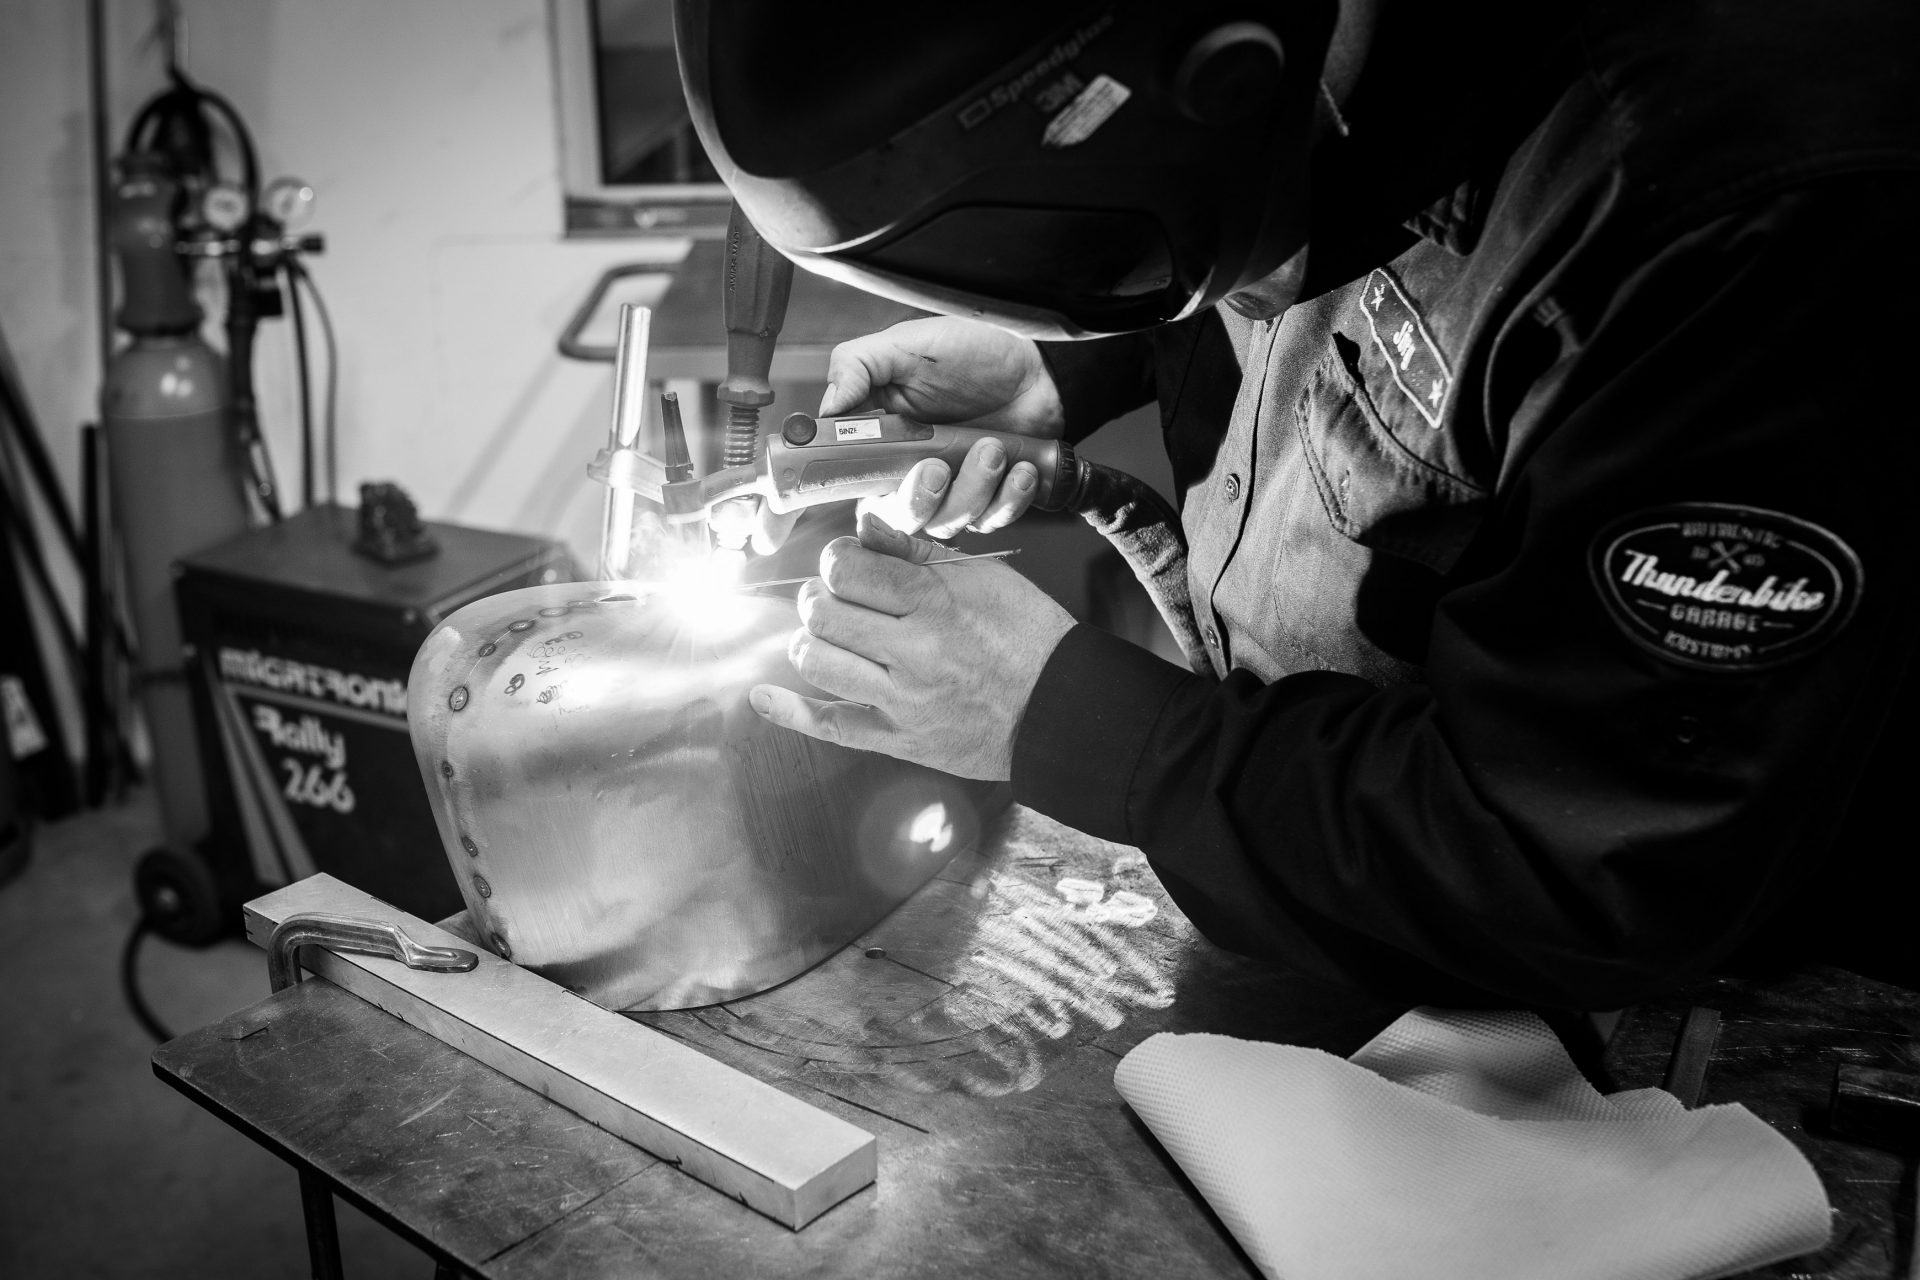
But those who have followed the steps so far already know that this does not even just happen and of course it comes along with unexpected turns. The rough shape of the oil tank starts with a cardboard template which mechanic Reiner, an icon in our custom workshop, forms by hand. The shape of the oil tank is very important to give our bike a slim look and to guarantee a good transition between the rear and the front end of the bike. To achieve this, it must sit centrally in the frame and be positioned in good relation to the adjacent rear fender and frame tube. The cardboard template must now be transferred to 1.5mm sheet of steel, which is very challenging, because cardboard can be bent in itself and therefore the template can only serve as a rough template. Our welder and specialist for the tricky tasks, Jörg, has left the sheets 1cm longer at the ends to shorten them later to the right size. In spite of this safety precaution, at least one tank usually goes “six feet under“.
To give the tank more optical depth, a 6mm hydraulic pipe is folded over at the edges and shaped into a fin. It is important that the fin is tinned and not filled, because the strong vibrations of the V2 engine can later lead to cracks in the filler and paint. Because of this, the tank is also mounted on rubber bearings in the frame. In order to be able to execute its function later on, the connections for outlet, return and ventilation are welded in.

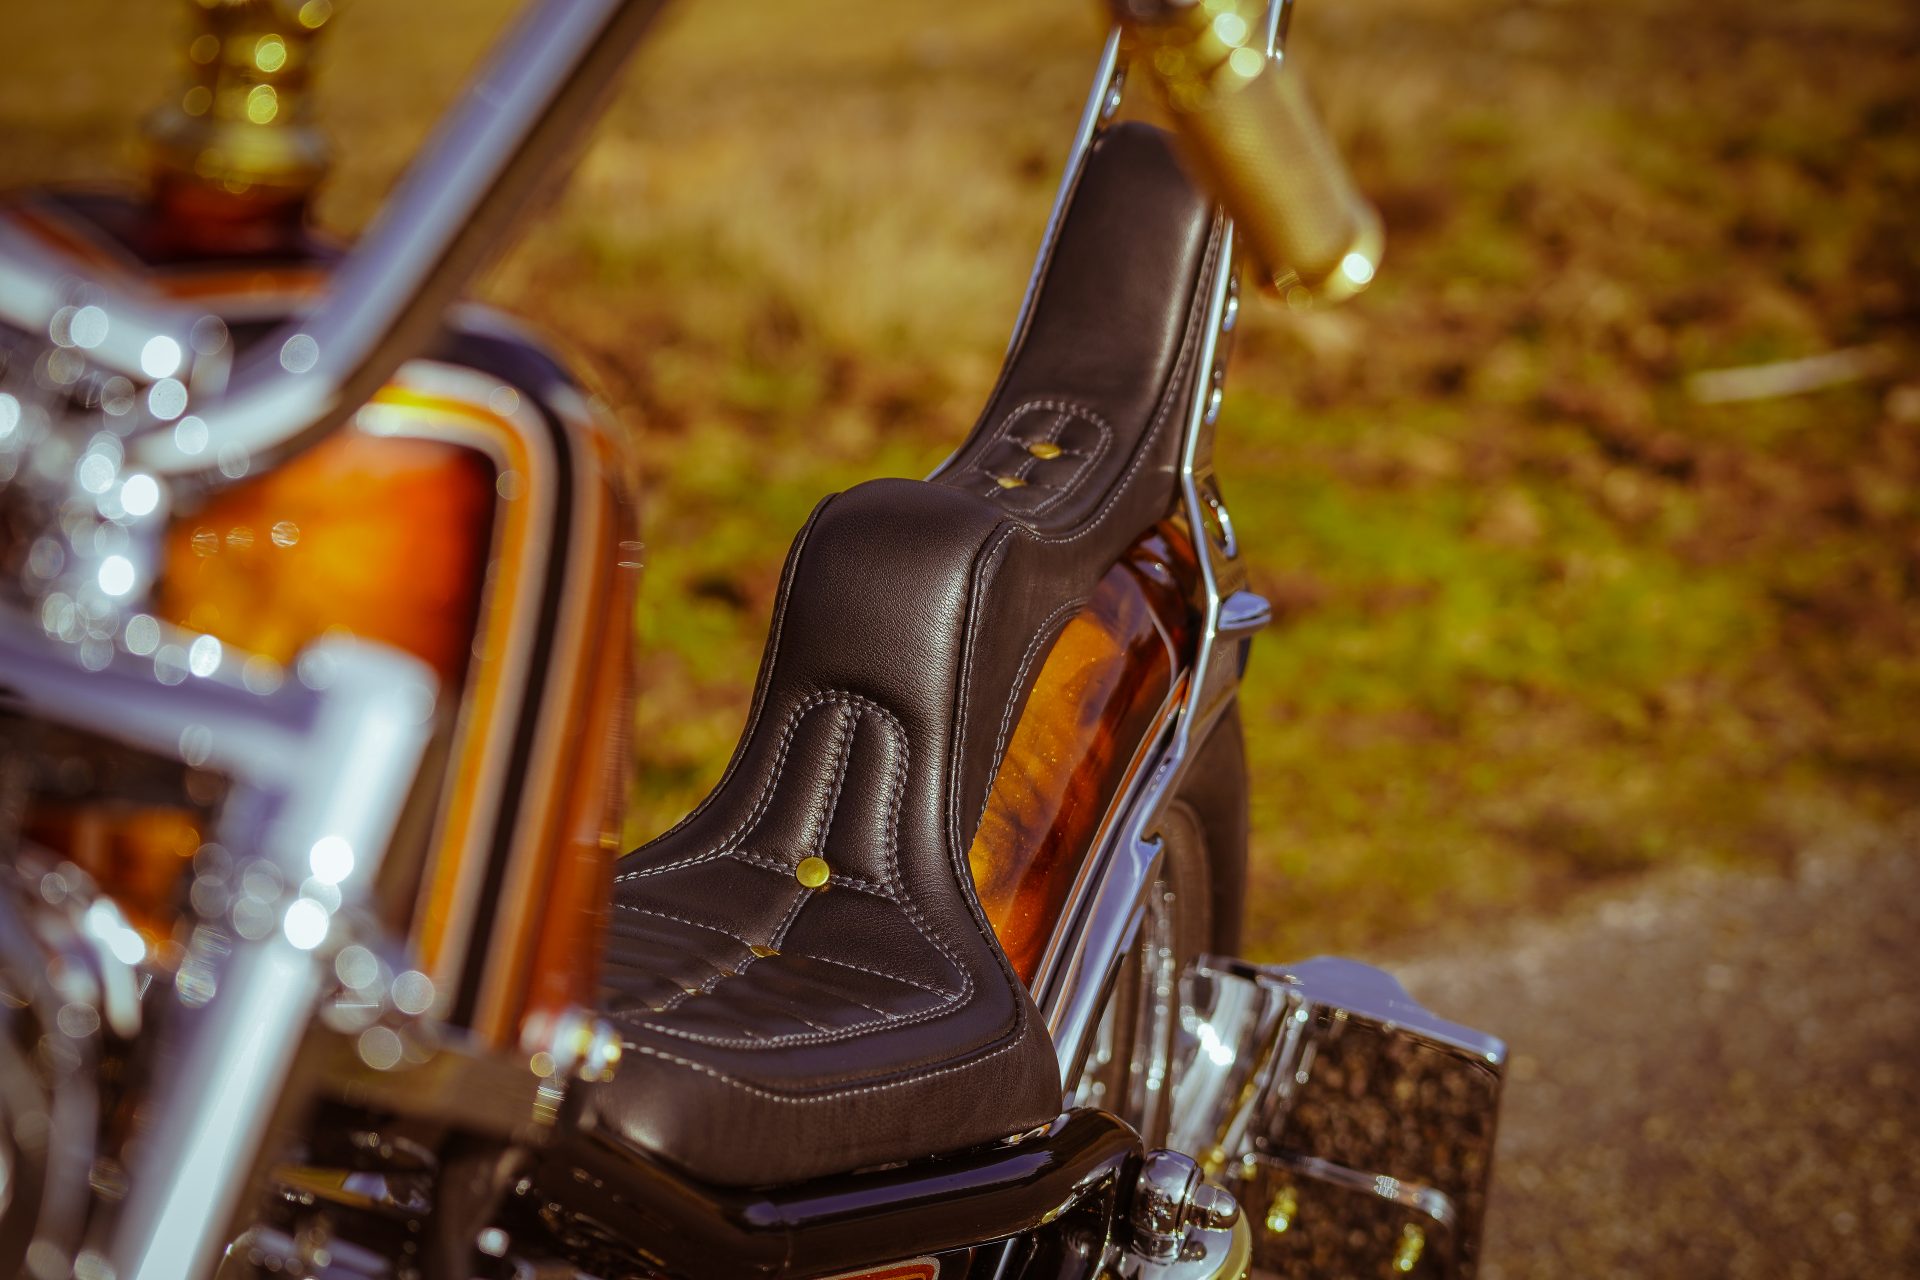
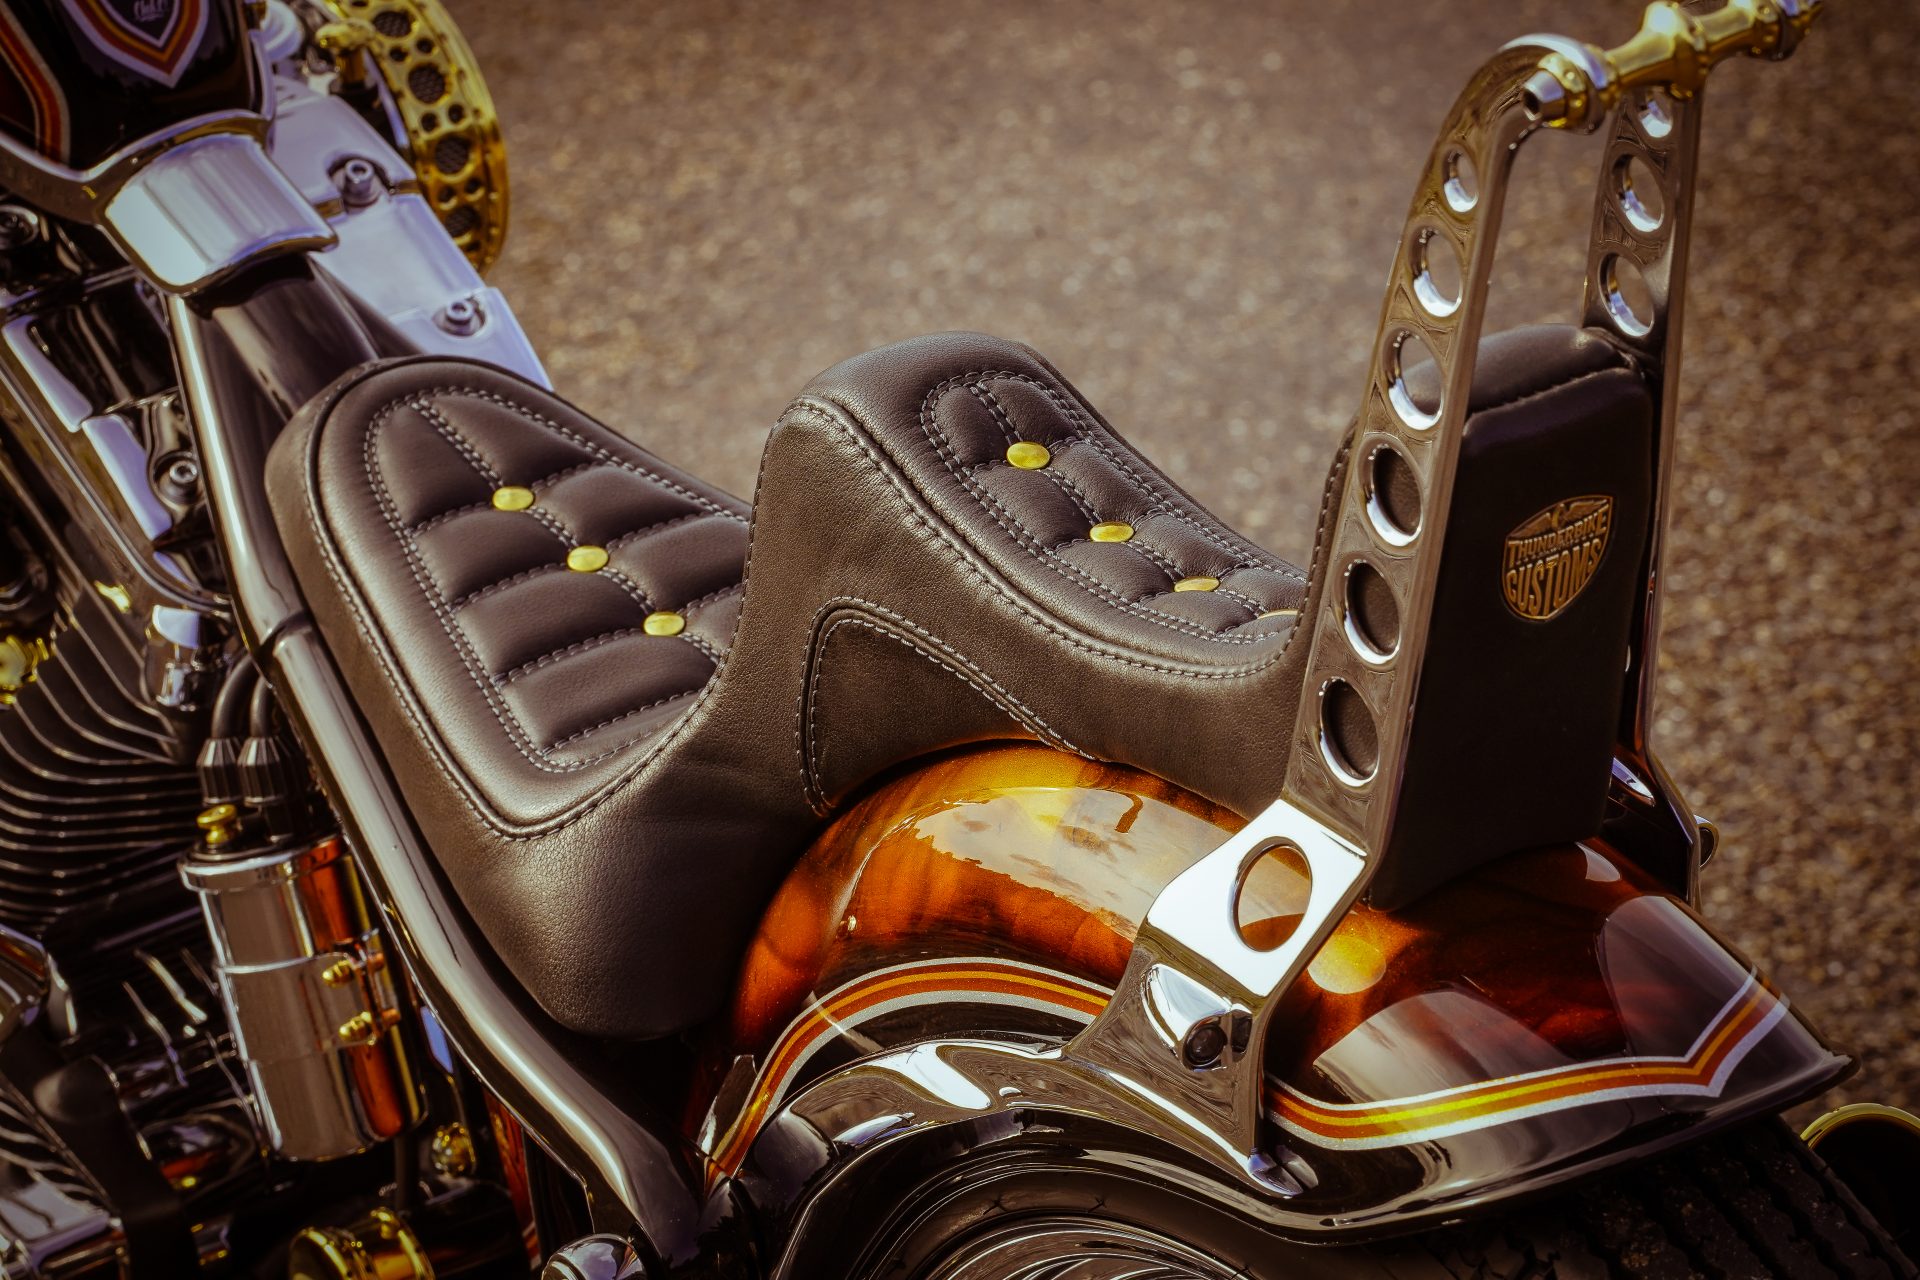
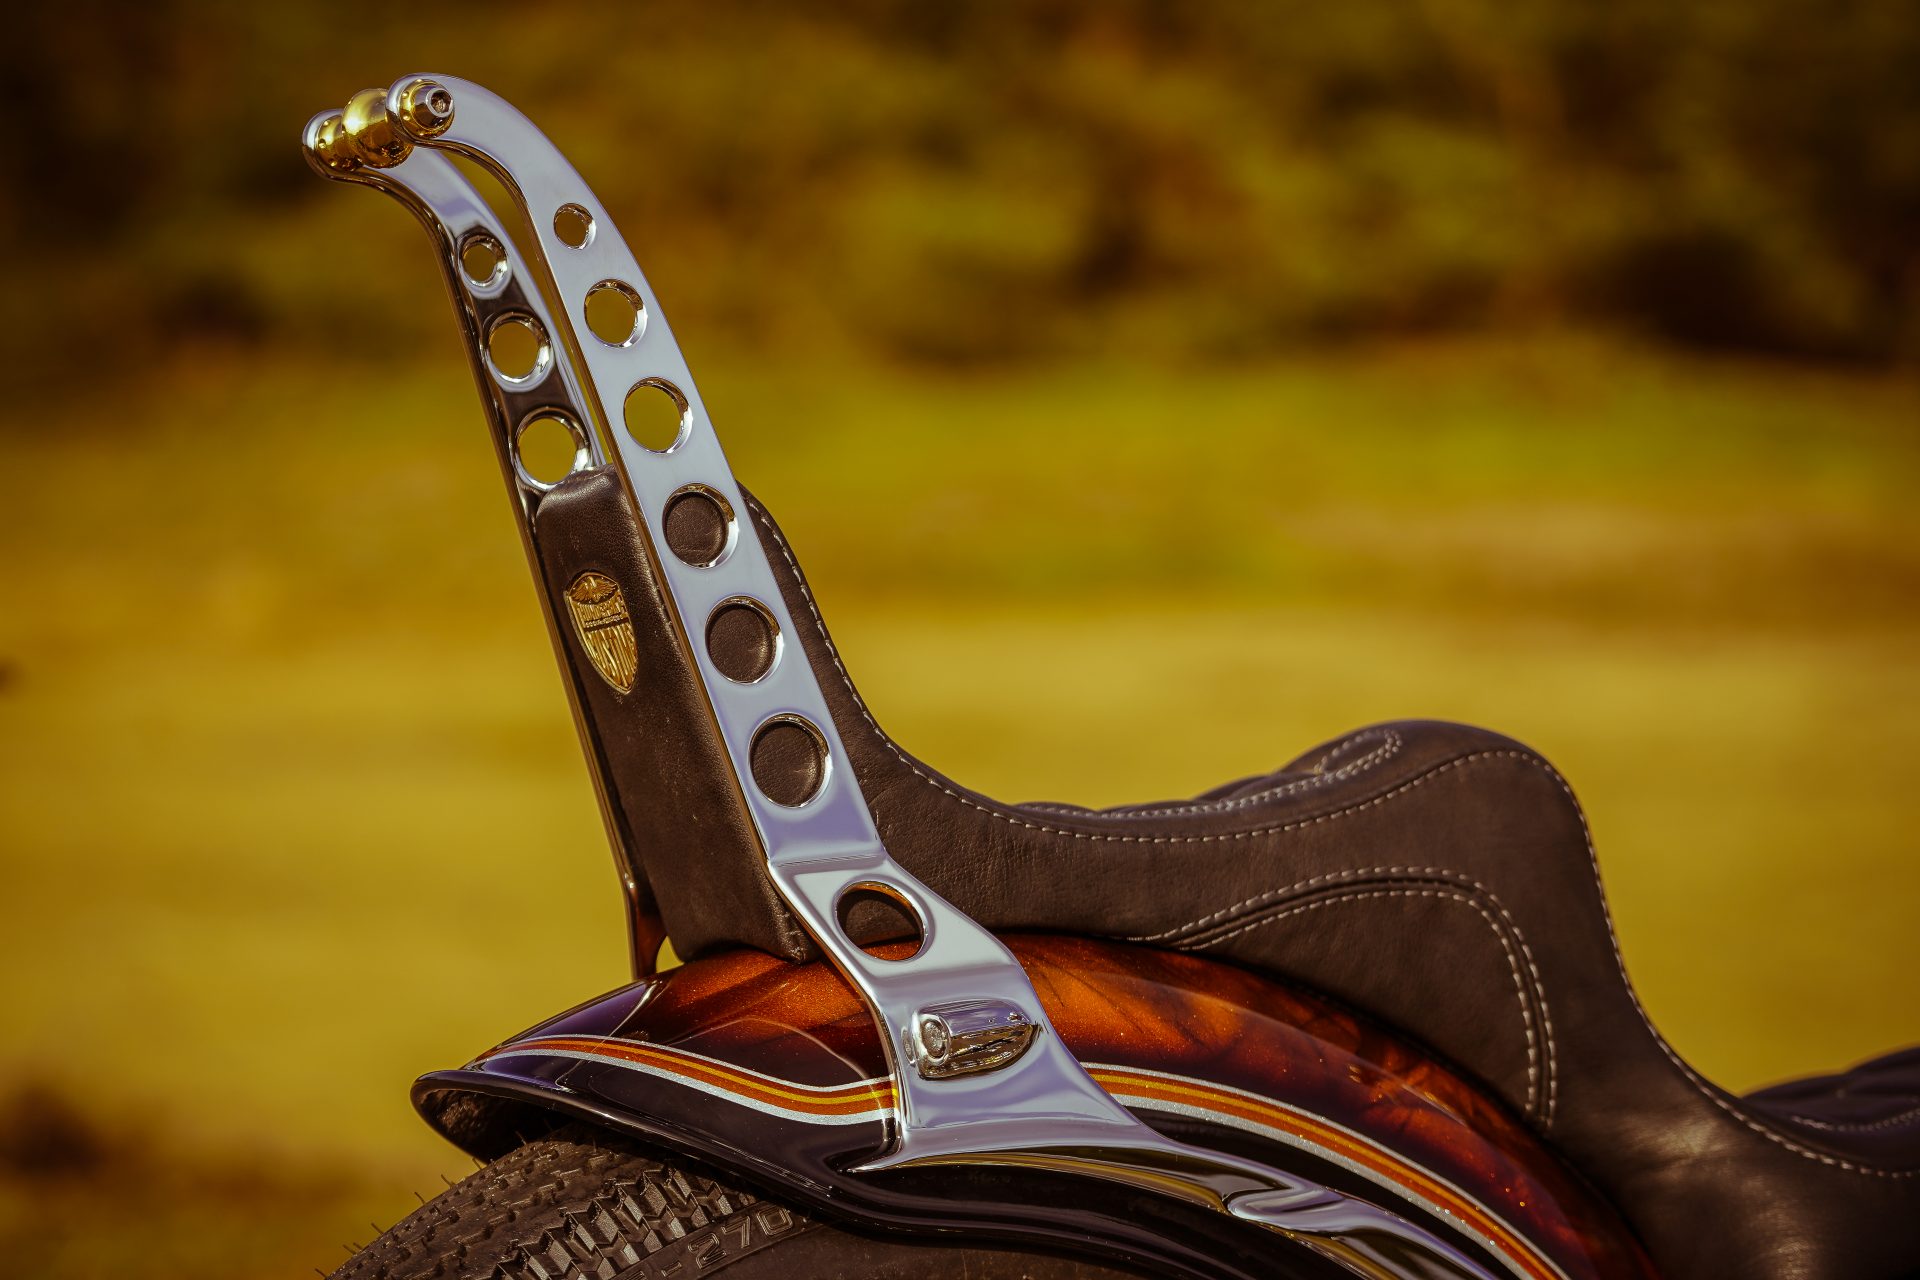
The Saddle
„The perfect fit“
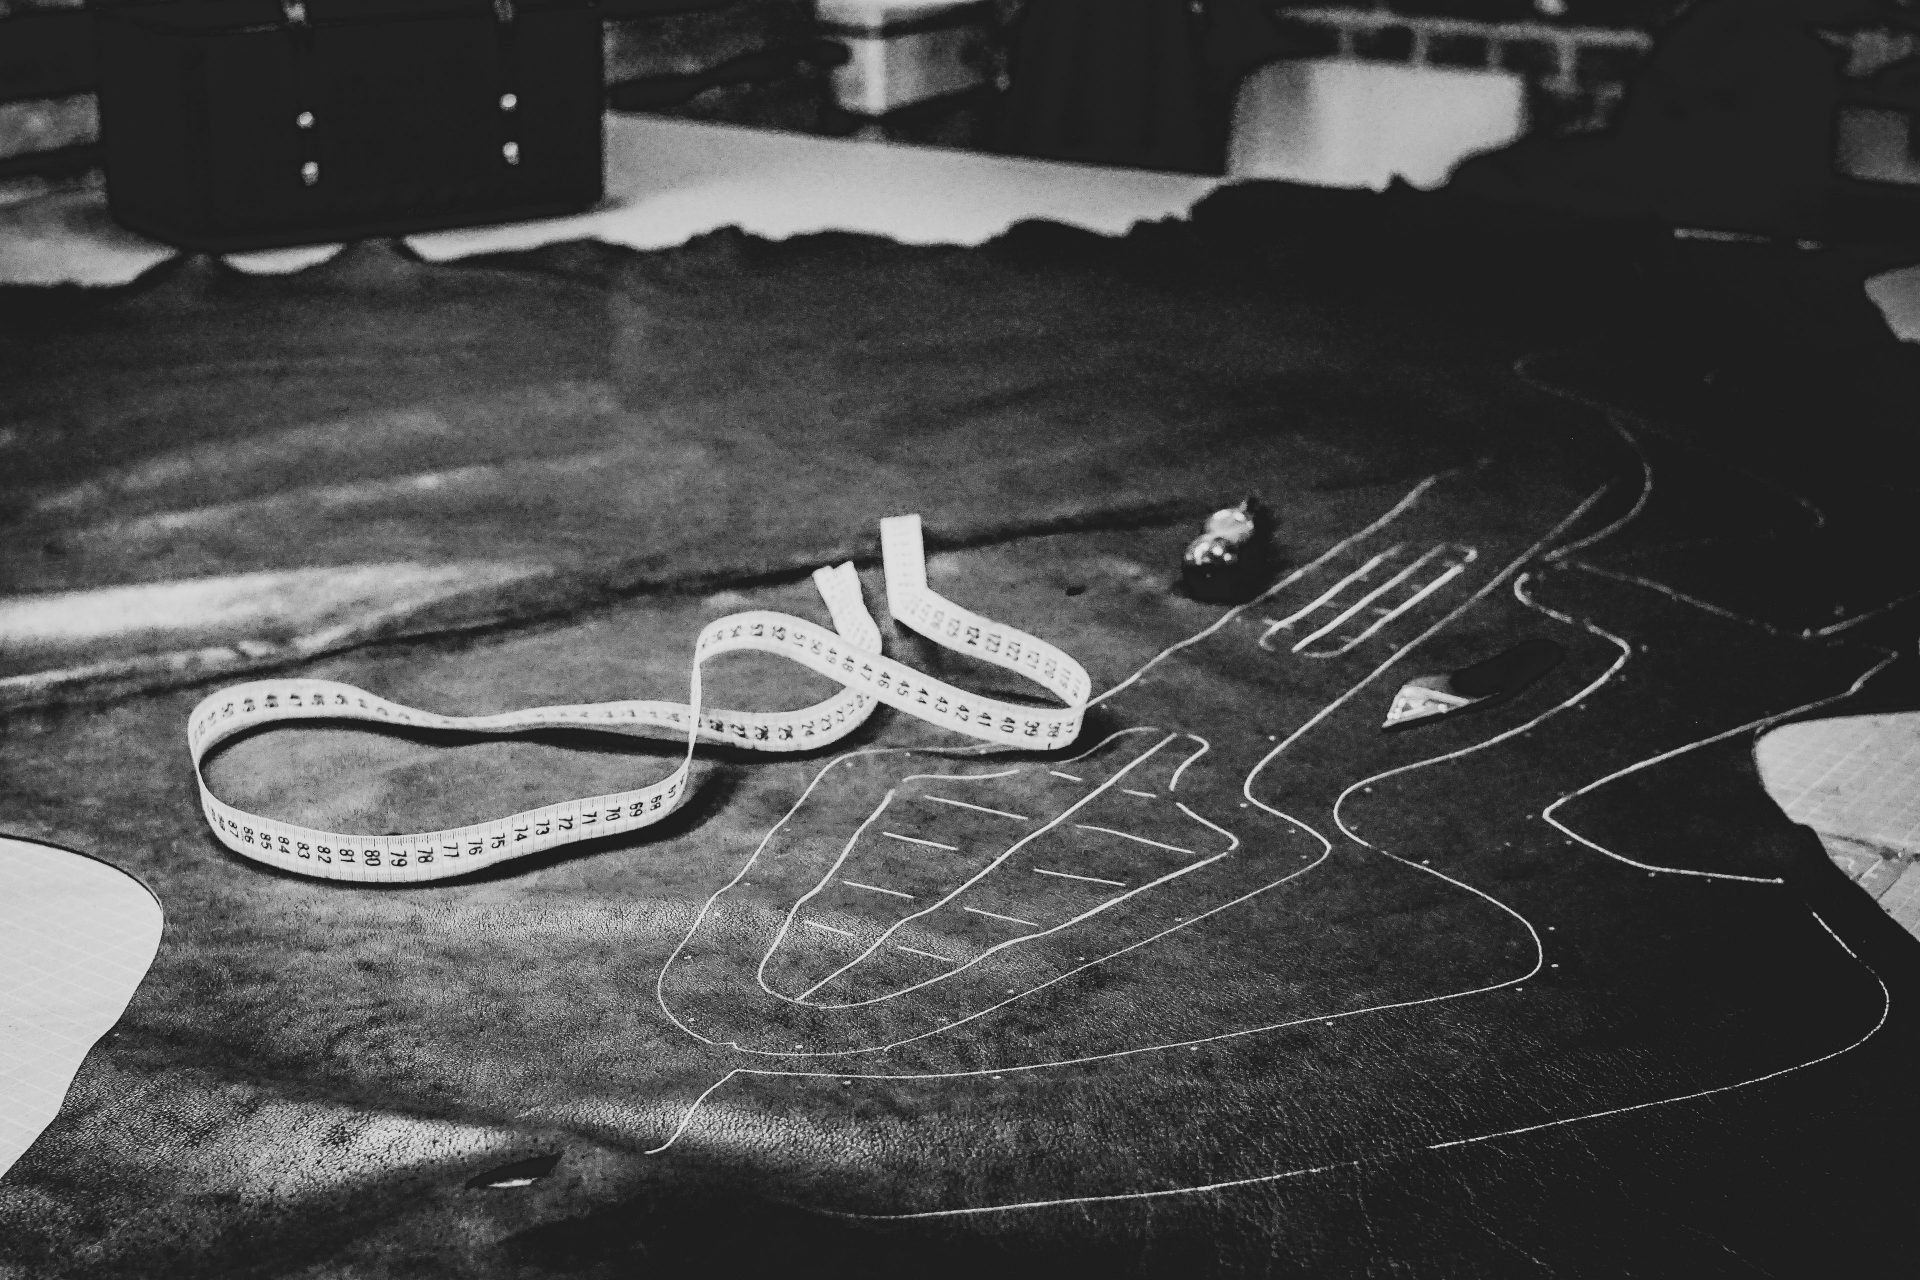

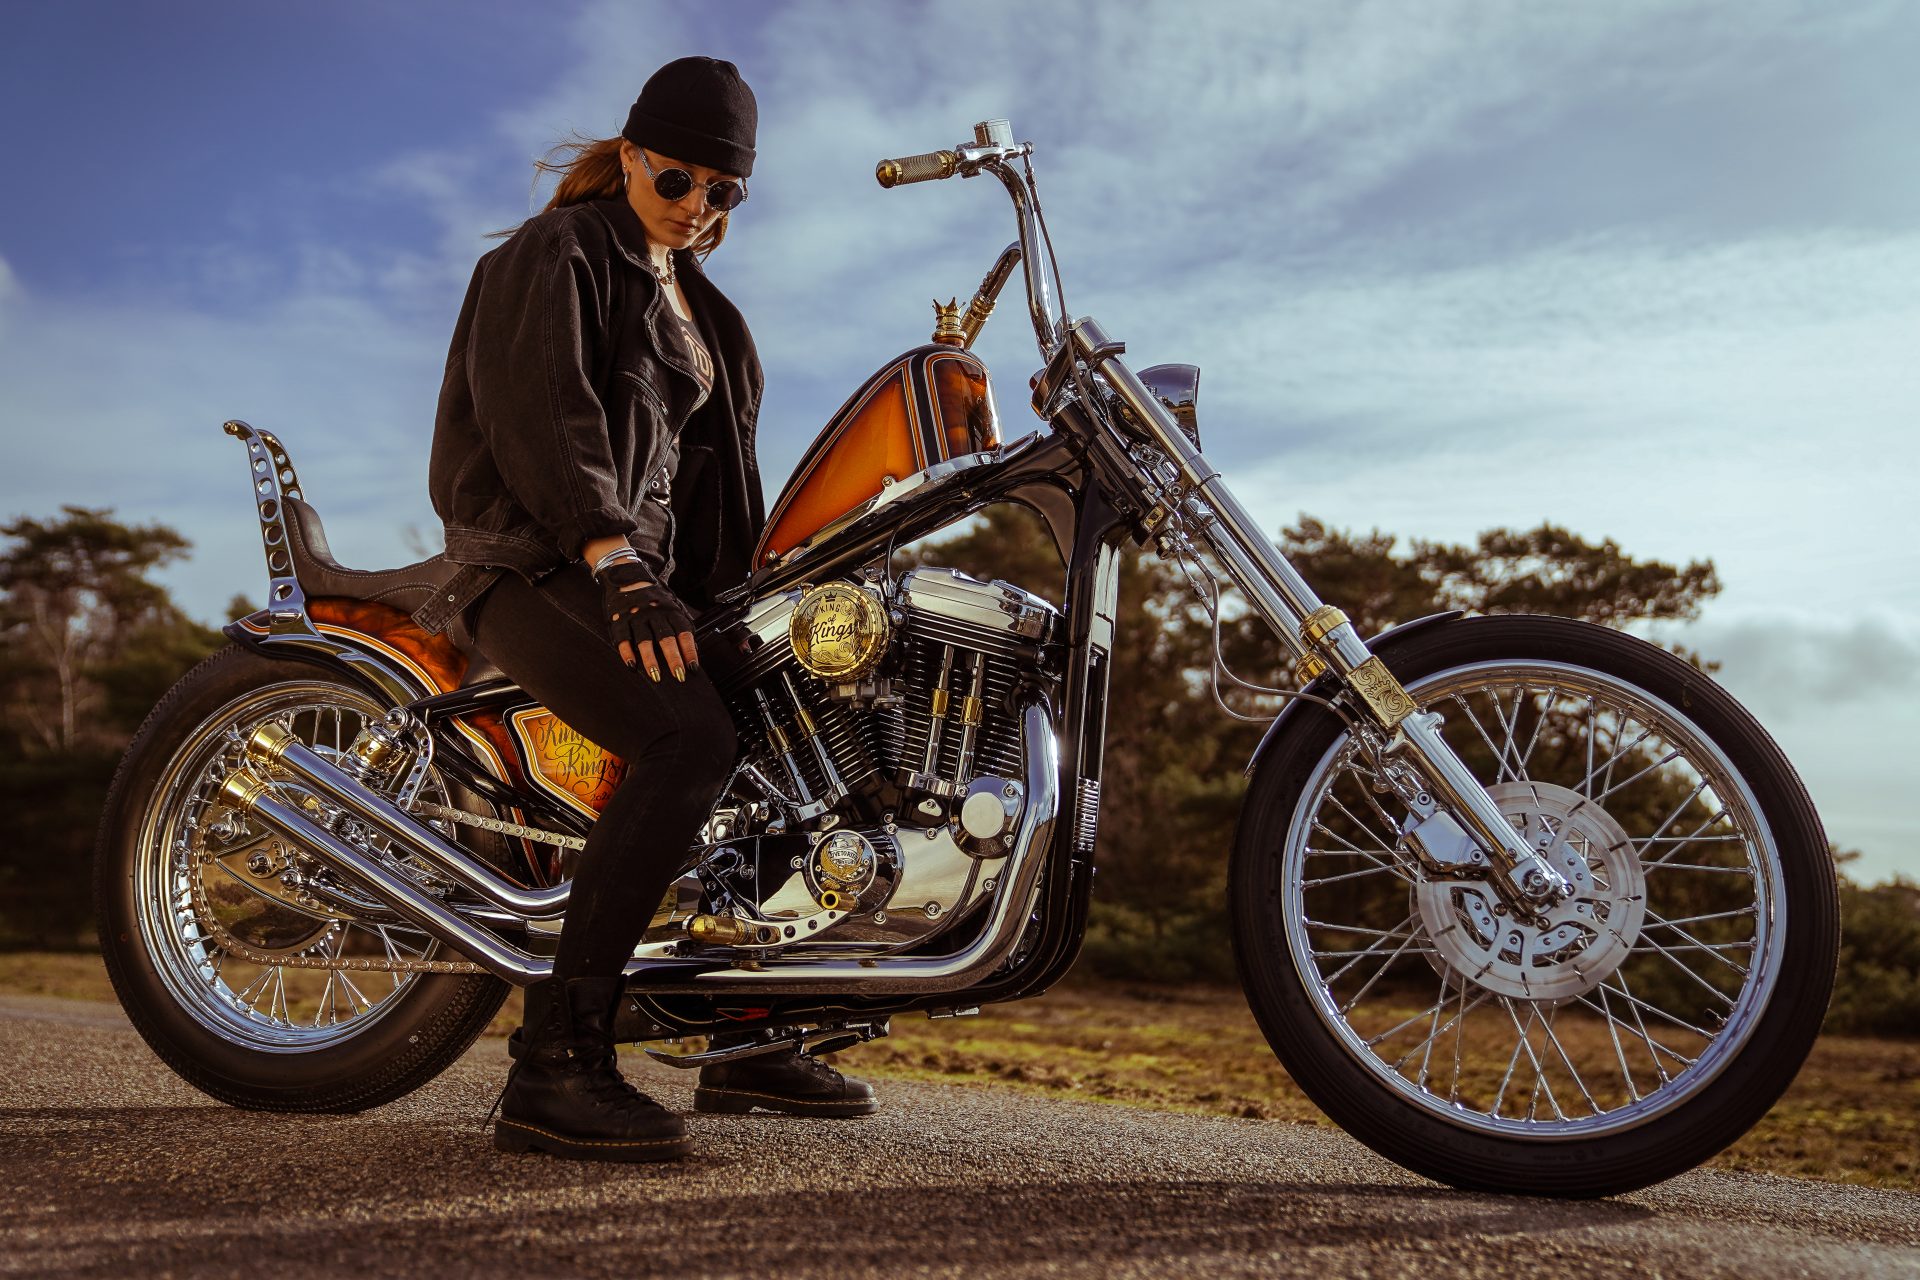
We had determined the style for the seat of the King of King Bike relatively early, because if you are serious about a chopper, there is no way around a King & Queen seat.
During the starting phase Andreas brought an old seat with an interesting stitching from his private archive to the workshop. Everyone agreed immediately that this would make the perfect design.
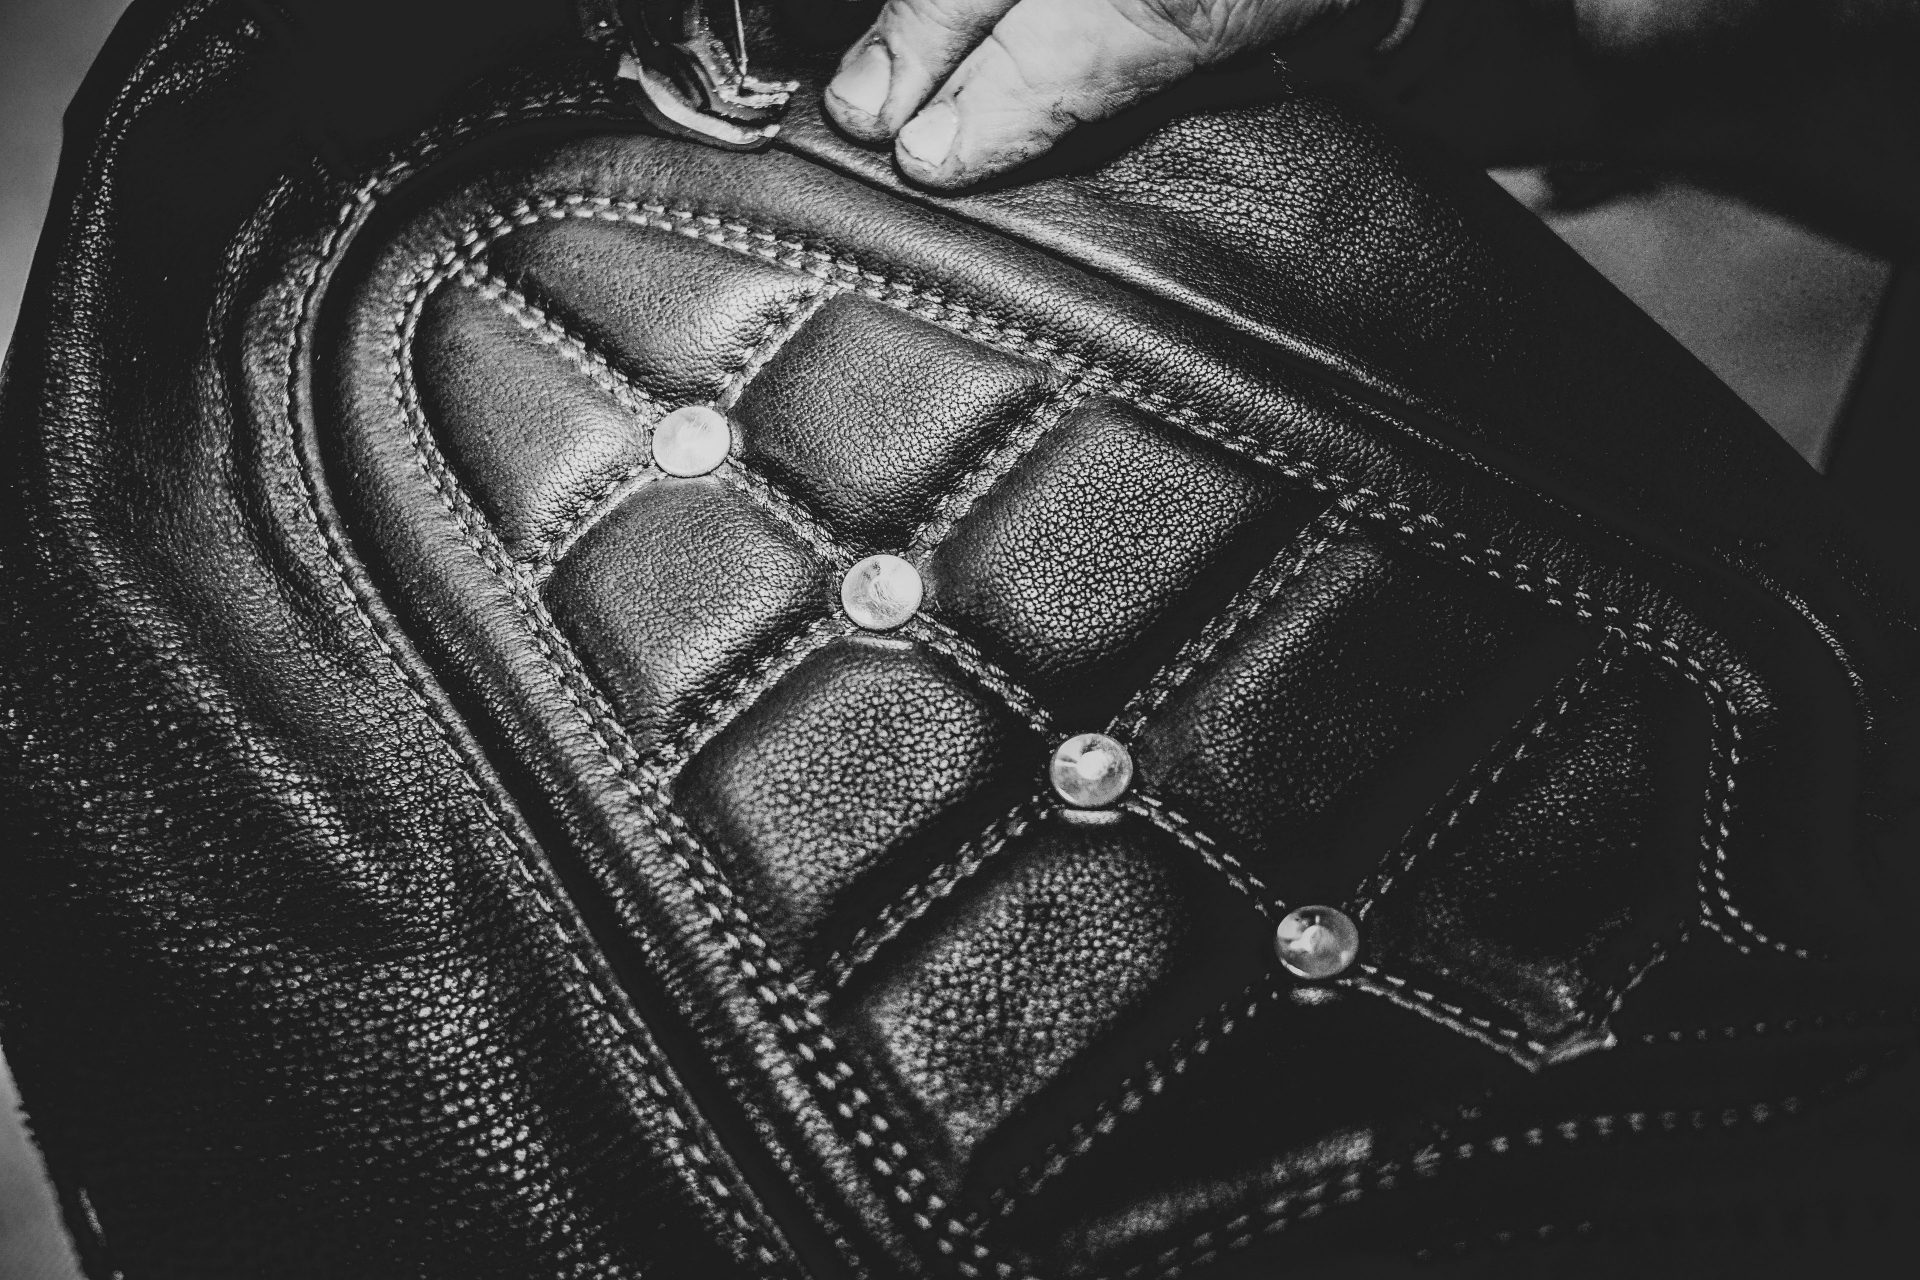
Our choice for the right upholsterer fell on Jimi from Spirit Leather. He brings the necessary experience and a lot of heart and soul to realize the leather and upholstery work for our project.
After a short consultation, we sent him our steel seat shell as well as the upholstery pattern and gave him a free hand for the further design.
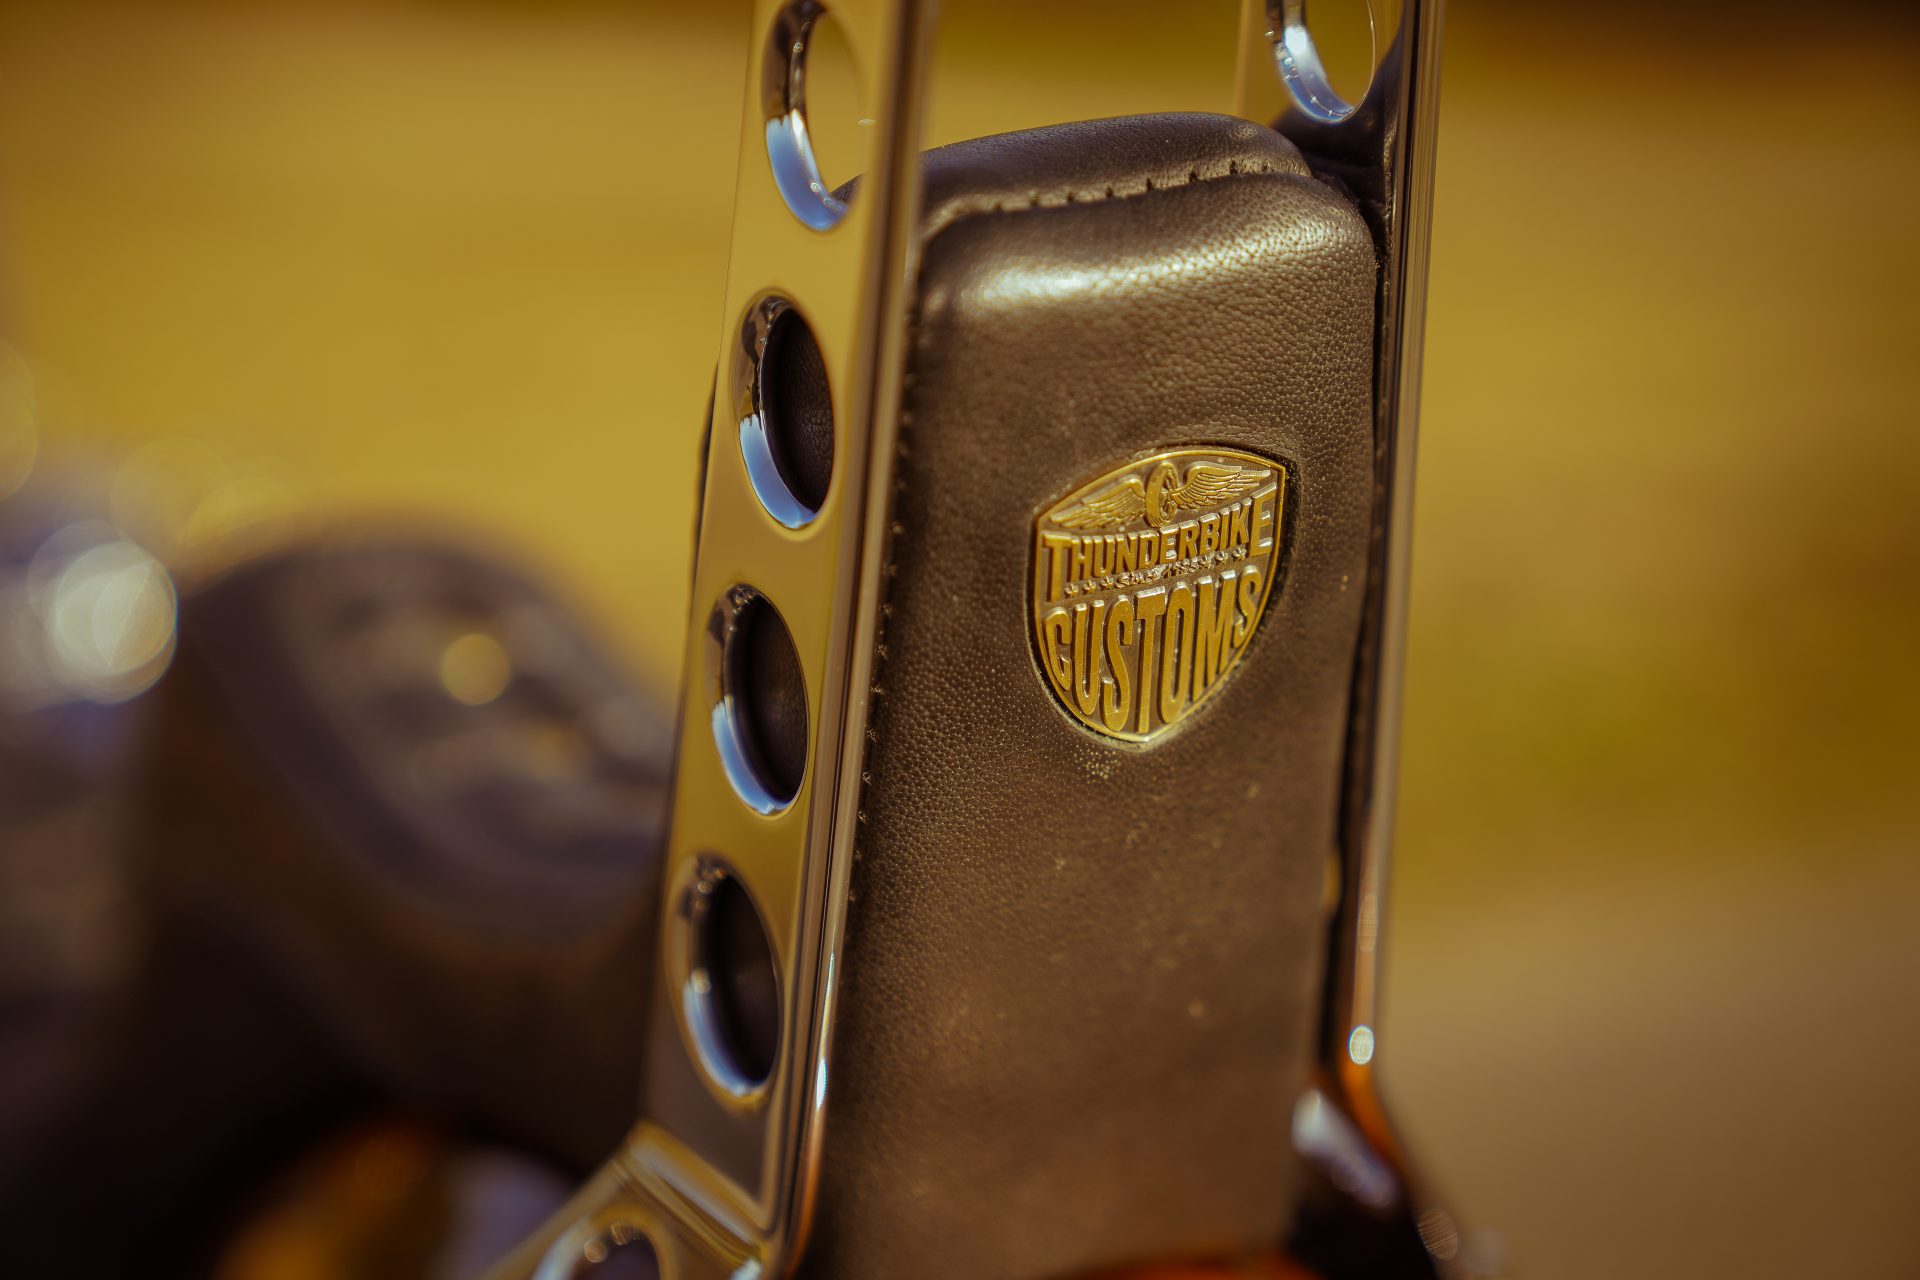
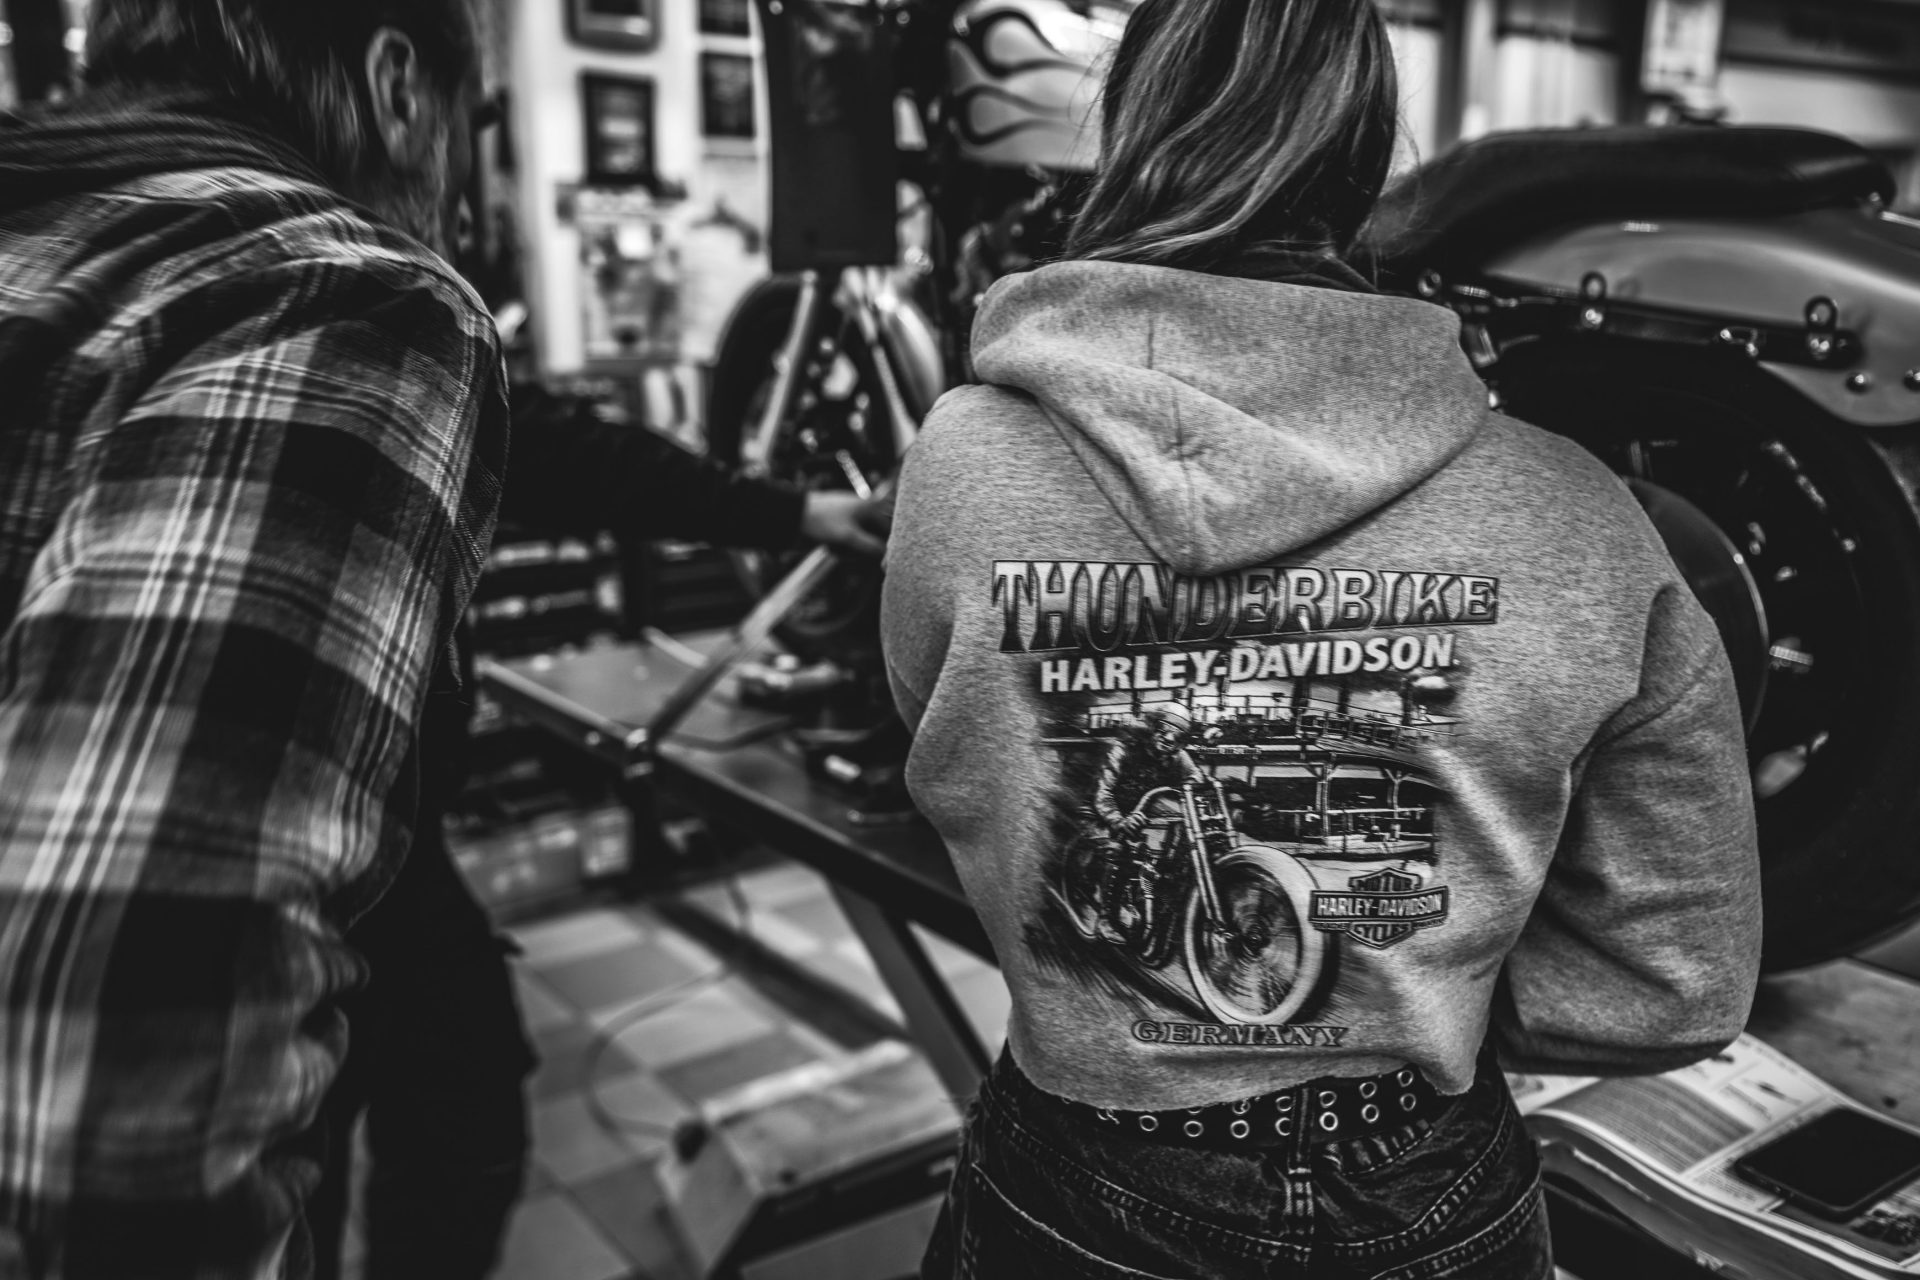
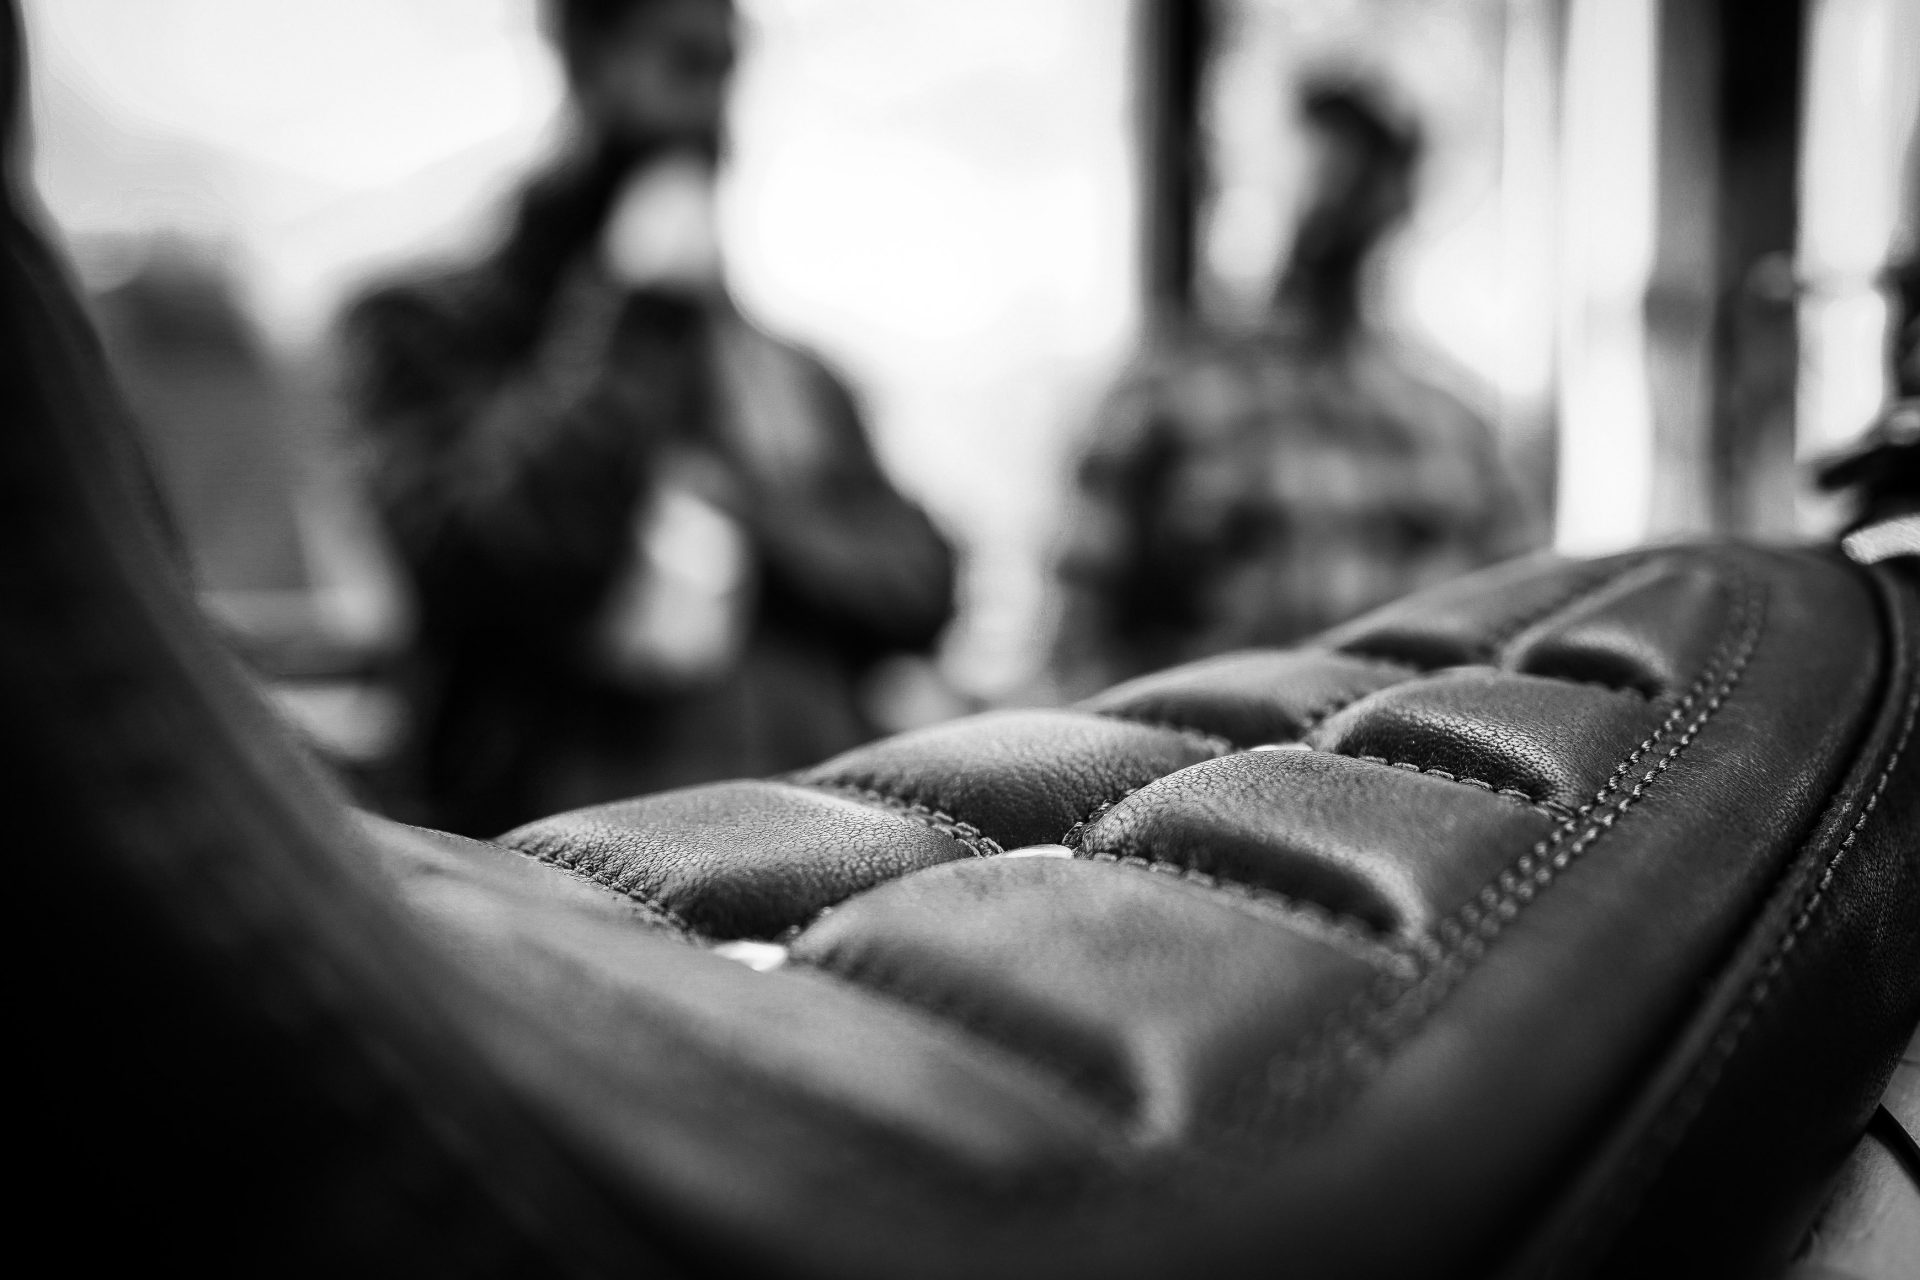
What he brought over to us 3 weeks later left many a jaw dropped. A bench seat that fits like a glove. He choses a water buffalo antique finish for the surface, which harmonize perfectly with the paint of the bike. The stitching is decorated with brass rivets and the Thunderbike logo proudly emblazoned on the back.
In the style of the 70s, Jimi from Spirit Leather has thus perfectly implemented this theme. With the seat he created the perfect transition between tank, fender and sissy bar.


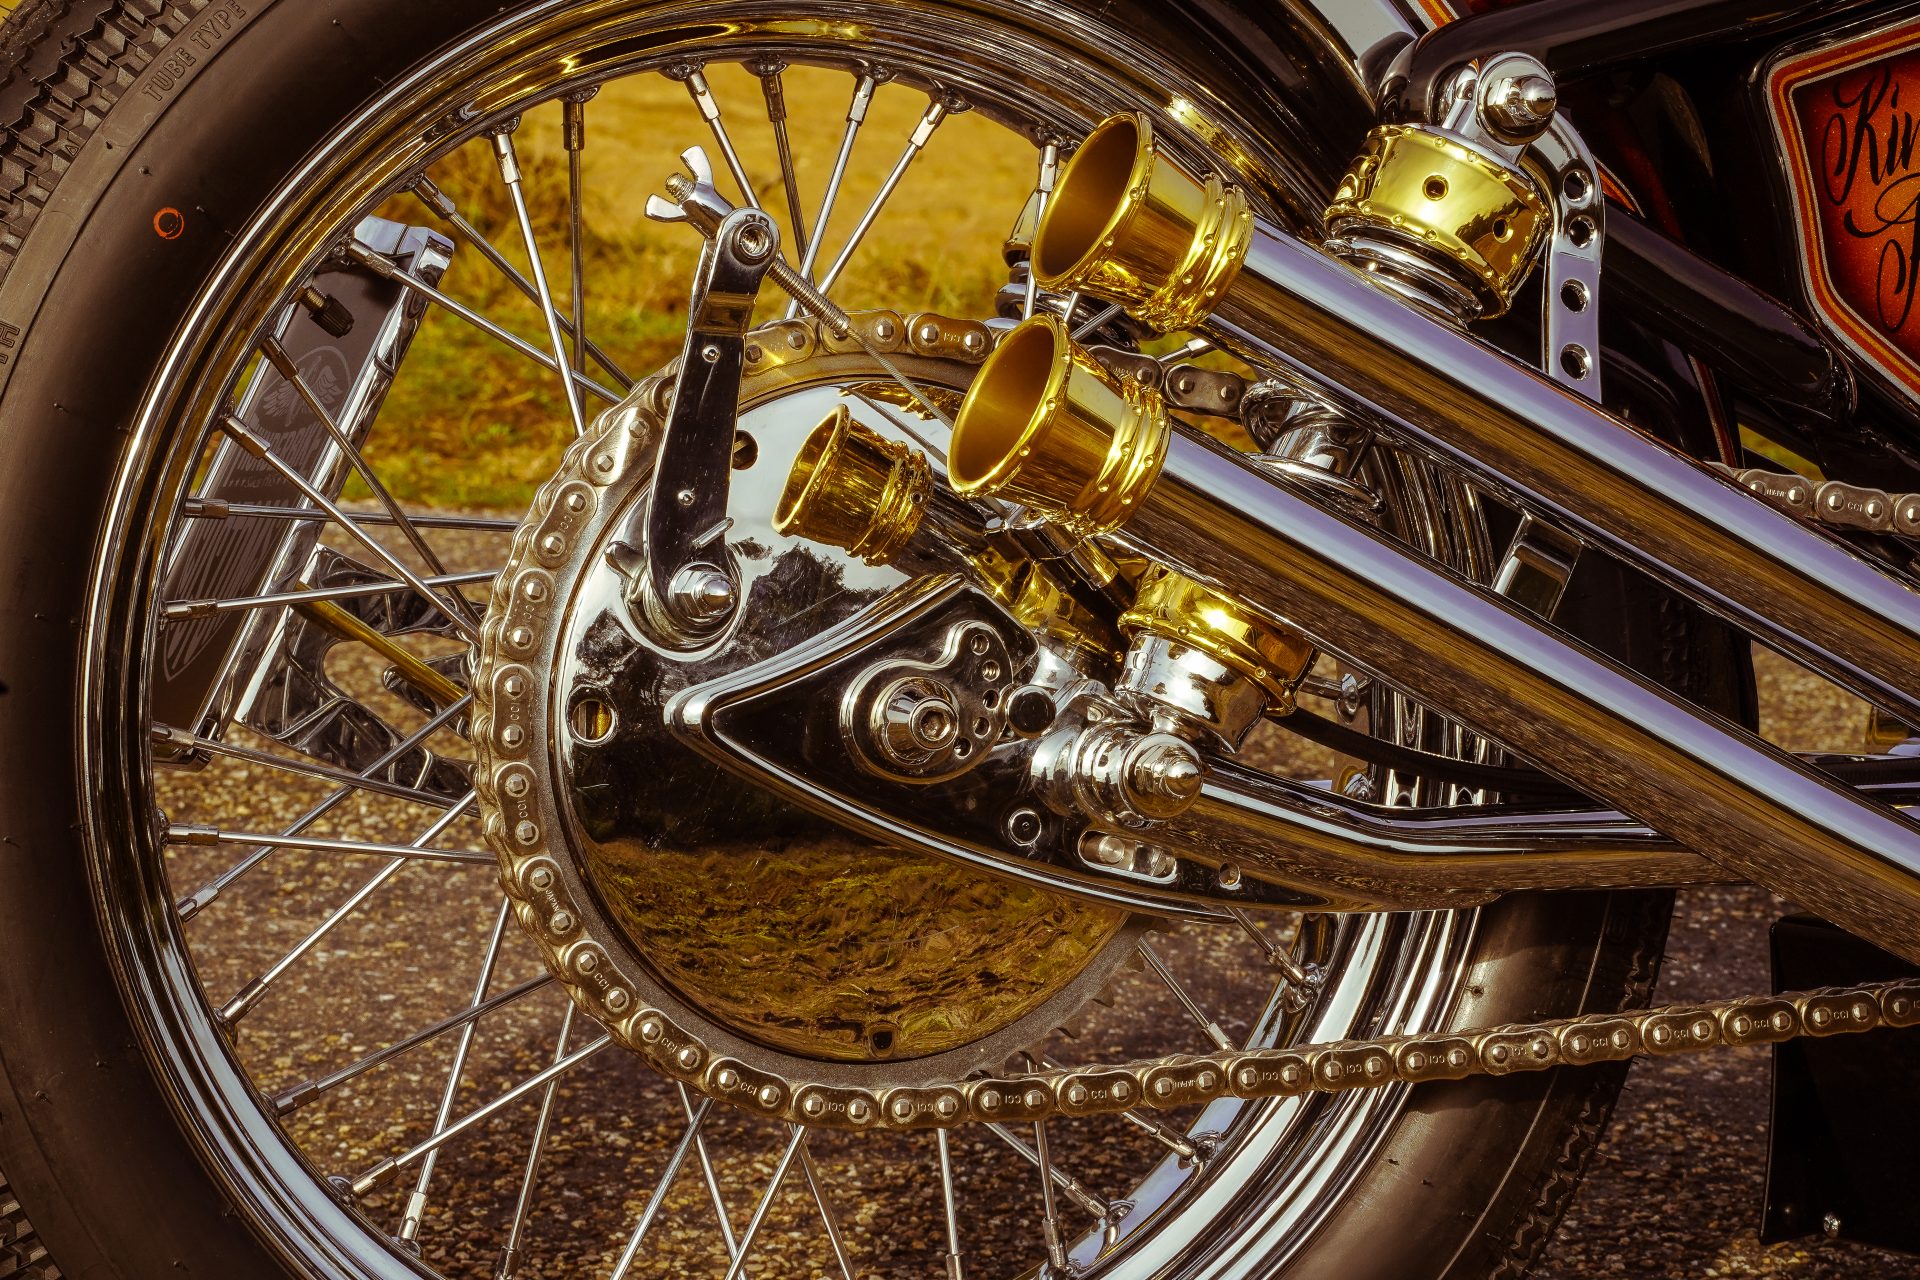
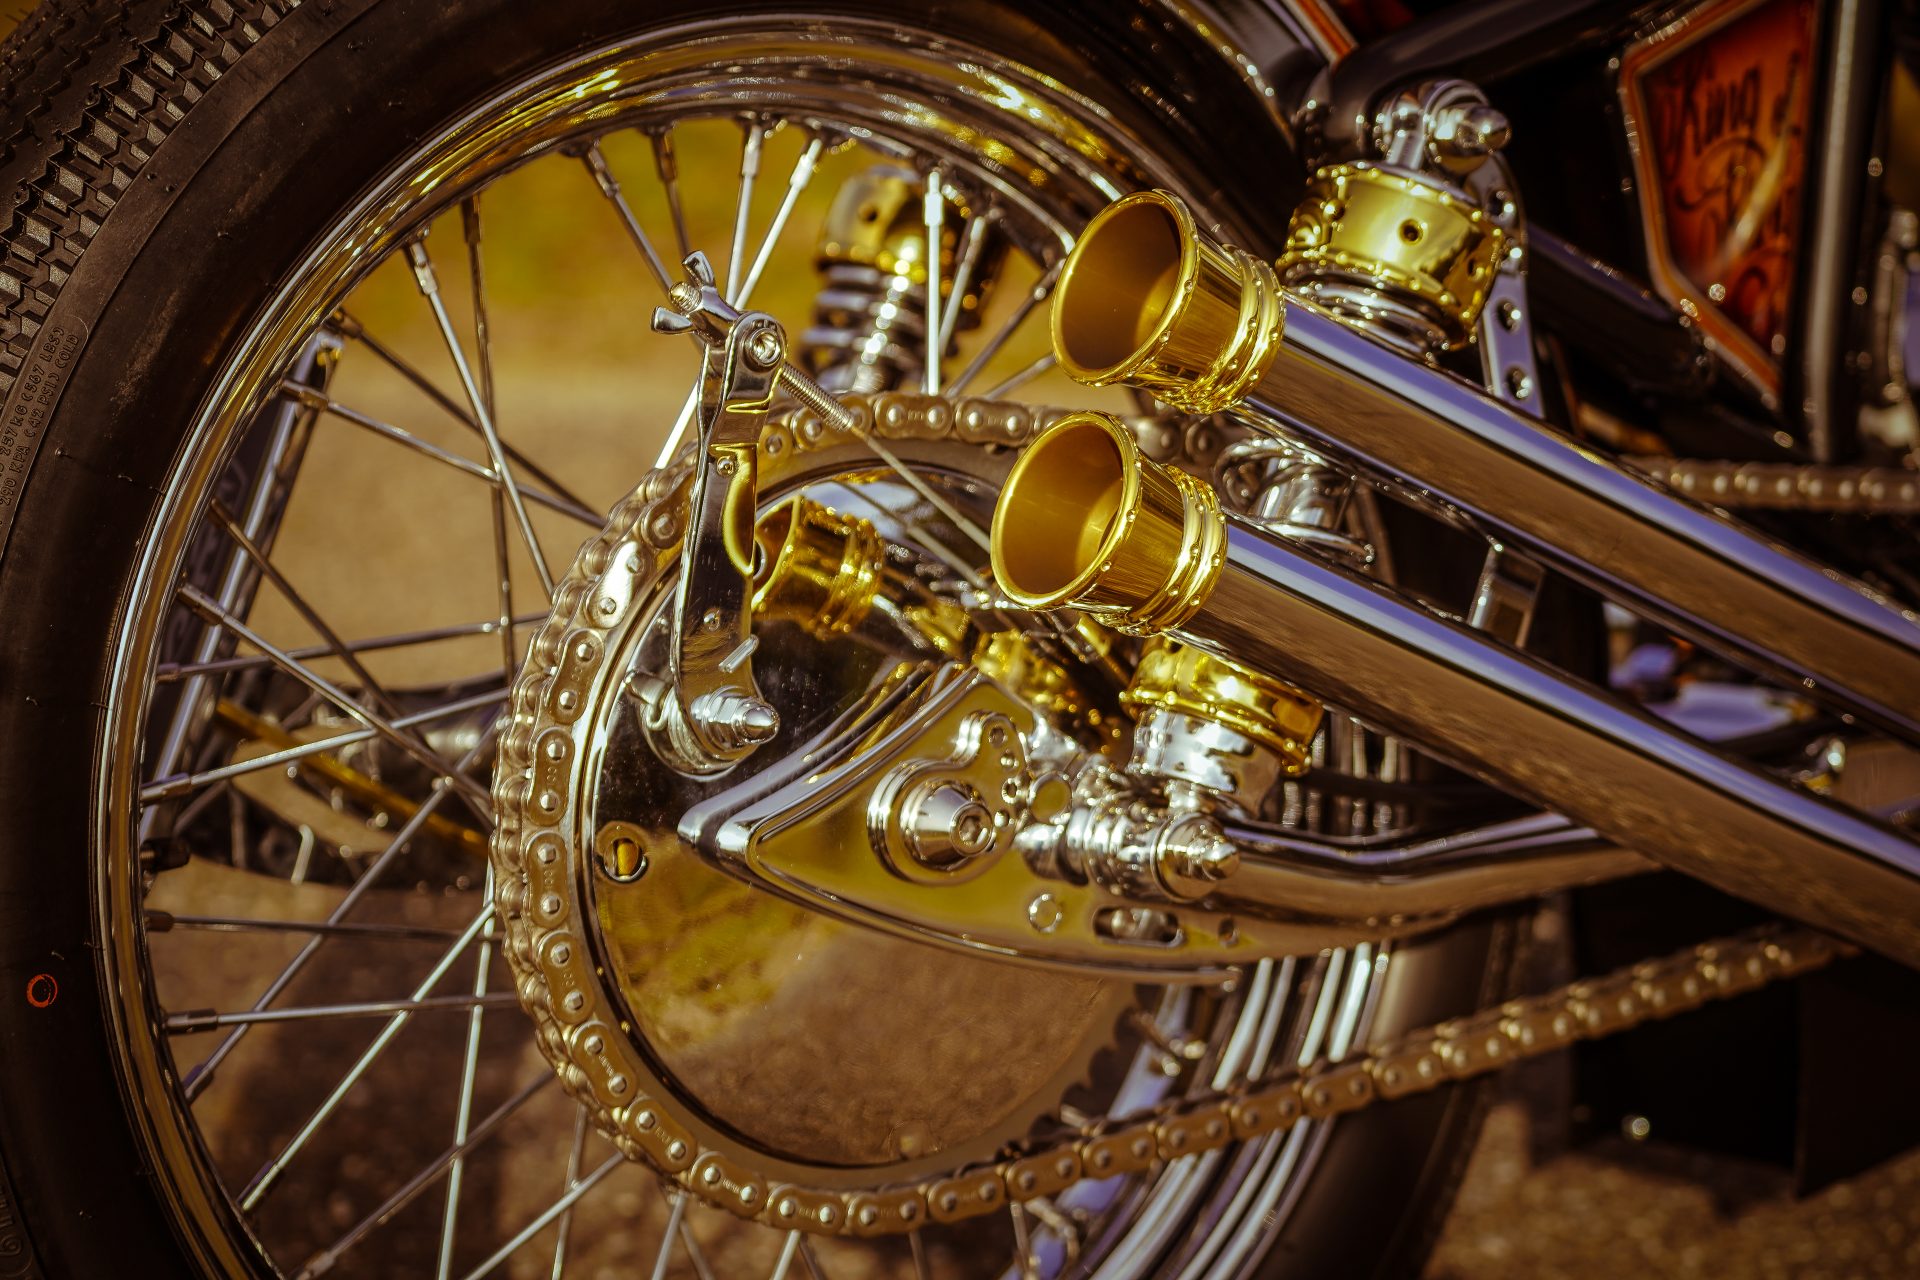
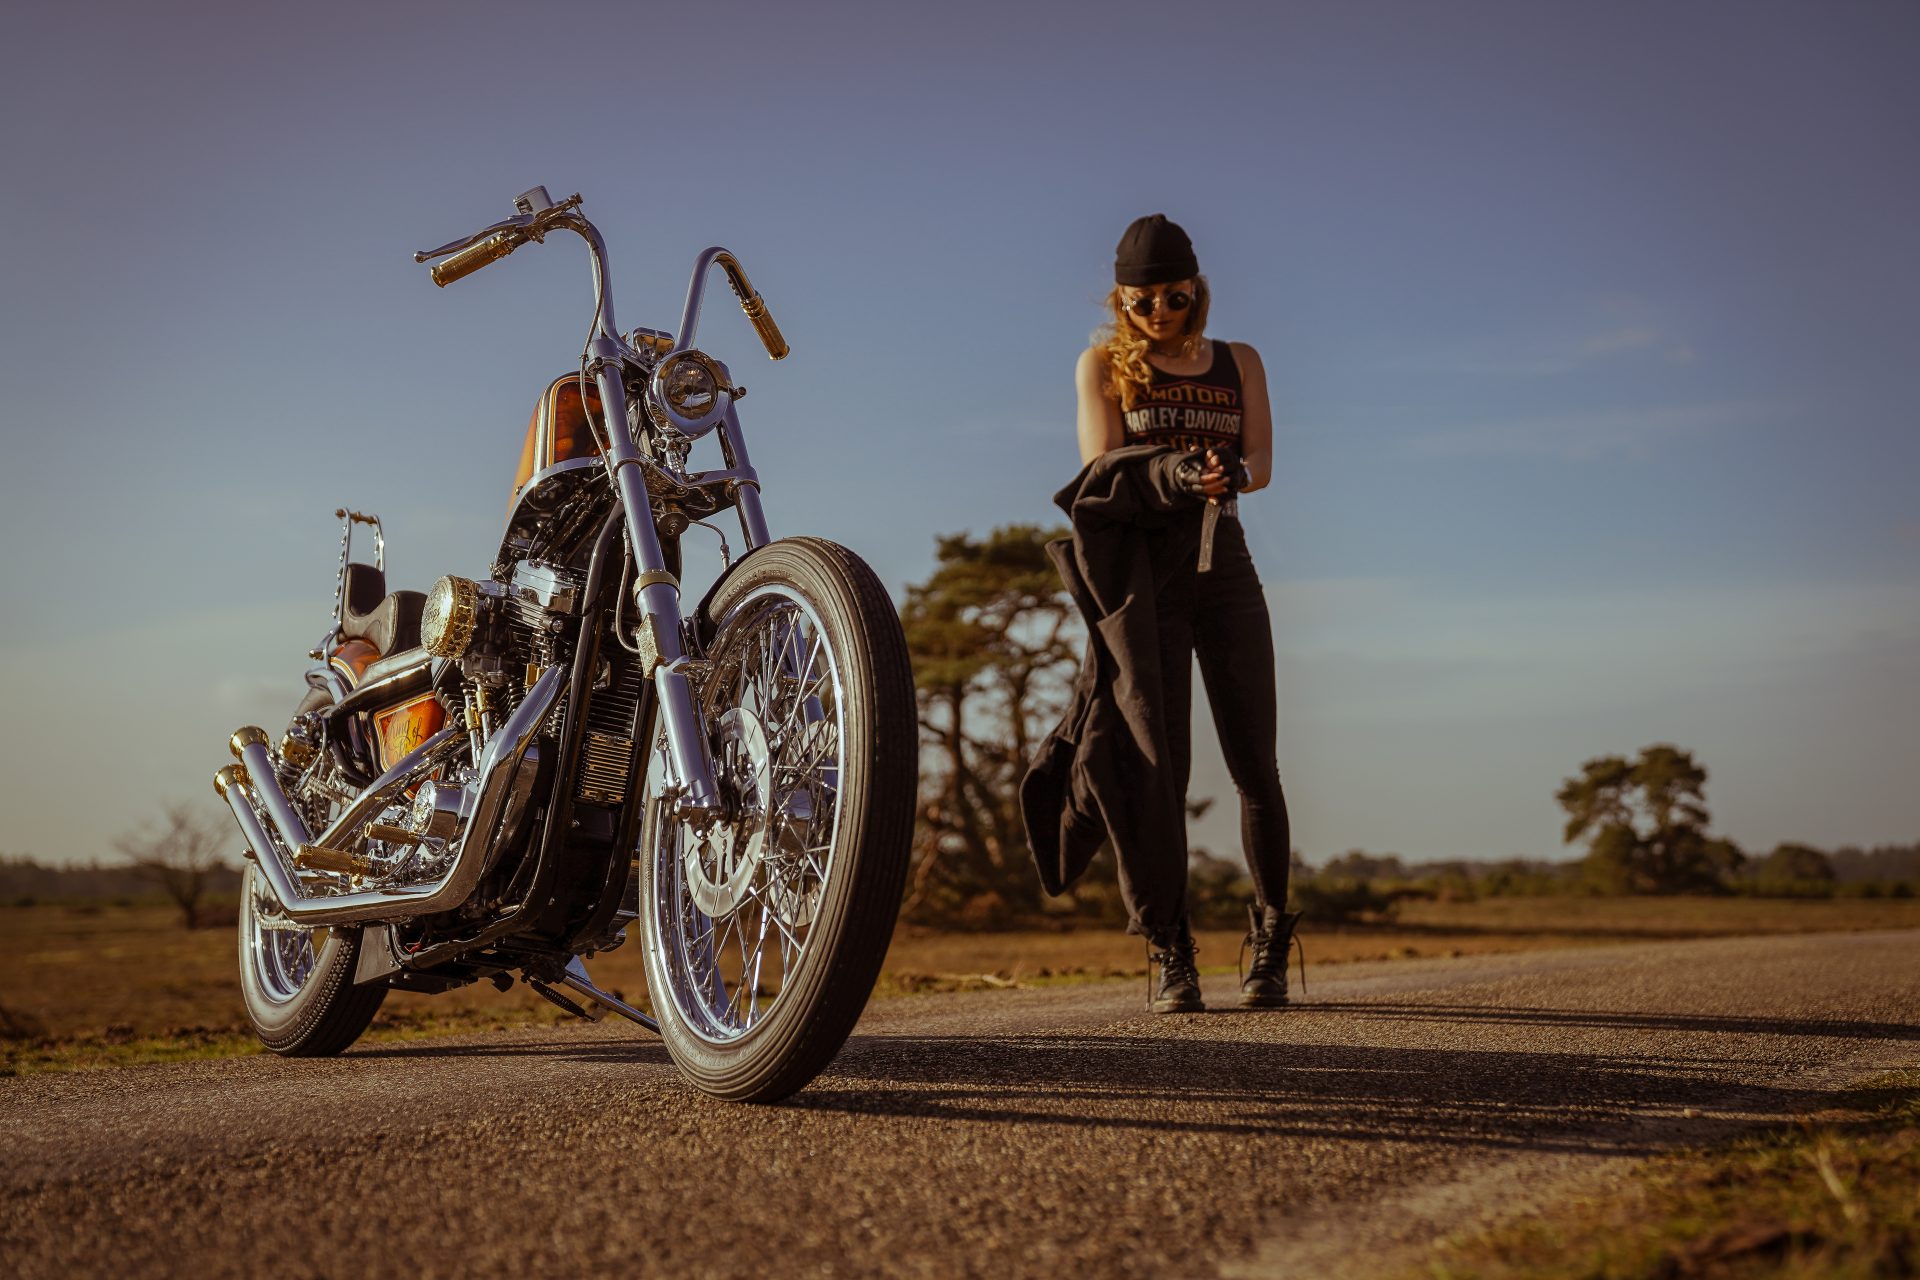
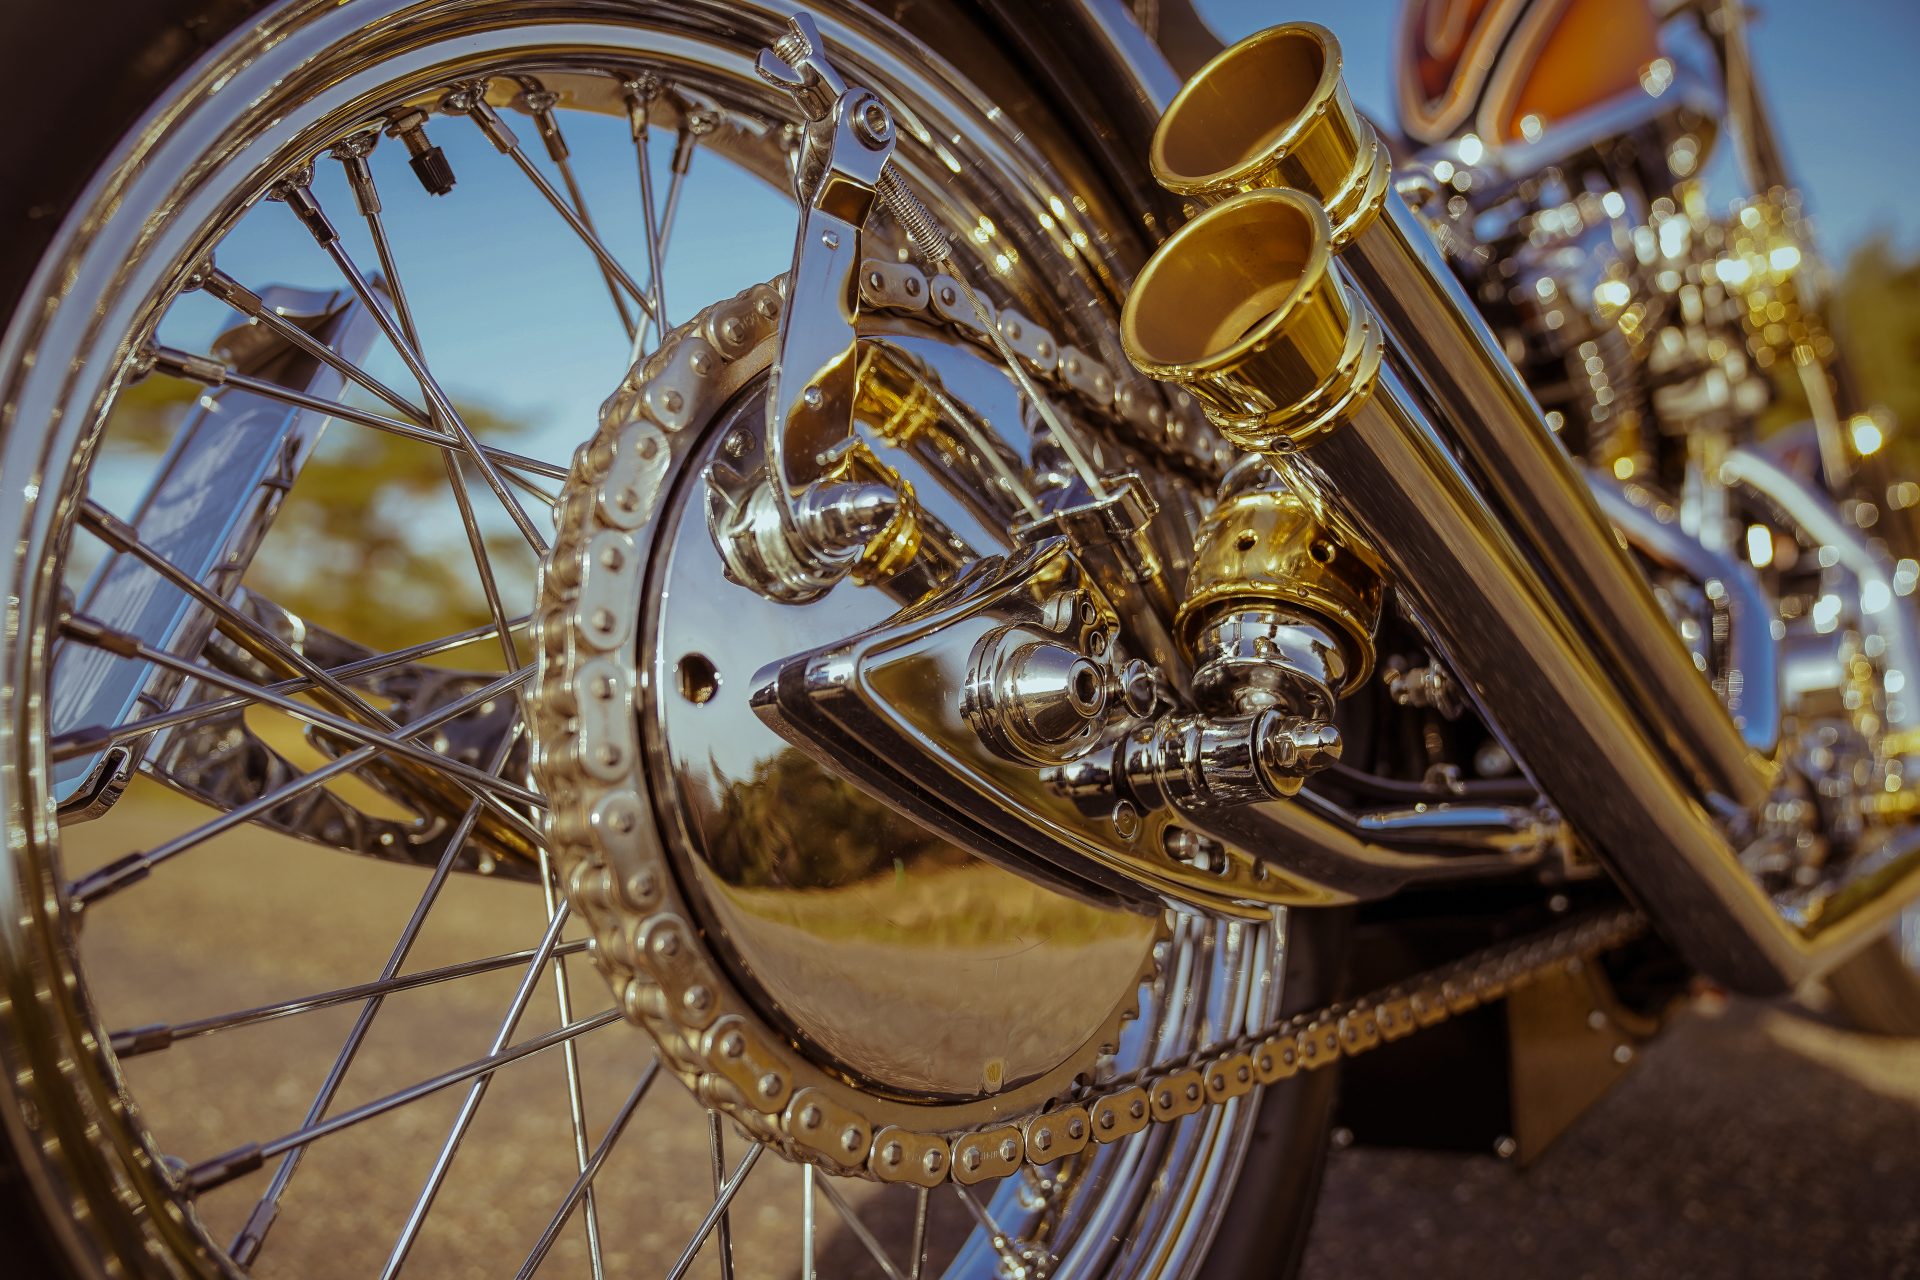
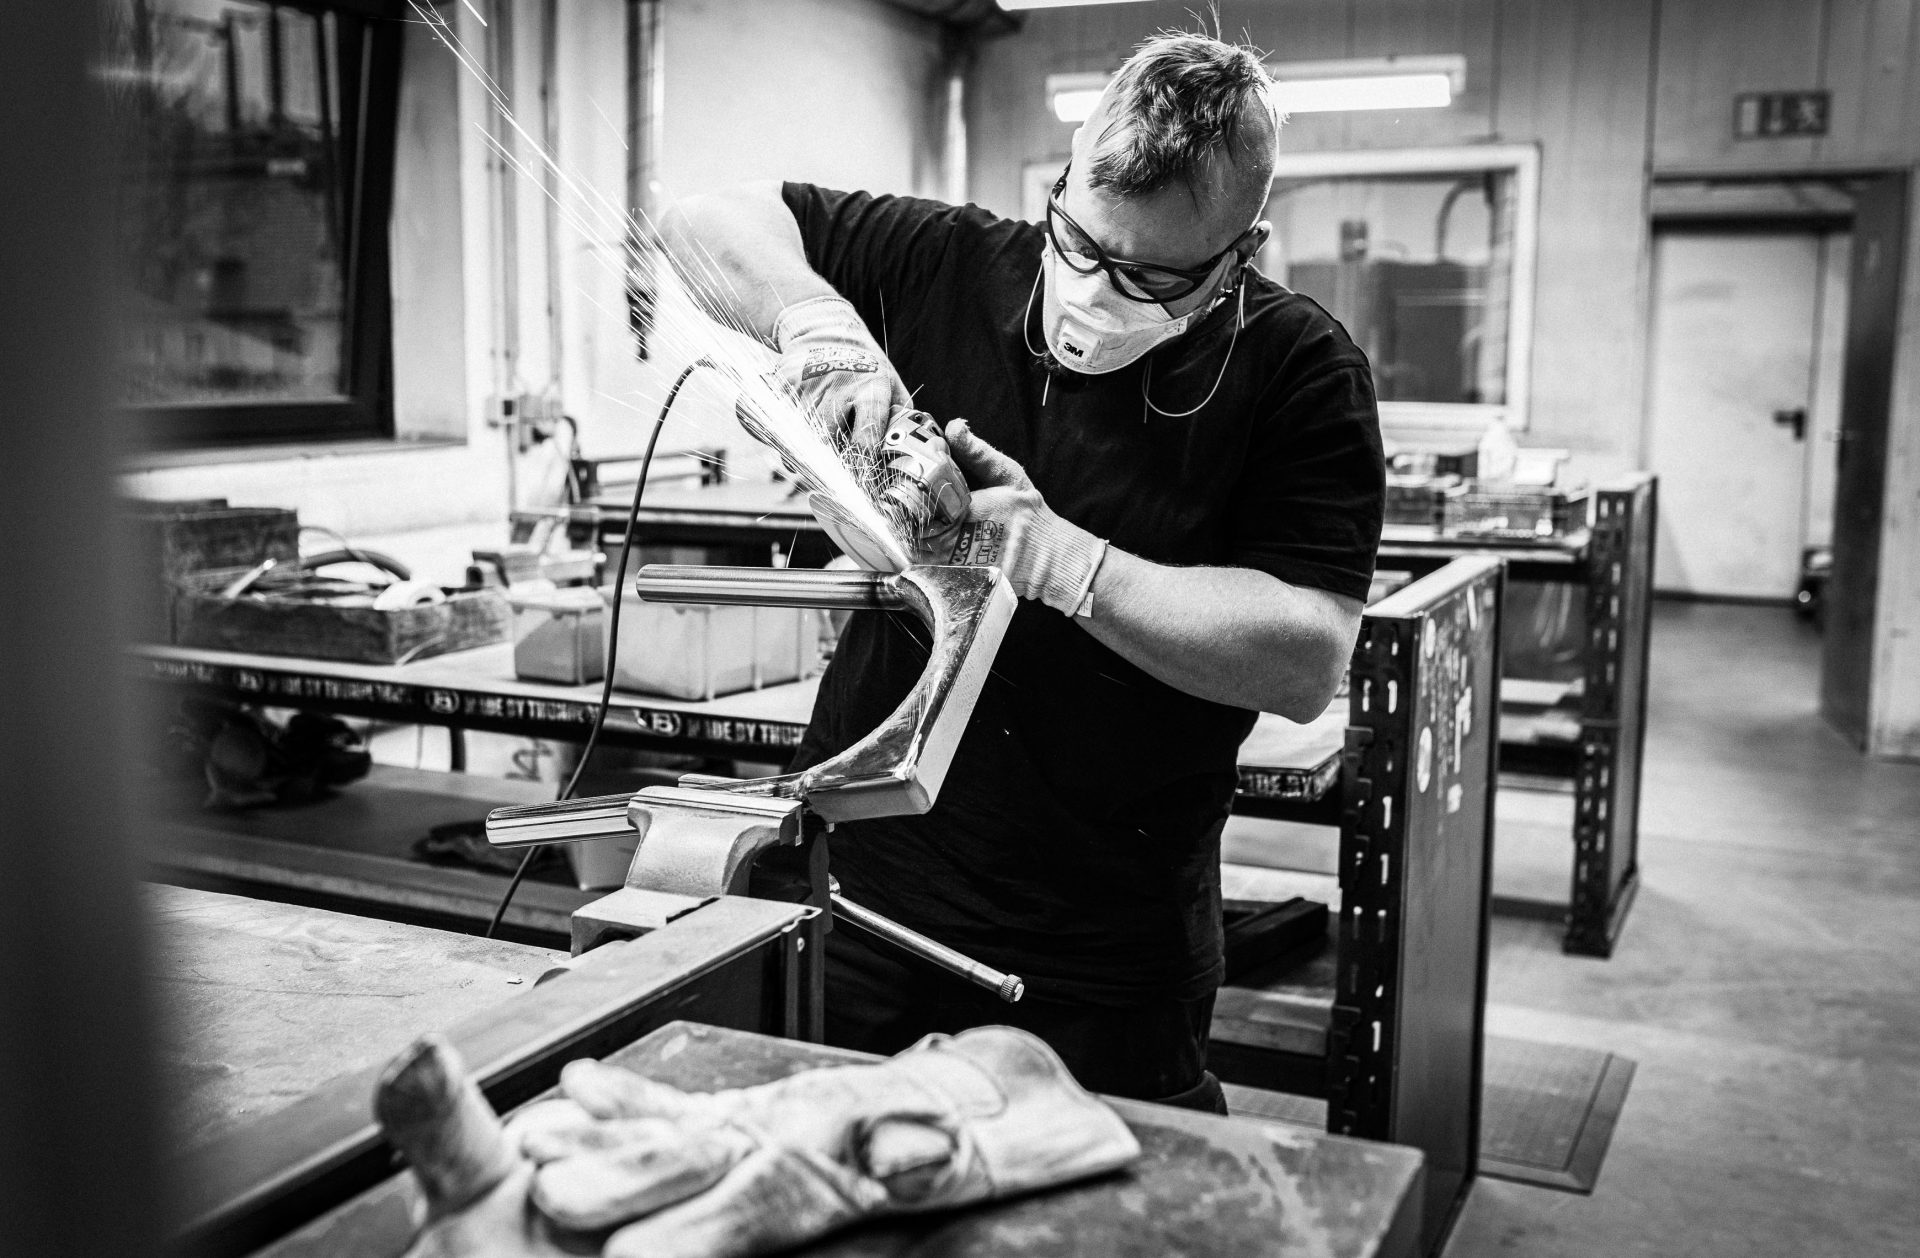
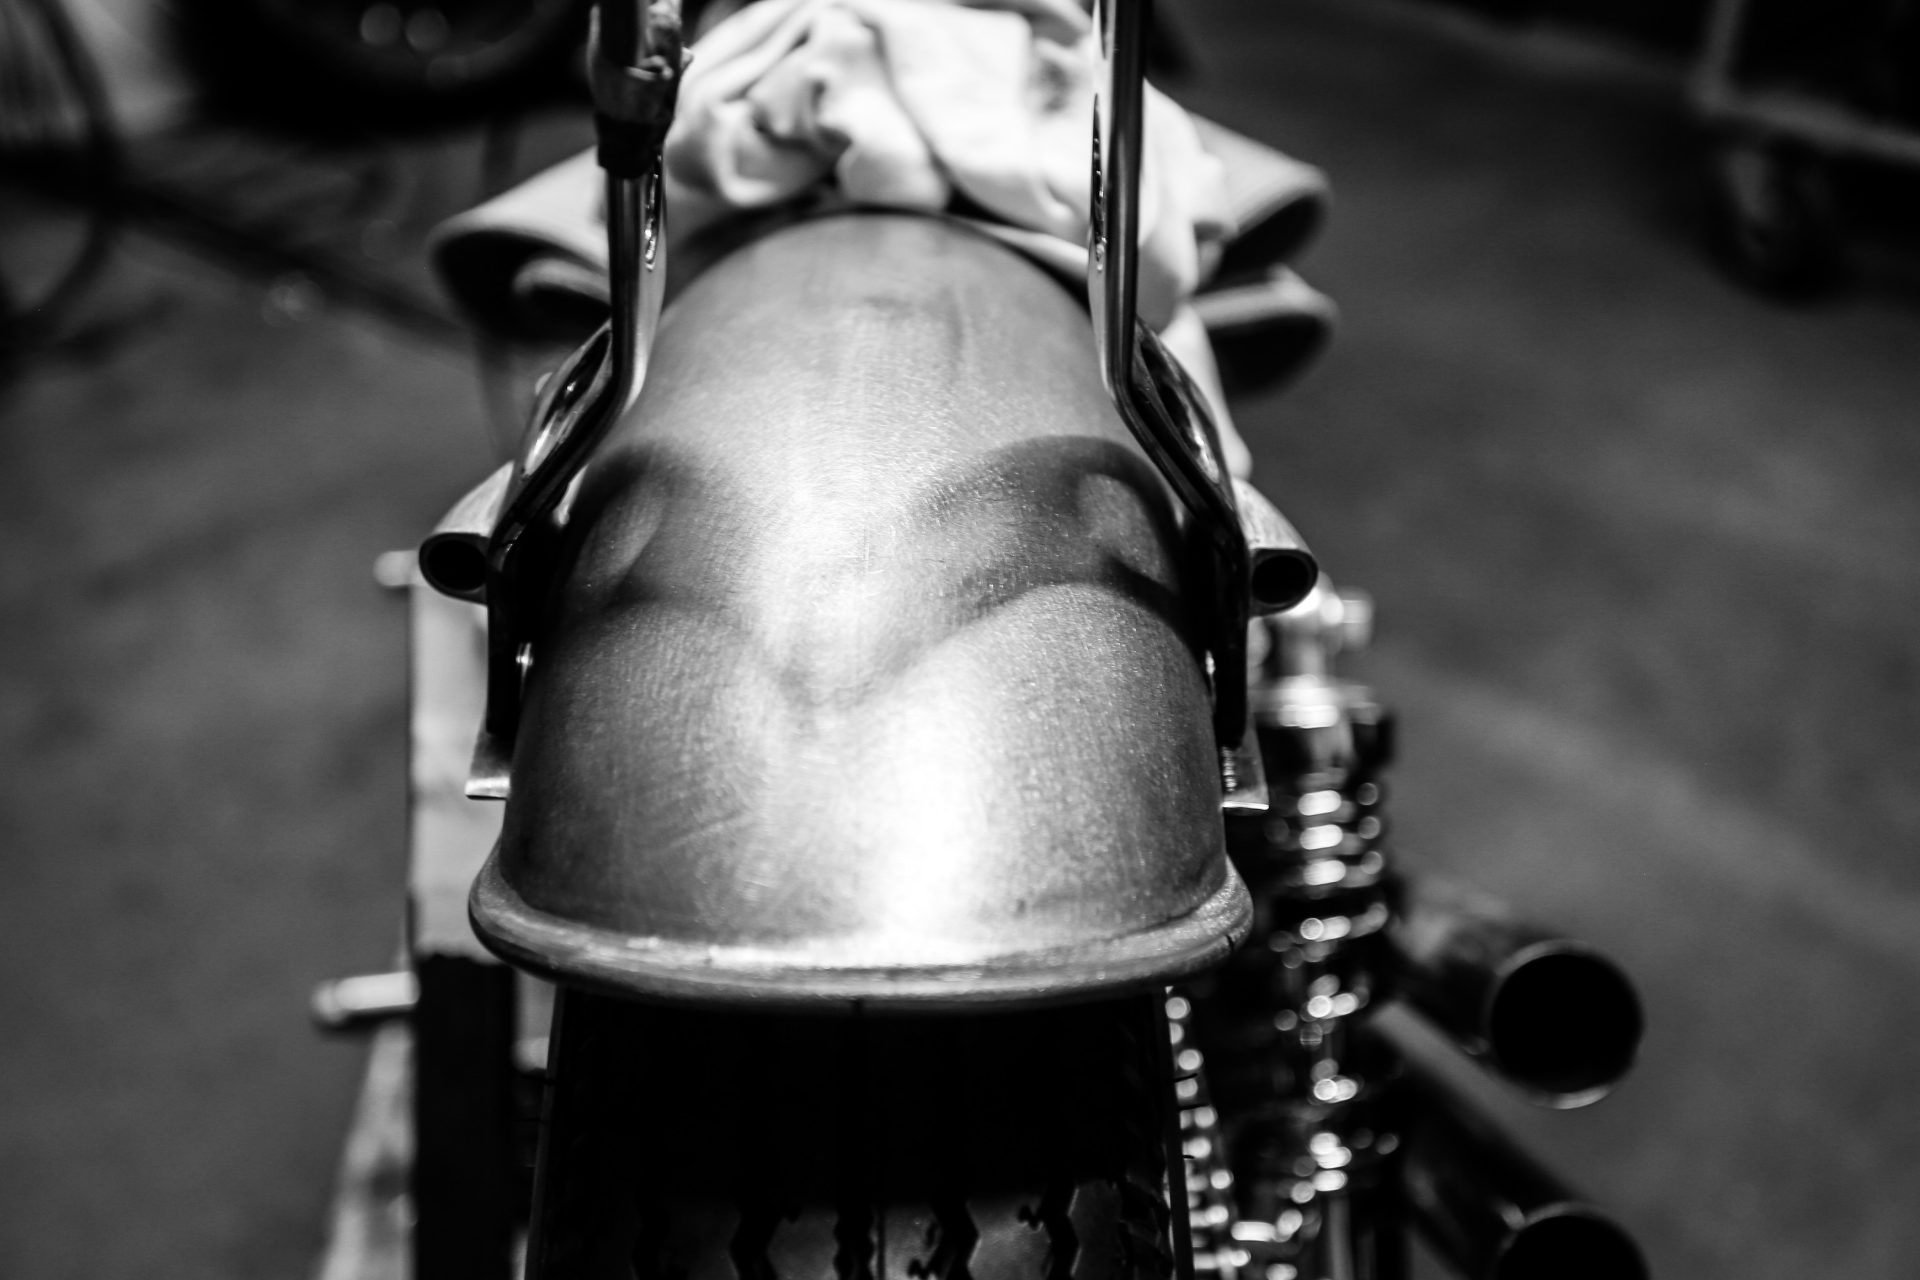
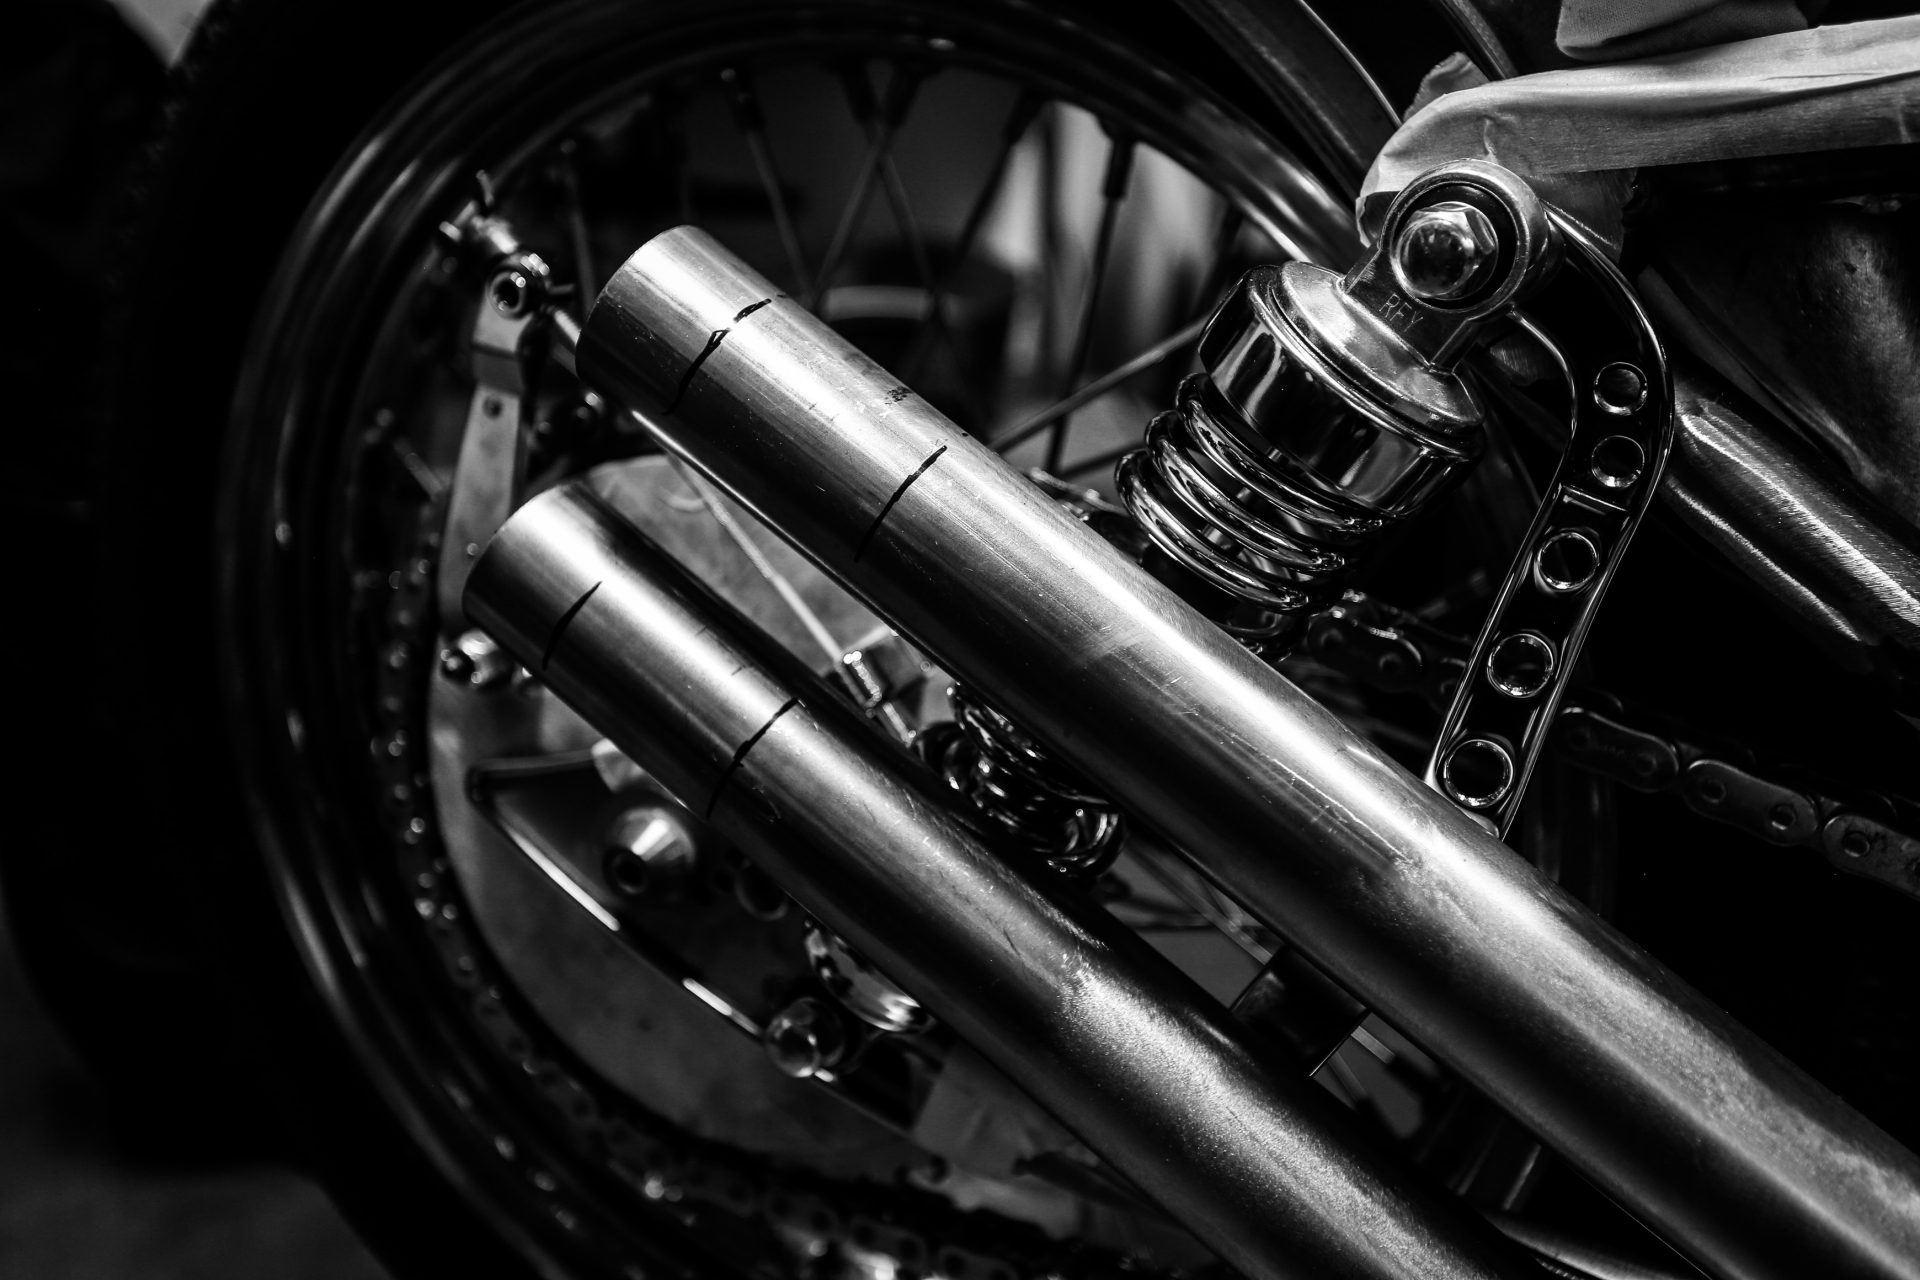
Exhaust and Endcaps
In order to give our bike a sonorous appearance and to be able to dissipate the exhaust fumes in style, we have taken a lot of trouble.
Many Sportster riders and fans will surely understand our situation because the aftermarket offers only a small assortment for models of the Evolution series.
Therefore we have brought a large number of possible exhaust systems into our house to search for our favourite. At least 20-30 times Andreas and Reiner disassembled and reassembled different systems.
In the end they decided to use drag pipes, which now have little to do with their original form.
When choosing the manifold, we made sure that they do not compete with the footrest and the foot brake lever.
An important point for the later line of the bike is the rear angle where the pipes rise. Since no connecting piece with the desired angle was available, we simply made it by hand ourselves.
In addition, the pipes have been given a slight recess to make them fit even more smoothly around the rear shock absorbers and thus bring the exhaust pipes closer to the frame.
Two also handmade brackets secure the system to the bike. One is located below the engine and the other one just before the right shock absorber.
To give the tailpipes a nice finish we have digitally created three different end caps in funnel shapes with the help of our CAD designer Andre. These we transferred to cardboard templates to determine the final shape on the bike. Like all brass parts on the bike, the endcaps were turned from solid material and then polished to a high gloss.
We think the resulting exhaust looks not only cool but also sounds damn good!

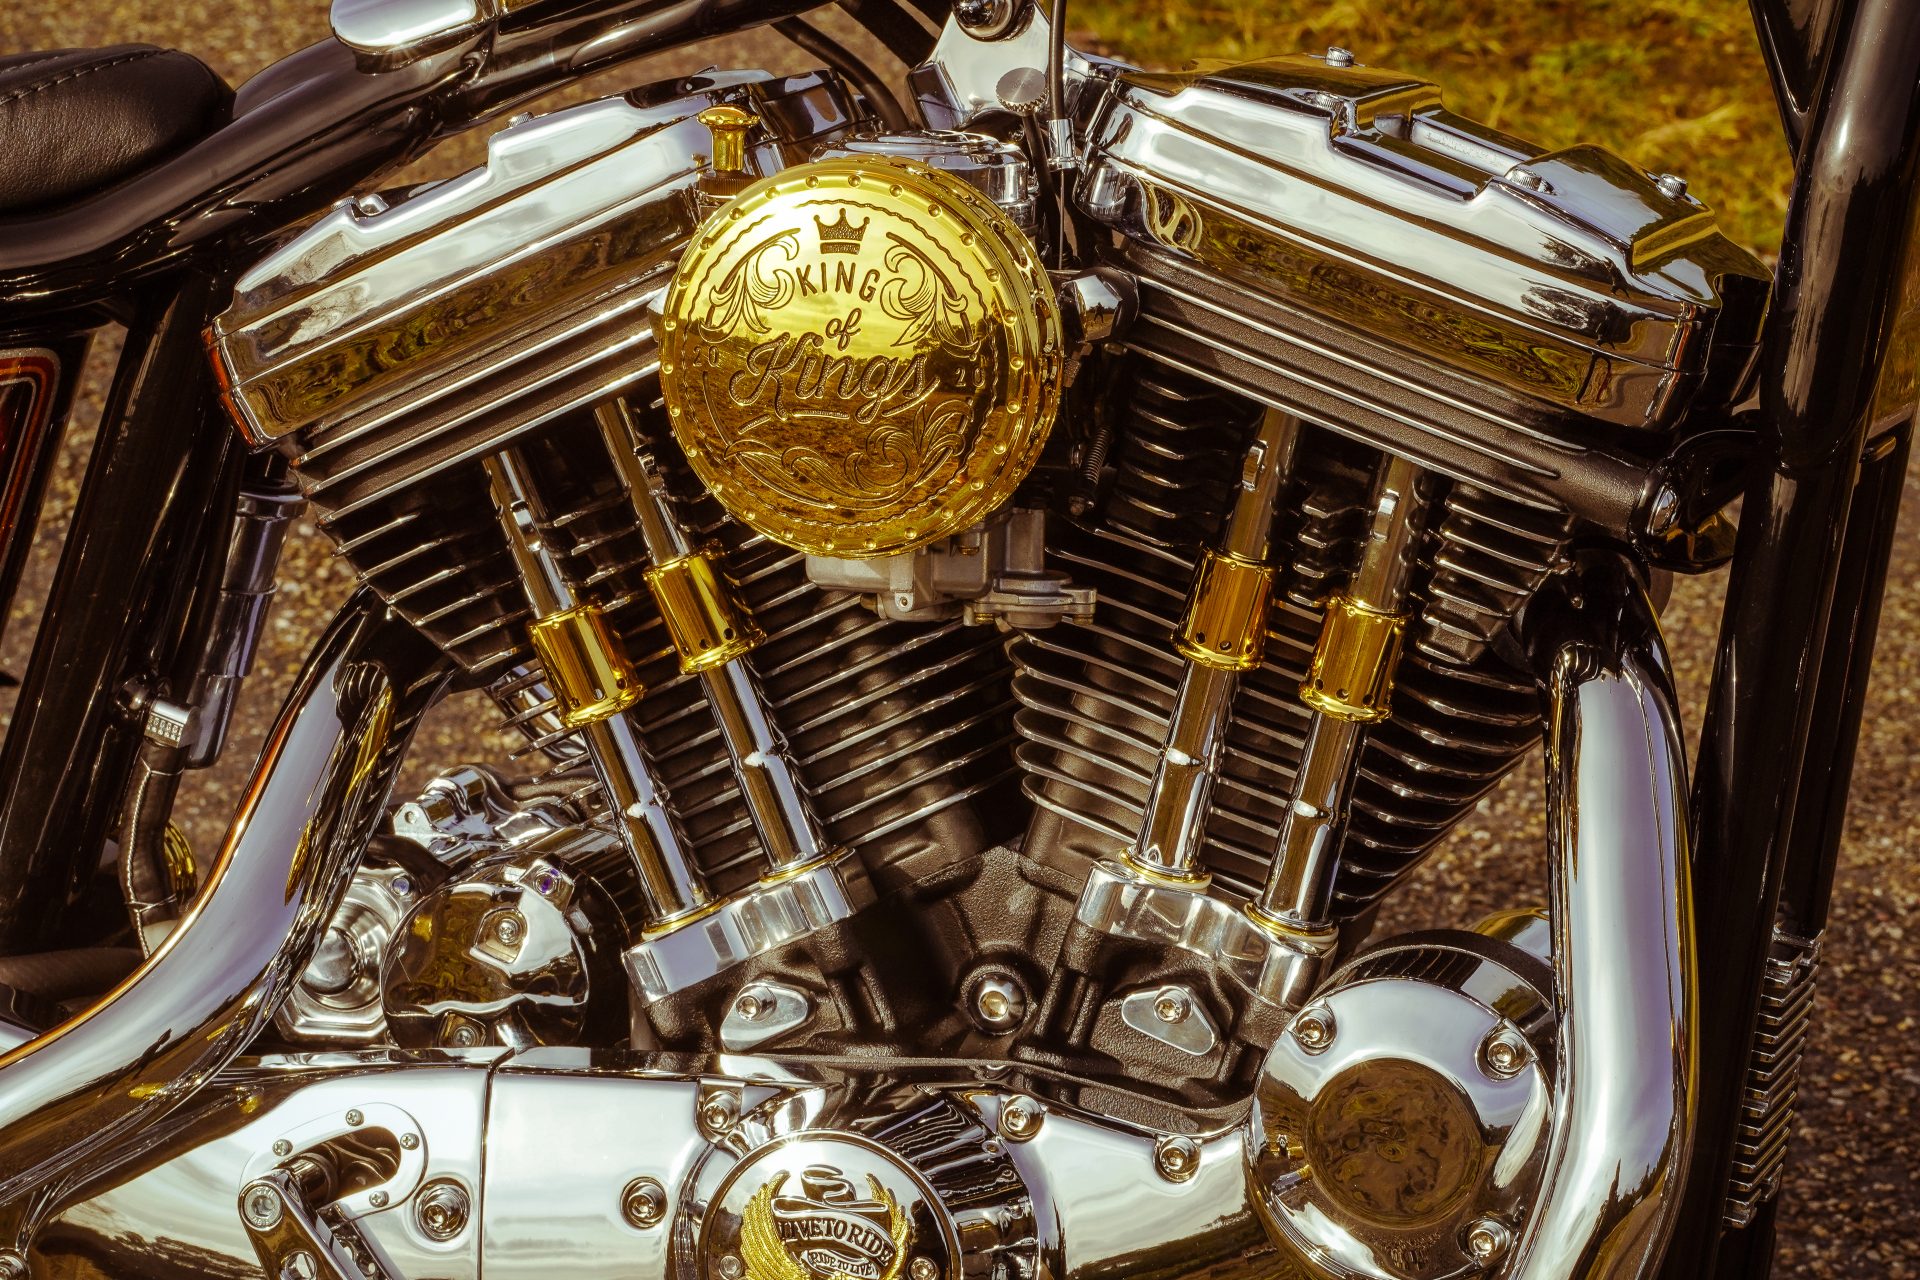
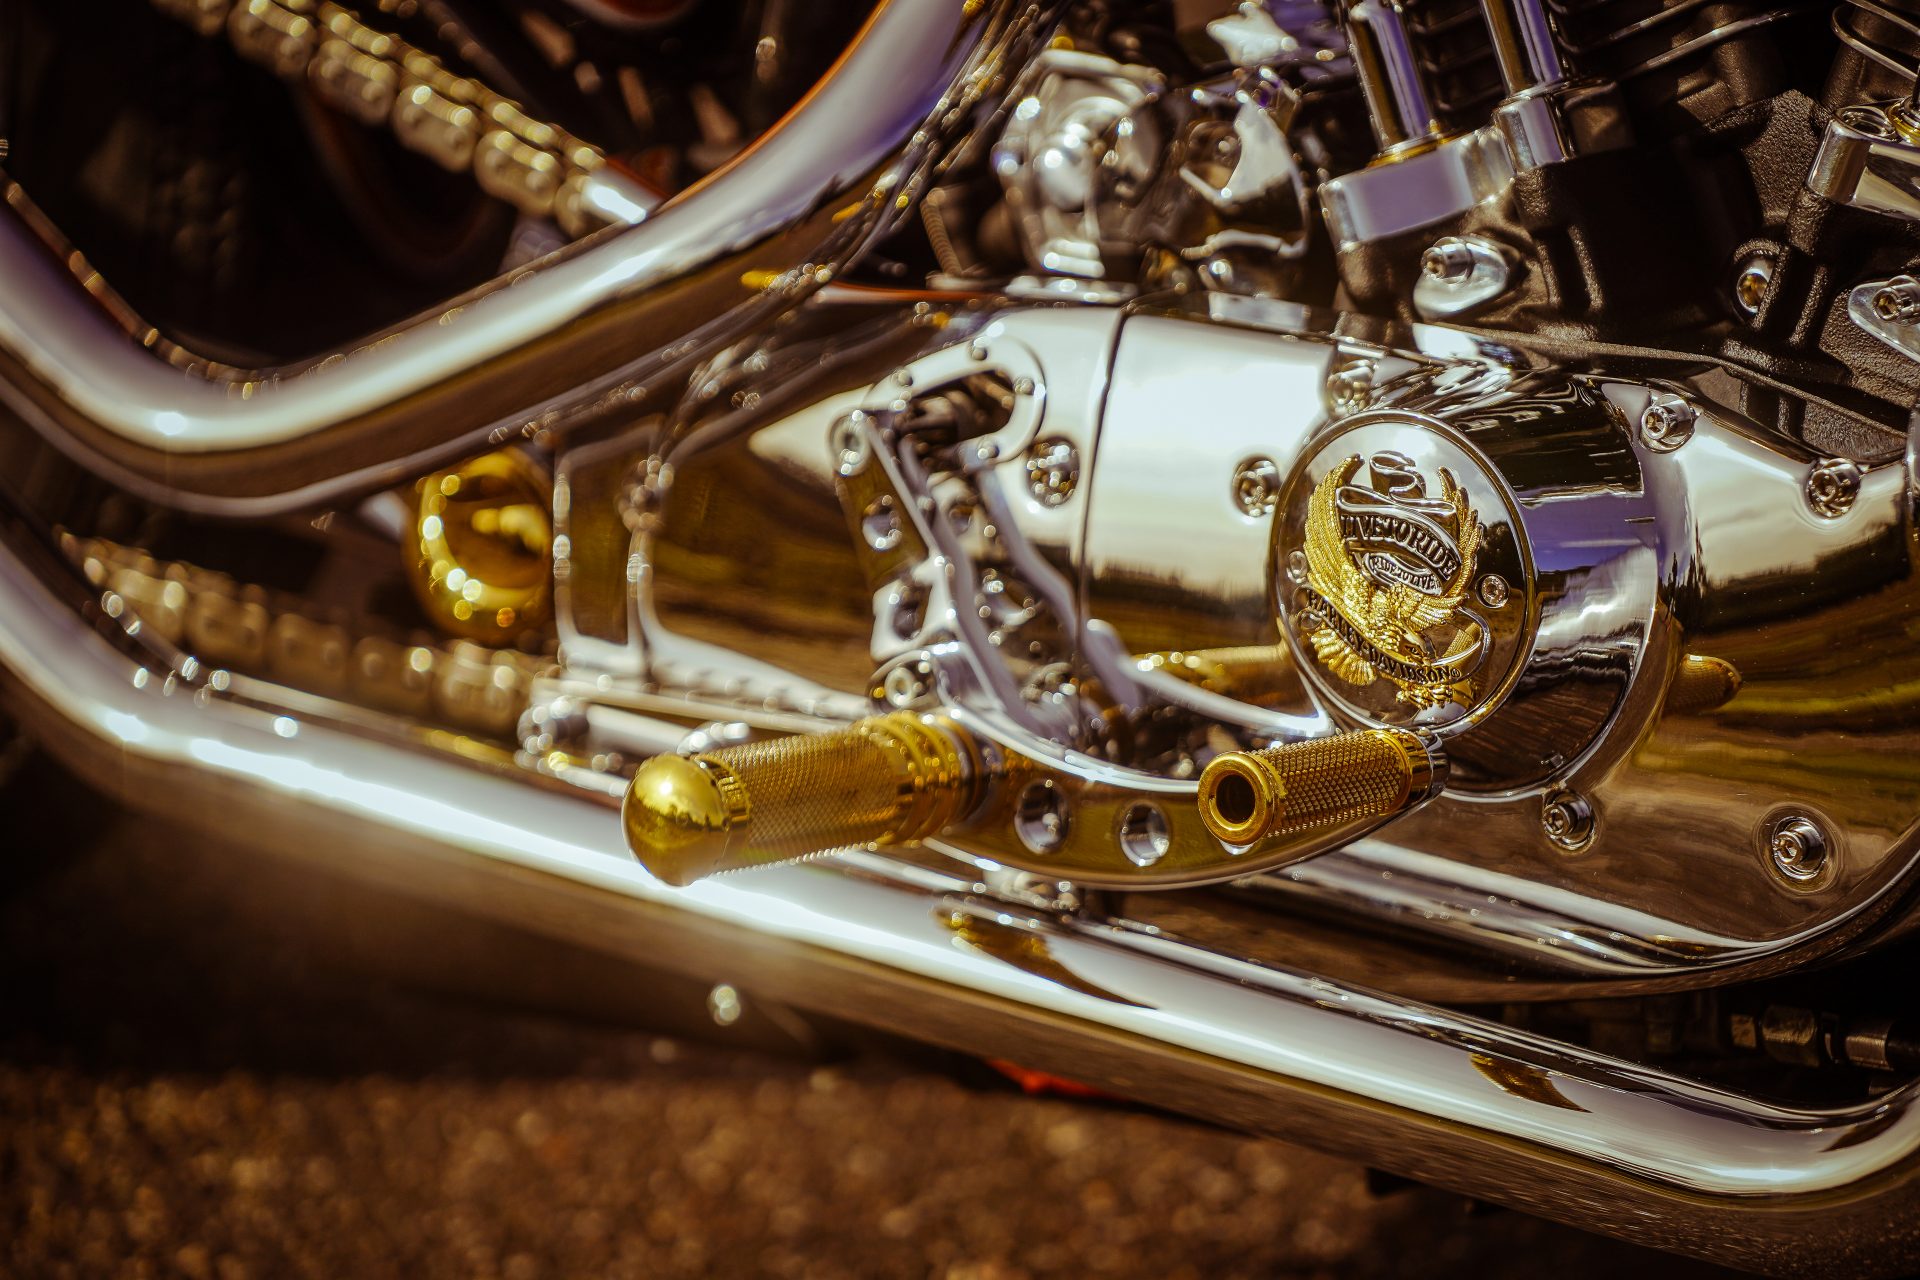
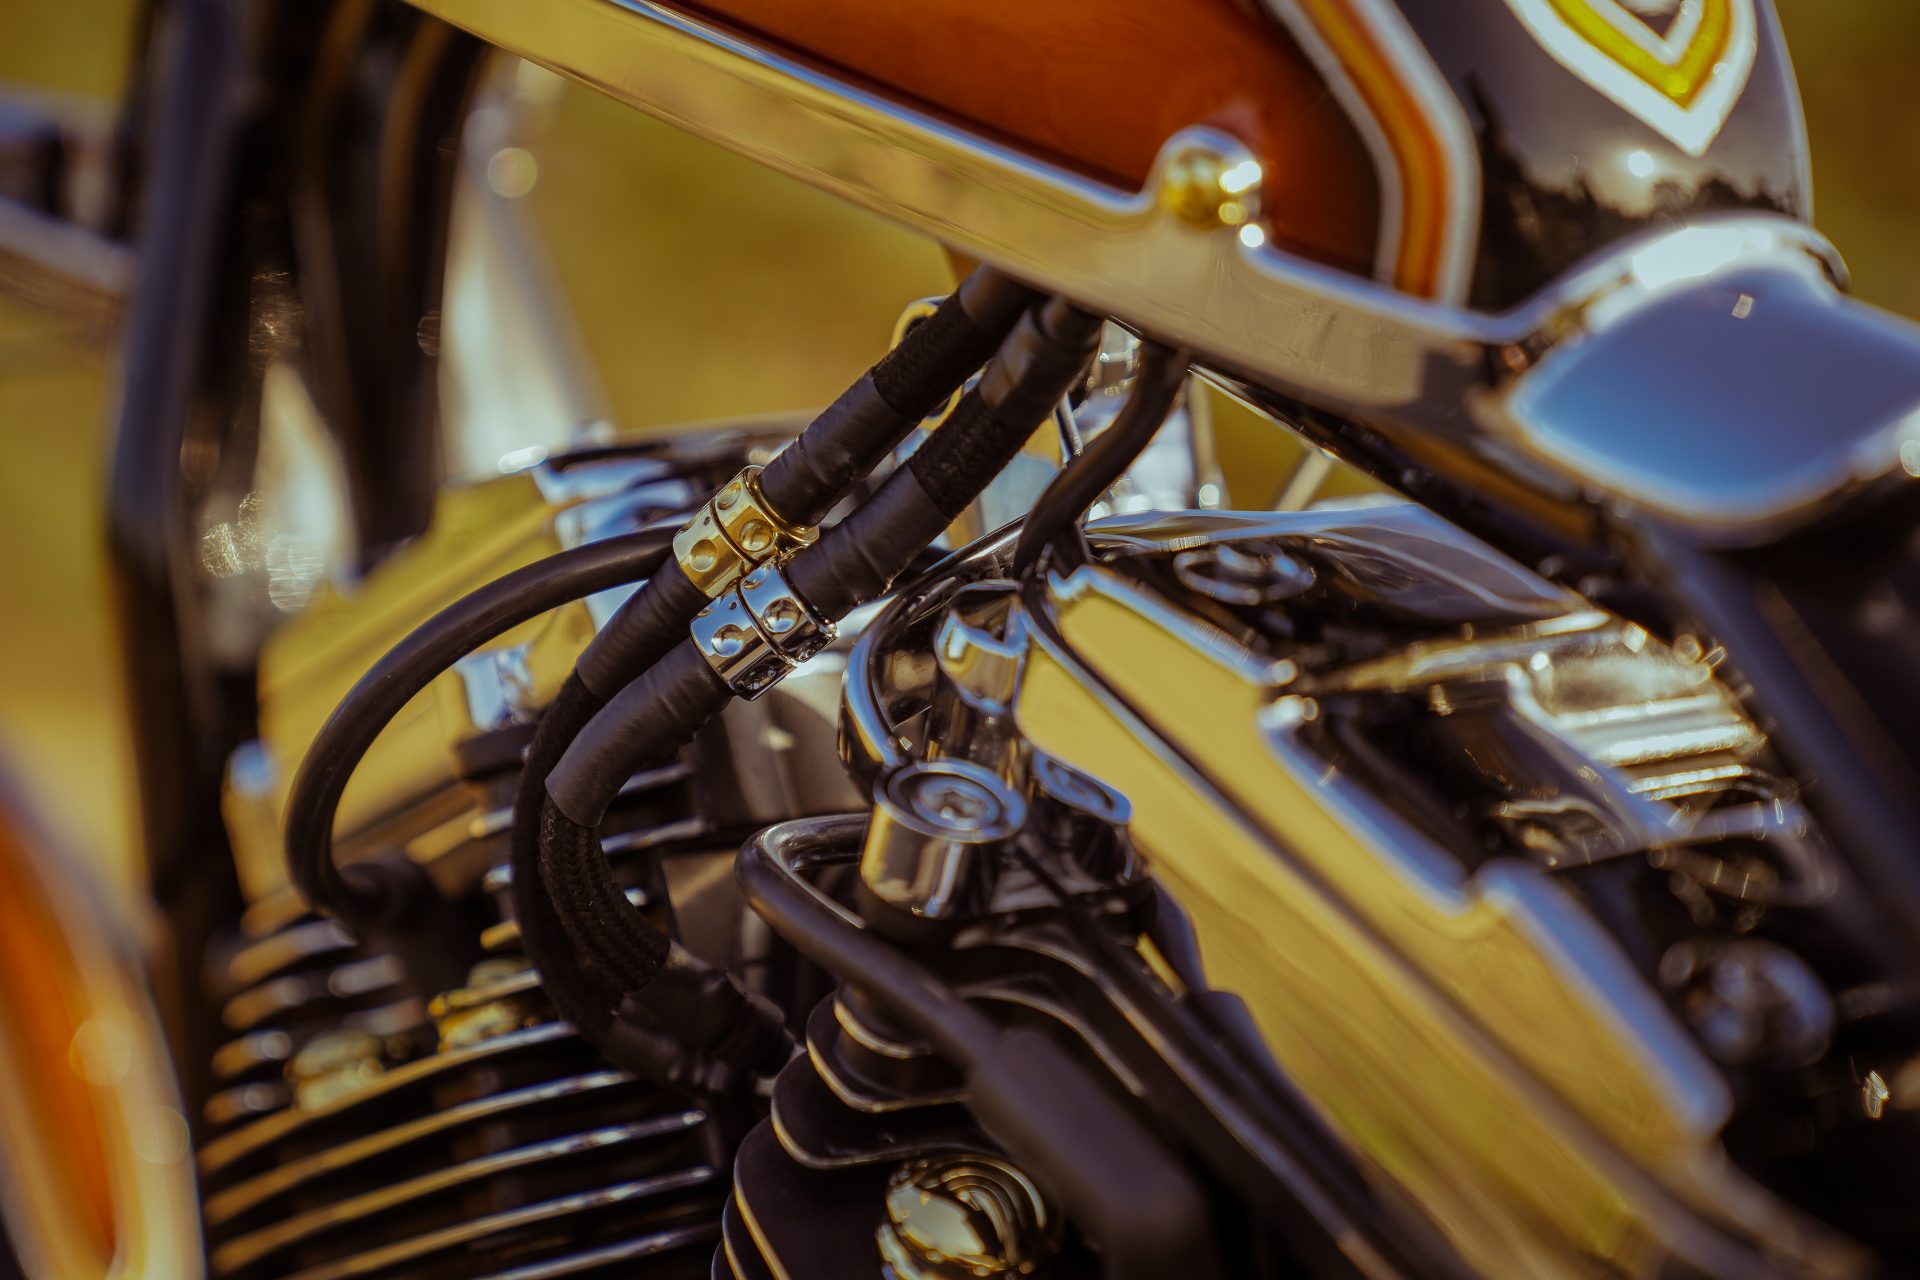
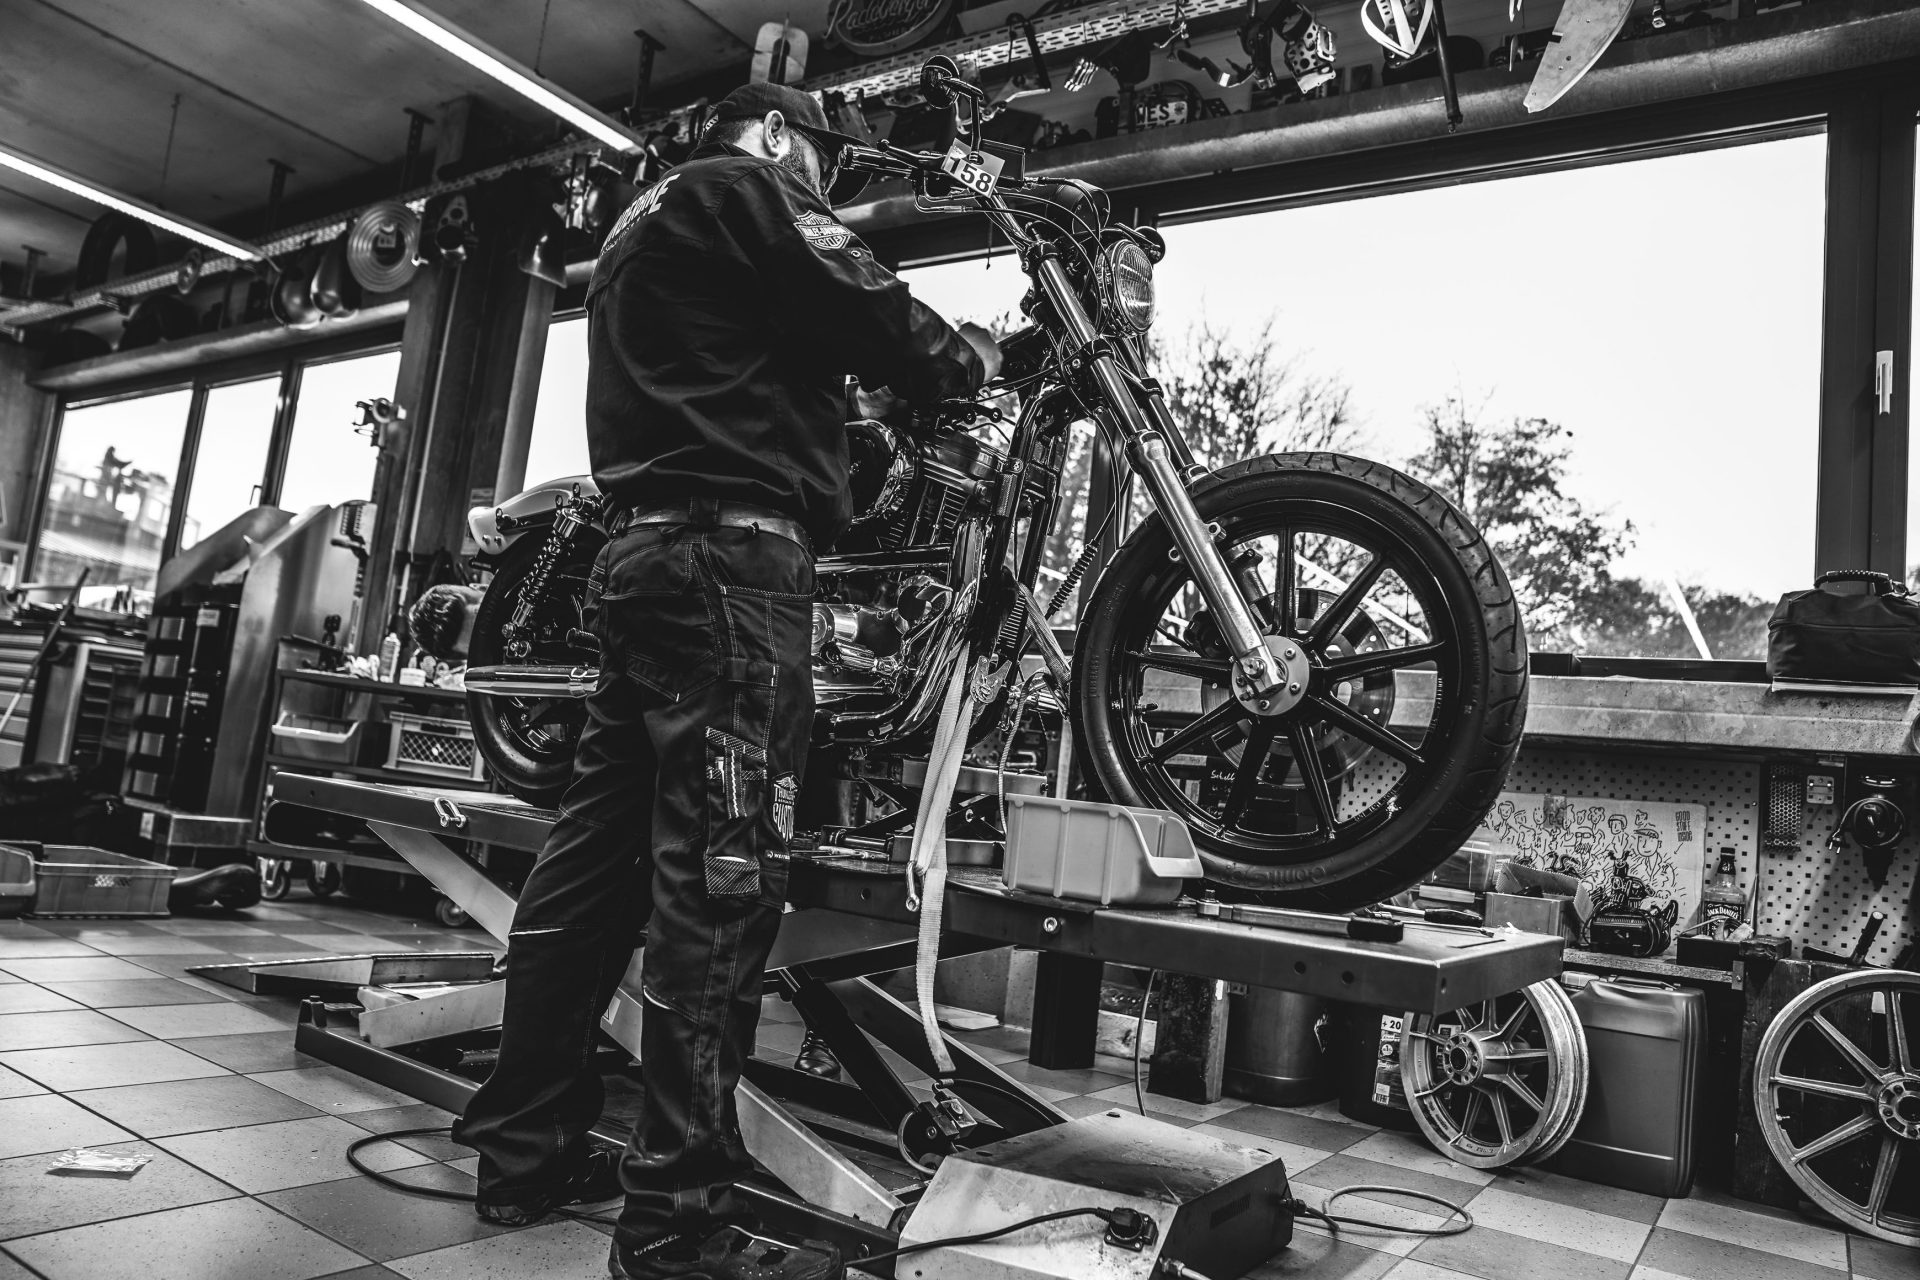
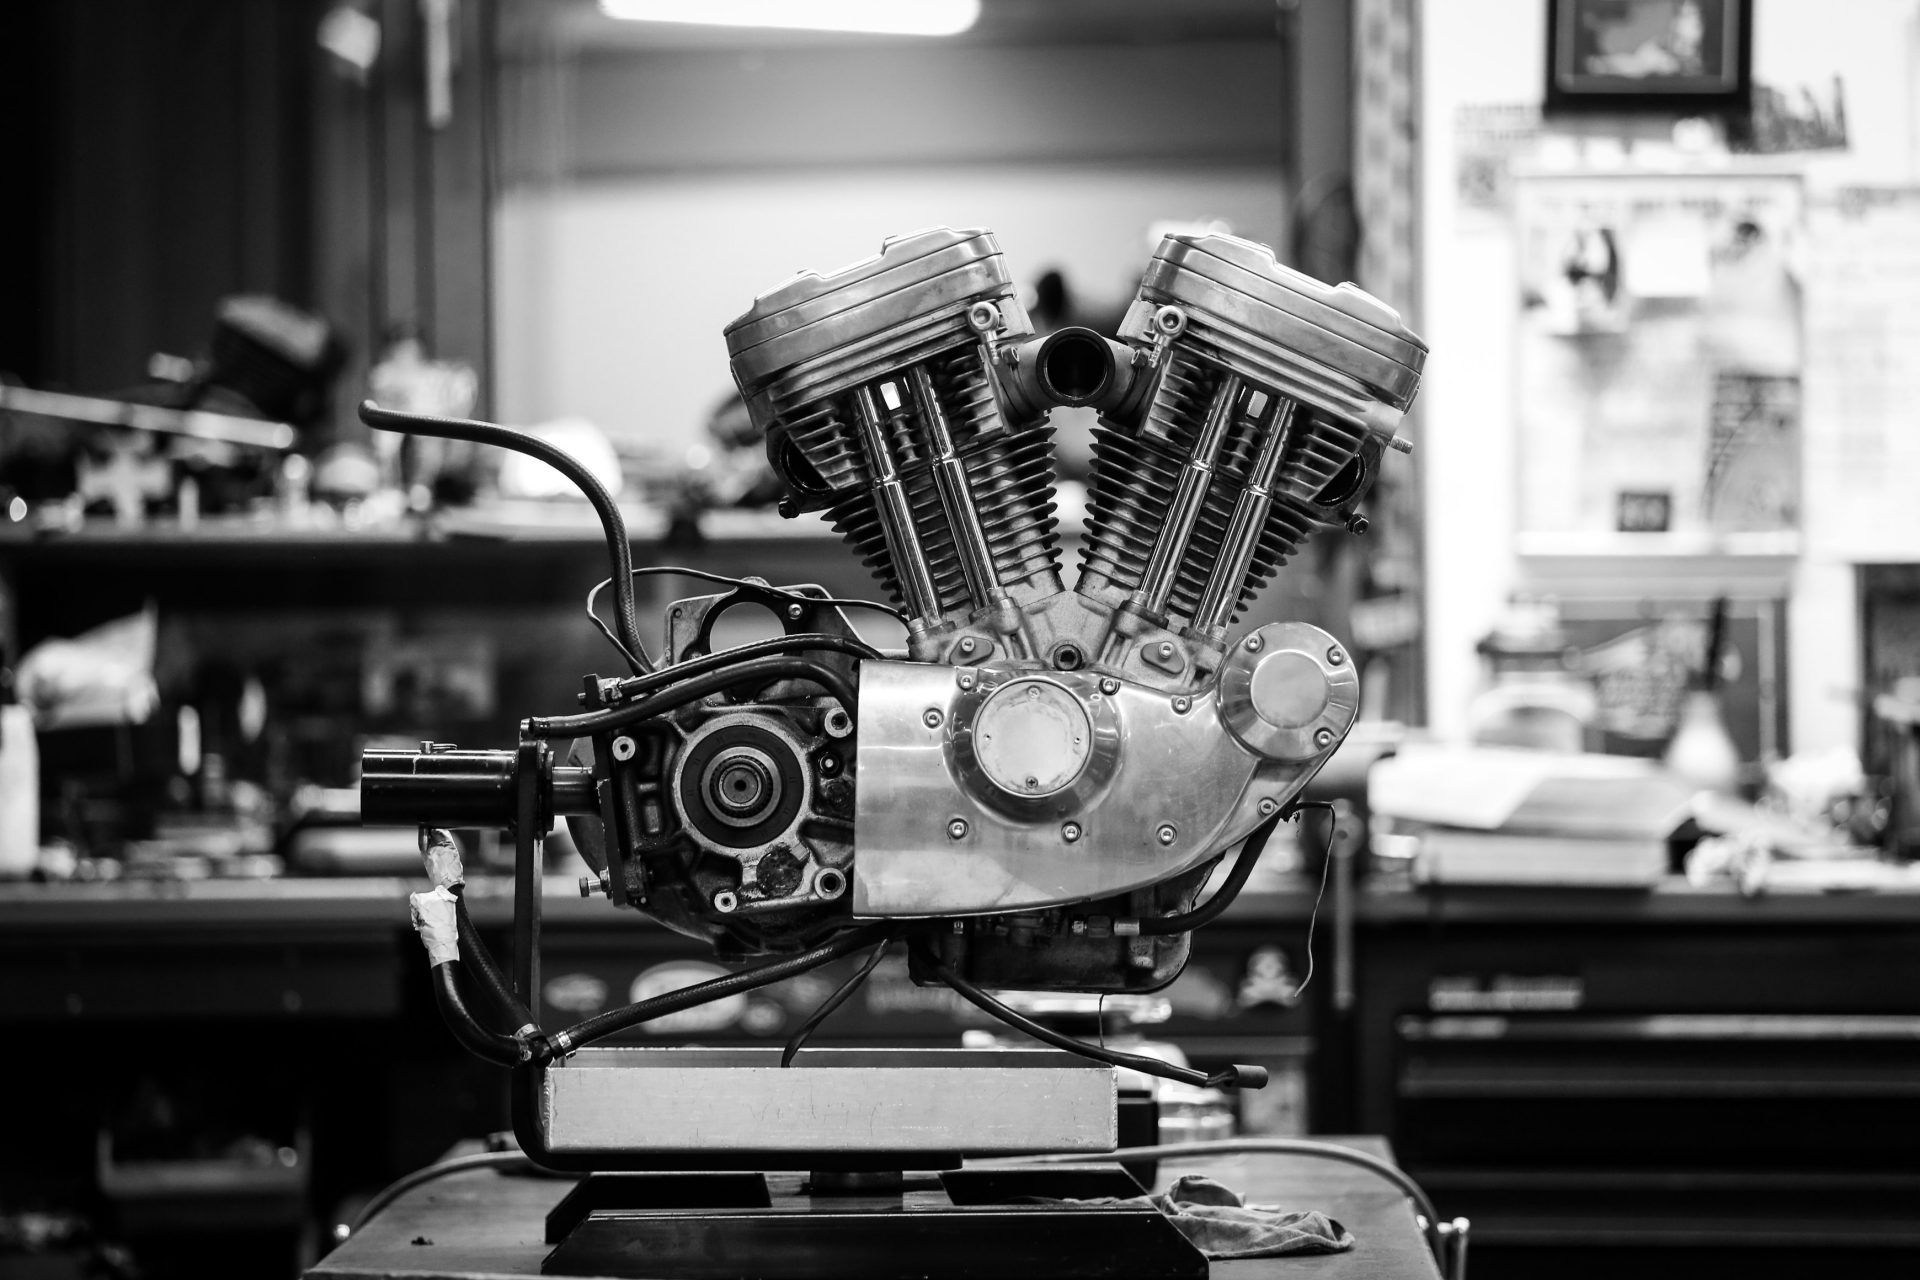
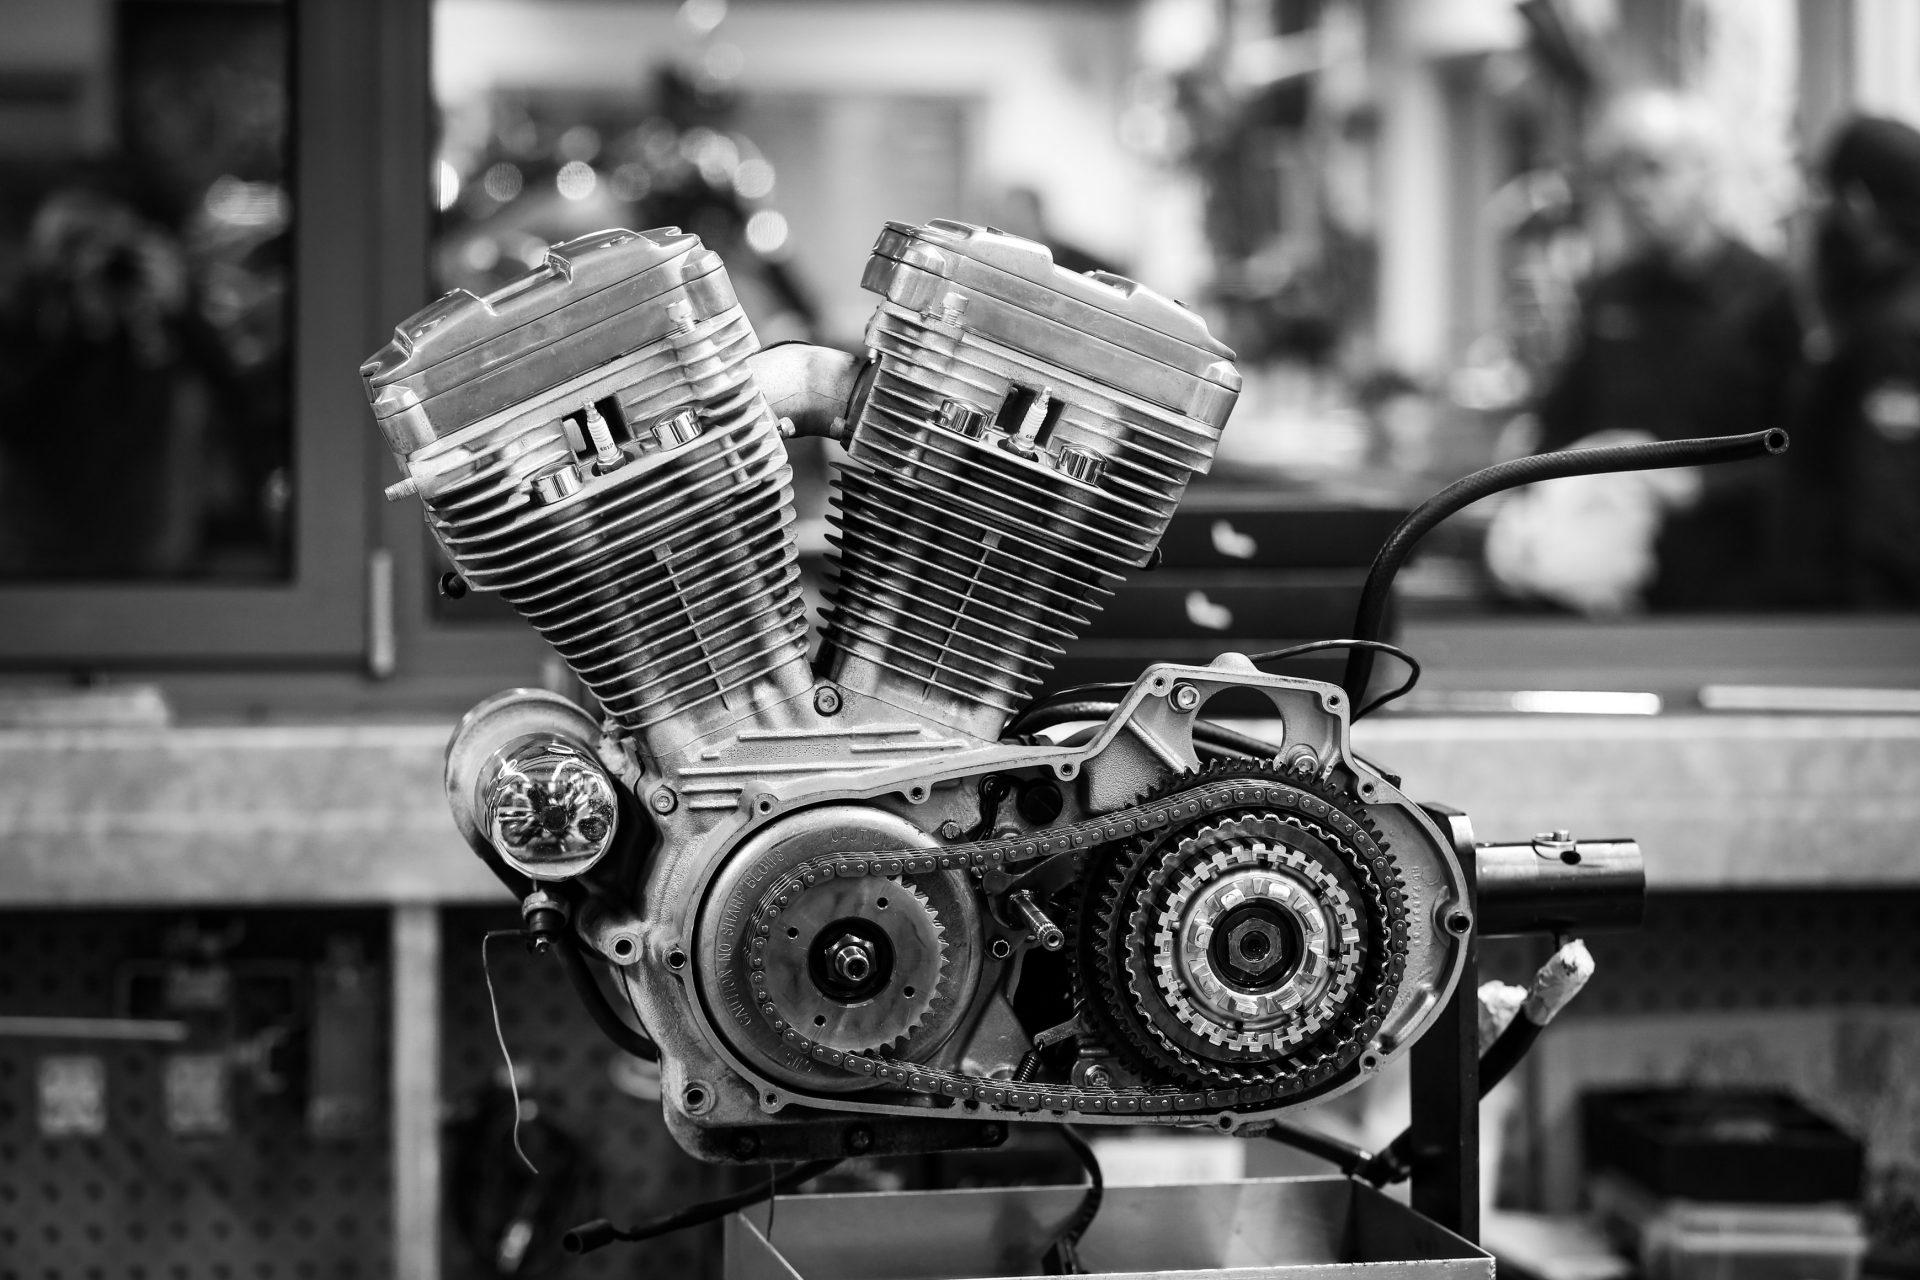
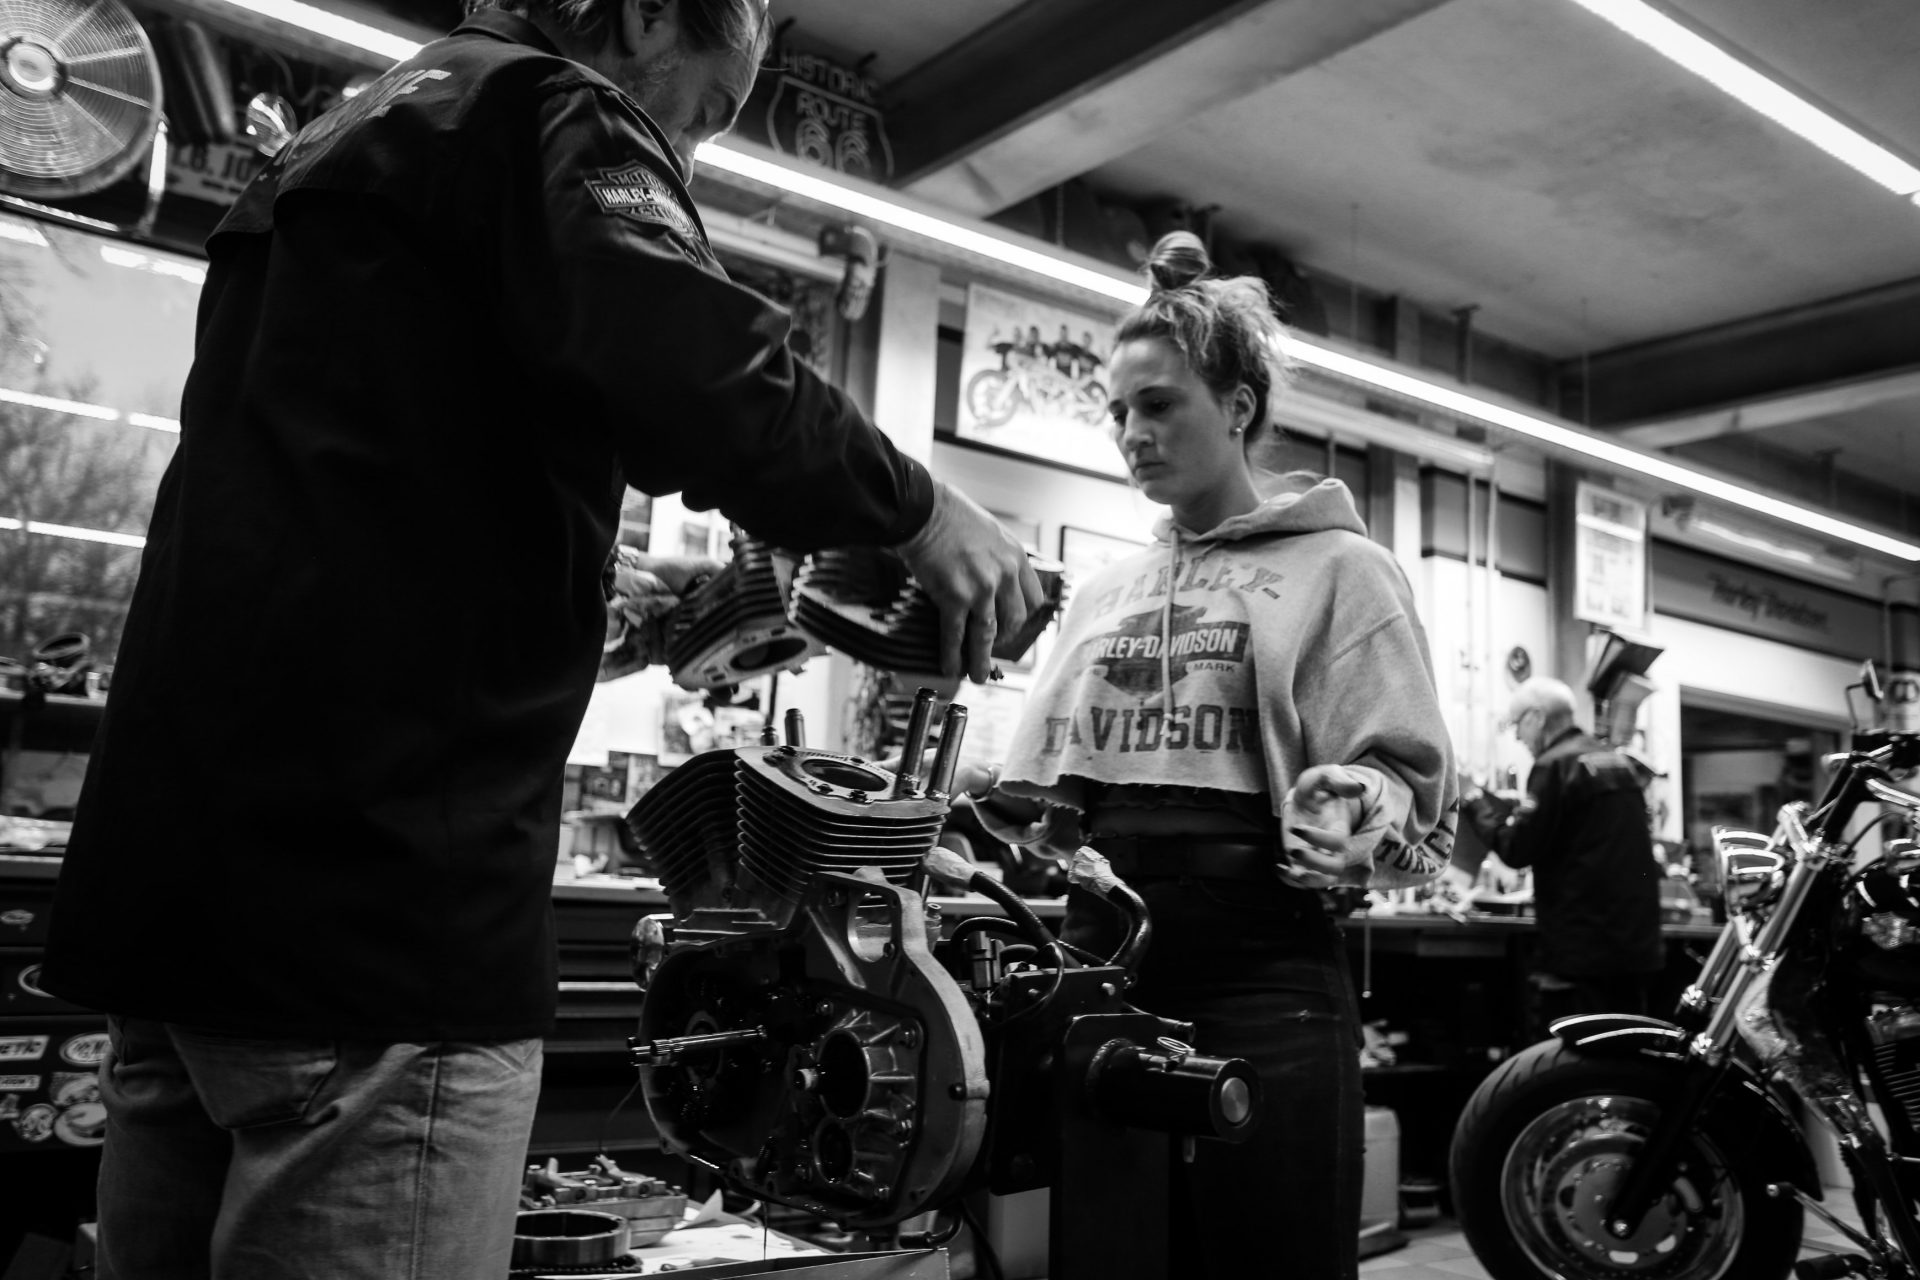
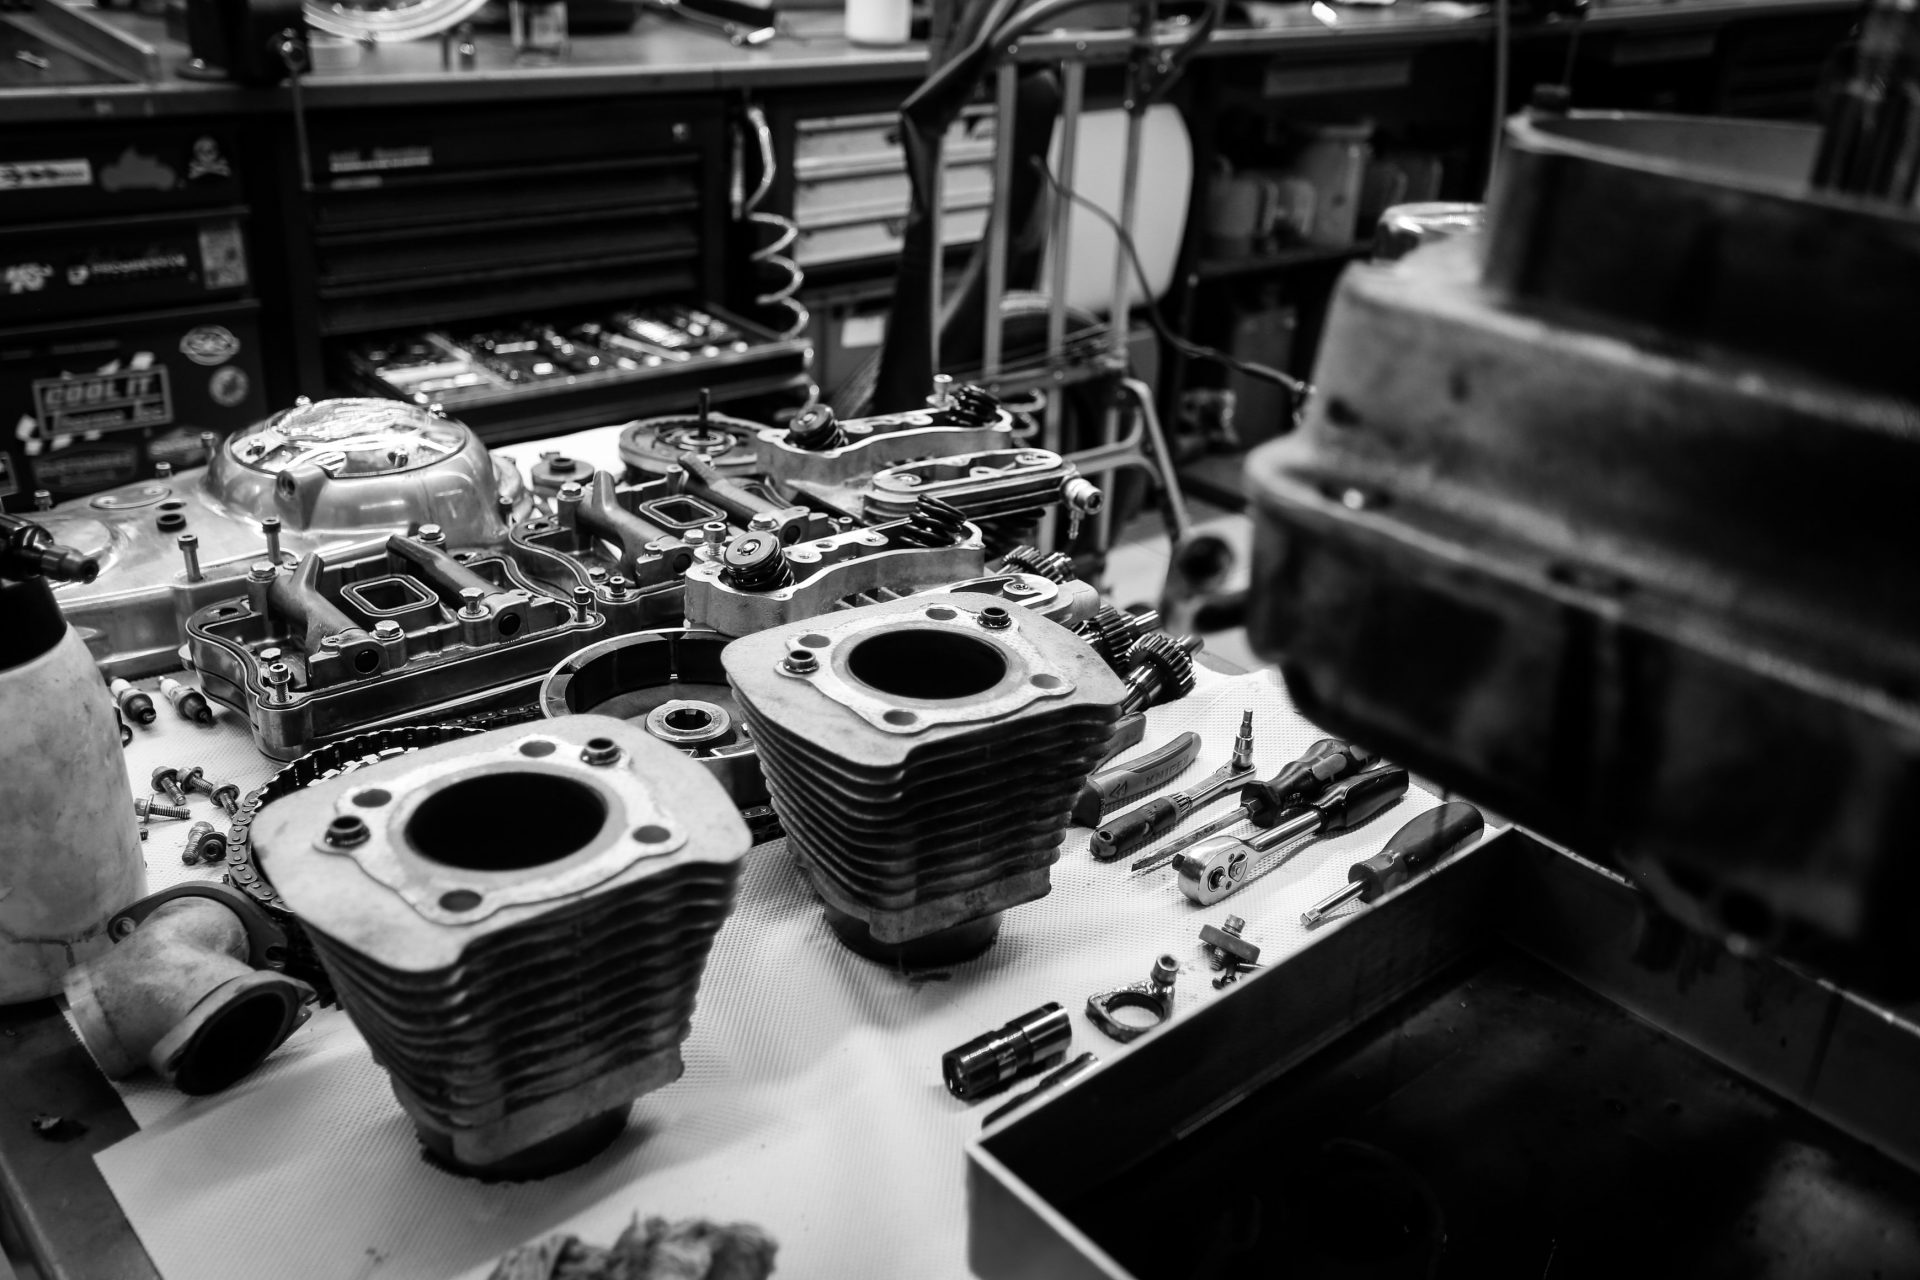
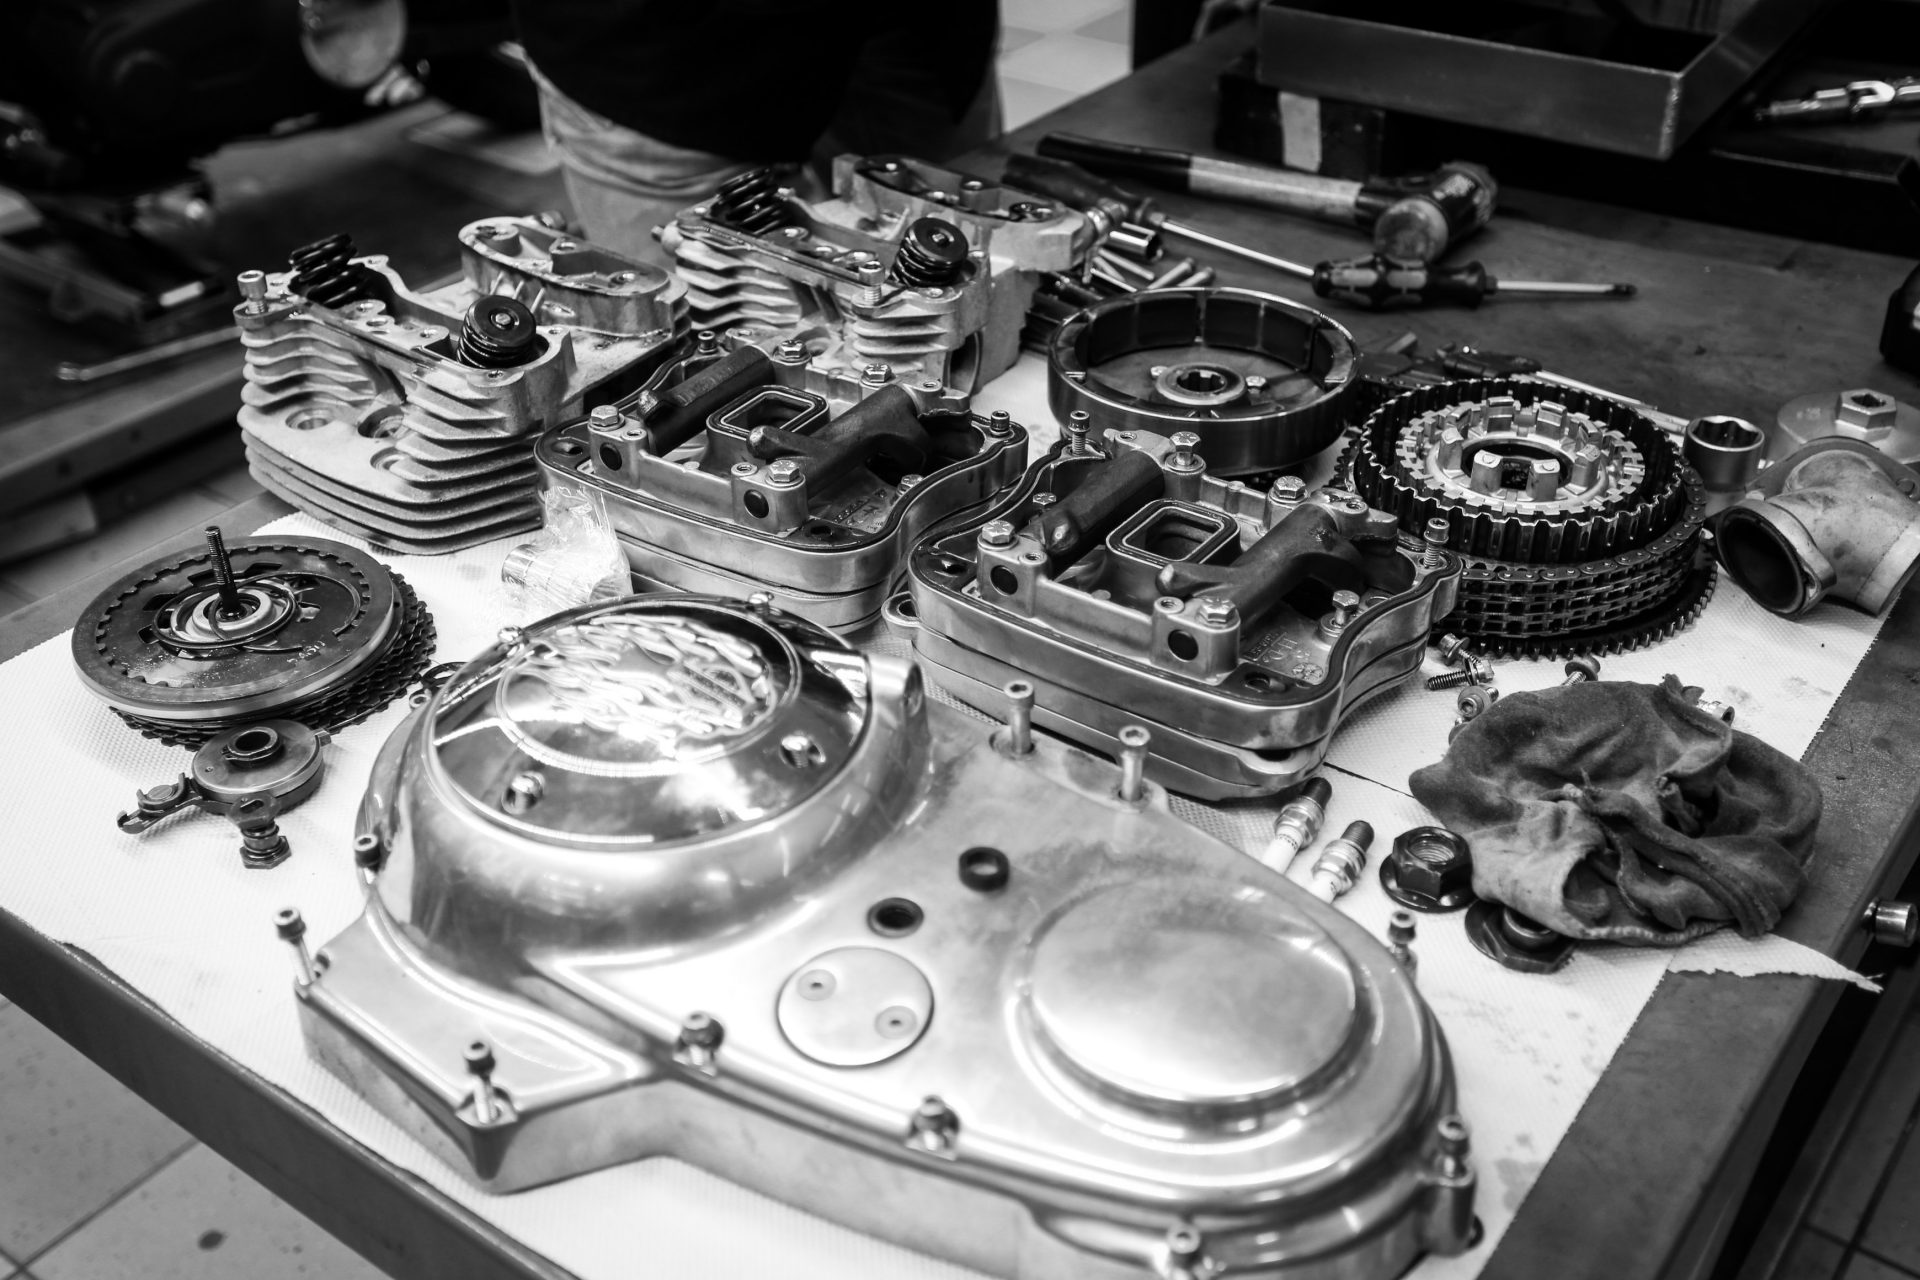
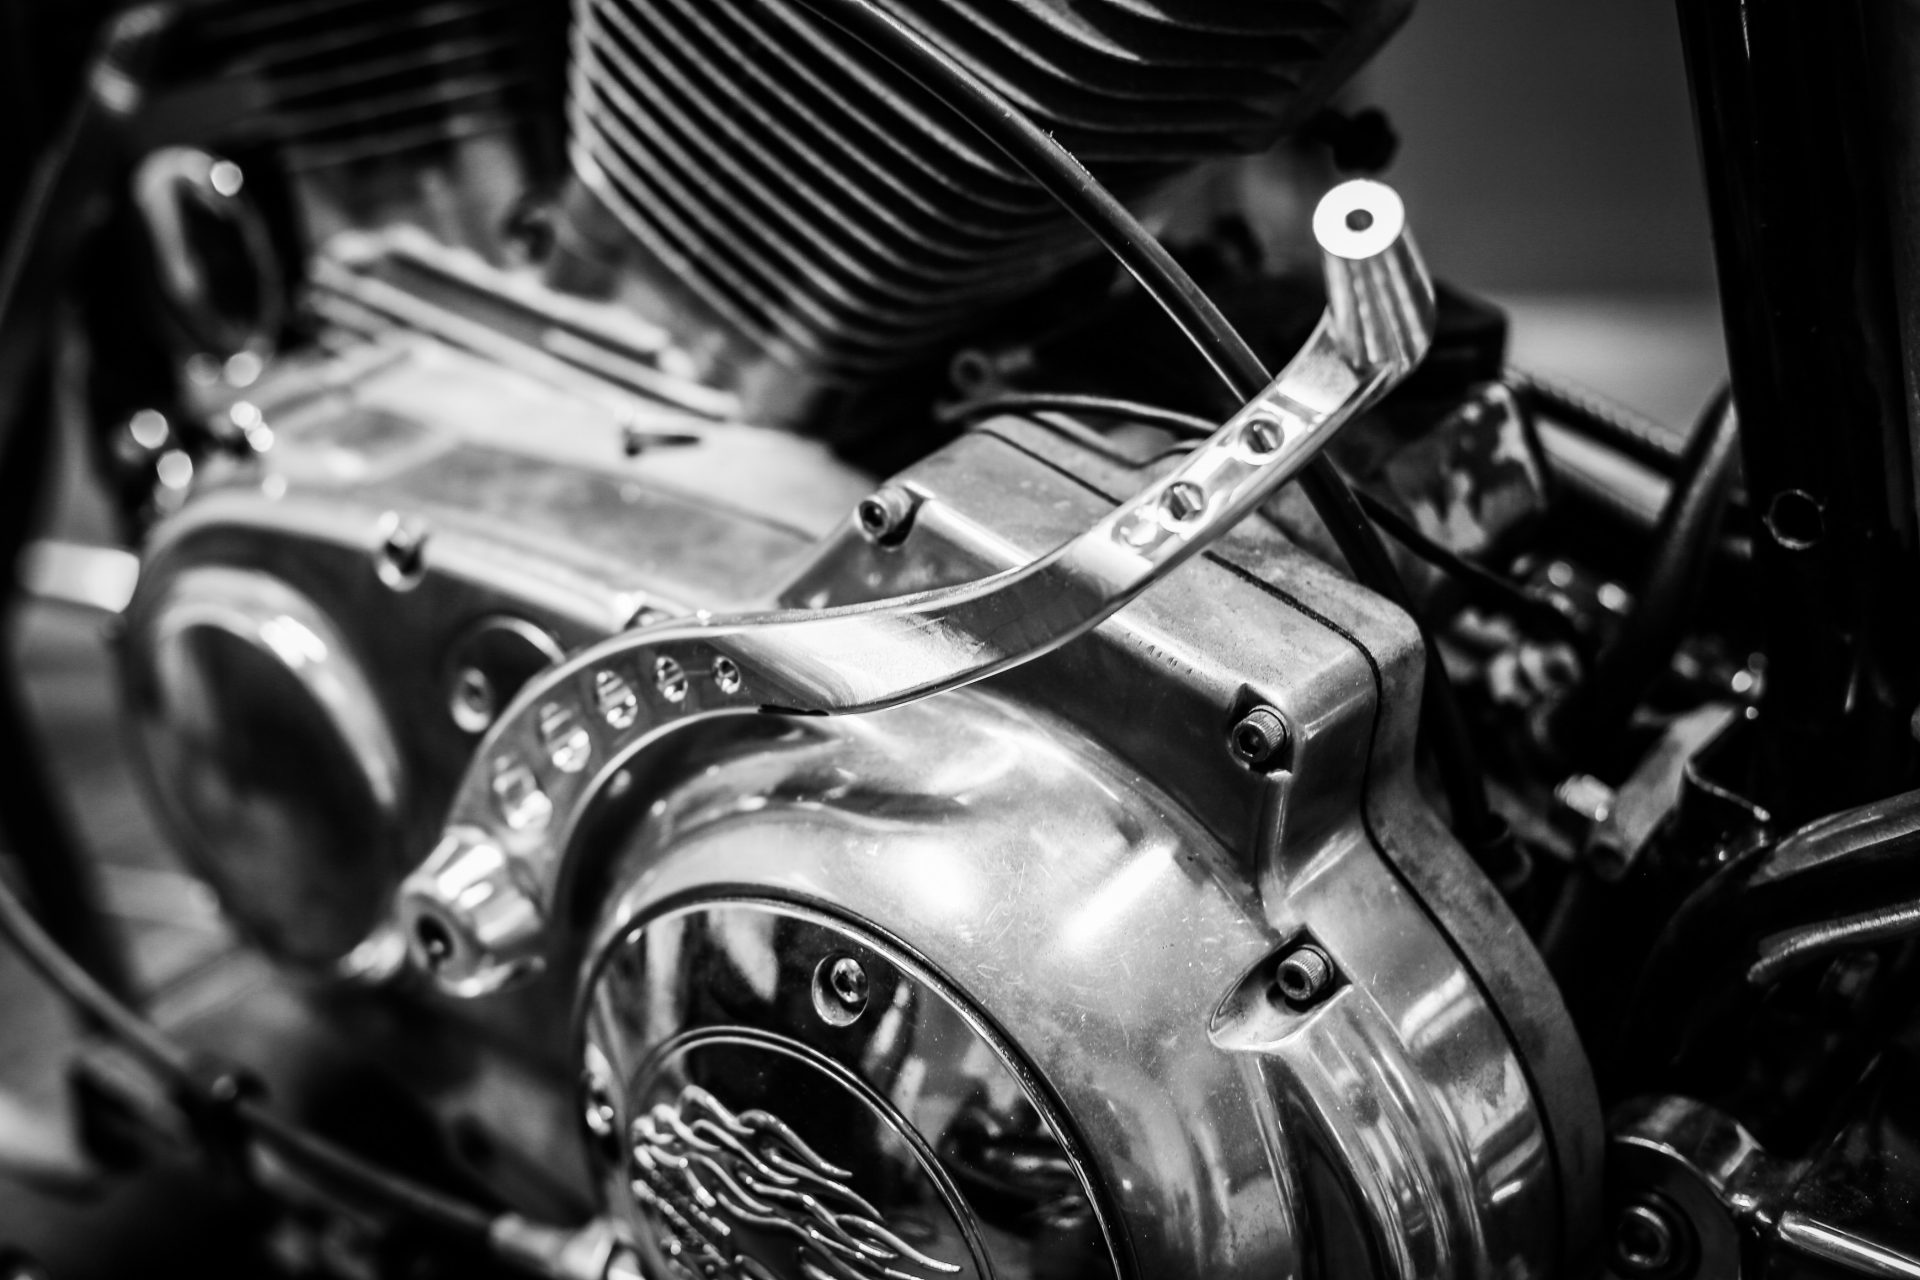
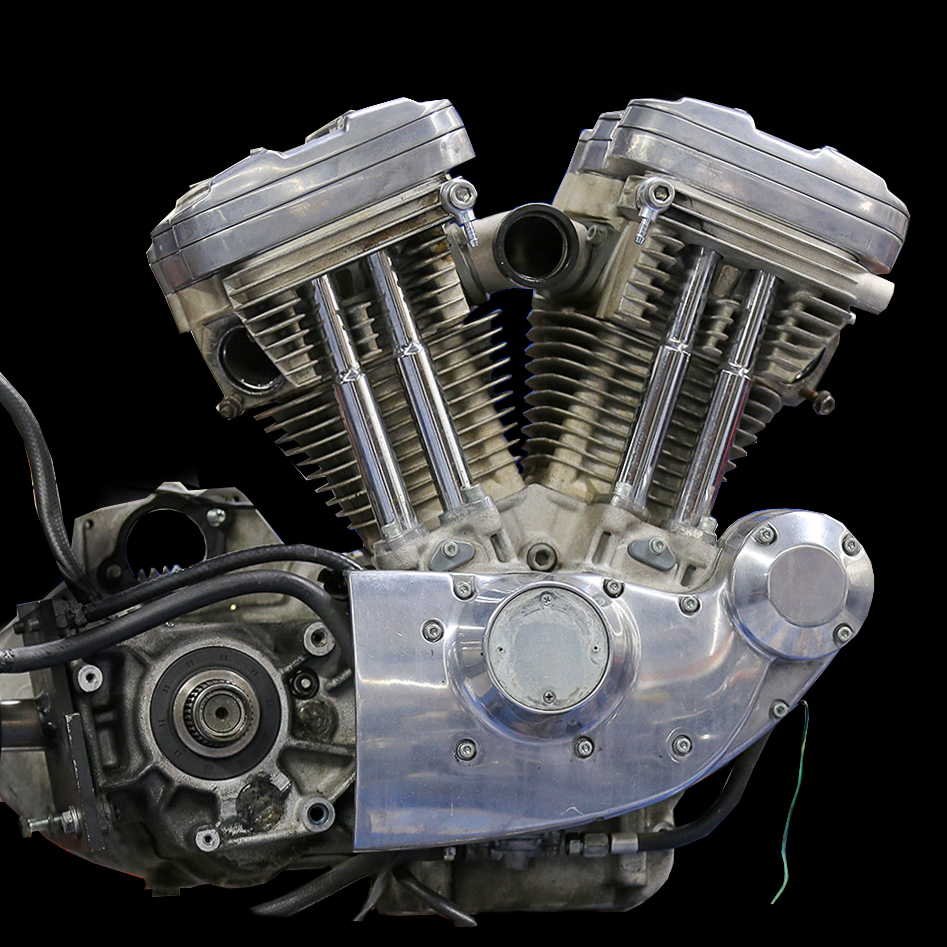
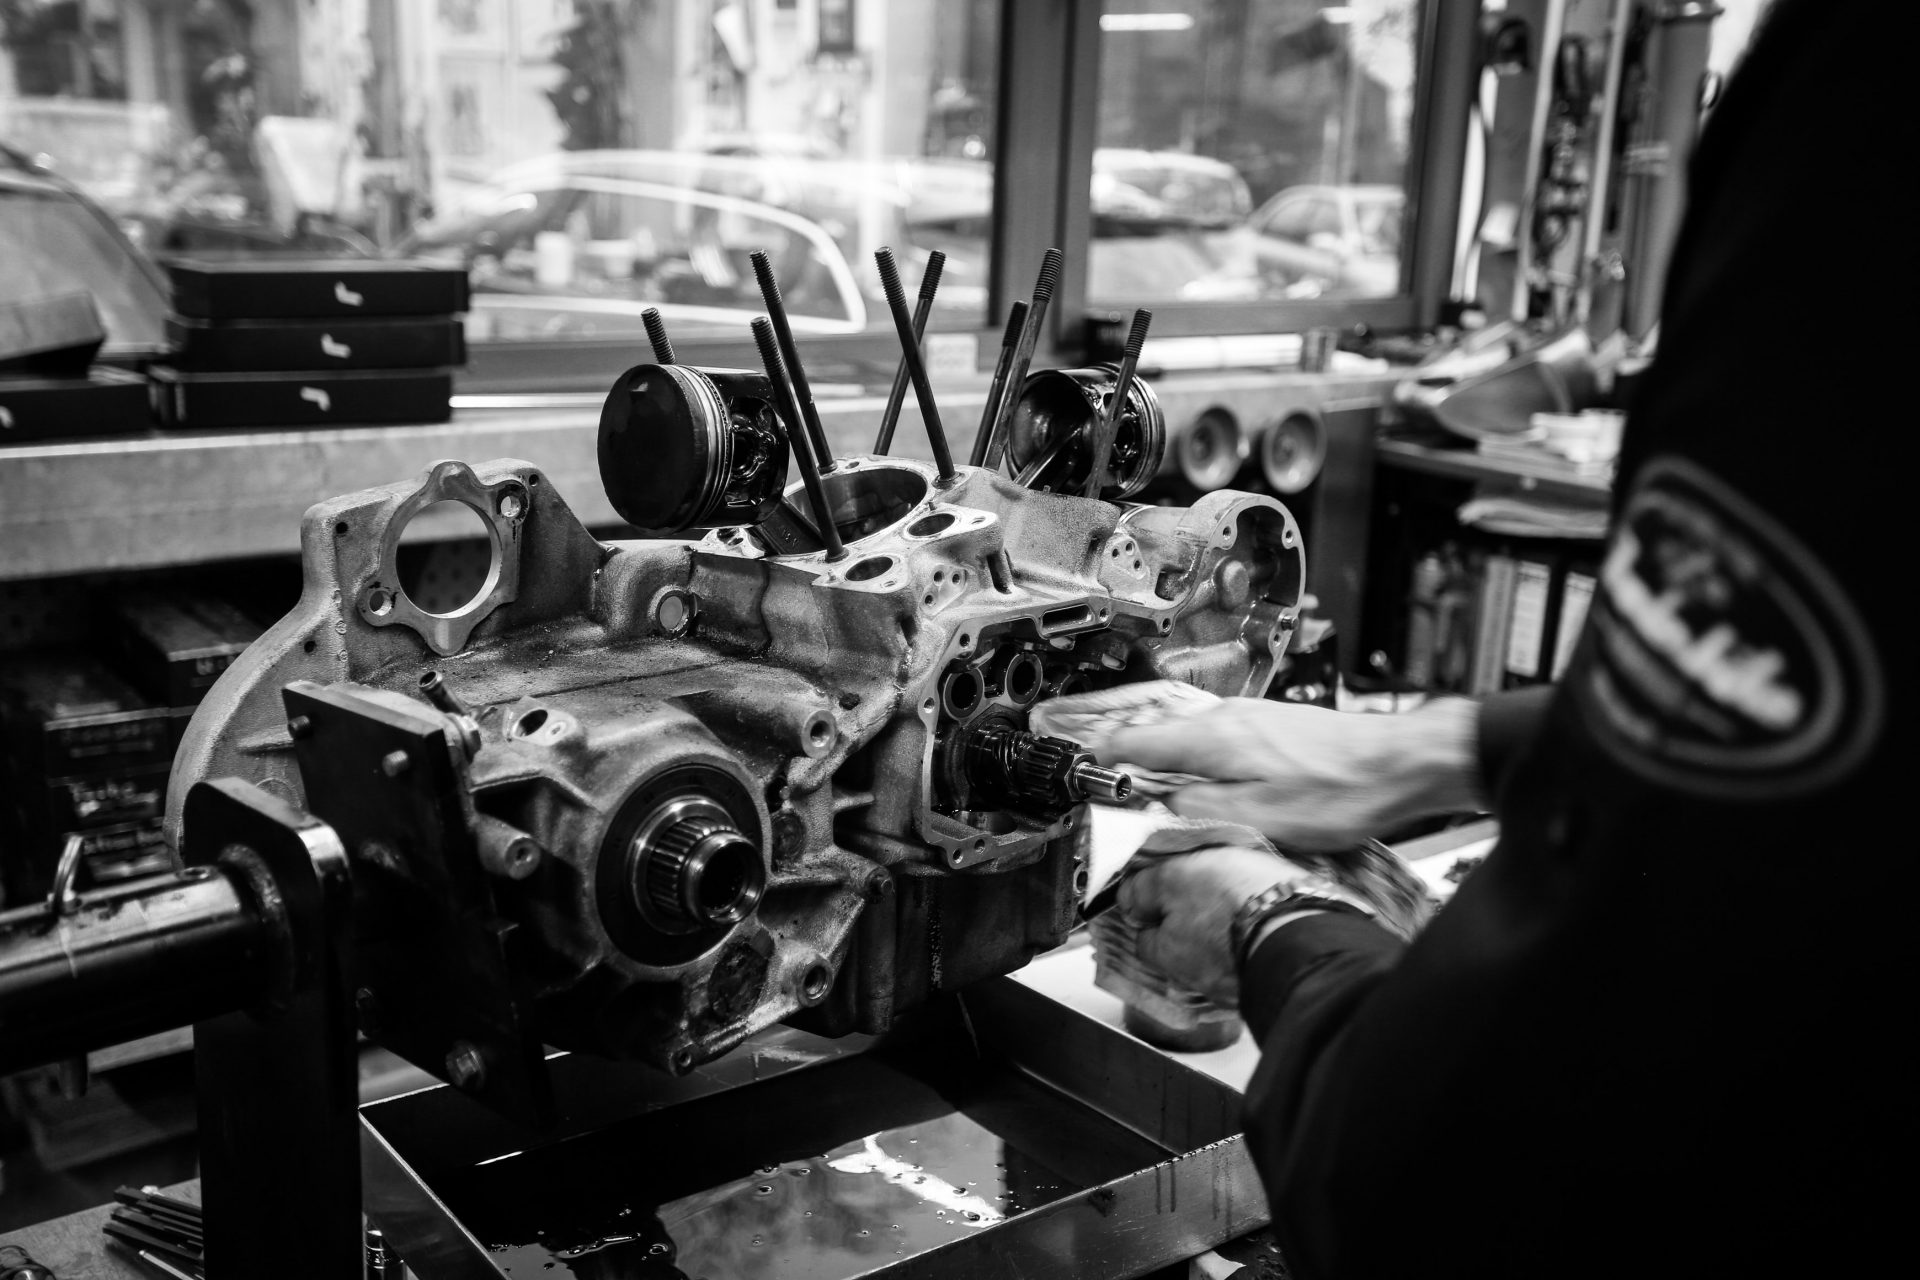
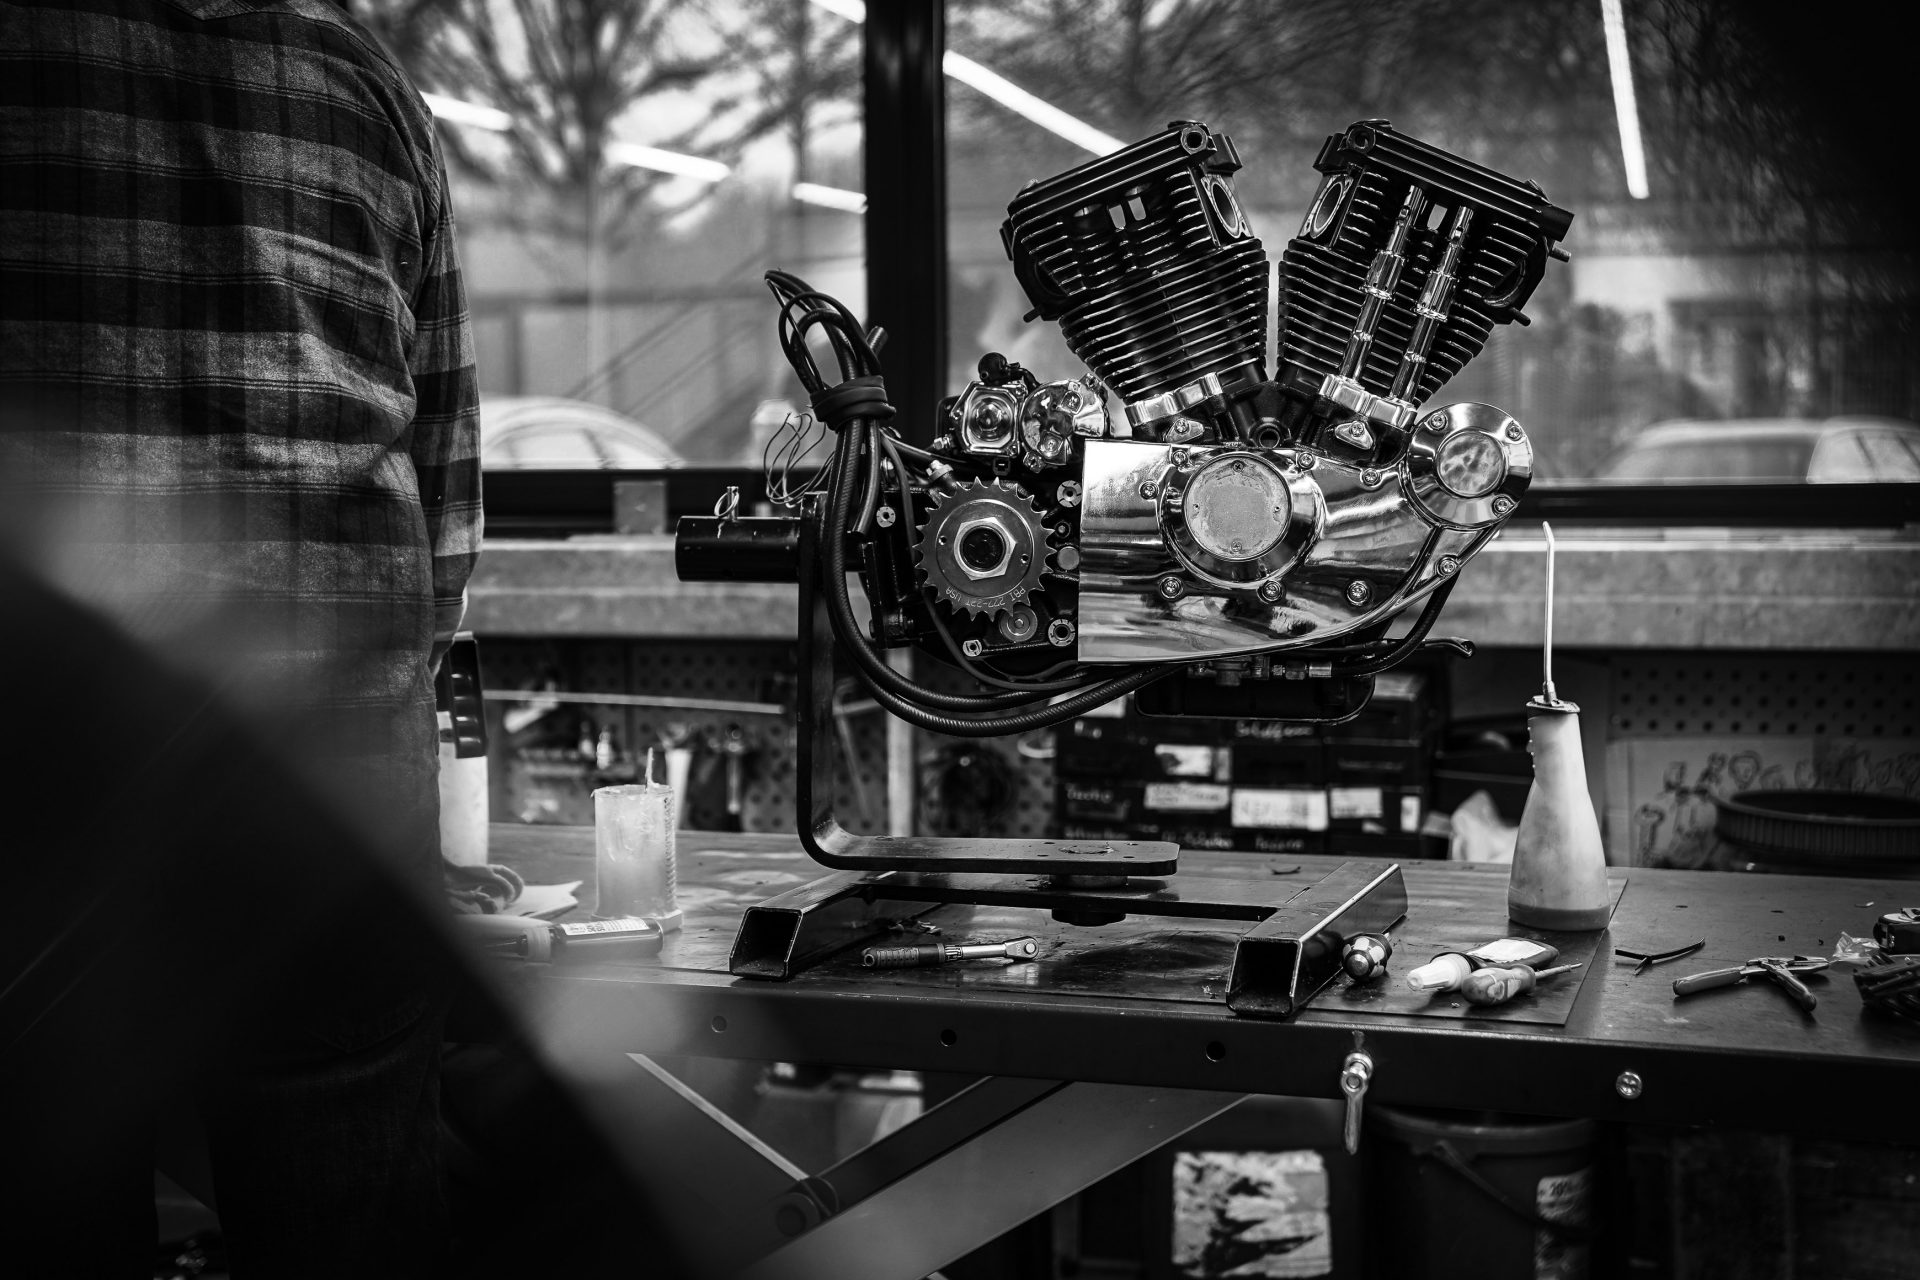
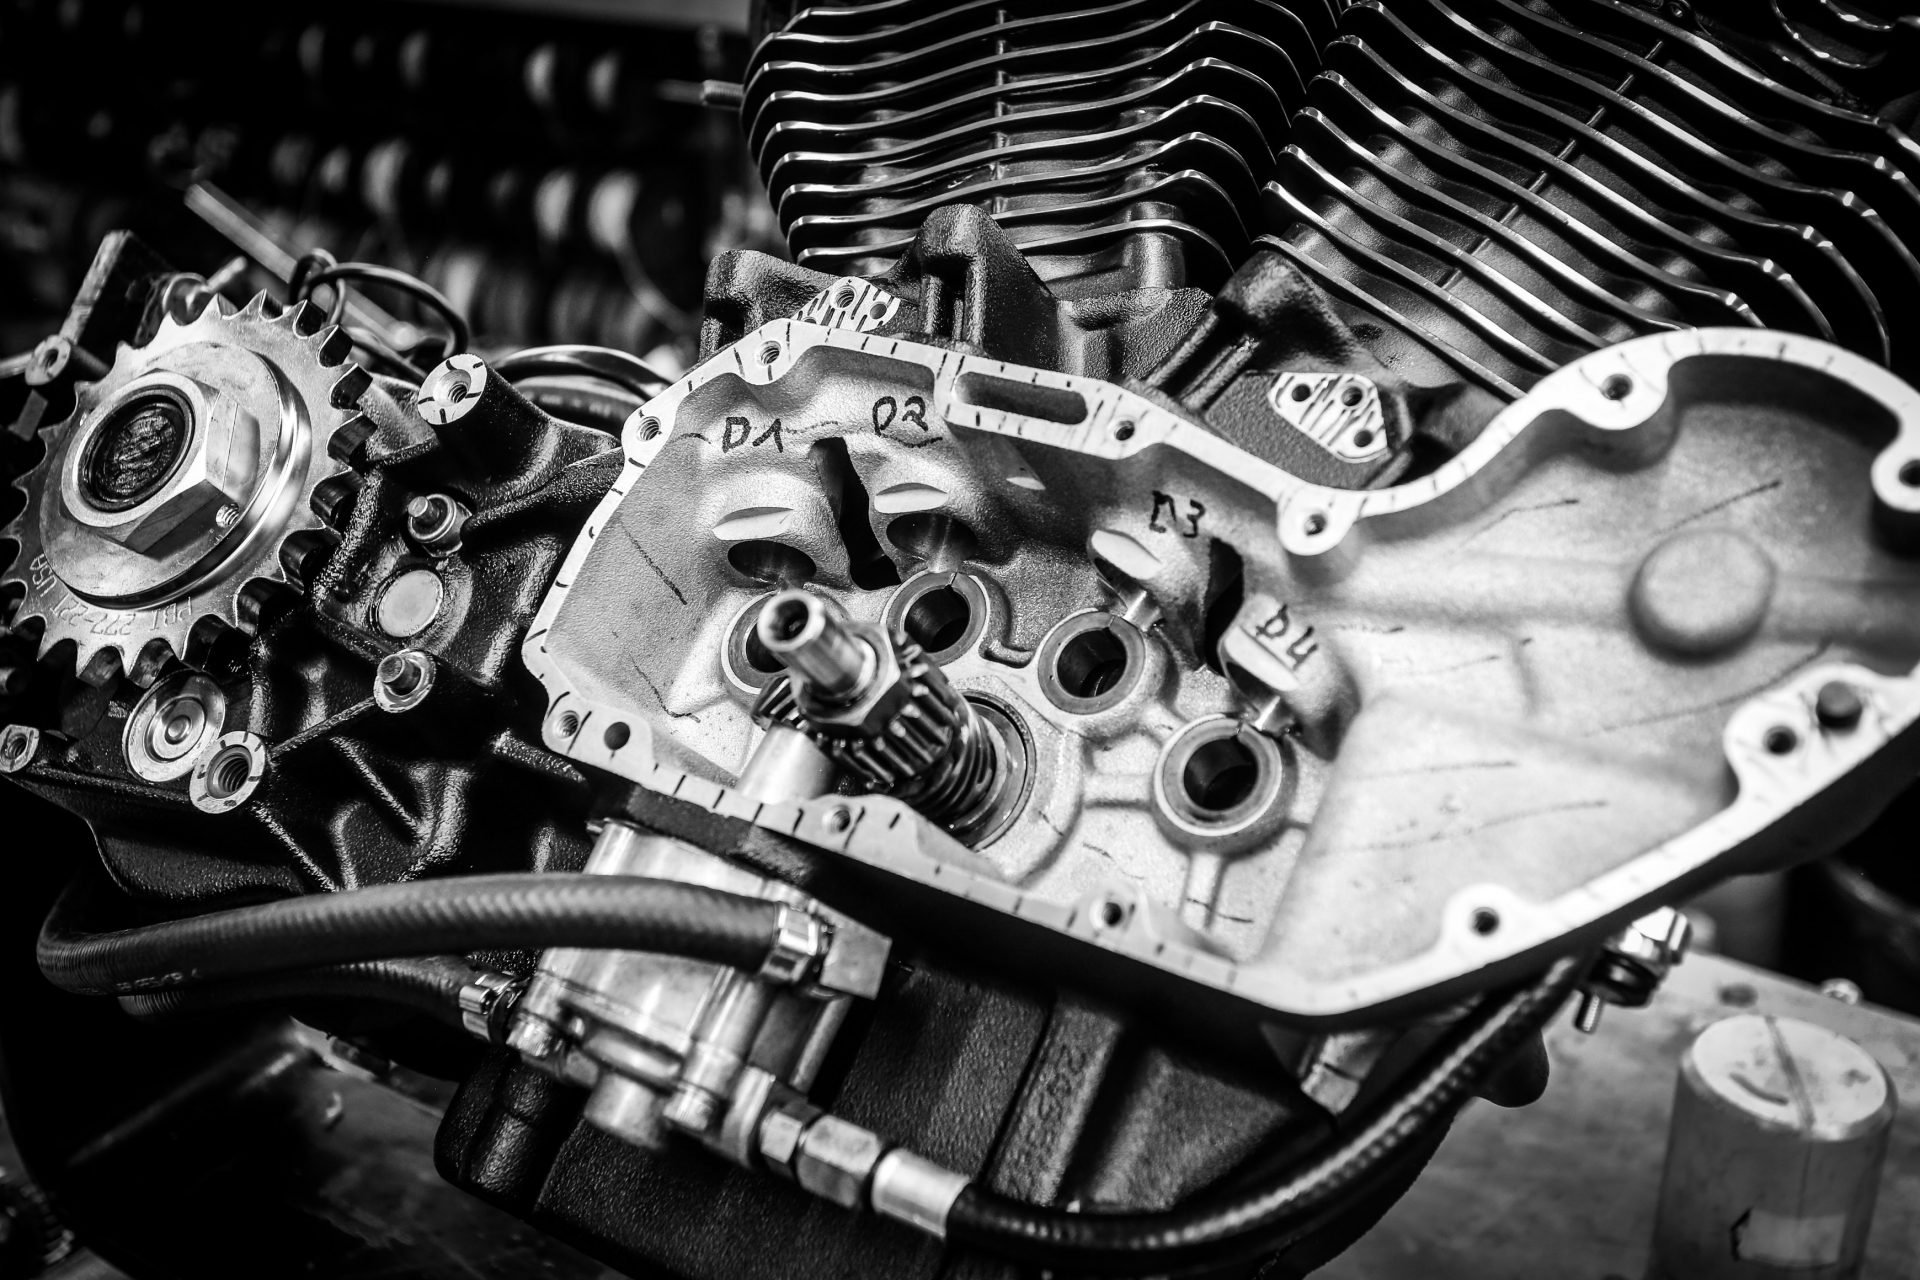
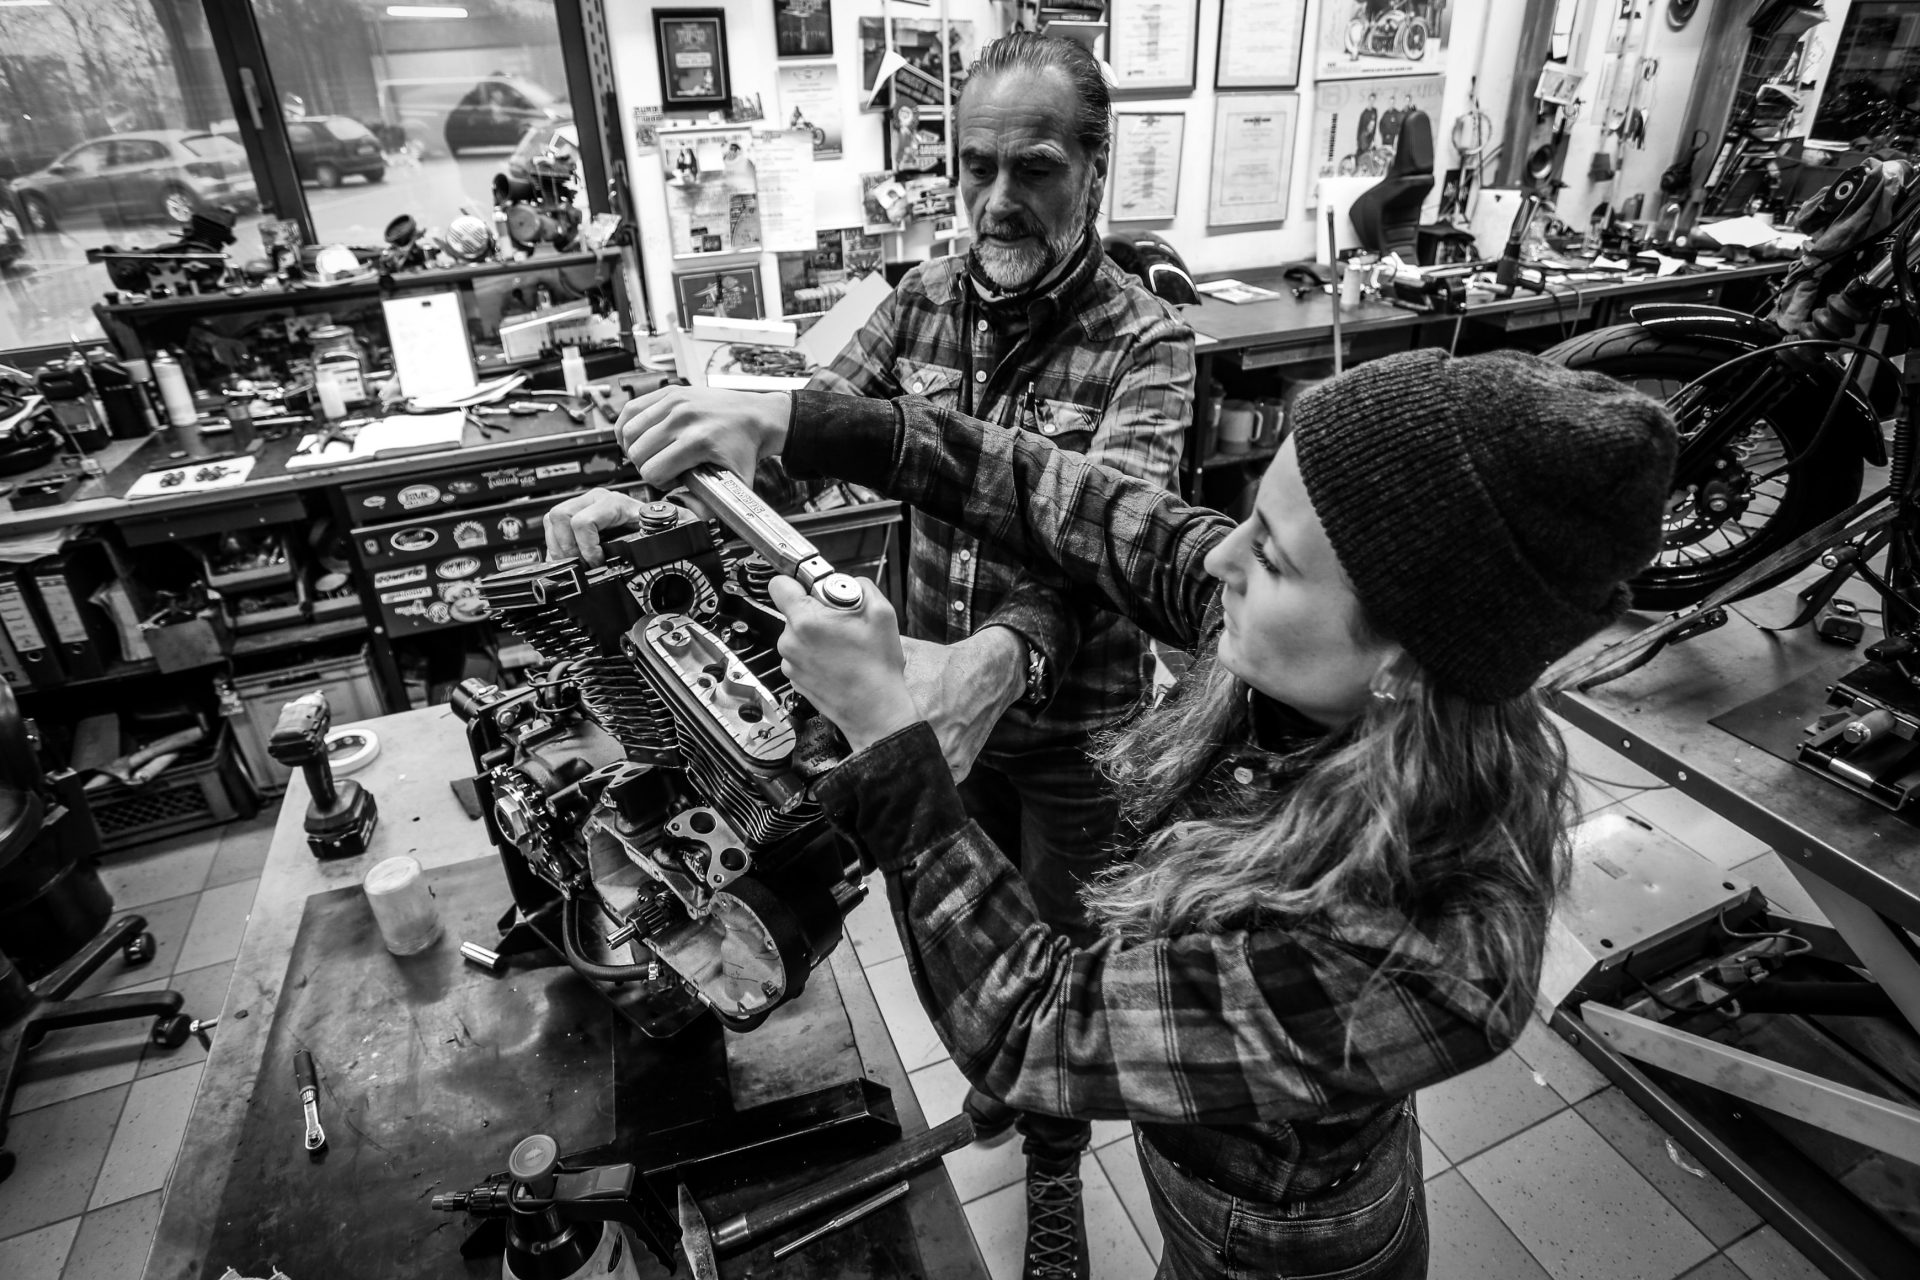
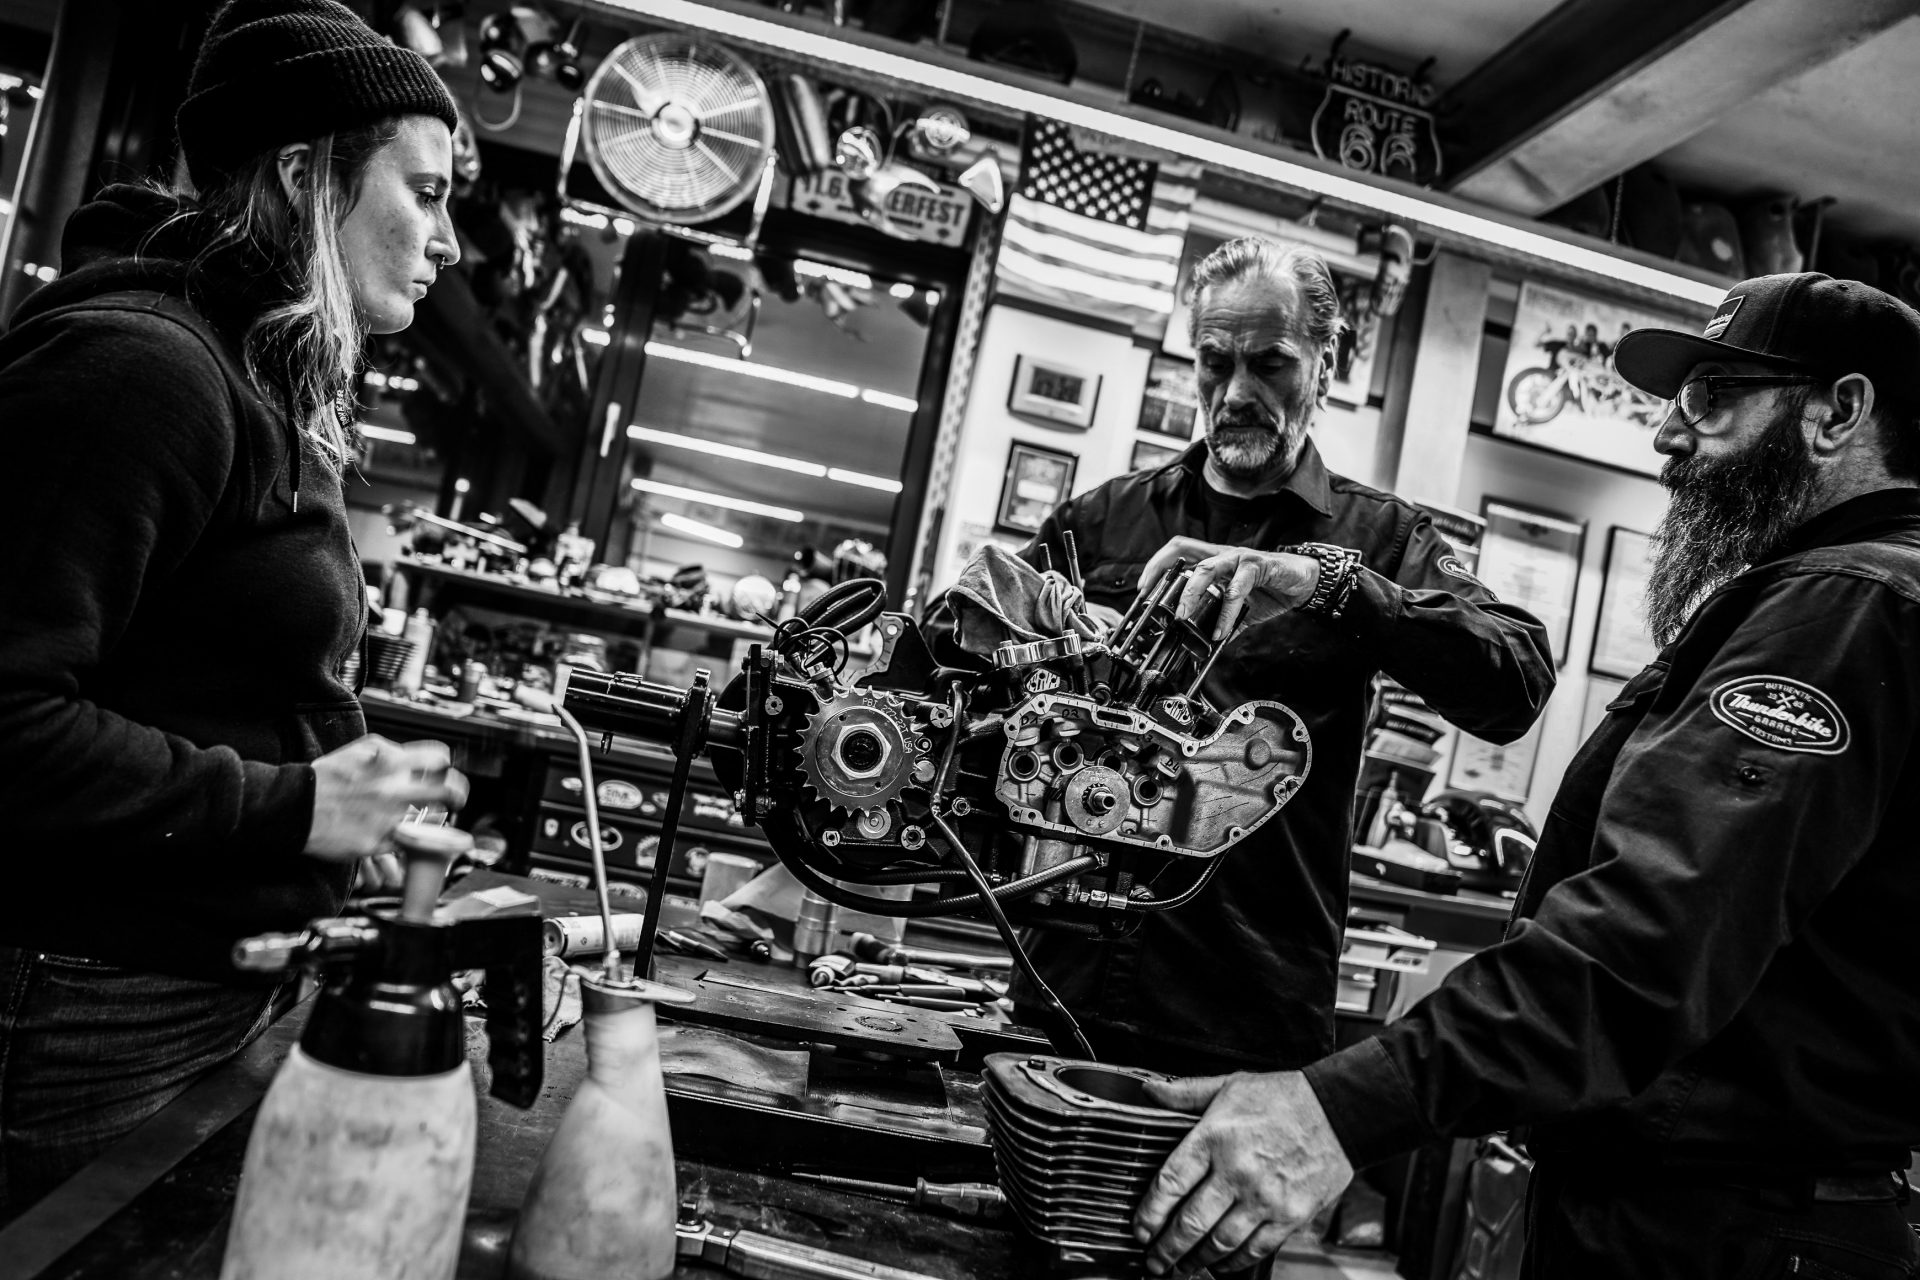
Motor

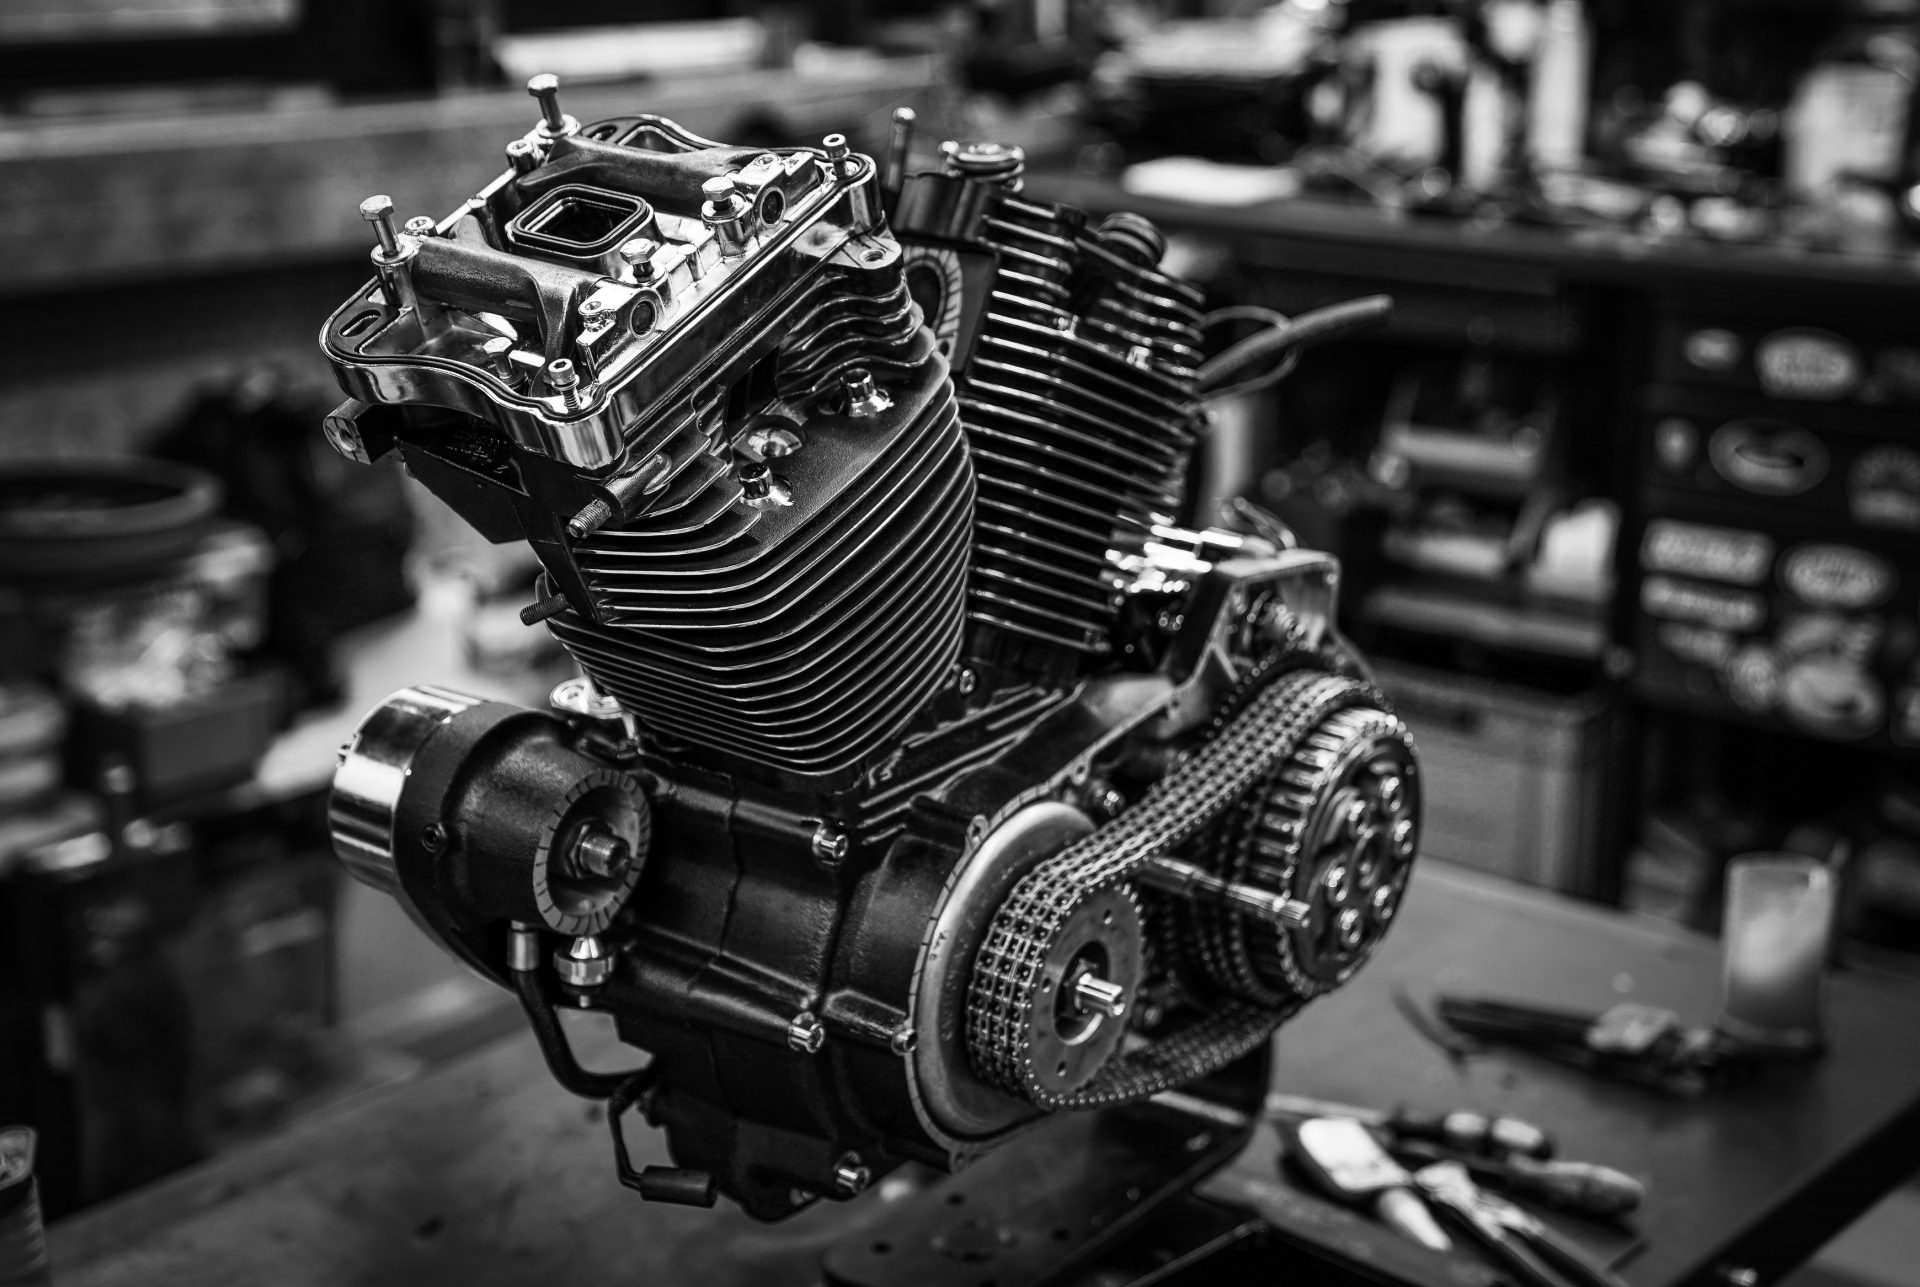
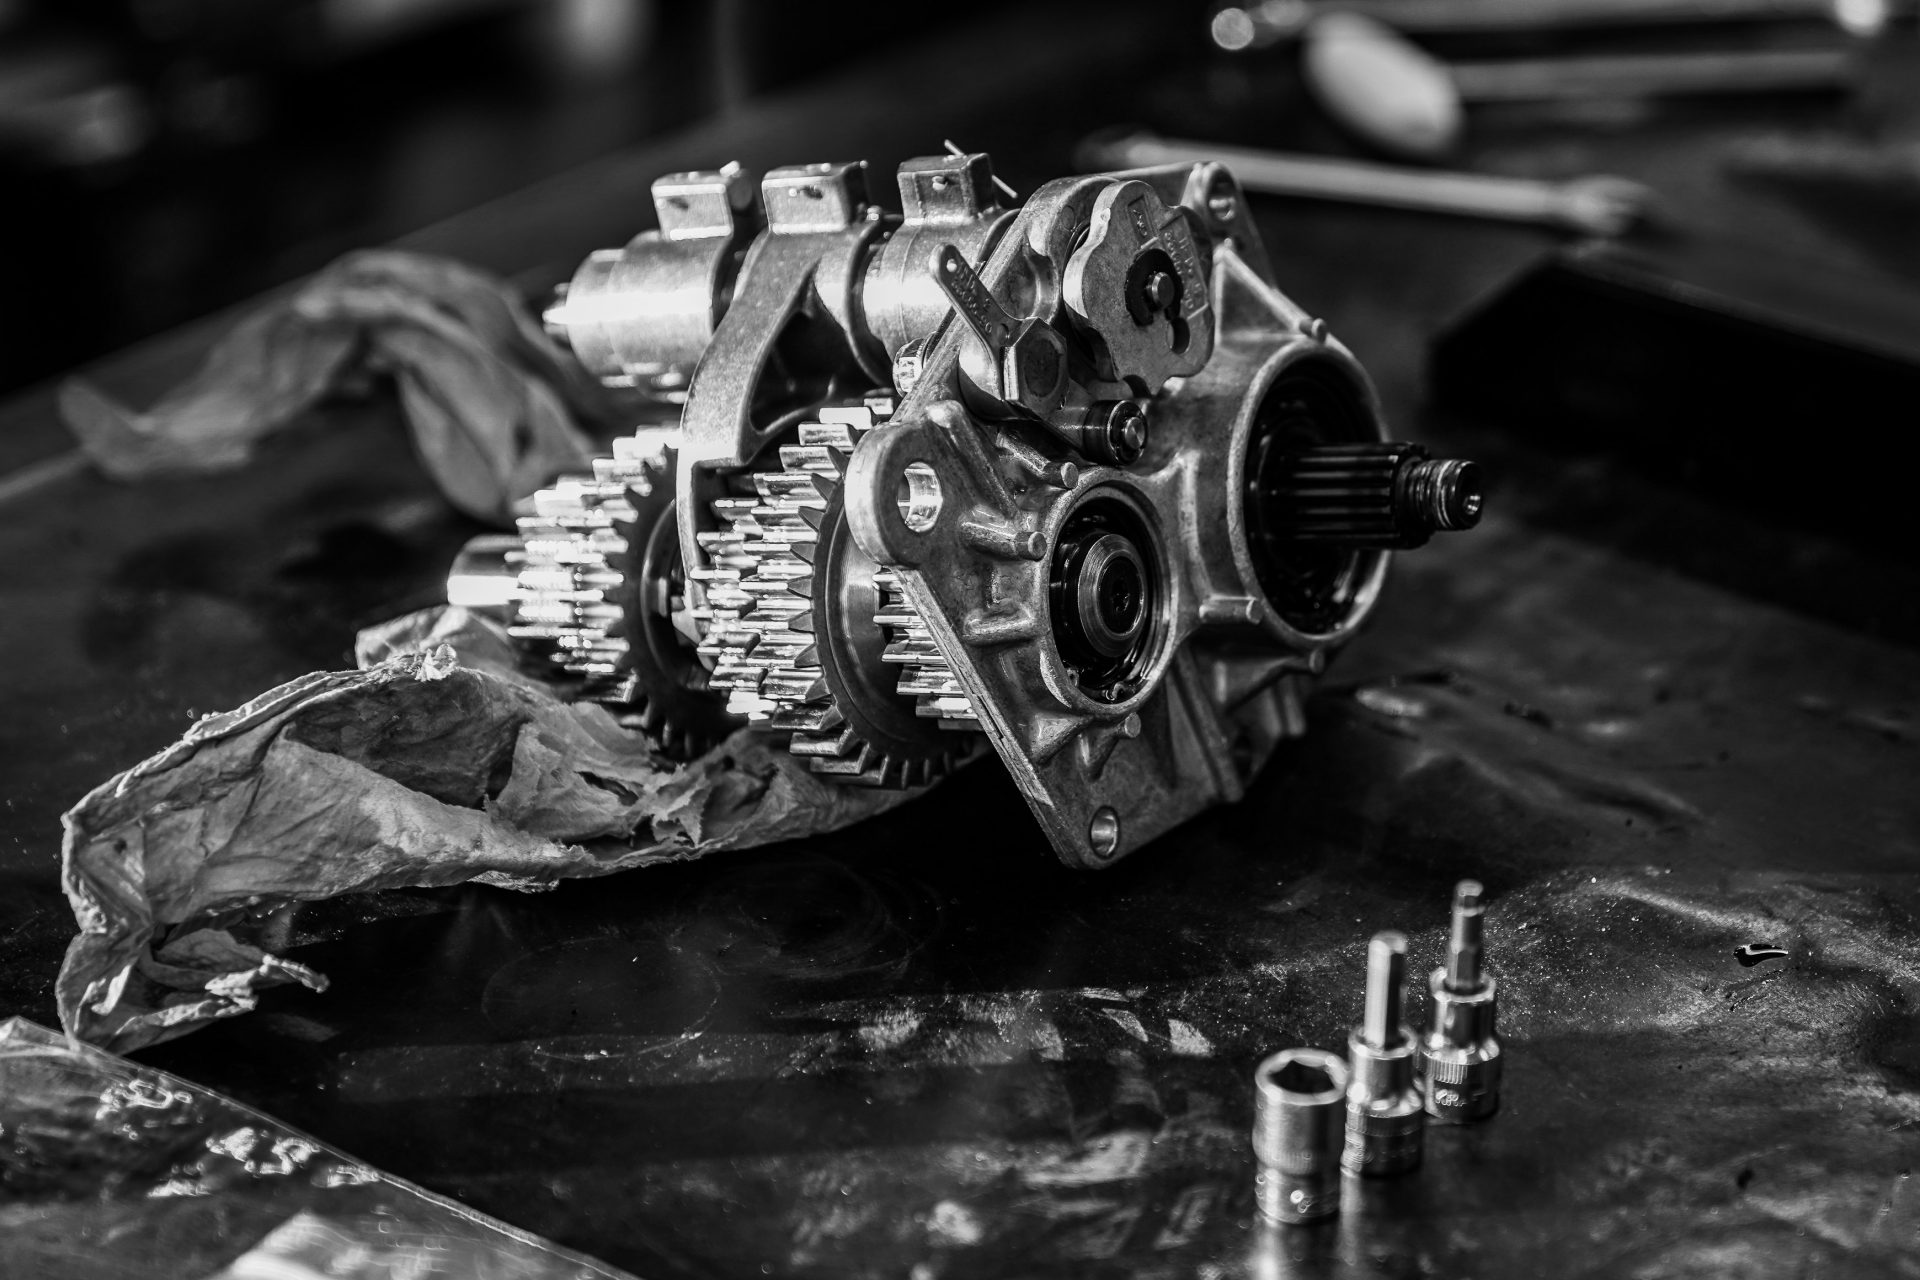
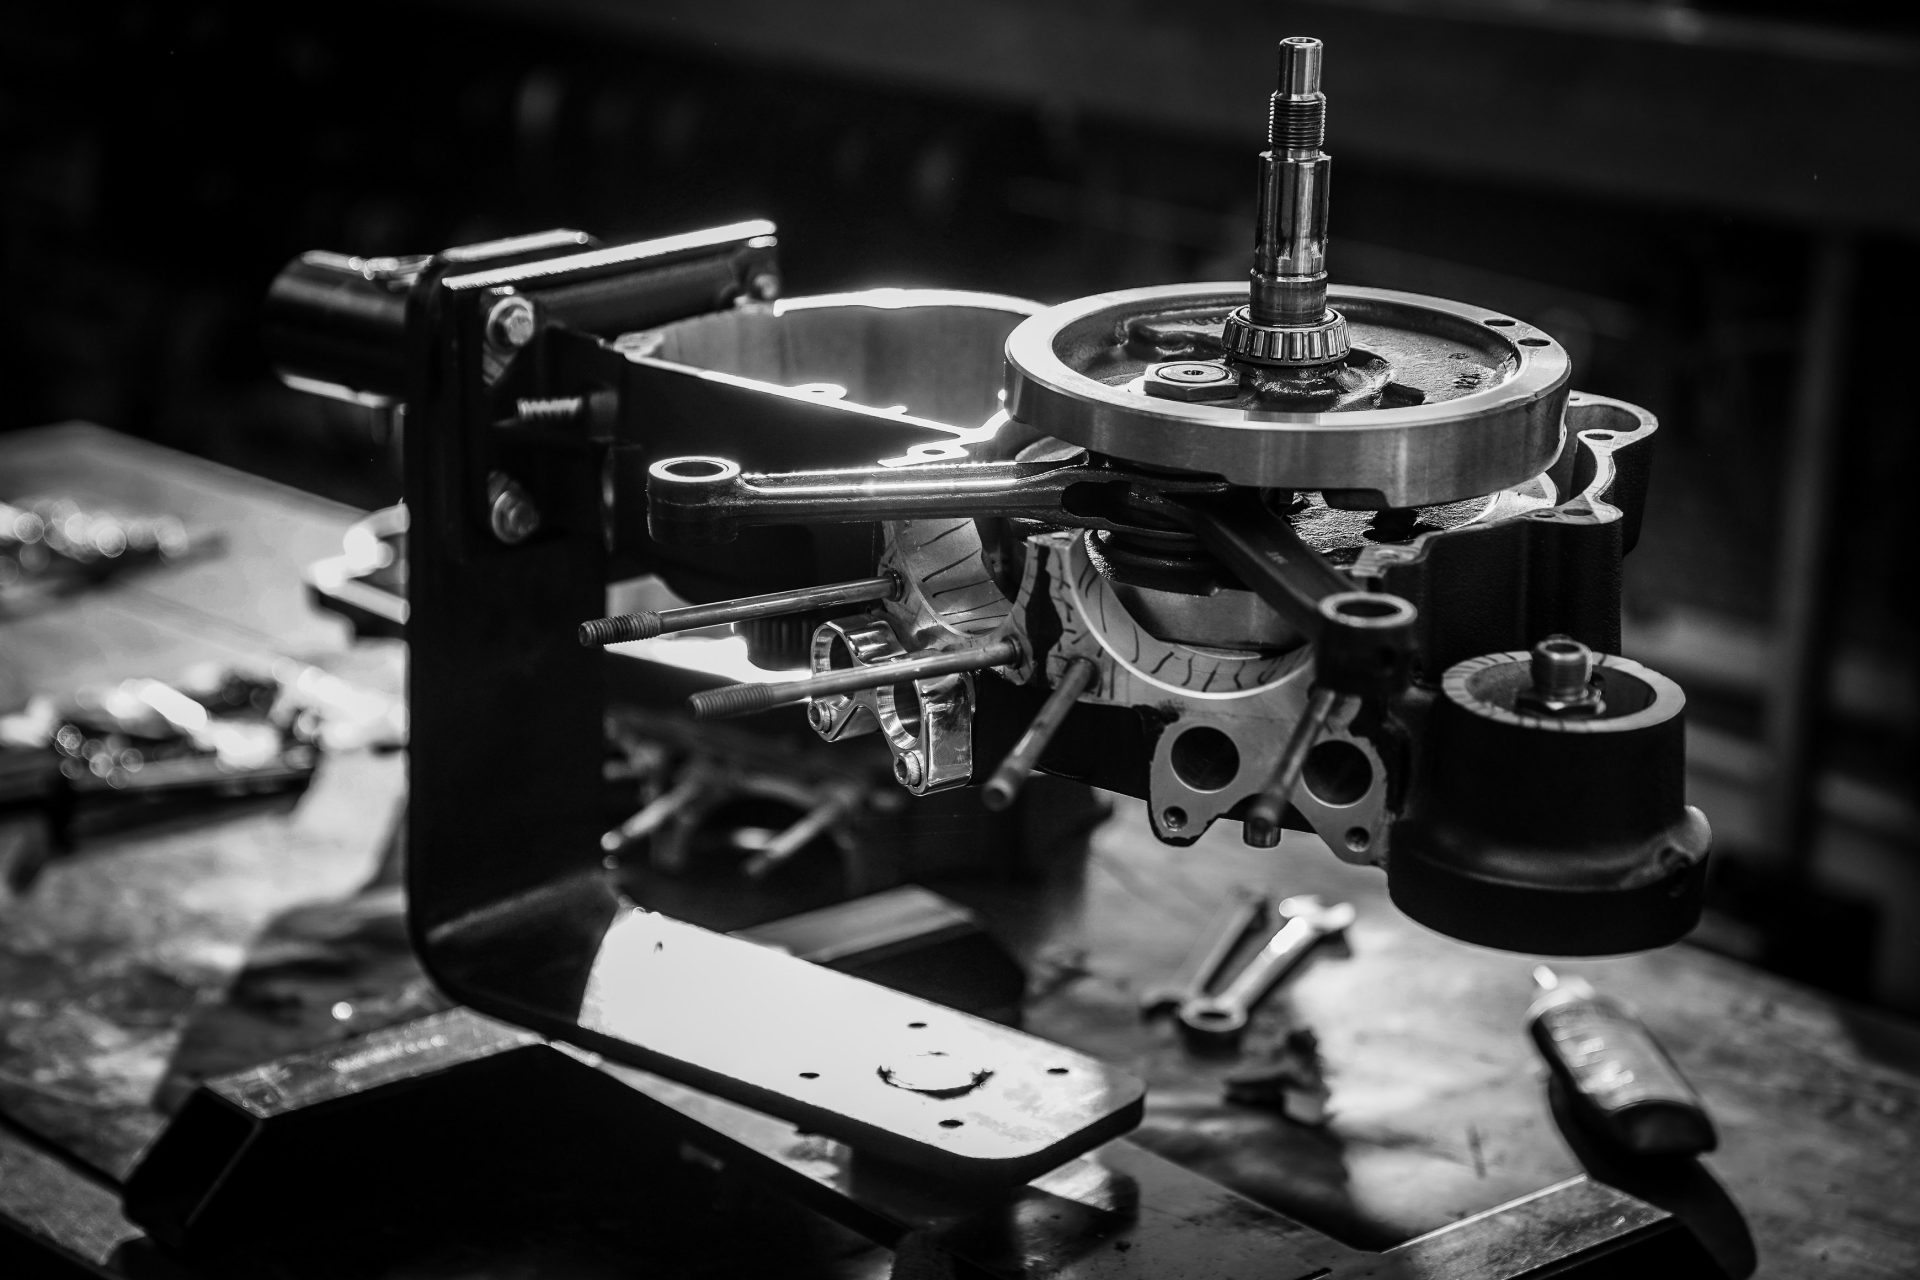
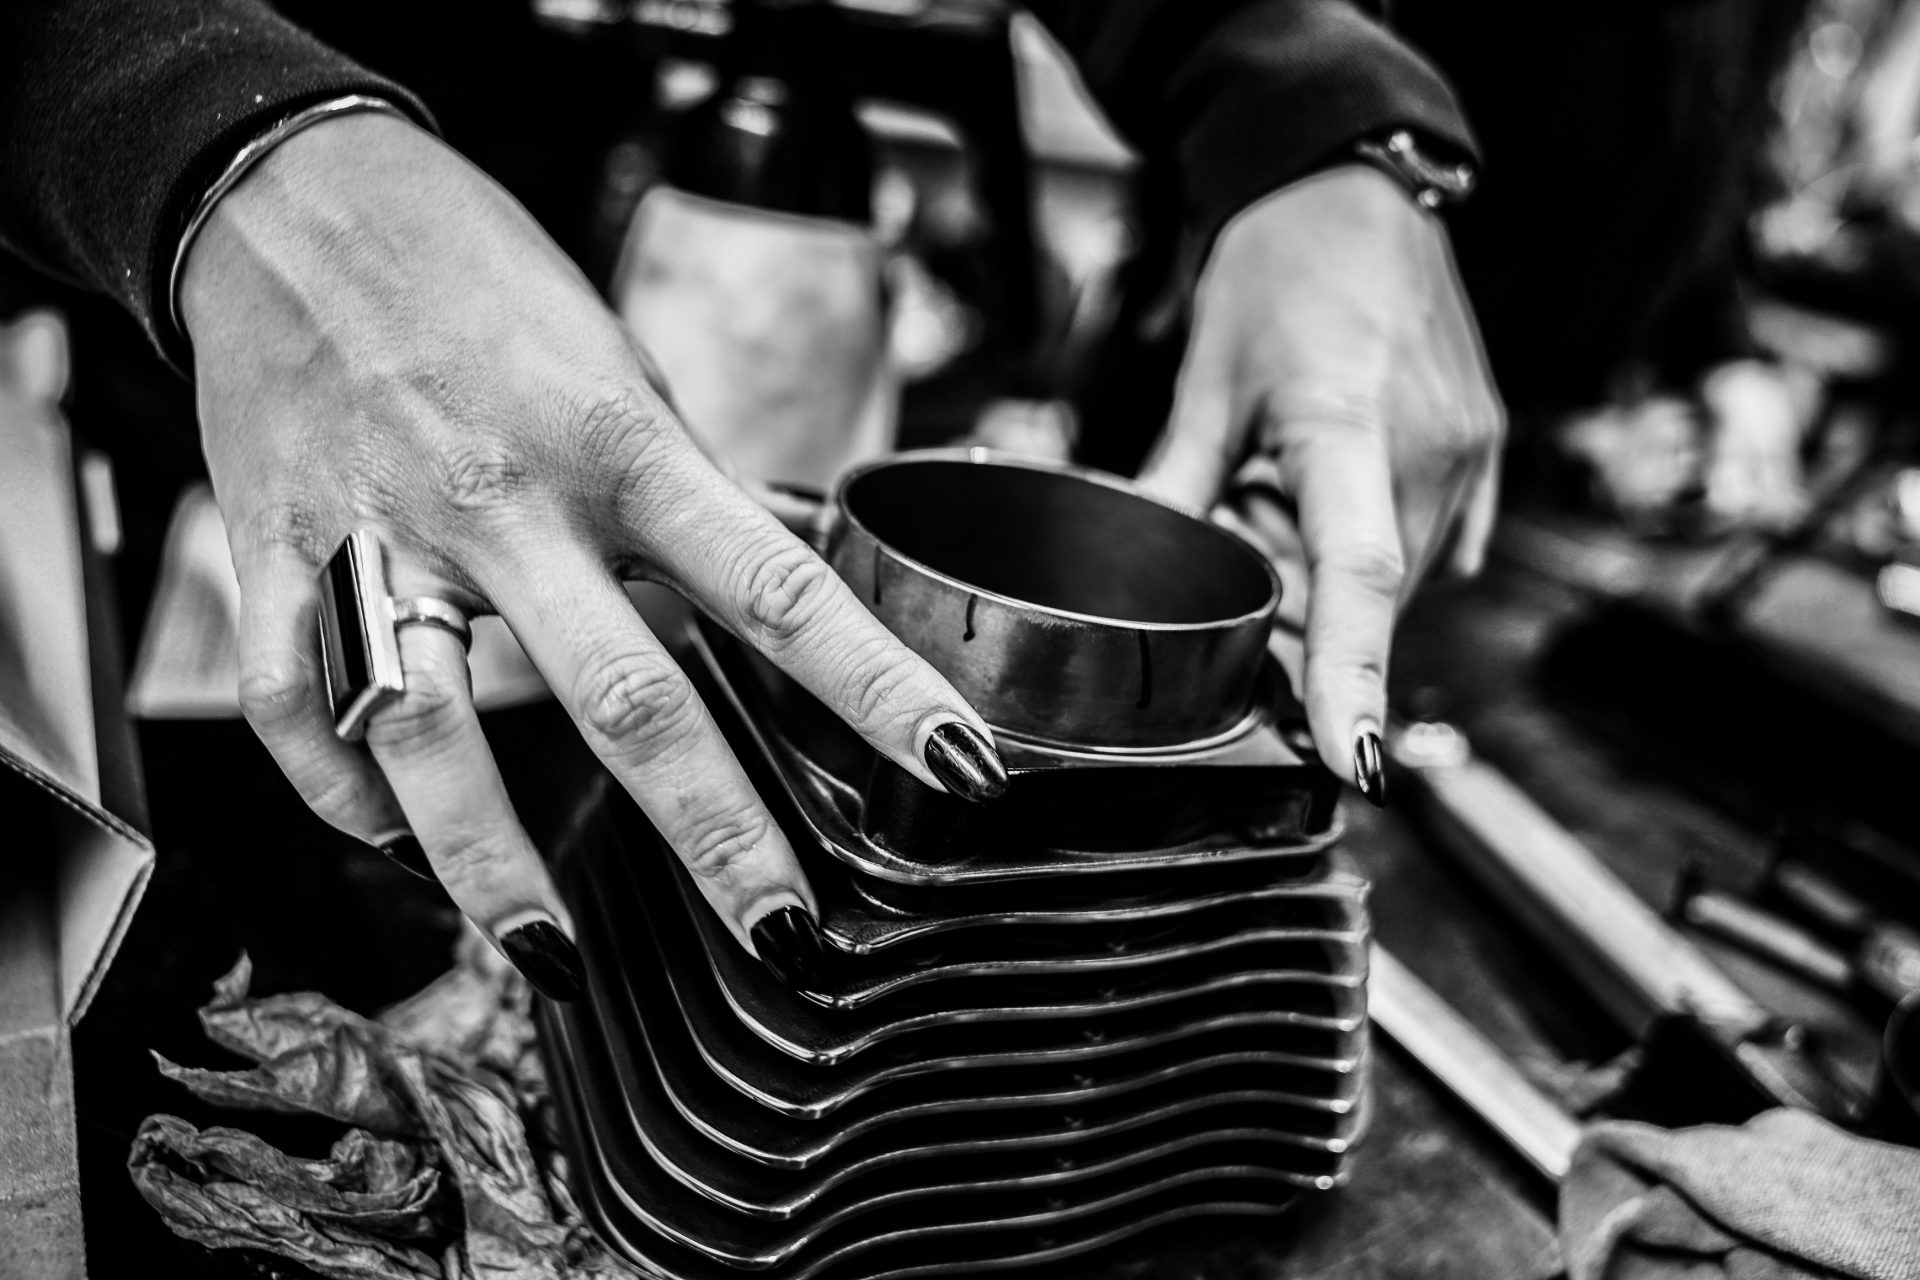
We disassembled the complete engine with all components and cleaned them thoroughly. We replaced all the worn out parts as well as all the bearings and bushings. The valves were grinded and new cylinders and pistons were installed.
The engine block was powder-coated in black and the cooling fins were then sanded free again.
Finally we fitted new Harley chrome engine covers and the derby cover and timer covers from the famous Live to Ride collection. Brass tappet covers complete the overall picture.


Last Battles!
Battle of the Kings Finale 2017
As part of the Hamburger Motorcycle Days, the final of the Harley-Davidson Battle of the Kings 2017 competition took place. We made it again among the best!
View DetailsBattle of the Kings Finale 2016
We had already won the German Battle of the Kings final and thus got a ticket for the EU final in Biarritz on the "Wheels & Wave". Now it was all about - the overall winner of the EU-wide customizing competition was announced in San Pedro, Spain.
View DetailsContacts

You can find Thunderbike Parts and original Harley-Davidson Parts in our online shop.