- Home
- Custombikes
- Personal Bike
- Glatzzomobil
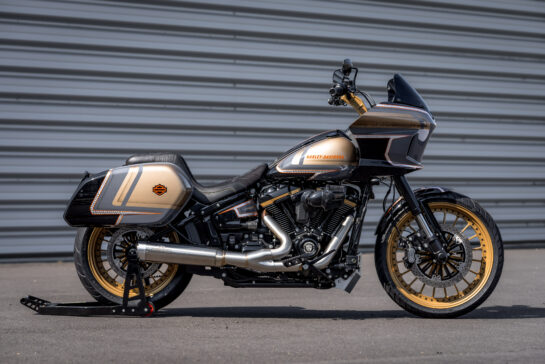
Ecstasy of Gold
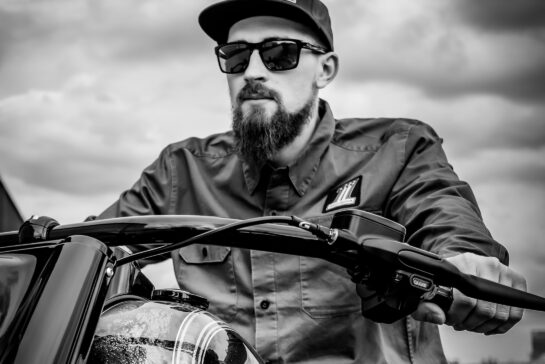
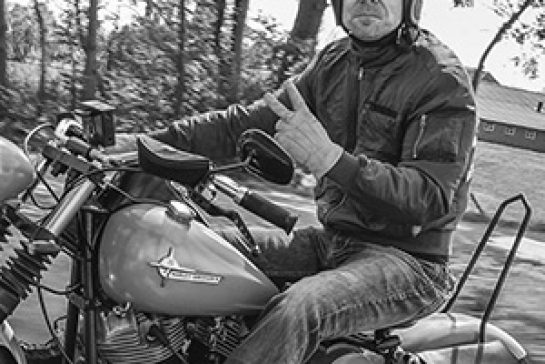
The conversion of my Low Rider ST has been an exciting adventure that has now closed a great chapter with the completion of the bike.
Countless hours and moments of customizing with the guys and gals at Thunderbike, bringing ideas to life and breaking new ground to turn the baldzomobile into a true neckbreaker.
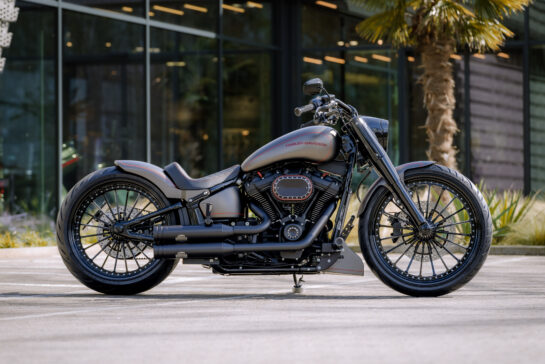
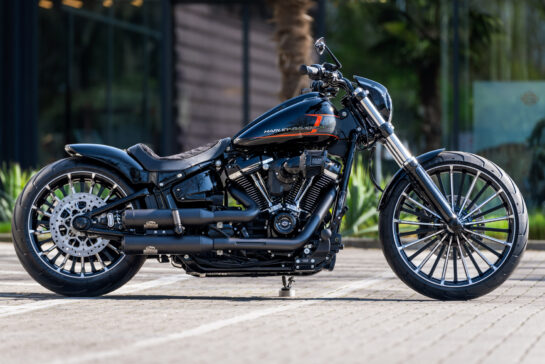
With the new Gold Digger wheels in 21″ front and 18″ rear, as well as the 9″ Clubstyle risers from us, my bike gets a damn cool look.
Jimi’s handcrafted leather saddle from Spirit Leather complements these two highlights and gives the bike a new, imposing line. The seat is not only comfortable, but also keeps the rider in the correct position on the bike. Chiko’s custom paint job, which gives the bike a soft West Coast club style, completes the overall look and makes it unmistakable. Together, the result for me is a new style that Jimi and I have christened “Eurostyle”.
"I am more than proud of the bike and look forward to taking the roads with it".
Parts
- Saddlemen Seat Step Up Tuck & Roll Black
- Thunderbike Digger wheel
- Thunderbike License Plate Frame Inside Plate
- Thunderbike License Plate Lighting
- Metzeler ME888 Rear Tire 200/50R18M/C REINFTL 82H
- Metzeler ME888 Front Tire 130/60-21M/CTL 63H
- Thunderbike Turn Signals Stripe LED 3in1
- Kellermann Bullet 1000 Turn Signal (1)
- Thunderbike Brake Caliper Adapter Set 300->340mm black
- Thunderbike Brake Disc Spoke Floated 292mm
- Thunderbike Brake Disc Spoke Floated 340mm
- Thunderbike Pulley Spoke
- Thunderbike Riser Kit Clubstyle 9'' Pullback black
- Thunderbike Grips SP-S satin black cut
- Thunderbike Shock Adjusting Knob satin black
- Thunderbike Tank Mount black
- Thunderbike Rear Axle Cover Set
- Thunderbike Front Axle Cover-Set black matte
- Thunderbike Axle Cover Swingarm left
- Thunderbike Turn Signal Load Equalizer 3in1 rear
- Thunderbike Turn Signal Load Equalizer
- Küryakyn Kuryakyn Splined Driver Peg Adapter Gloss Black
Galery
Dasha
Riding Experience
Part 3 -Paint and Leather
For the third part of my Low Rider ST conversion, I headed to the Thunderbike workshop where I fitted the new Metzeler tyres and mounted the wheels with my friend Tim. Then we fitted the fancy brushed 2-in-1 flap exhaust system from Jekyll & Hyde, which gives the bike a lot more line.
But it’s not just the exhaust that gives the bike a new silhouette, the new 9-inch risers from us also give the bike a distinctly Clubstyle. The cable runs through the machined aluminium for a tidy look and the raised grip position for a cool riding attitude.
Wheel, riser and exhaust assembly
Leather bench made by Spirit Leather
Another highlight of my rebuild was a visit to Jimi’s workshop Atelier Spirit Leather. Together with Jimi and his friends Kommando and Björn the graver I could witness the construction of my unique seat. From the first sketch to the newly formed foam plate that serves as the base for the saddle. The saddle is not only comfortable and the seat height a few centimeters lower, but also a real eye-catcher on my bike. The new technique of applying the FXLRST lettering to the saddle flank was developed in cooperation with Björn from BPD Design and Jimi and makes it immediately clear to the viewer that there is a lot going on here!
Chiko's Pinstriping Painting
The most style defining part of my conversion is the paint job. I went to Chiko’s Pinstriping where I was able to discuss my ideas with Chiko on the spot. Black, gray and a classic Mercedes-Benz champagne with a silver line that is surrounded by a still secret line will give the bike a unique look.
Part 2 - Rims assembly and rocker boxes
For the next step in the rebuilding of my Low Rider ST I had four important helpers at my side – my buddies Jens, Andre, Patrick aka Gelochter and as in the first part Tim. On a gray Saturday in January we met at the company to mount my new rims and swap out the freshly powdercoated rocker boxes.
Julian from sales had previously shown me some of our great rim designs and I was excited about the variety of rim designs we have. We went from the original GT design to the sporty Vegas Race design to the Digger design. In the end, the Digger design won out because I have always liked multi-spoke designs and for me, it was the best balance between sporty and classy.
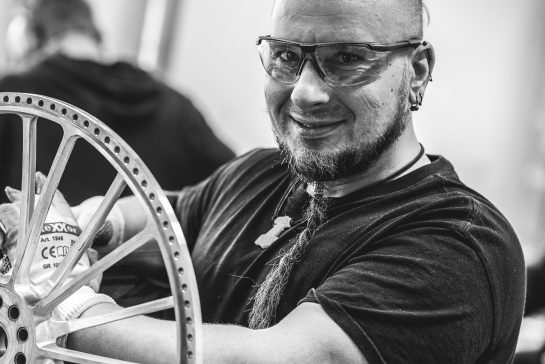
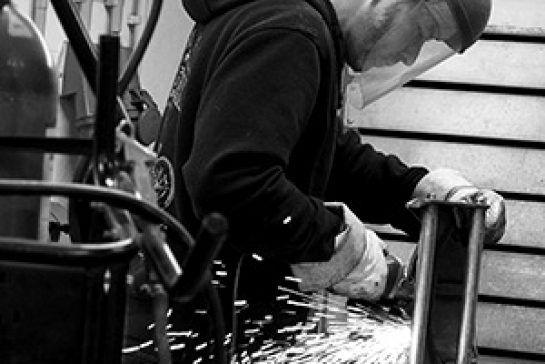
Before the rims are powder coated, André roughens them up in the grinding shop so that the powder will adhere better. Then they are mounted by Patrick and the wheel hubs are turned by hand on the conventional lathe for each vehicle. This is important so that the belt and brake caliper can run freely on the wheel and not jam. He does this for almost all the wheels we make. Jens, also known as Felgenjens, is our wheel assembly expert and in this video he explains every step of assembling a finished powder coated wheel.
It took a while to finish the rims, but in the end they looked fantastic and I couldn’t wait to see them mounted on the chassis.
The next step was to replace the rocker boxes. Tim has a lot of experience in this area and helped me remove the old rocker boxes and install the new ones. The replacement is only visual, but as you can see in the photos, the step is clearly visible. We had to loosen some bolts and the upper oil line, and I followed Tim’s instructions exactly, but in the end we got it done. The new rocker boxes looked great and I was thrilled with the new look of the engine.
It was a long and tiring day, but it was fun to work together on my bike. I learned a lot from my buddies and was grateful for their help and support. At the end of the day, the finished rims looked fantastic and I couldn’t wait to get them on. The rocker conversion was a great success and I am proud to have done it with the help of my friends.
Part 1 - Disassembly
It was a great and exciting first day for the rebuild of my new Low Rider ST.
Together with my buddy Tim I disassembled the fairing of my Harley-Davidson Lowrider ST. We were busy all day disassembling and packing the parts. We had to be very careful not to damage anything, but in the end we did it and packed everything in boxes ready to go. The parts are now on their way to Chico’s Pinstriping, the paint shop that will give my bike a great custom paint job. It was really fun spending the day with the guys, taking the fairing off and seeing the individual parts come apart that will give my bike a cool look later. Now I’m really excited to see what the new paint job will look like when it gets back. I can’t wait to see it.
Introduction
To tell the story from the beginning, you have to go back to Faak 2022, where there was a Twincam Low Rider S with FXR fairing in flame paint at the exhibition.
I couldn’t take my eyes off that bike, either at the show or in the photos I took of it later. Somehow I was infected by the club style bikes. Back in Germany the idea of another Harley matured, one that would be more reliable than my previous combination of a cool but rather unreliable 1973 FX Super Glide and a near-standard 2002 XL Sportster Custom.
I wanted to take the motorbike cases of my colleagues, in which I was allowed to transport my equipment on tours in Faak am See, with me on my future motorbike. It was clear to me that this would be the combination for my future project. Suitcases, reliability and, of course, style. Because the Clubstyle that was emerging in Germany was my springboard for the idea that you could have a sporty bike for long touring that still had all the features you wanted and looked cool at the same time.
After looking at what felt like a hundred pictures and talking to a lot of colleagues, my inner journey to buy a Dyna or a Road Glide finally culminated in a final conversation with Andreas. His convincing arguments for investing my money in a new, modern bike with a powerful engine and all the extras I wanted, such as panniers and fairing, was the idea of buying my Low Rider ST.

